
Porsche 911 Exhaust, Harness, and Shroud Installation
More external components were added to this deluxe air-cooled sandwich.
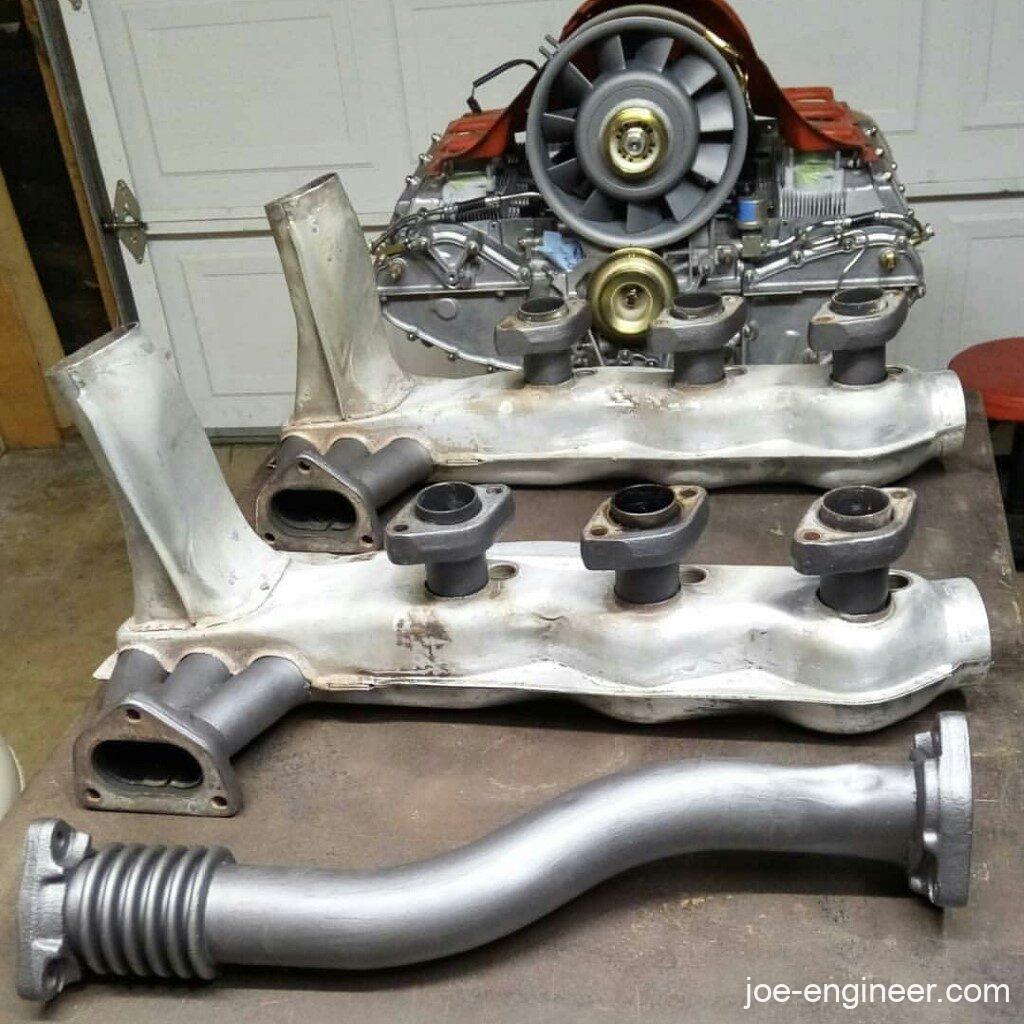
Heat Exchangers
I next turned my attention to the stock heat exchangers. I had previously cleaned them so I could at least handle them but they still had some baked on oil and the exposed pipes had surface rust.
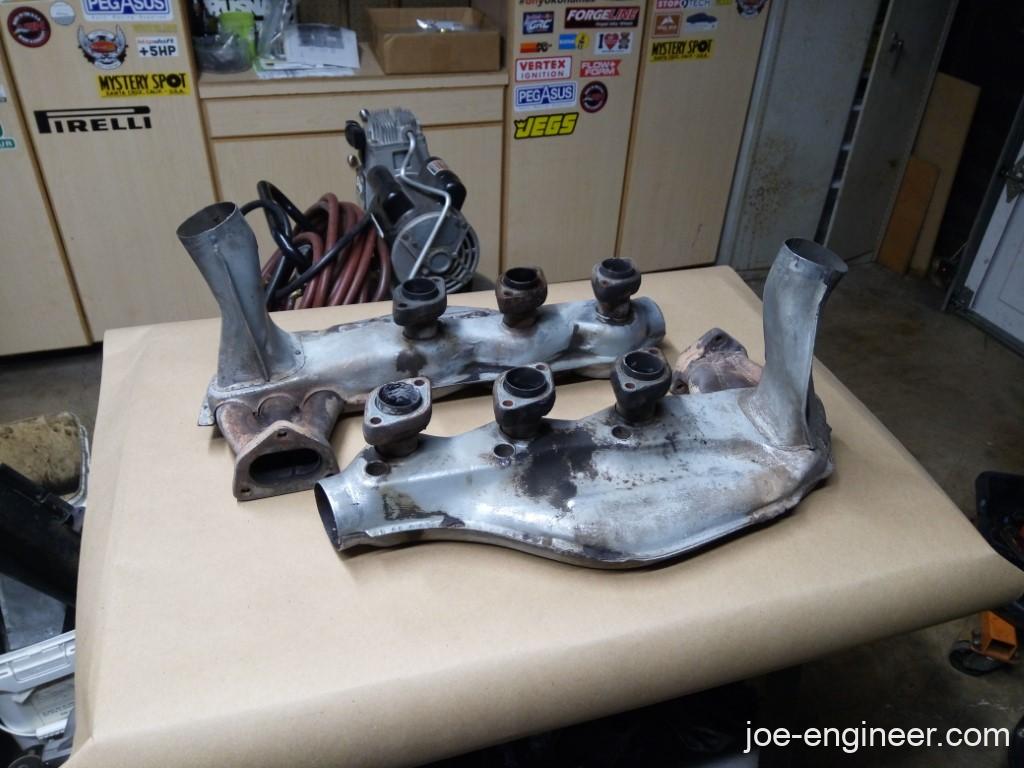
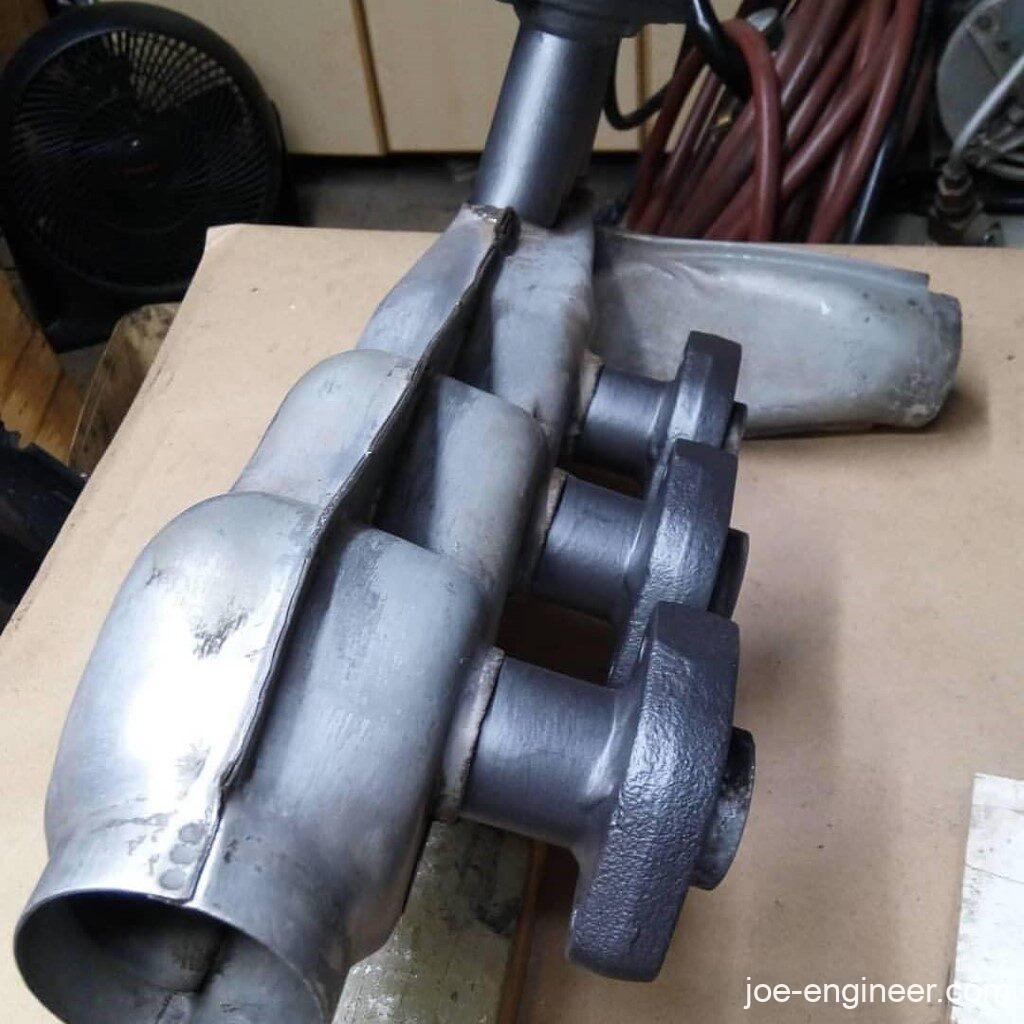
One of them had a dented shell that will leak hot air and possibly let in contaminants into my cabin airstream.
I did the best I could from inside the shell to straighten out that dent, tap the leak shut, and re-crimp that flange.
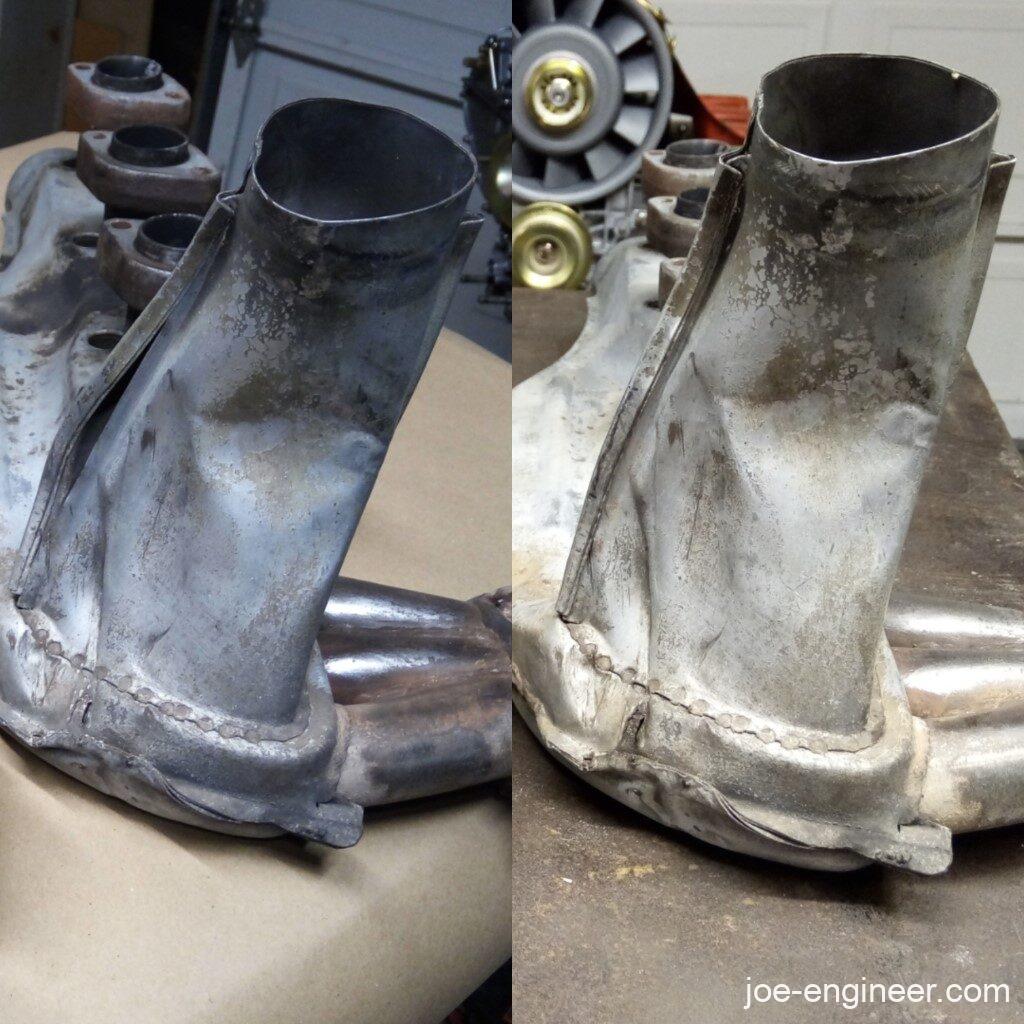
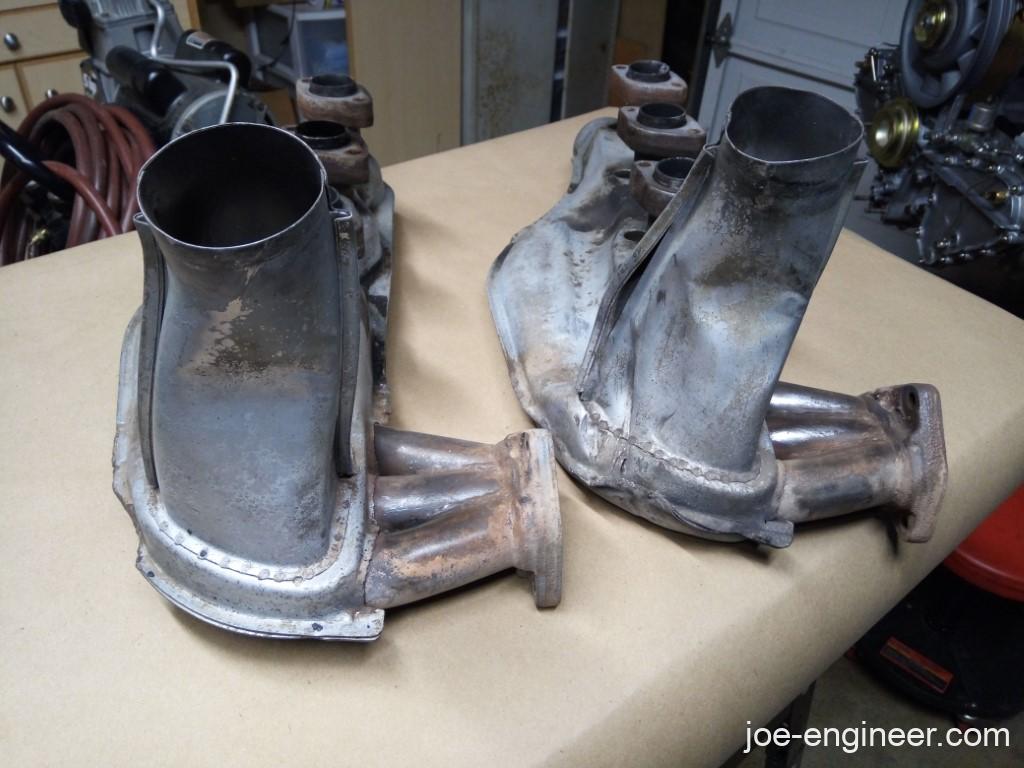
Next I cleaned the shells and insides of any crud. I hand sanded the exposed pipes and flanges and took a grinder and stripping disc to the crossover pipe.
I painted the exposed pipe and flange surfaces with POR-15 brush-on high temp paint and baked them per the instructions. The color is manifold gray. I did not know how good this paint would be, only knew that the POR-15 rust preventative body paint worked pretty well, so I decided to give this stuff a shot.
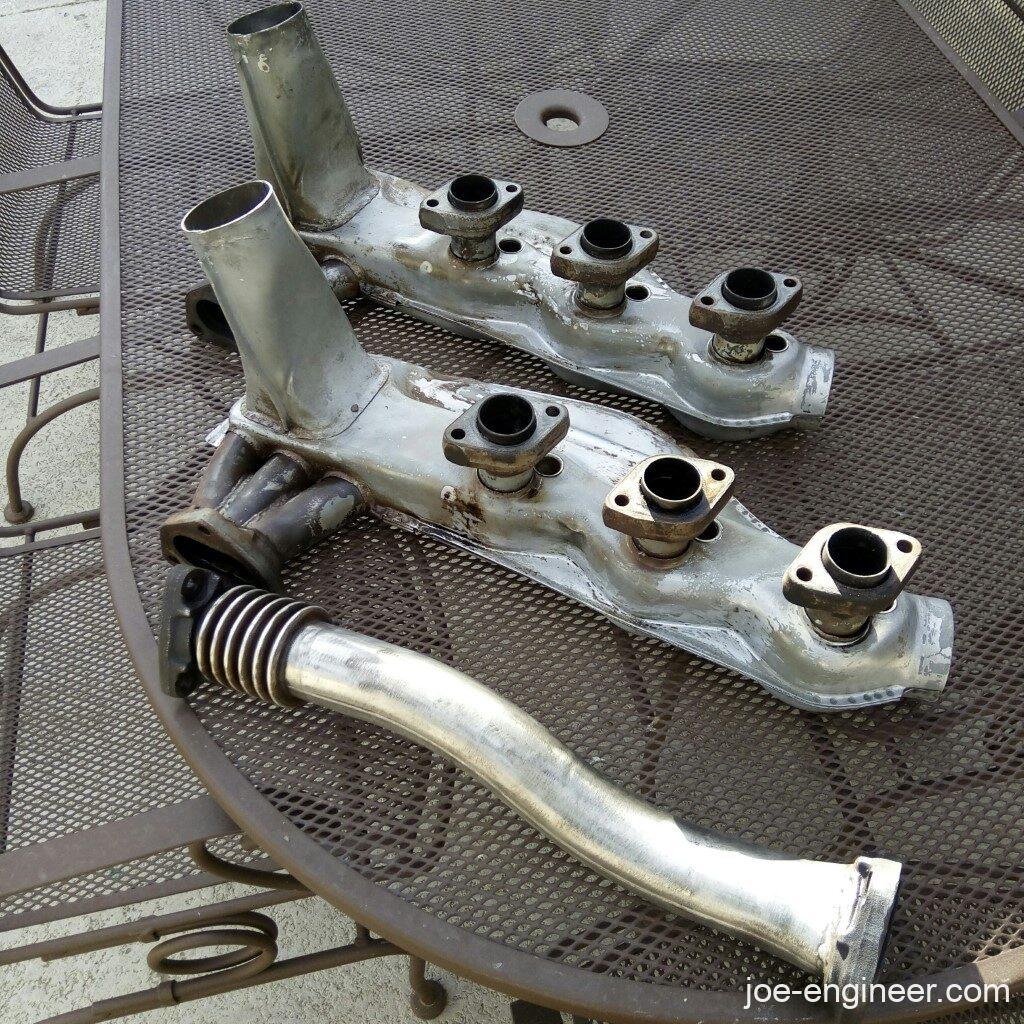
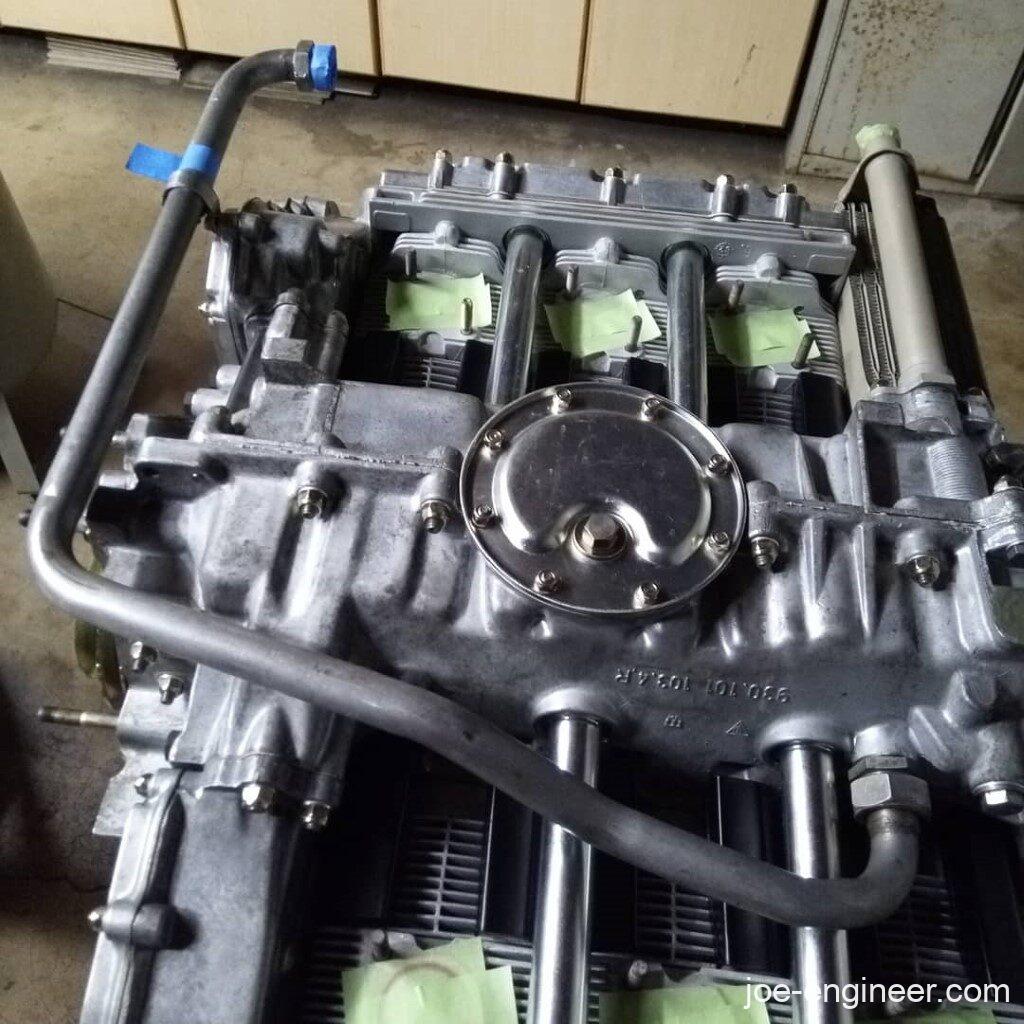
Before putting on the heat exchangers the hard oil line had to be installed.
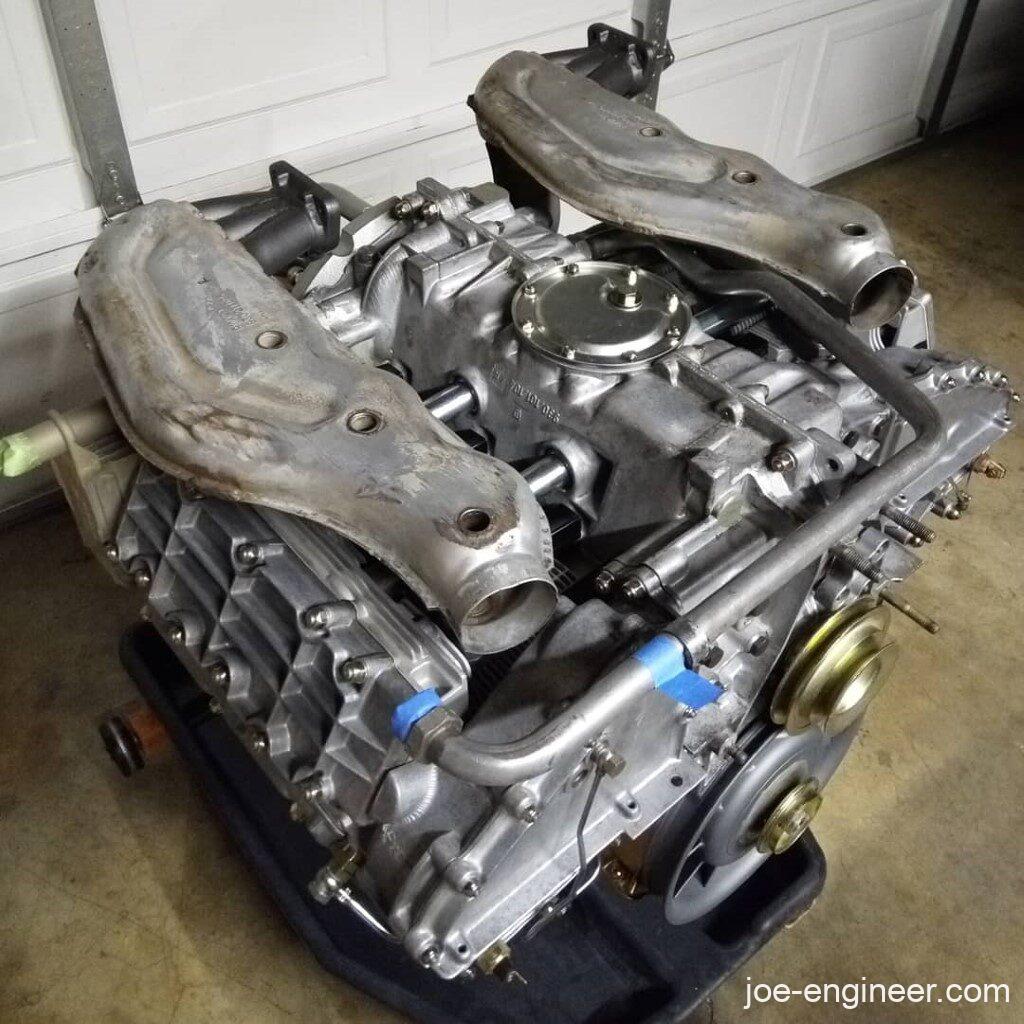
Then I installed the manifolds with new gaskets and nuts. They still dont look pretty but at least they are functional and not rusty anymore.
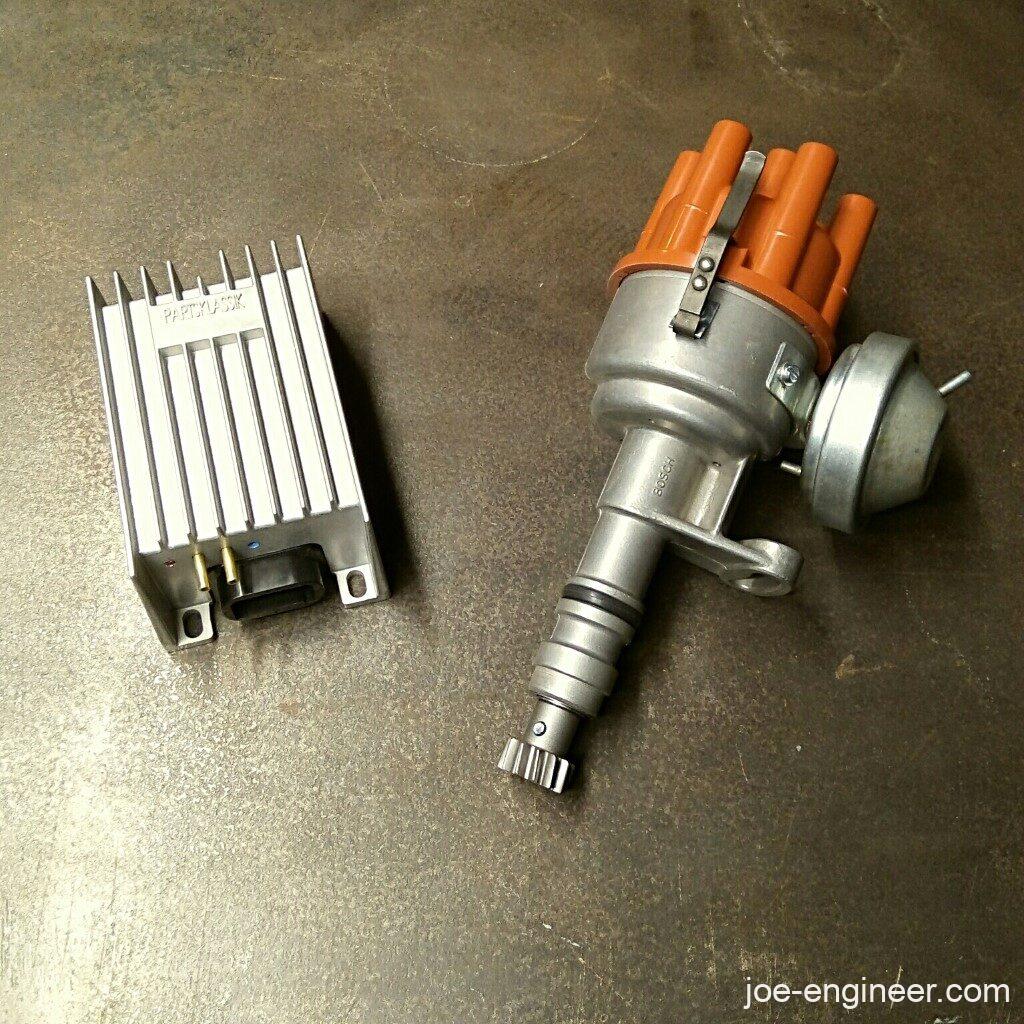
Distributor Rebuild
I had my distributor rebuilt by Parts Klassik because they stock all the little hard-to-find internal bits and have a good reputation for distributor work. They found that my dual-vacuum can was dead (and these are no longer available) so I decided to pair it with their programmable CDI that takes the distributor advance and retard vacuum signals and makes the spark operate to original specs.
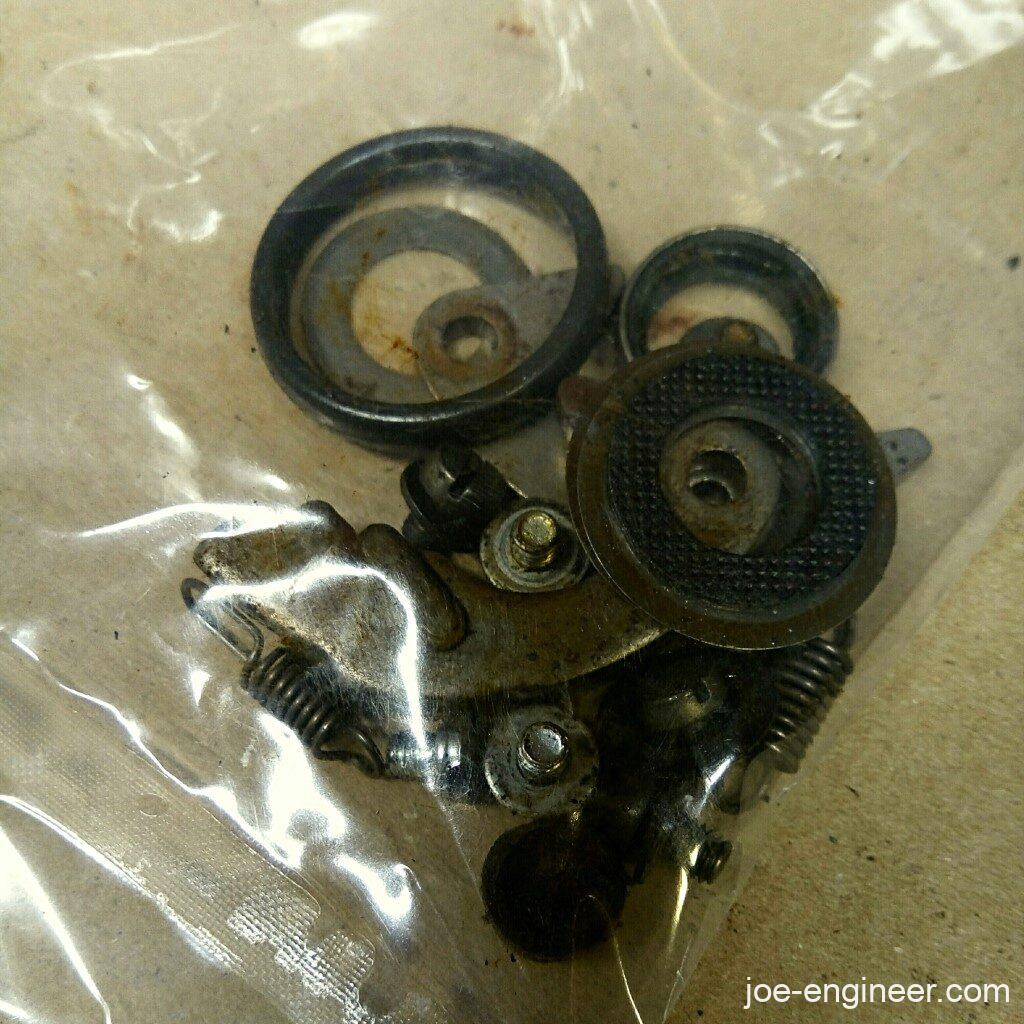
Here are the little worn dizzy bits that I did not want to deal with sourcing myself.
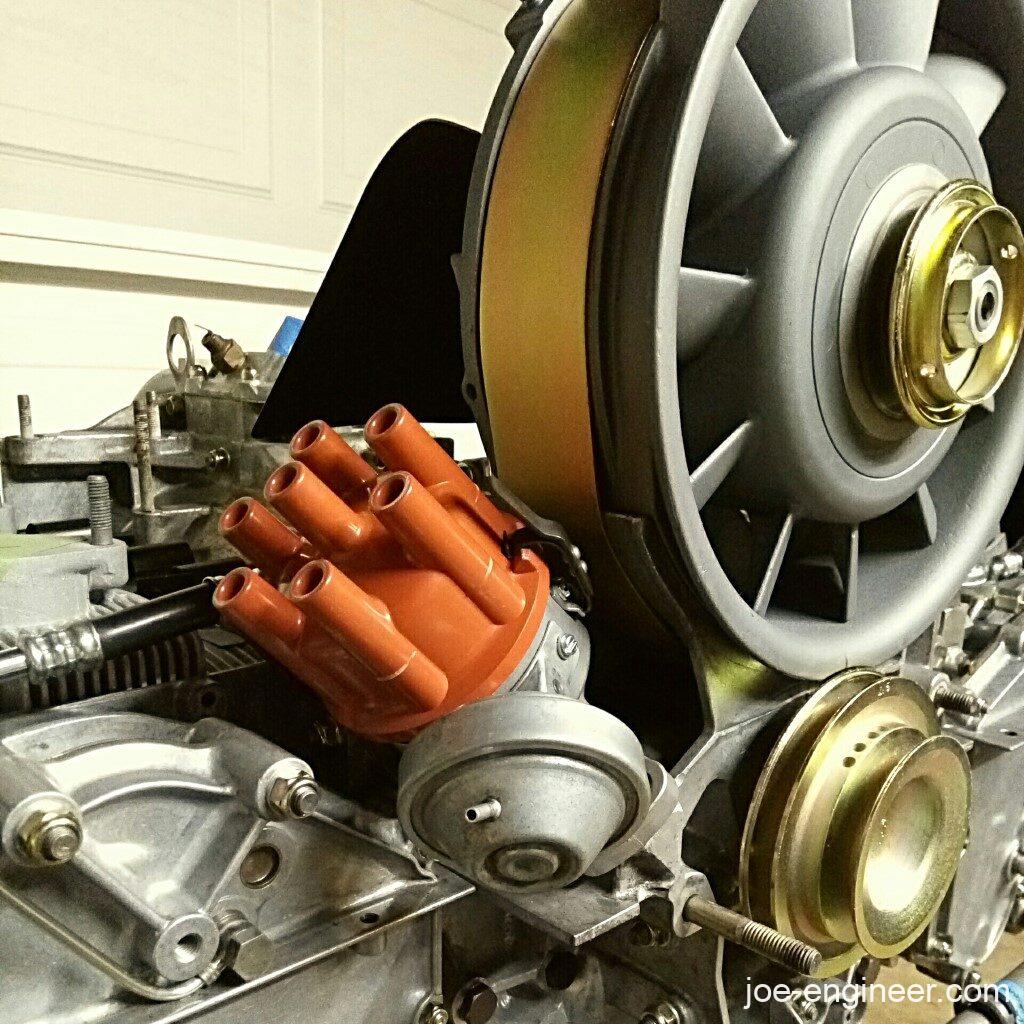
I temporarily installed it to plug the open hole in the case.
Fan Shroud and Engine Harness
Next up were the fan shroud and engine harness. The harness was a oily mess with half its tape unravelled.
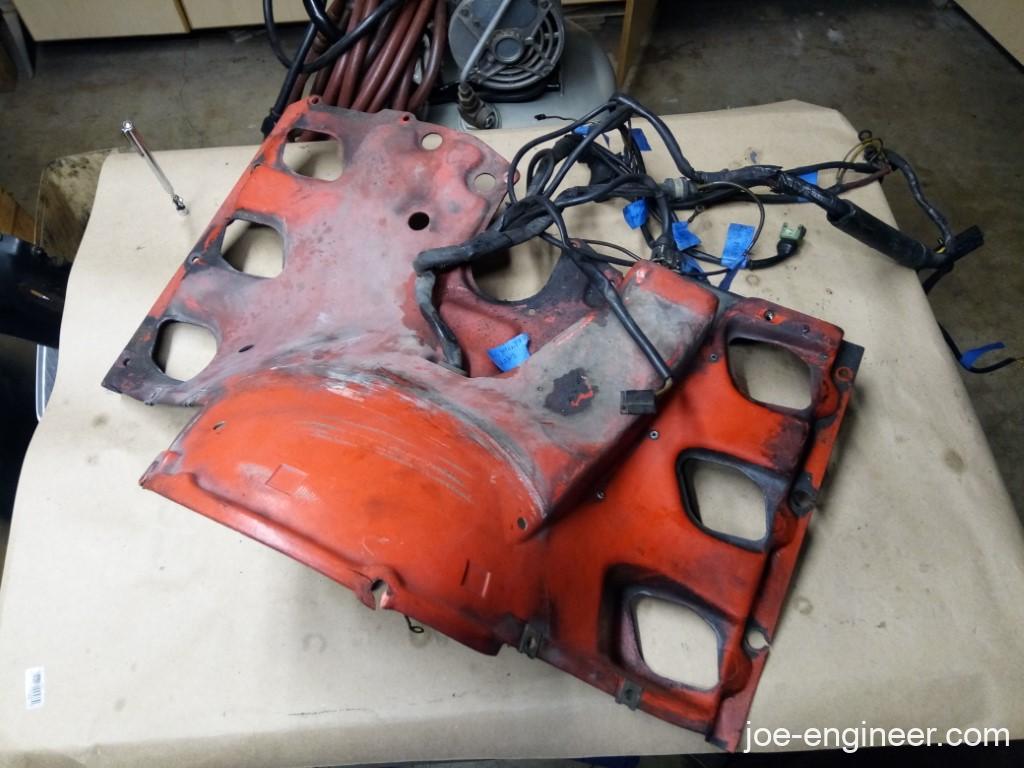
My original plan was to remove the tape, clean up the wires, inspect, repair as needed, re-tape, and re-use the original harness. I was surprised to find the entire harness unmodified with all electrical connections intact. There were only 2 wires each with 1 tiny nick in the insulation exposing the copper wire beneath. I repaired these 2 spots with liquid electrical tape and re-taped the entire harness.
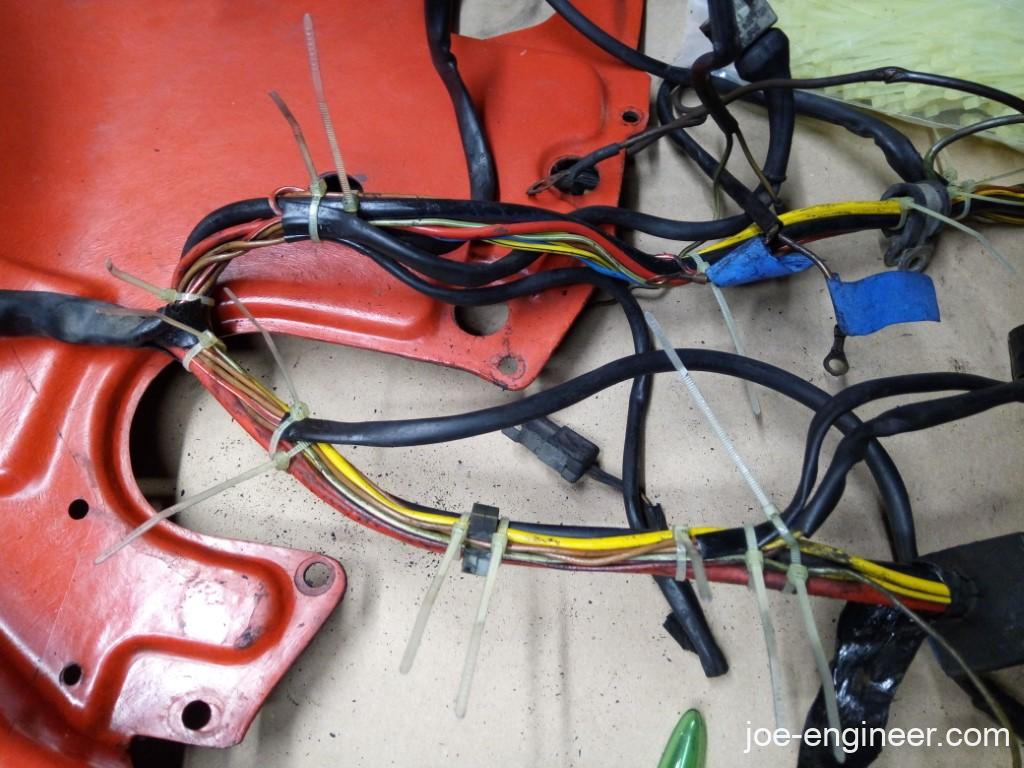
After some research I decided to not re-use the harness, mainly because of how stiff it was. It wanted to stay in the same shape it had sat in for the last 35 years.
It probably would have worked just fine but I have no idea for how long. I am not an expert in wire harness longevity and I definitely do not want to deal with electrical gremlins causing my CIS to go haywire. On a couple of wires, I flexed them with my fingers and the insulation cracked. That was a no-go for me.
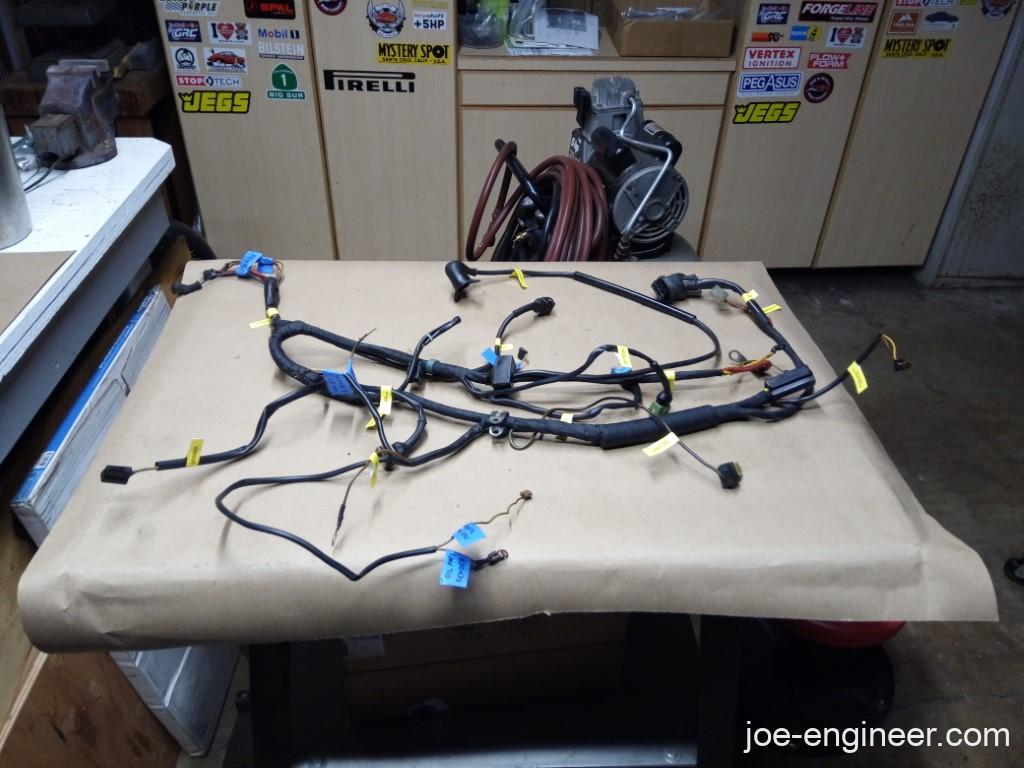
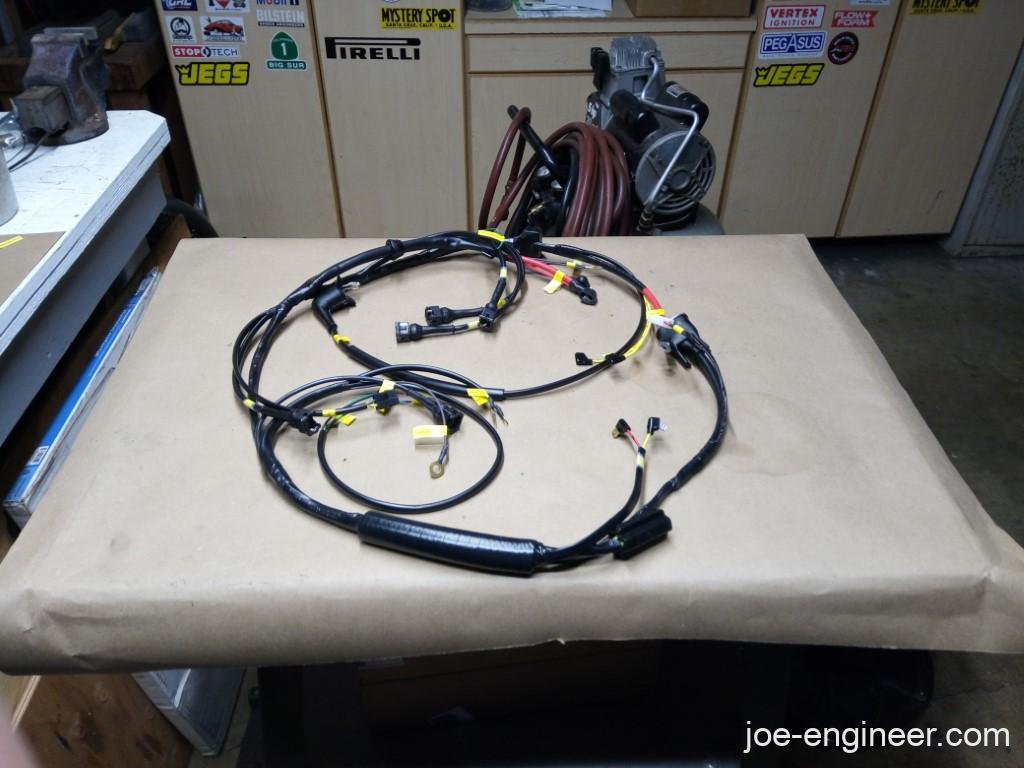
So as many others have, I requested the legendary Dennis Powell aka Timmy2 on the Pelican Parts Forums to build me a new harness. Ill keep the old one for test running another engine in the future or something.
This gave me a chance to fully disassemble the fiberglass shroud and buff the gelcoat with some polishing compound to see if I could restore a bit of color and shine.
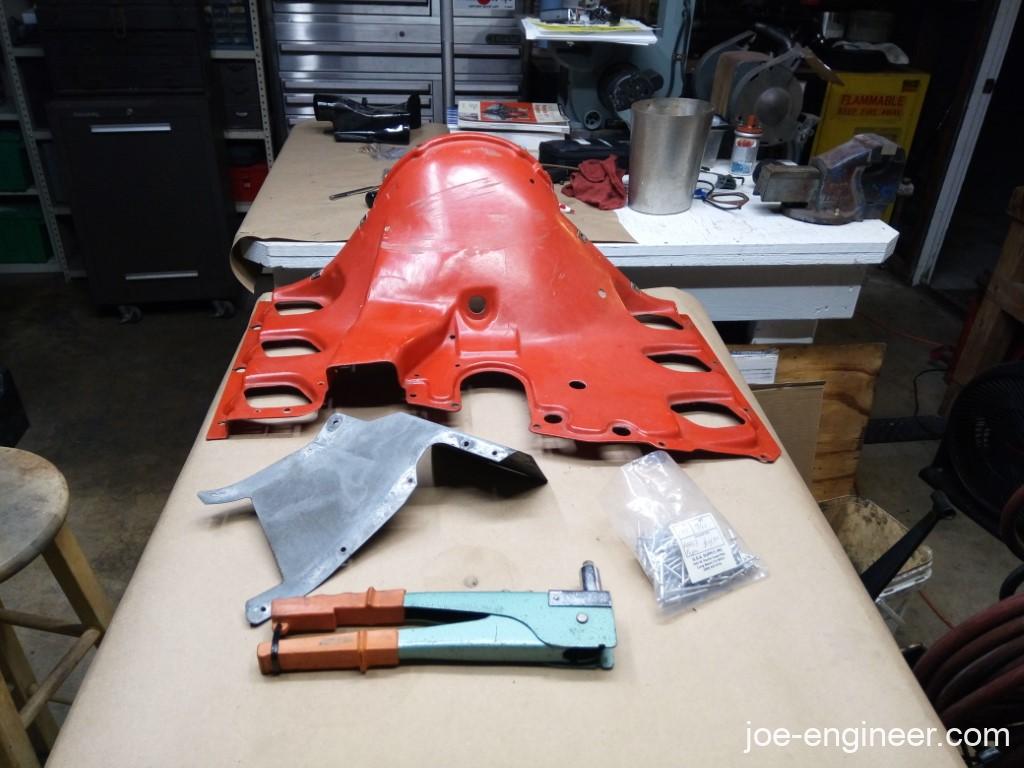
The I re-riveted the oil cooler air guide underneath it.
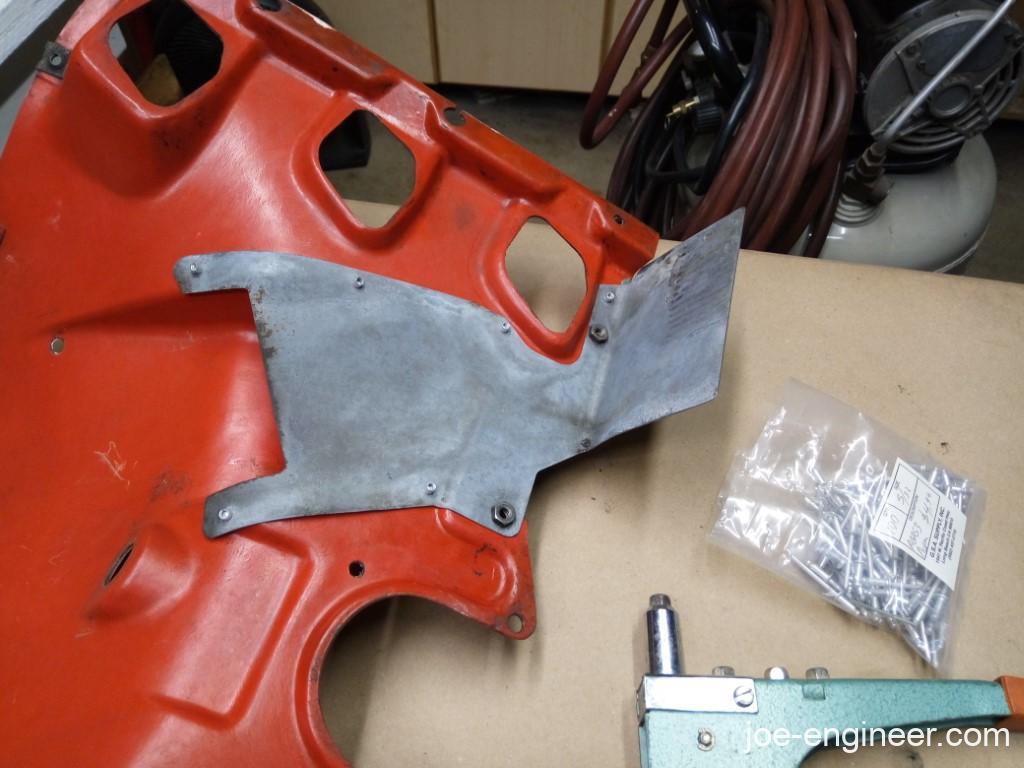
I had to summon superhuman strength to push the new tapered grommet through the shroud. After much swearing and some sore fingers it was done.
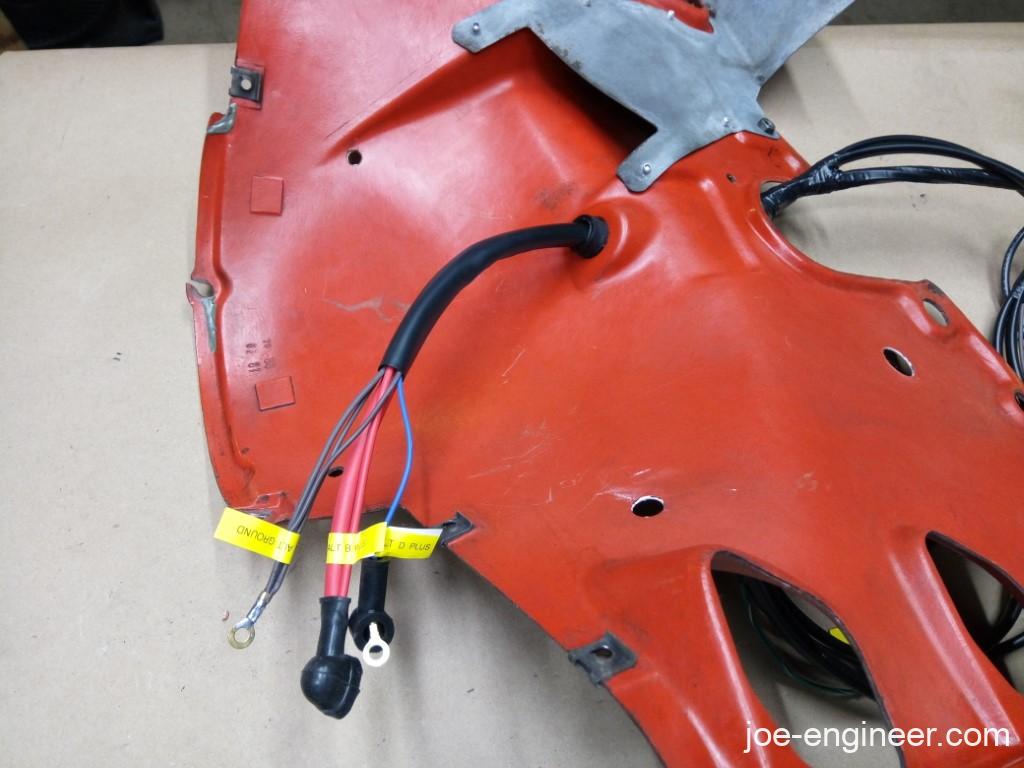
I replaced the fat case ground wire with a new one because the old one was super brittle. I had to fish it through the fan air guide.
Then I wired up the alternator.
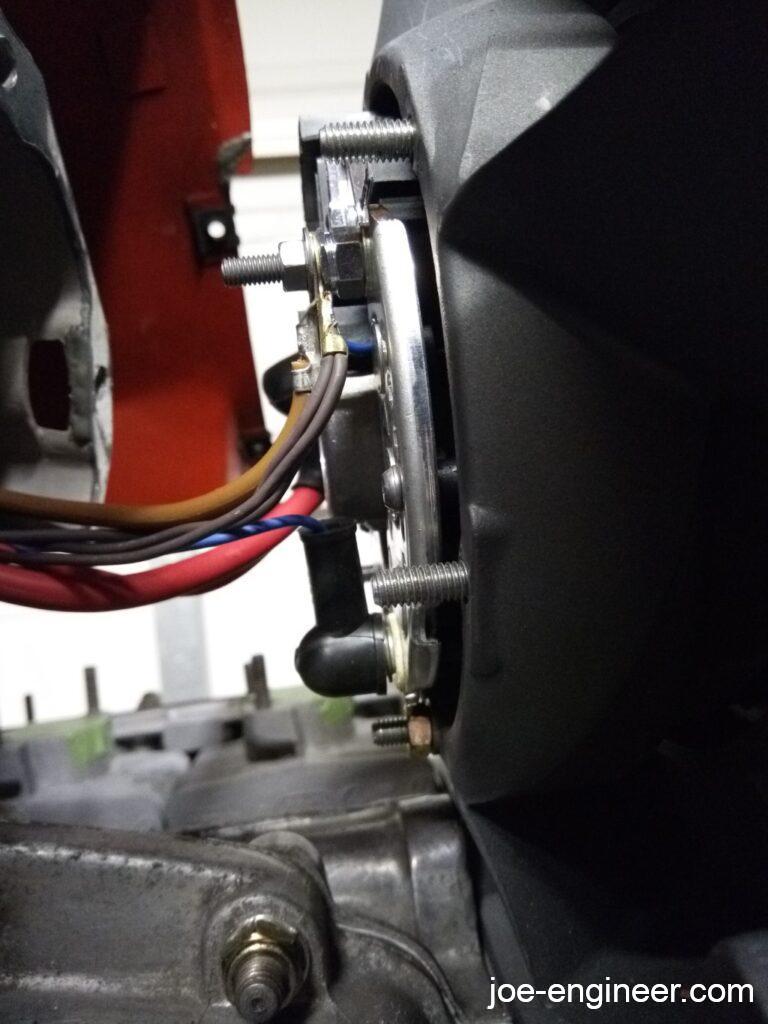
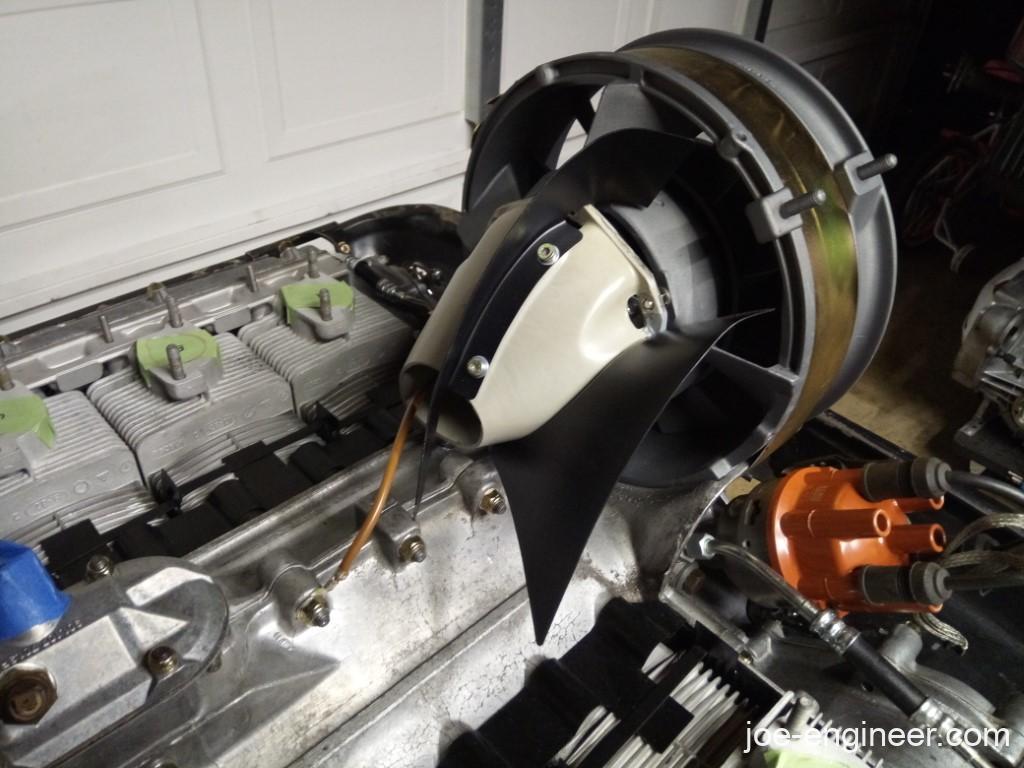
Lastly I maneuvered the alternator air guide, fan shroud, and oil cooler air duct back on.

My shelves are quickly emptying of engine parts. Just a few more parts and we can start rebuilding the fuel system! ::fear:: ::excitement::