
Porsche 911 Engine Teardown Part 2: Disassembly to Shortblock
Warning: Long, pic-heavier post again. Enjoy!
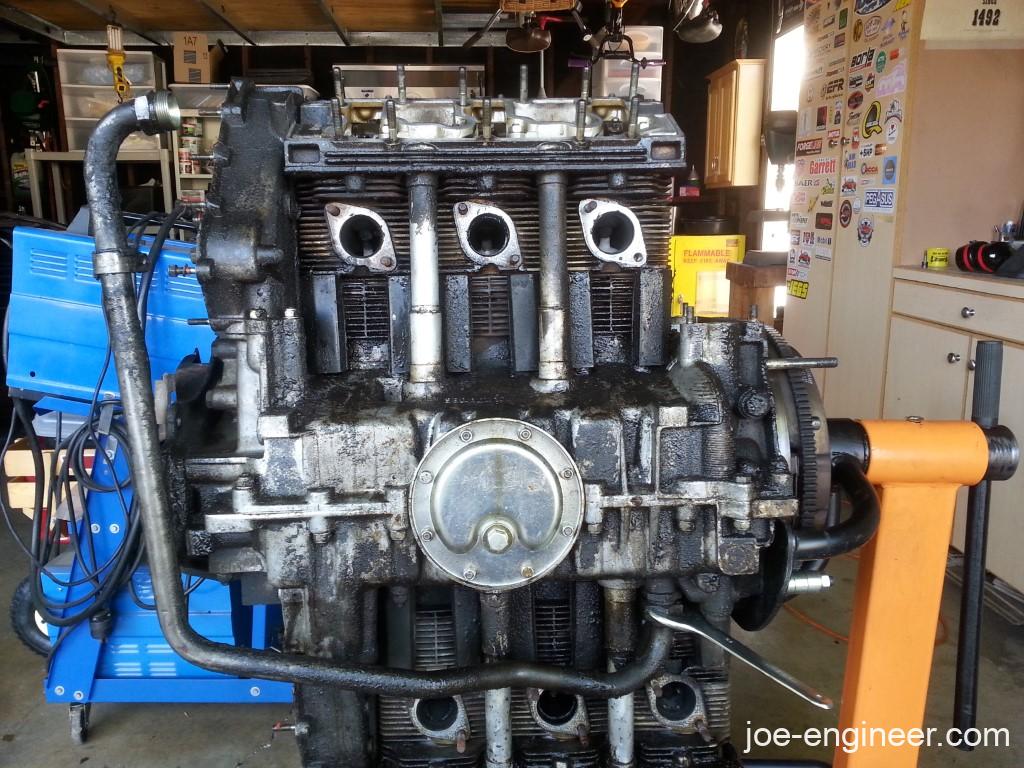
In Part 1 of this engine teardown we stripped the complete engine down to the bare longblock. Lets see how far we can get in this episode.
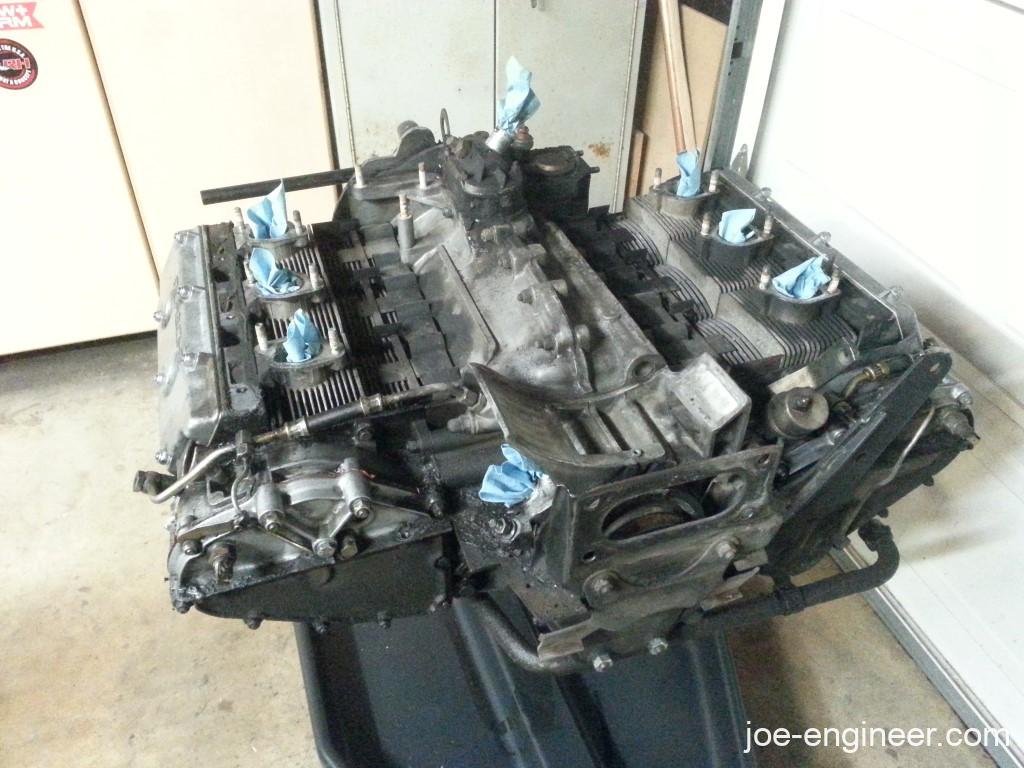
Inspecting the Longblock
What a sad, sad looking engine. Dirtiest one I have seen in my entire life. Other than the previously discussed oil leak sources at the top of the case and behind the oil cooler, nothing too special going on here. Thankfully no holes punched in the case or other visible catastrophic damage.
Removing Timing Components, Crank Pulley, and Clutch
First order of business was removing a bunch of external items: the upper and lower valve covers, engine crossbar, fan strap, breather tower, thermostat, and temp sensor at the top of the case, followed by the cam oil lines and hydraulic tensioner oil lines on both sides of the crank pulley, can-shaped oil pressure sensor to the right of the crank pulley, and the sensor in each chain box cover. Next was opening up the chain boxes. I tilted the engine 90 degrees so I could comfortably sit and work on the left chain box cover (now pointing up).
After removing all the nuts, it was still stuck on pretty good. I ended up having to take a small block of wood and rubber mallet to evenly tap around the back of the cover, where available, until it cracked loose. Then I kept tapping evenly around the entire cover until it broke free from the yellow goo holding it in place.
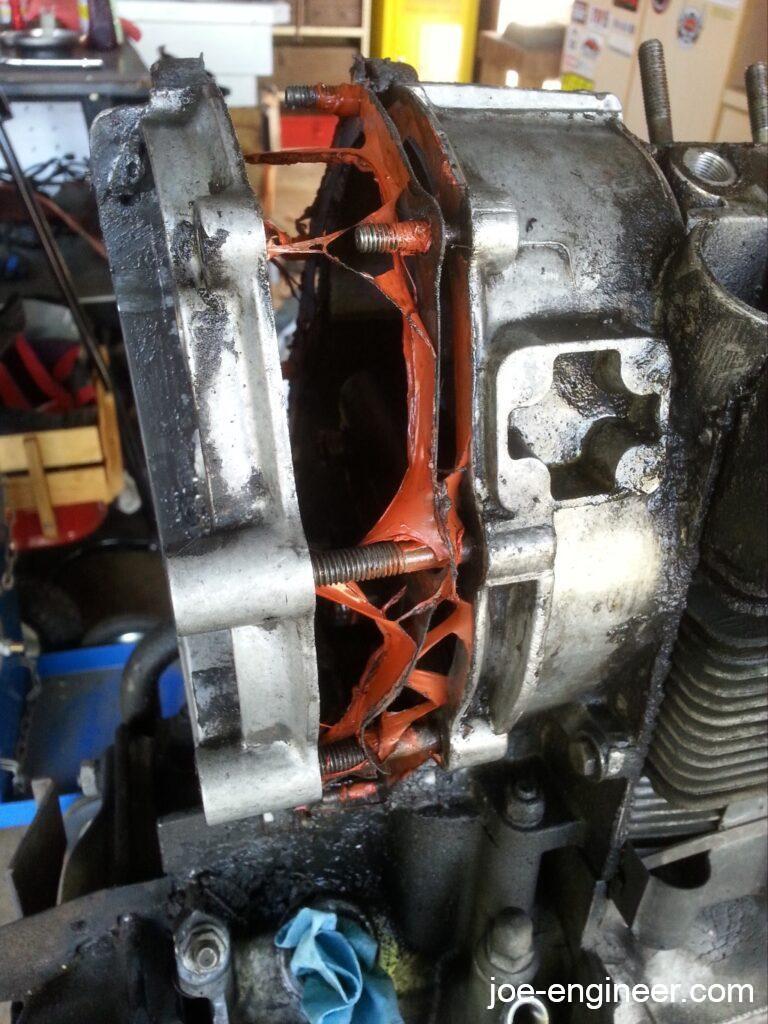
This stuff was very likely Loctite 574 and seemed to have done its job well in preventing leaks around this area.
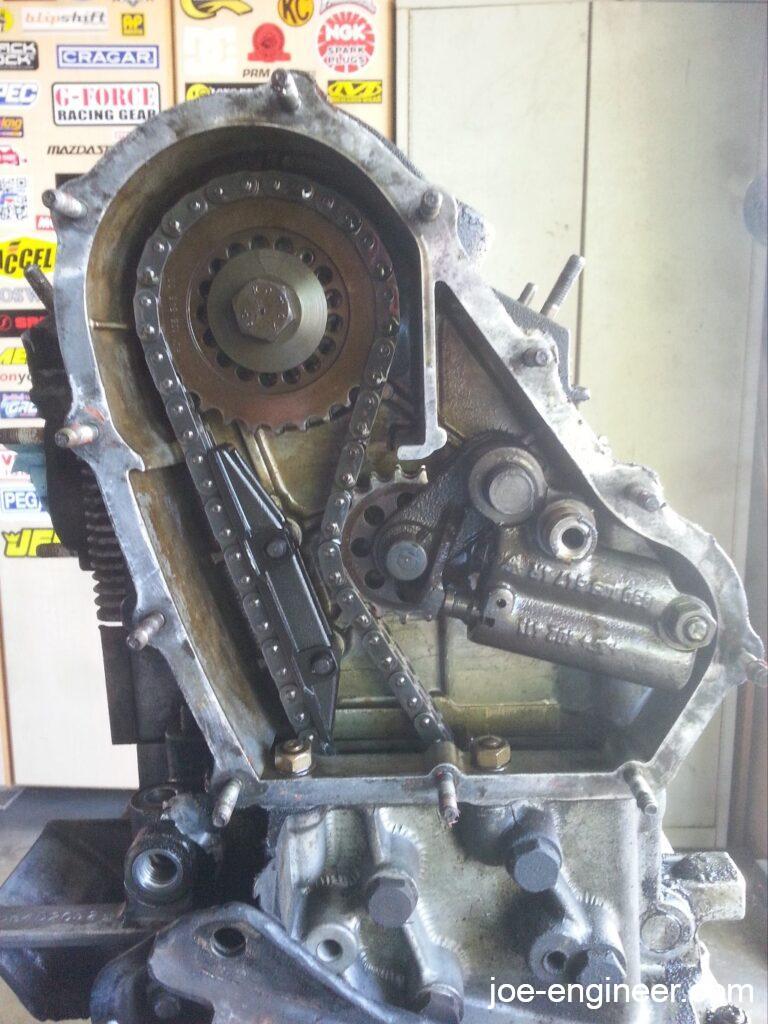
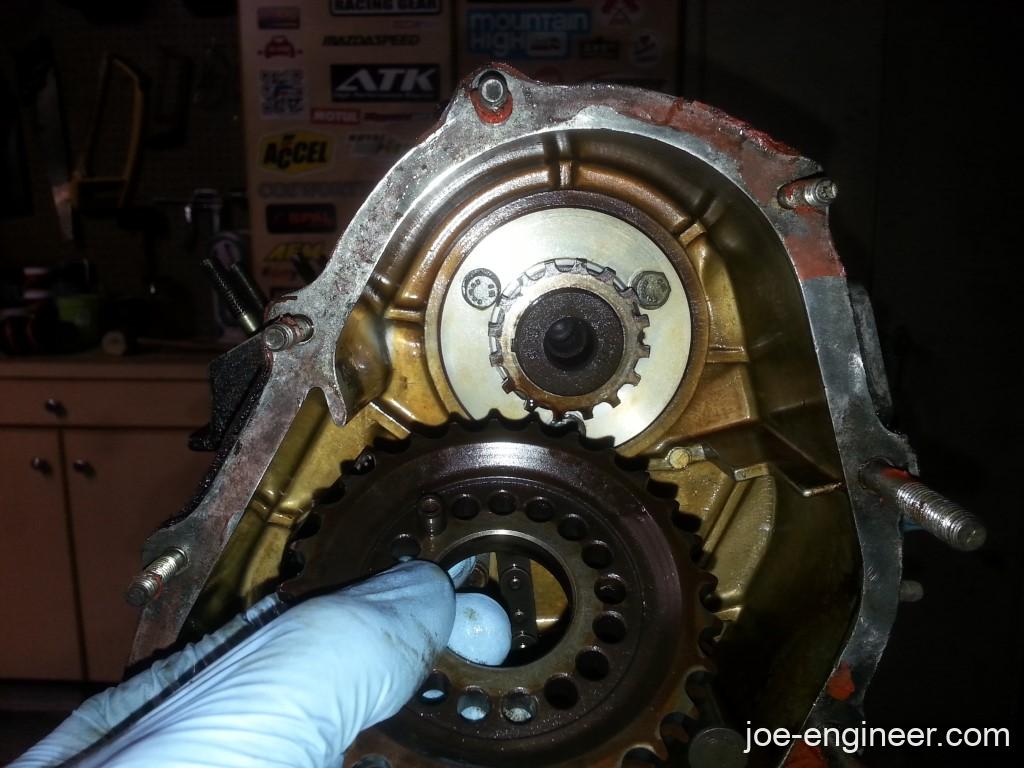
Once inside, the left side hydraulic tensioner, idler gear came off rather easily.
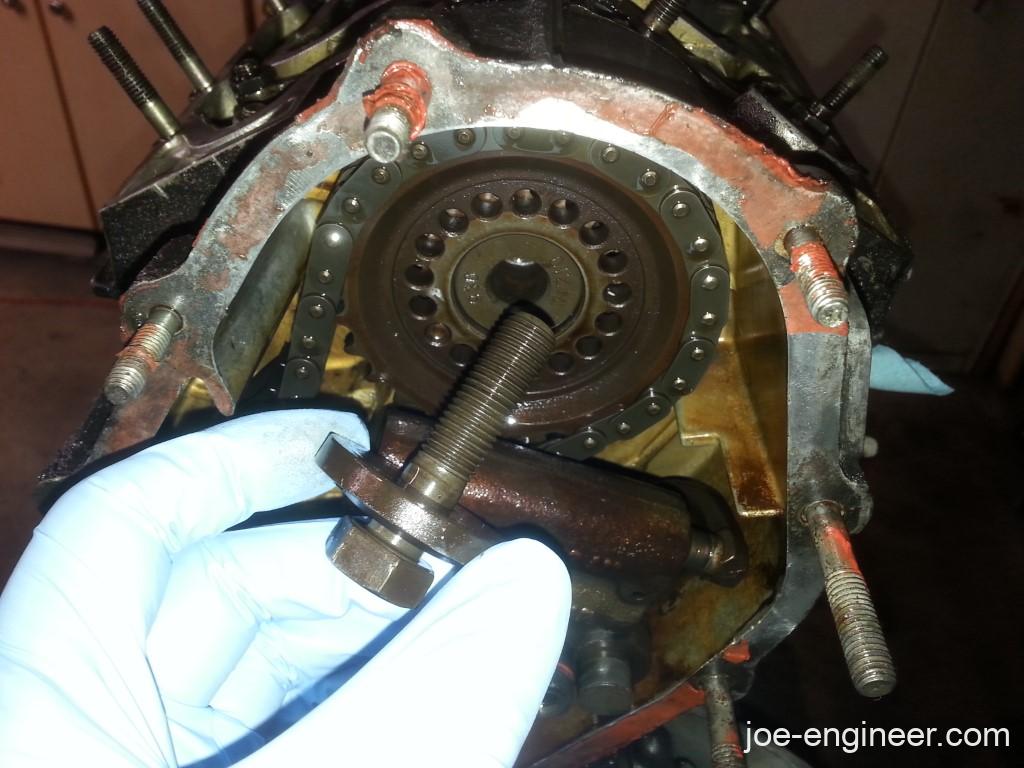
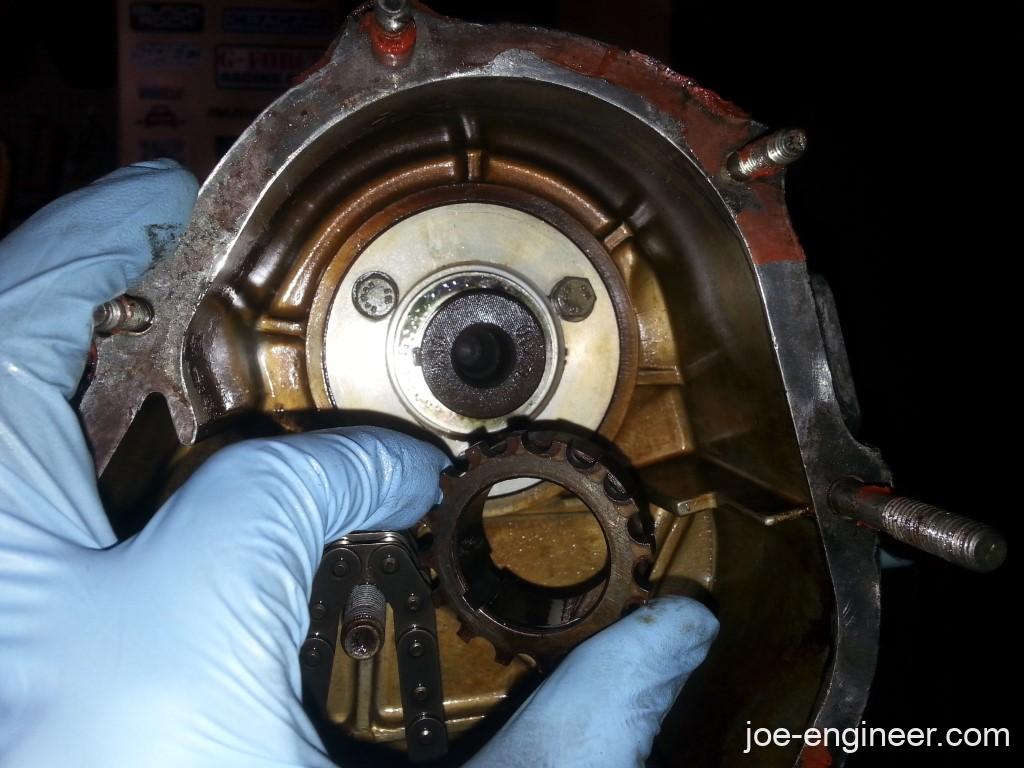
In order to remove the cam sprockets, special tool P237 was needed to lock the cam sprocket still while you break torque on the cam sprocket bolt. It has 3 pins that lock into the cam sprocket holes and a hollow center that gives you access to the center bolt.
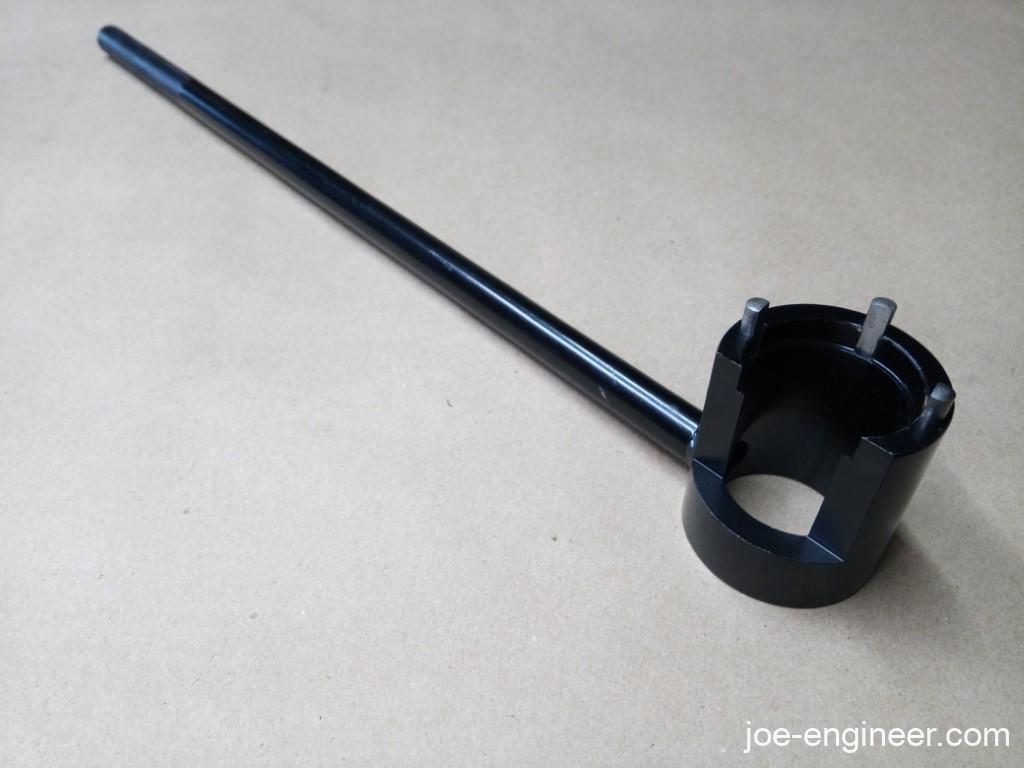
With this tool, breaking the cam sprocket bolt loose was a piece of cake.
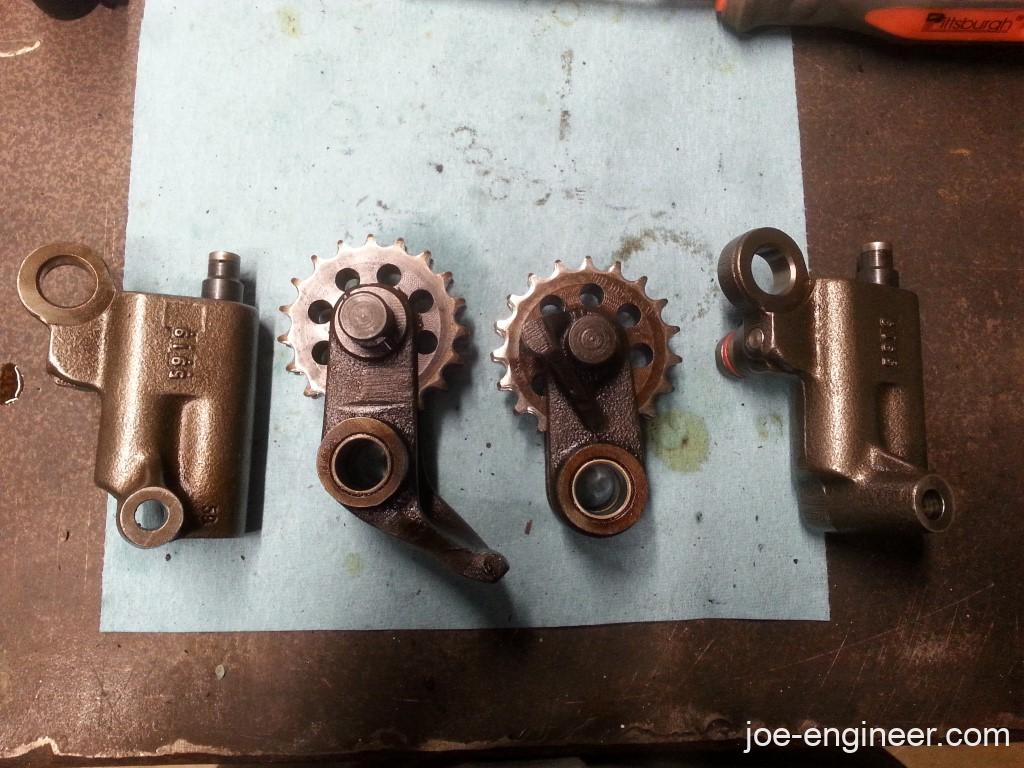
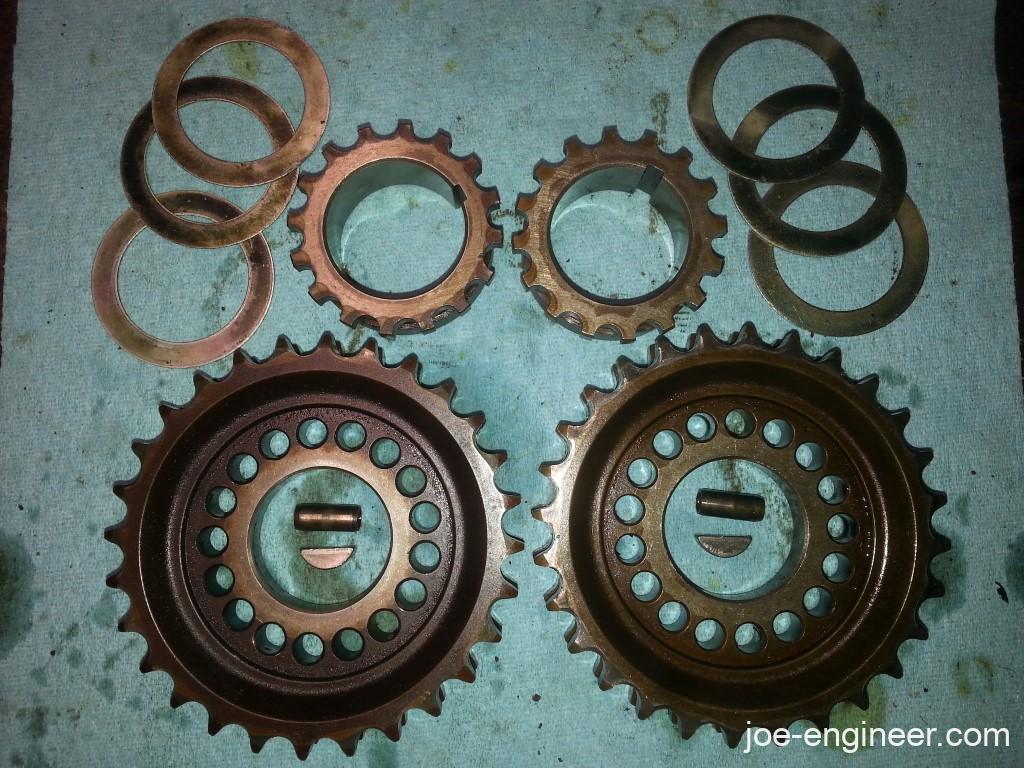
With the bolt and washer out, the cam outer sprocket and locking pin slide out next.
With the outer sprocket out, the inner sprocket slides out, exposing a woodruff key and a set of shims.
I laid out and stored all the cam sprocket subcomponents. Per every service manual, I noted the amount of shims behind each cam gear and which side they came off of. In my case it was 3 per side.
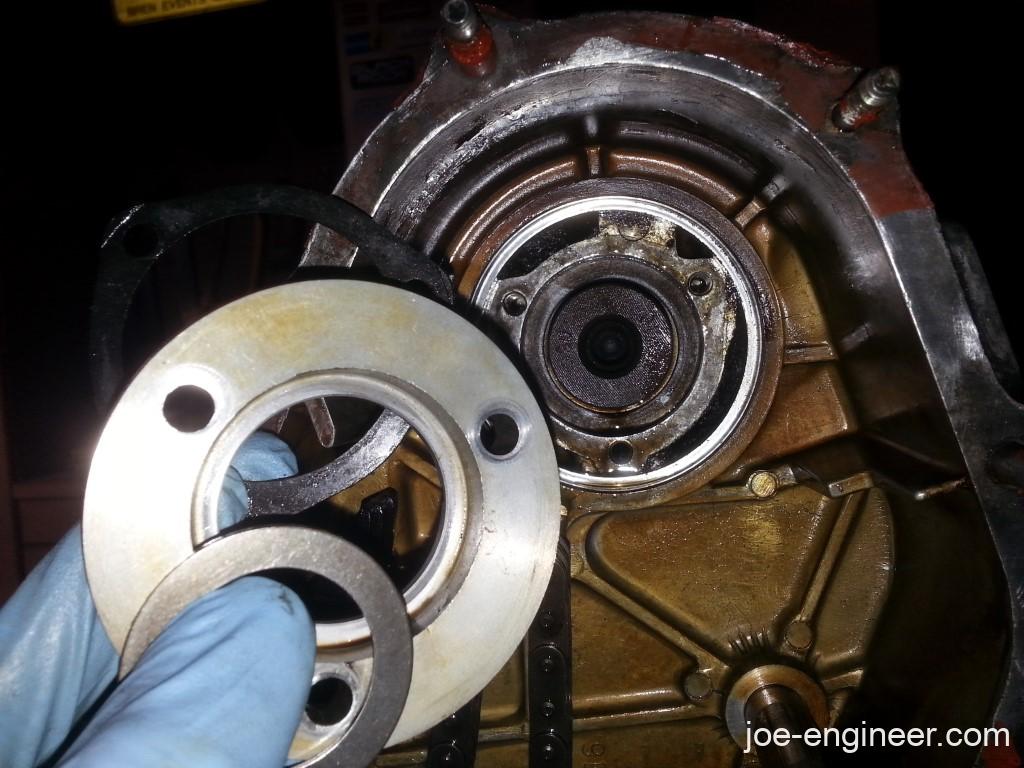
Next I removed the cam end cover plate from inside the chain box. I left the cam in the tower because the valve spring pressure on the rockers was holding it in pretty tight.
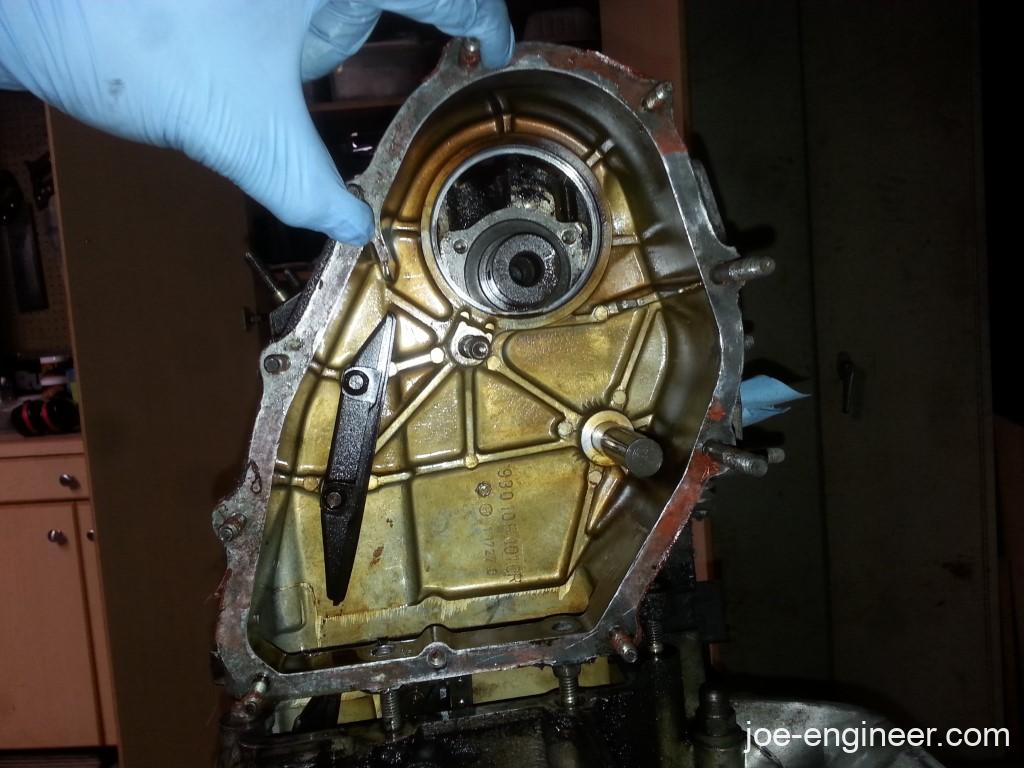
The chain box released after removing a few nuts holding it to the case, leaving the timing chain dangling out of the case.
The engine was then rotated 180 degrees with the right side pointing up and the hard oil line coming out of the case sump was removed. Then the same disassembly process was repeated on the right chain box.
The crank pulley came off and I moved to the clutch side of the engine where I tried to remove the flywheel ring gear but the damn VW engine yoke adapter was giving me a hard time again. I finally got tired of dealing with it and bought the correct aircooled 911-specific adapter, known as tool P201.
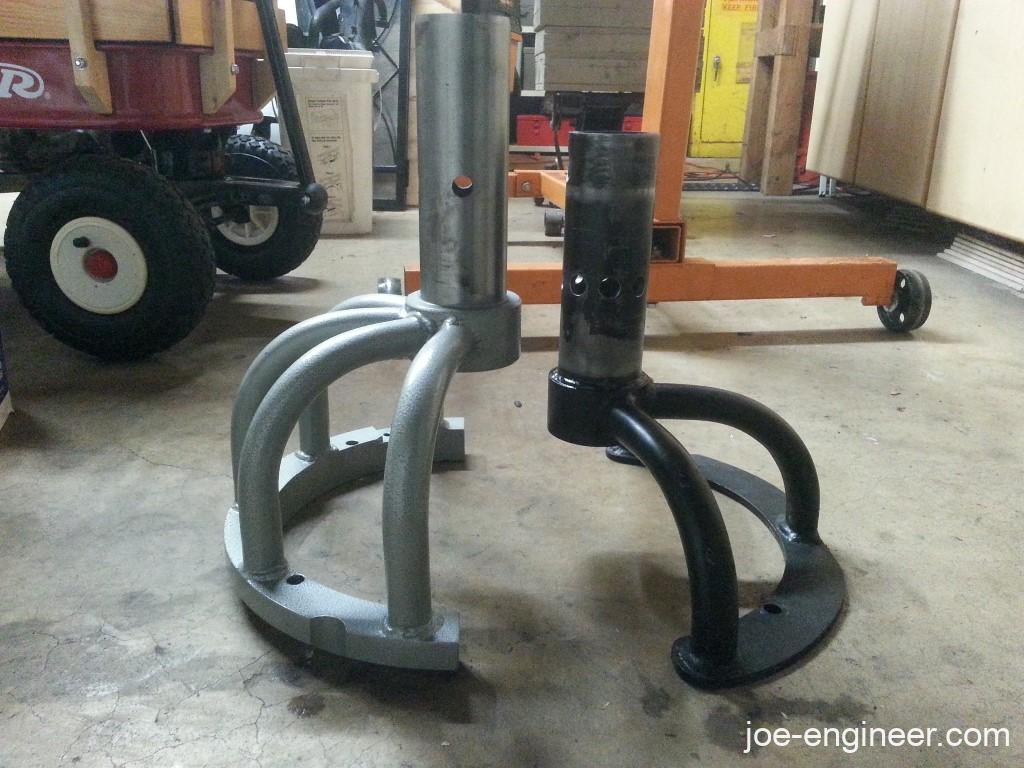
I performed a quick switch-a-roo, suspending the engine with ratchet straps again to swap out the adapters. The new unit was so much better and I could mount it back on the oil cooler side of the case with no clearance issues. I sold the old adapter to a VW guy where it would be put to much better use.
With the ring gear off, I was able to tap around the pressure plate with a rubber mallet and eventually it popped off along with the clutch disc.

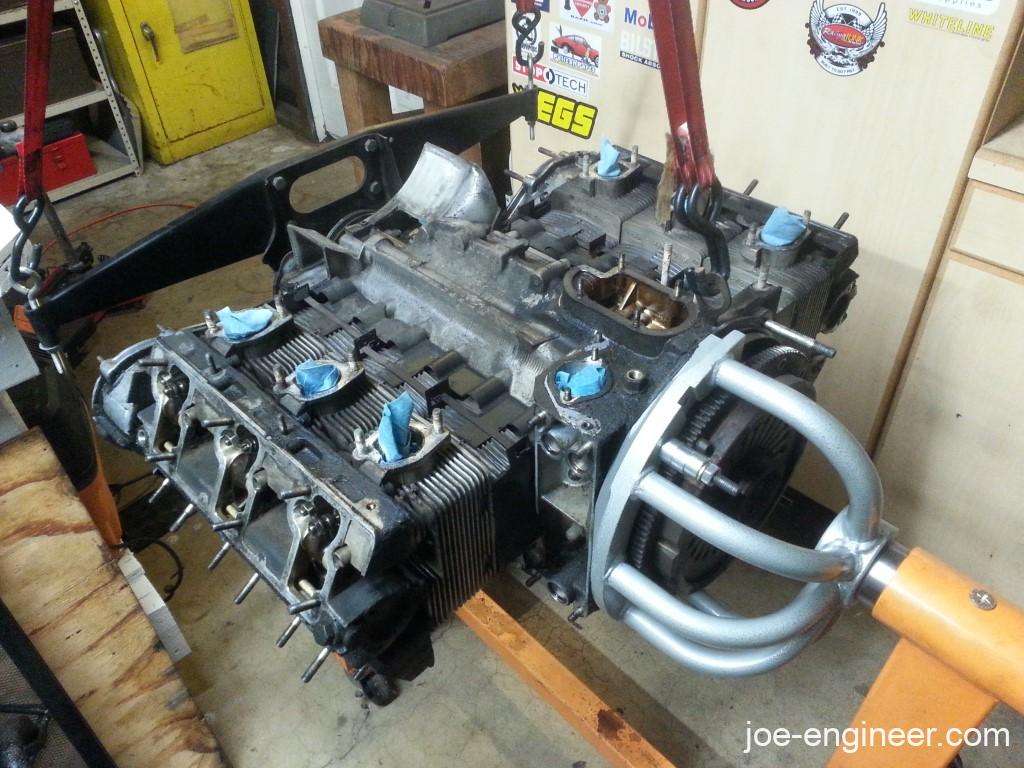
Removing Cam Towers & Heads
I turned my attention to the heads. If you remove the four head stud nuts per cylinder you can lift the whole bank of 3 heads plus the cam tower assembly in one shot. I removed the 12 head stud nuts off the left side and with some firm pressure and a bit of rocking back and forth, the heads and cam tower popped upward a few millimeters along with the oil return tubes. I slowly rocked them back and forth off the head studs until the assembly was free, then walked it over to a work bench for later disassembly.

To keep the cylinders from sliding off the pistons I cut pieces of plastic tubing, slipped them over the head studs, and held them in place with the old head stud nuts. I rotated the engine 180 degrees so the right bank faced upward and repeated the process.
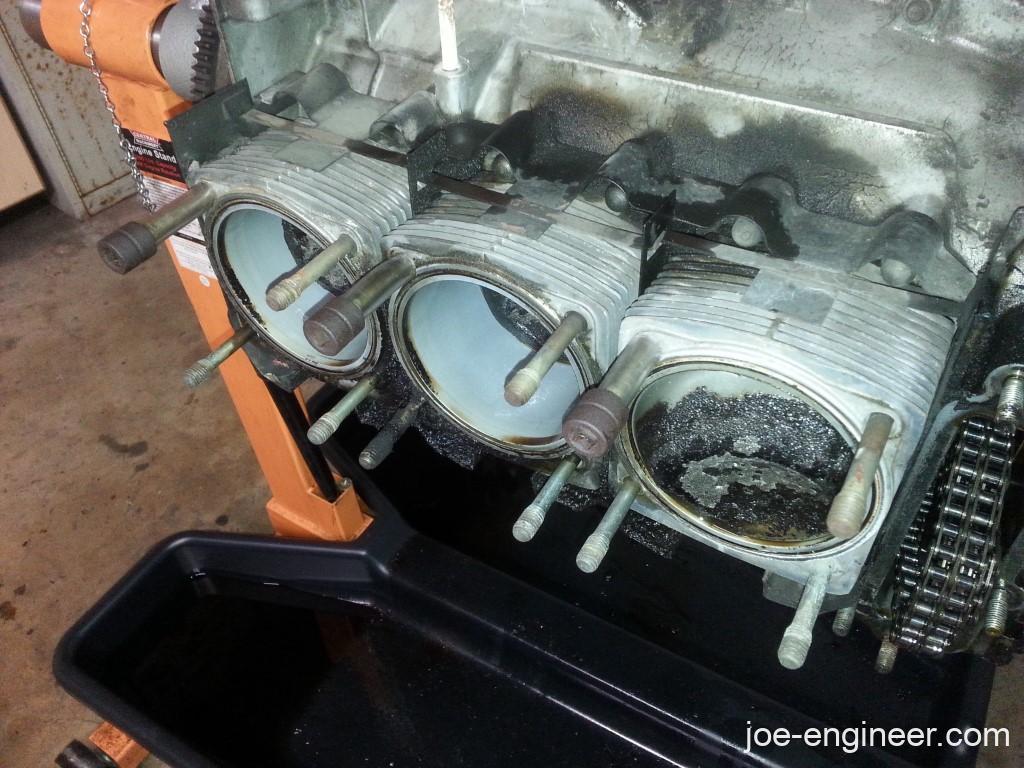
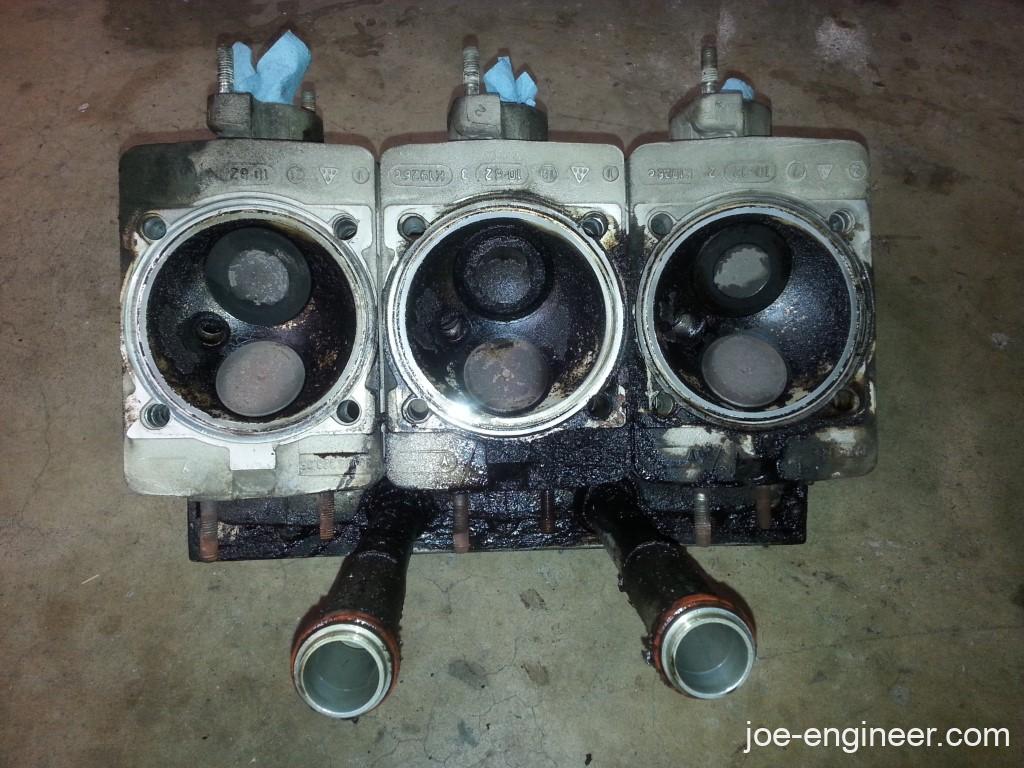
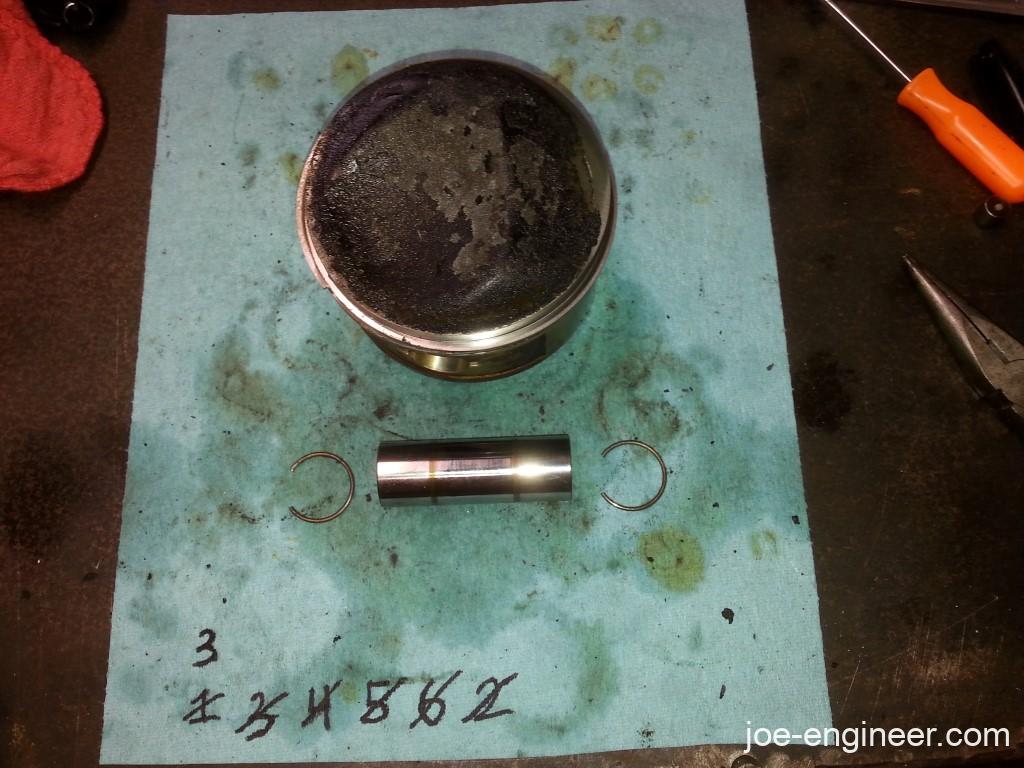
My immediate observation was how much carbon build-up there was on both the piston domes and insides of the head combustion chambers. I had actually never been inside an engine before but I knew this probably not a good sign. The build-up actually looked thick enough to have affected the compression ratio, but this was just a guess. It did have 200,000 miles on the odometer after all.
Removing Cylinders & Pistons
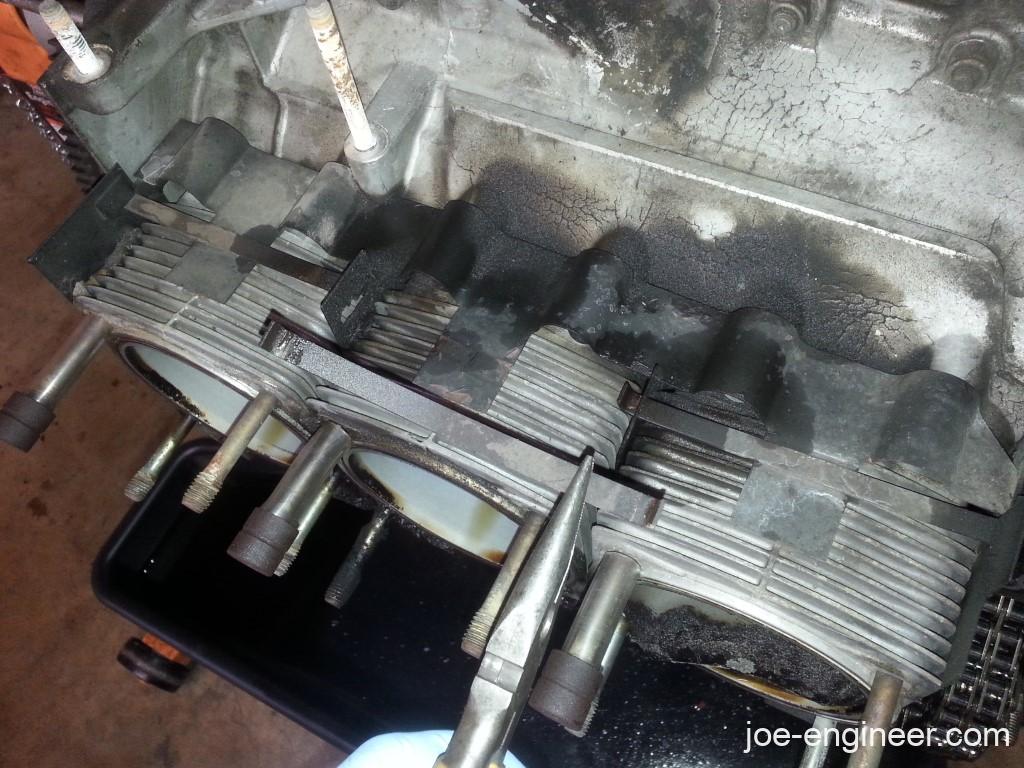
With the heads off the cylinders, the cylinder cooling tin was accessible for removal. I un-clipped them all and threw them in an oil pan. These were also super-caked with gunk and their cooling duties were probably marginal at best.
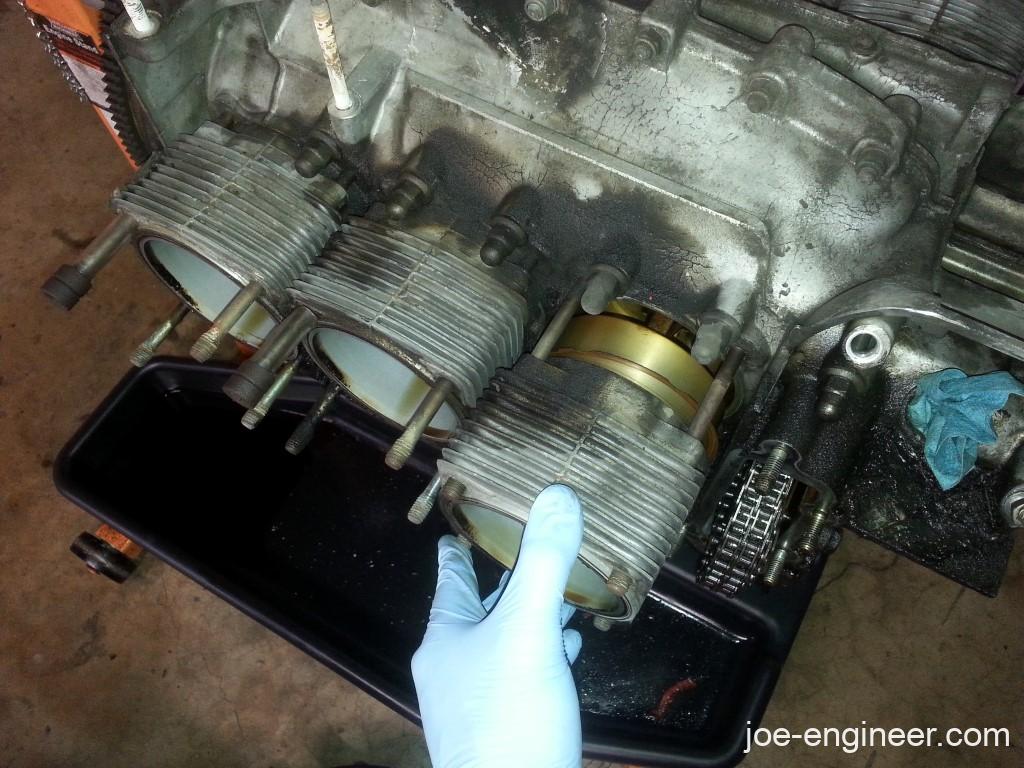
Next, I was able to remove one cylinder at a time, rocking it back and forth on the head studs until the piston rings slipped out the bottom and released the cylinder.
After all 6 cylinders were off the engine I inspected each one and found something that I was told to watch out for in the forums. The 3-liter 911 motor had Alusil or Nikasil plated cylinders randomly put into the SC production run from 1978-1983. The Nikasil ones were the ones to have because you could re-hone the cylinder walls and re-use them. The Alusil ones you could not re-hone. The easiest way to tell them apart was color and magnetization. The Nikasil cylinders were a shiny color and were slightly magnetic. The Alusil ones had a grayish glassy color and were not magnetic.
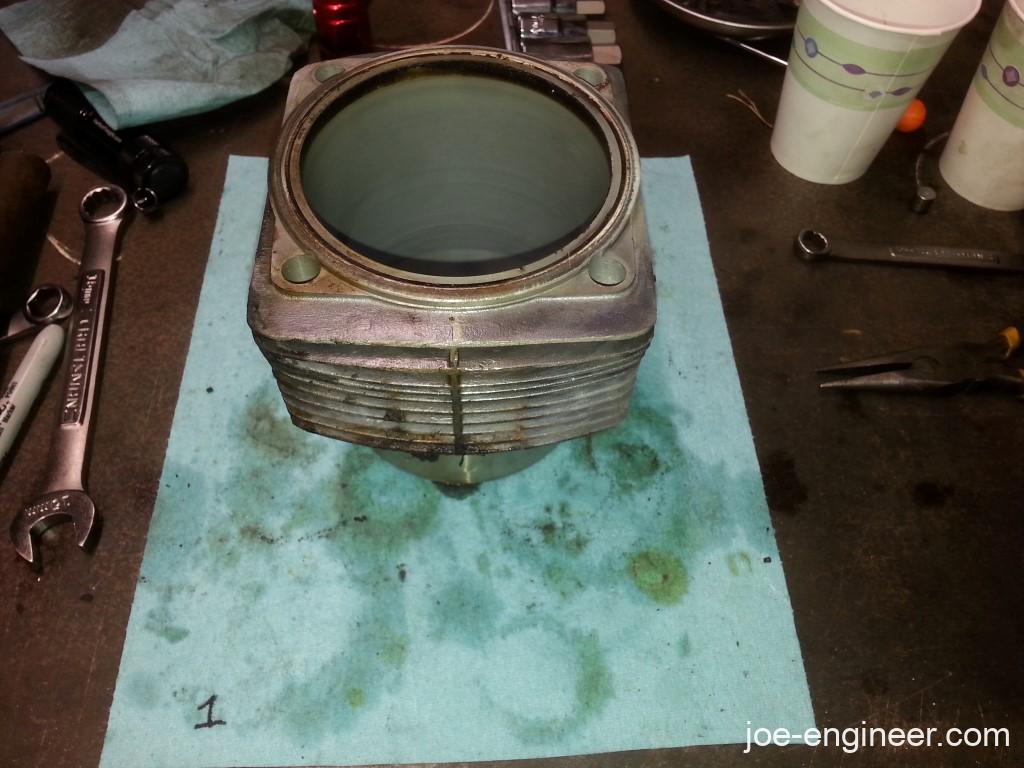
Unfortunately I found out I had the non-reusable Alusil ones. It was not the end of the world though, as I started finding many rebuild threads where people successfully sent their Alusil cylinders out for replating in Nikasil and then honed to spec. I made a mental note of that and moved on.
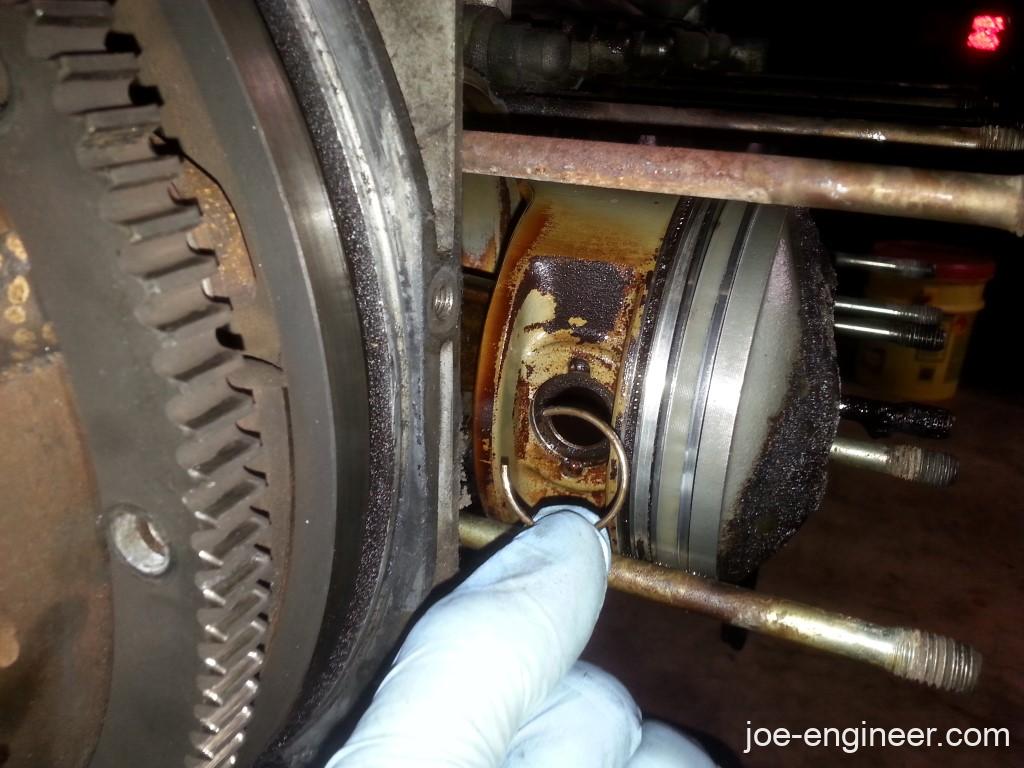
It was then time to remove the pistons. First I carefully removed the wrist pin circlips holding each wrist pin in place. This was rather critical because you didnt want the circlip shooting off into space never to be seen again, or worse land inside the engine and not be noticed until the first start-up. The circlips all came out relatively easily and none were lost.
The wrist pins were in there pretty tight, so I had to search the forums again for a solution and found how to make a cheap tool to press them out using a piece of PVC pipe, some all-thread, a few hex nuts and fender washers.
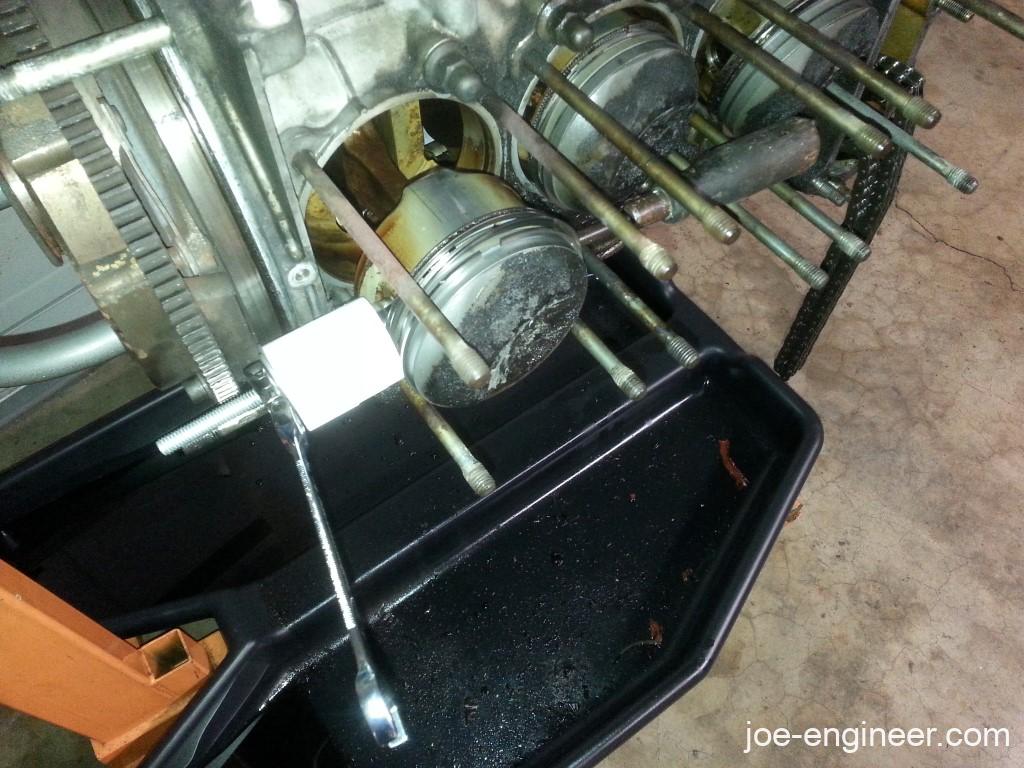
Eventually all wrist pins and pistons were freed from their respective rods.
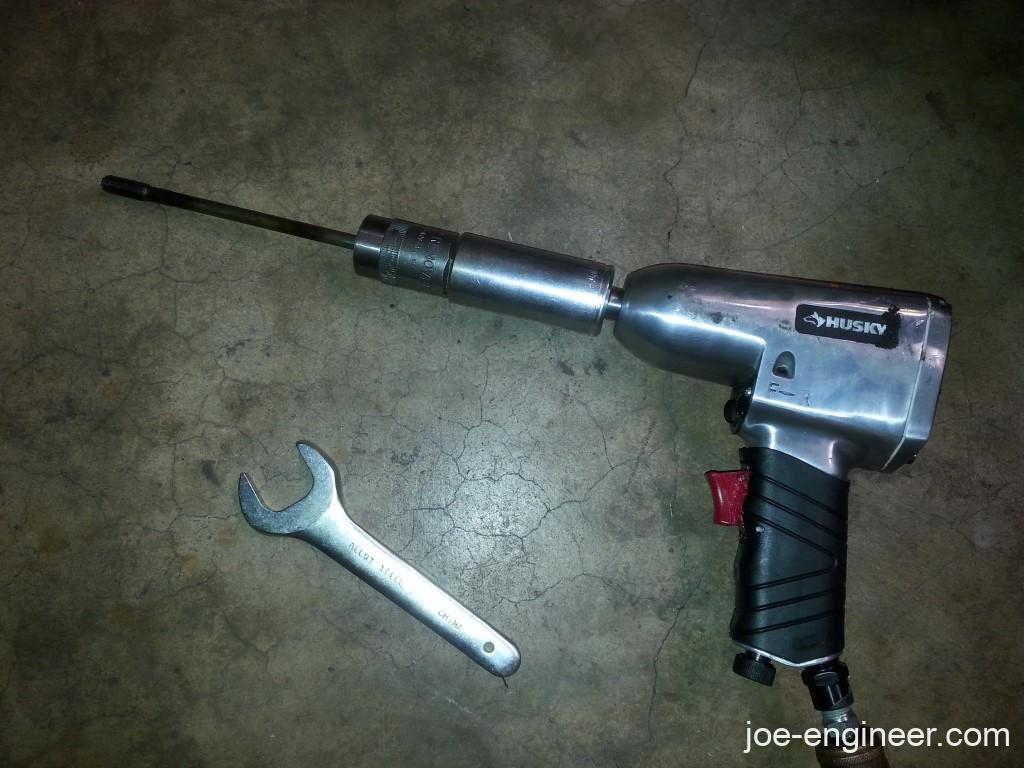
Next it was time to remove the head studs. Since a broken head stud is what started this whole mess I went ahead and bought the correct tool to remove the rest of the Dilavar head studs. I found a Snap-On stud remover along with 3 metric threaded collets on eBay for a very reasonable price.
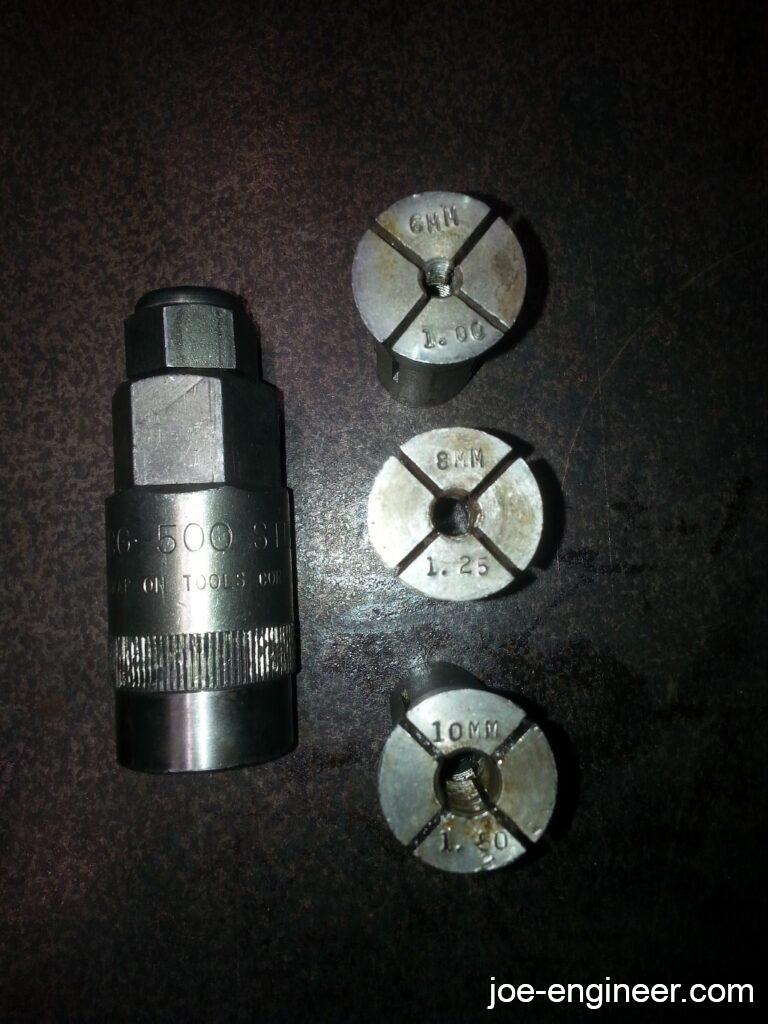
This tool, along with a propane torch to gently heat the case and an air impact gun made short work of stud removal. I was literally done in about an hour.
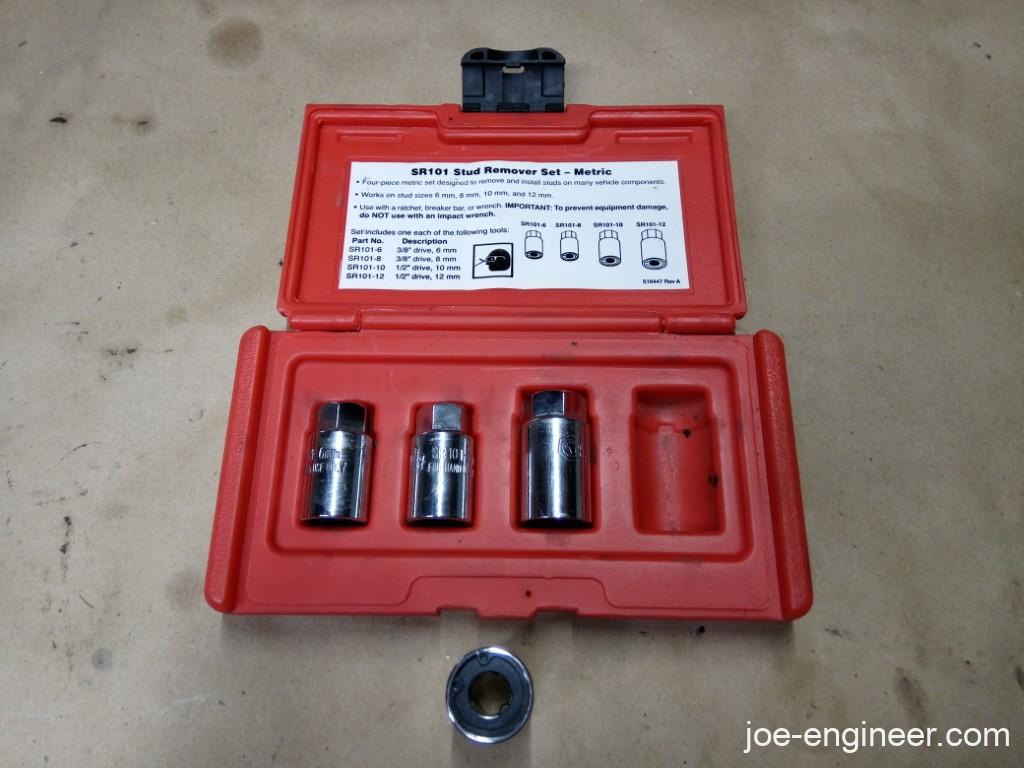
All of them came out with no issues except for the original broken one on cylinder number 4. I could not get it to budge with heat and vice grips so I had to find another special tool. A set of special deep sockets with gripping rollers inside, also called stud removers, successfully removed this last piece of broken stud. The rollers grip the stud tighter as you turn the socket. In a matter of minutes the last stud was out.
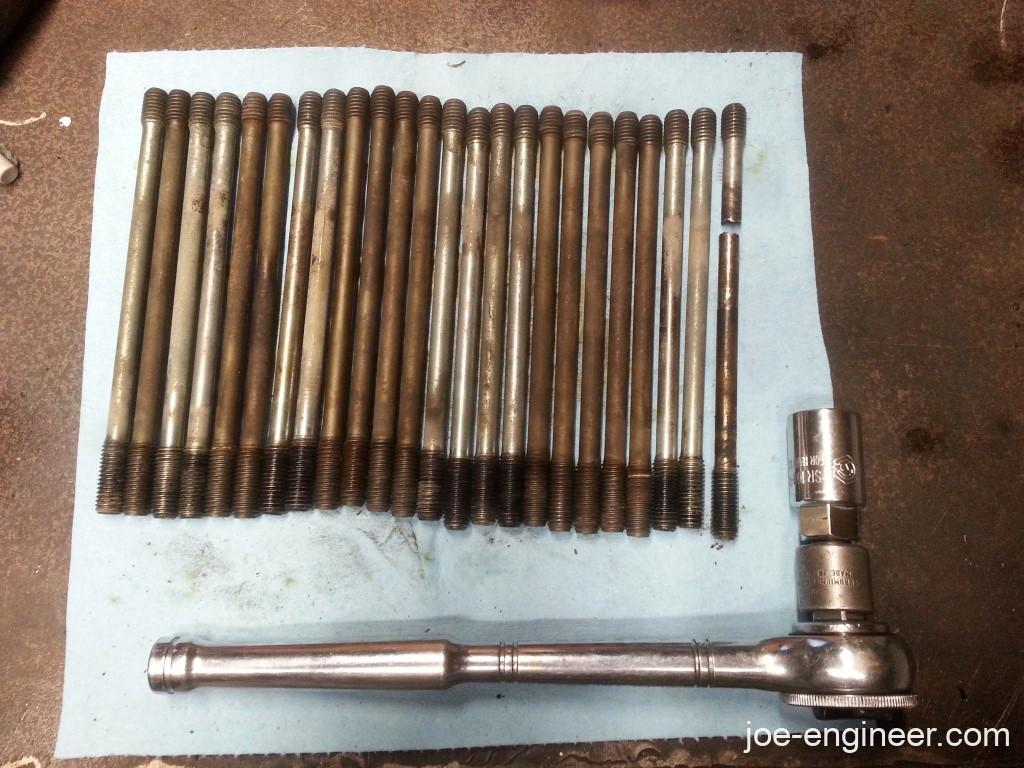
When all the head studs were out, I laid them next to each other and was quite amazed I only had a single broken one. Most of the other 911SC owners I read about had multiple broken studs. The blown airbox made me drop the engine, but the broken stud made me proceed with the full rebuild.
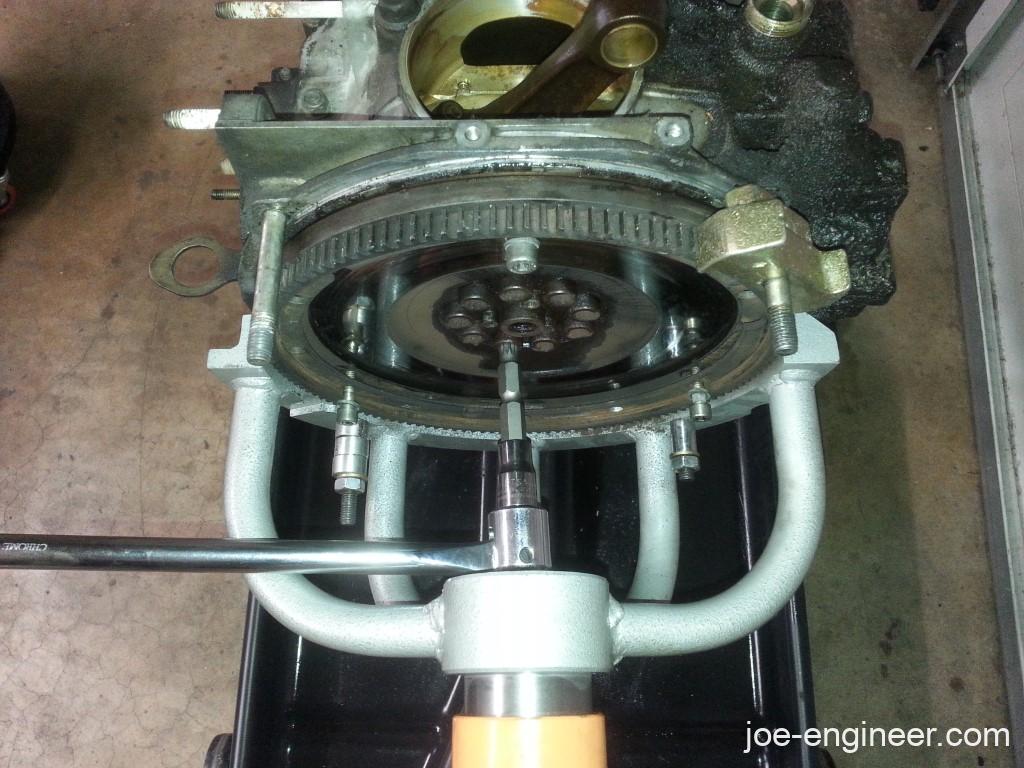
With the clutch assembly off, I reinstalled the flywheel ring gear with a few bolts hand-tight so I could lock the flywheel from rotating and break the flywheel bolts loose. I had a flywheel lock tool, originally intended for VW flywheels, which worked well in this application. It slips over one of the case studs around the flywheel and locks into the flywheel teeth. I then managed to squeeze a 12-point triple-square bit on a socket and breaker bar between the flywheel and engine mount adapter and broke the bolts all loose. The flywheel and ring gear were then set aside for future use.
After all this drama, I was left with a bare case with rods poking out of the cylinder spigots, and a couple of dangly chains, also known as the shortblock.
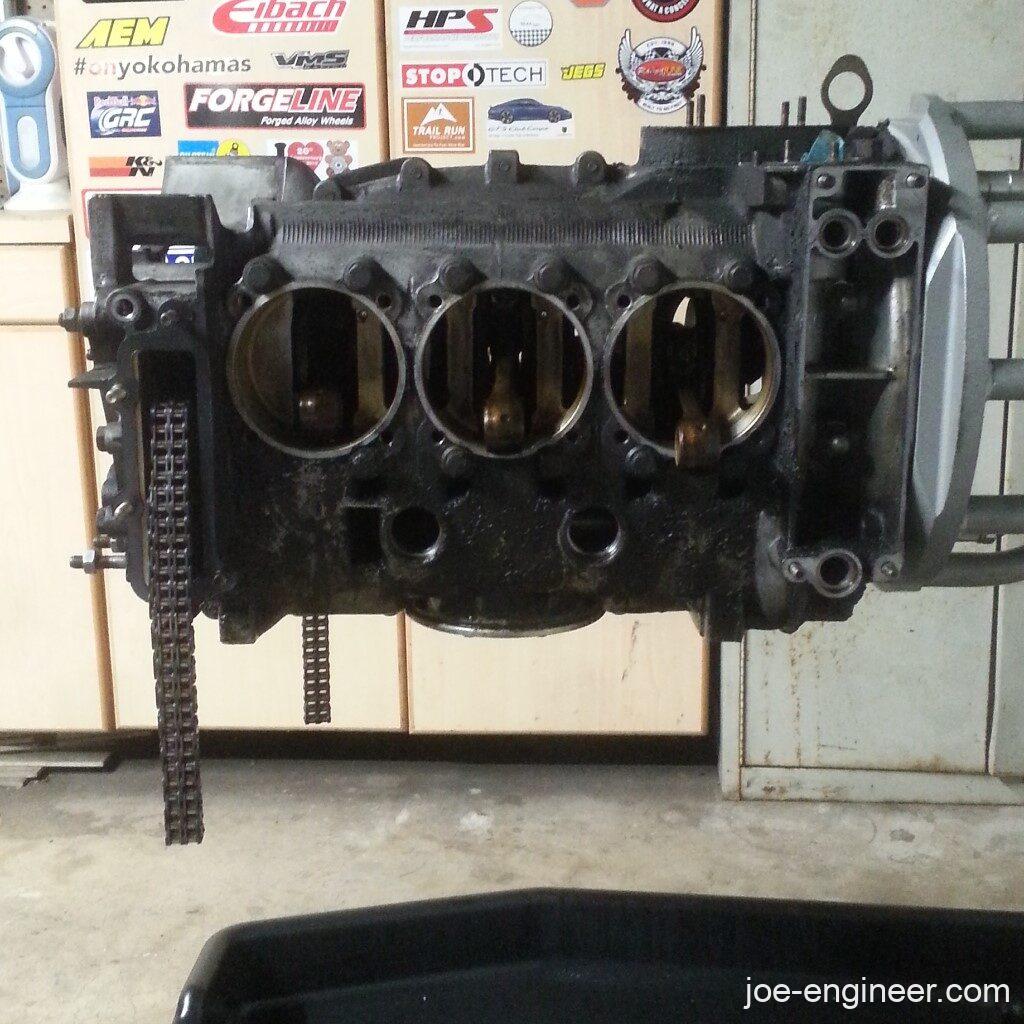
So far everything has been unsurprisingly filthy. We stopped here to clean and store our new pile of piece parts. Next time we find out if the crankcase was as dirty as the rest of the motor.