
Porsche 911 Engine Case Prep
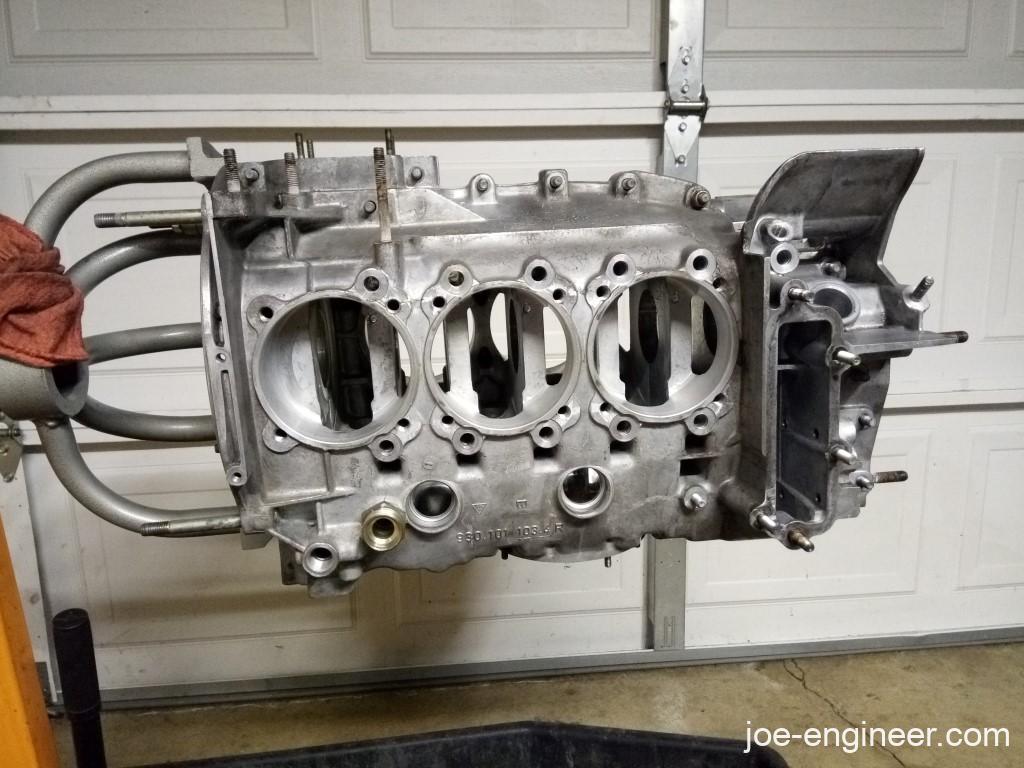
With an assembled crank and rods, and intermediate shaft, it was now time to perform all the final checks and details to prepare for case reassembly.
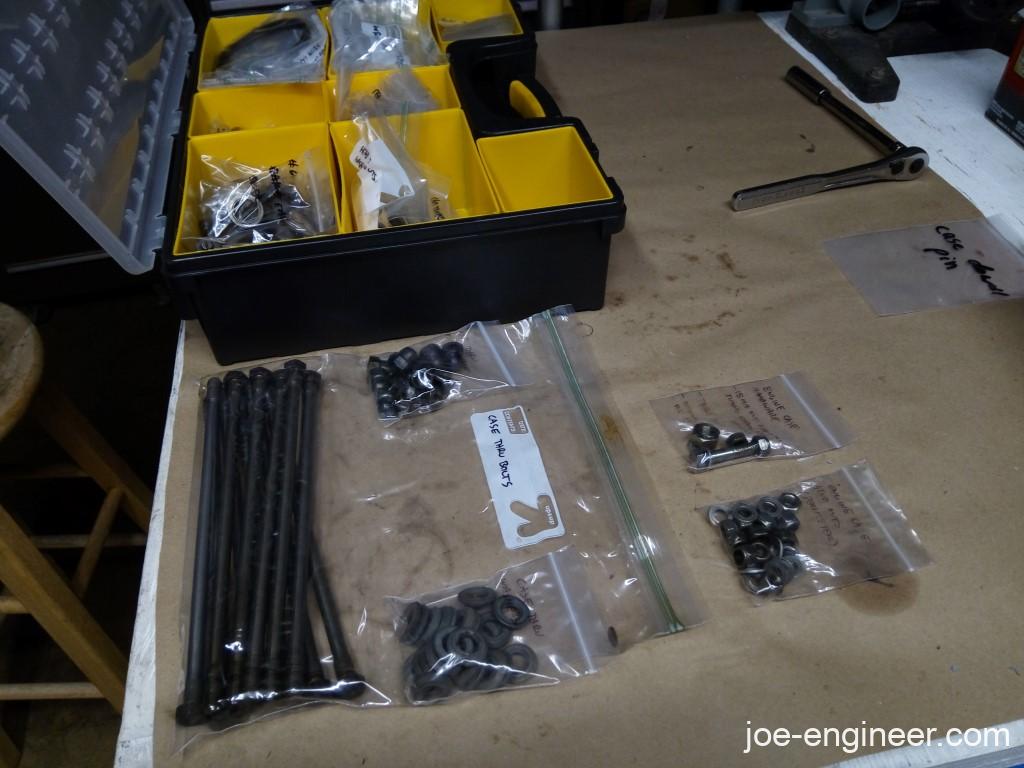
This is where the painstaking parts cleaning and organizing described in this engine teardown DIY paid dividends. All my engine case hardware was safe and sound, exactly where I last left it.
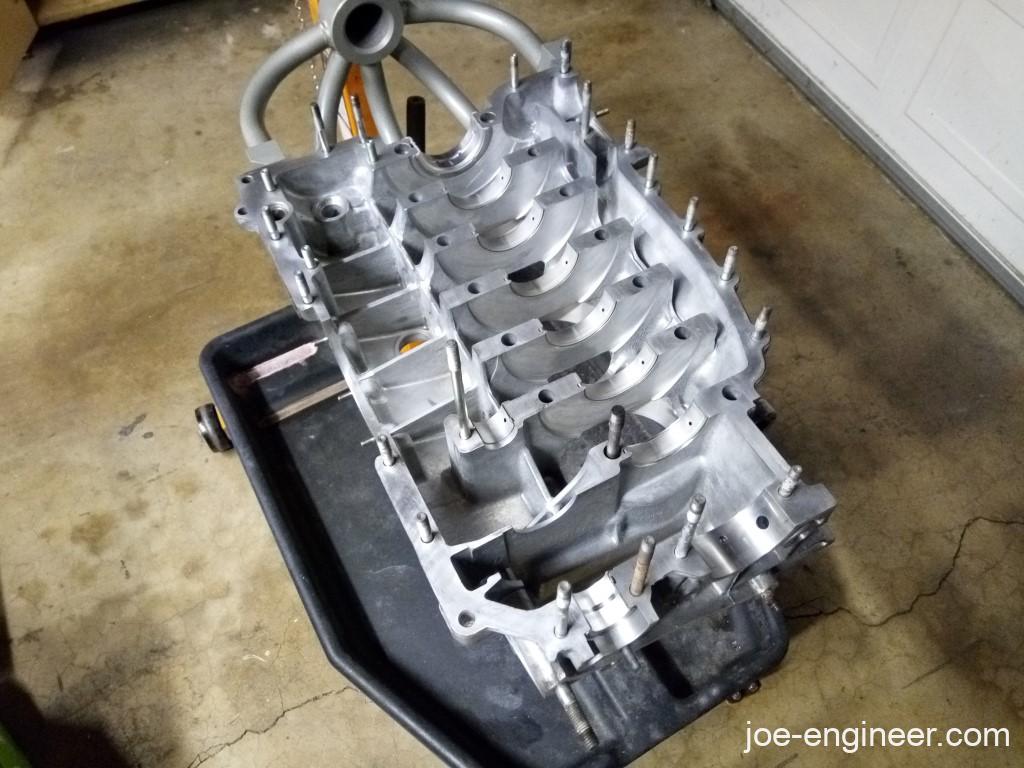
Case Bore Checks
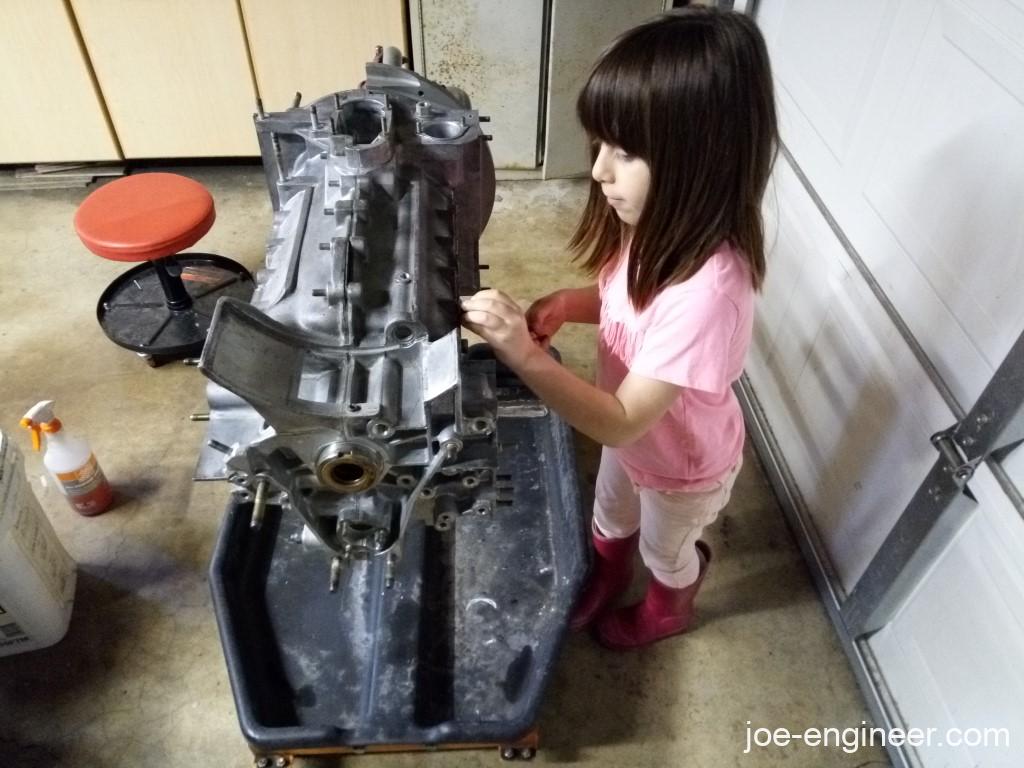
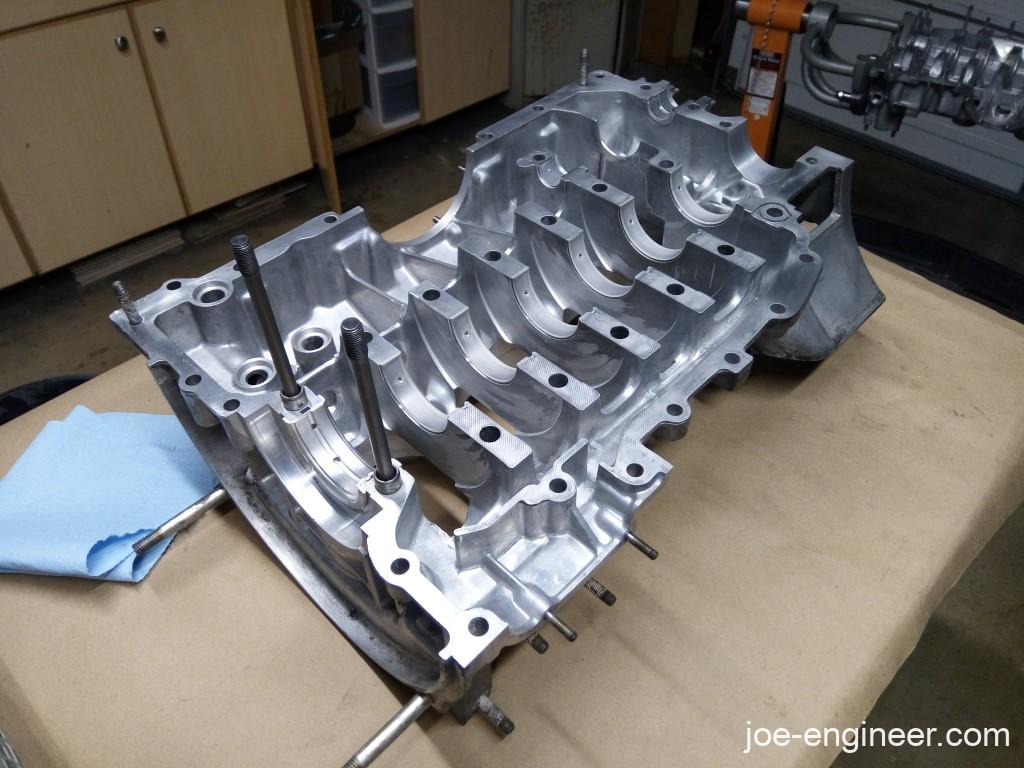
I had one of my two helpers in the garage this time to help me assemble the case-through bolts.
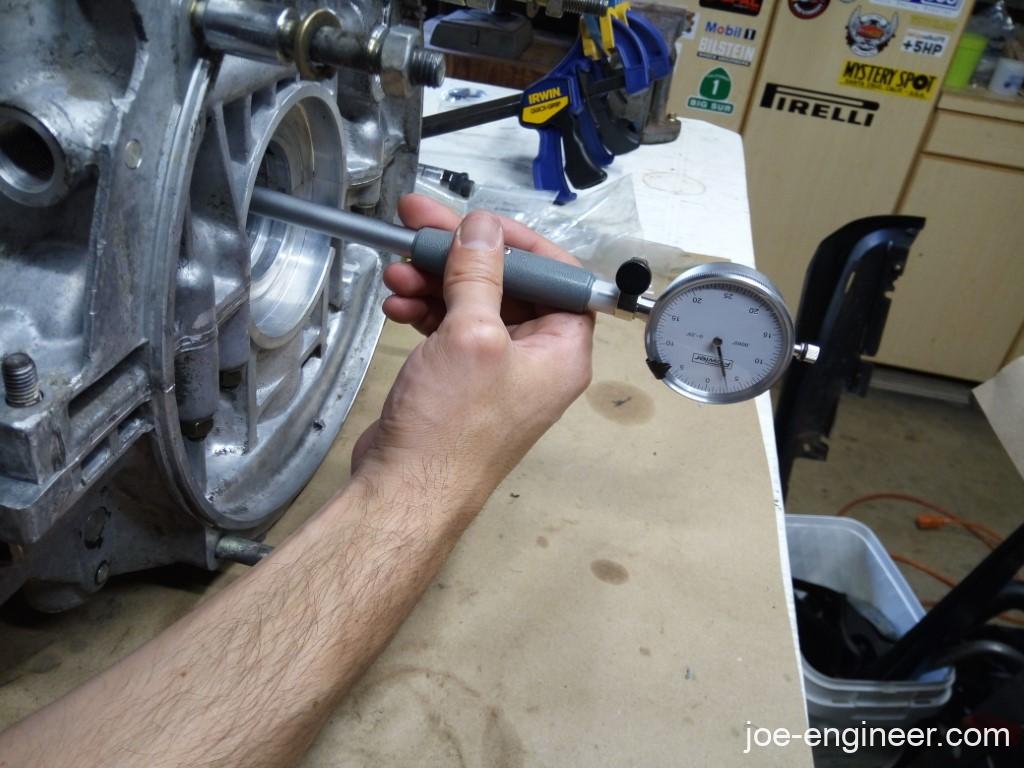
With the case-through bolts all torqued to spec, I checked the crank main bores without bearings and with my old bearings, making sure each bearing shell was in its original location. After many many checks, re-checks, and a bit of math I was convinced my case and crank clearances were within spec. This was the machine shop’s initial conclusion as well so I am glad we arrived at the same result.
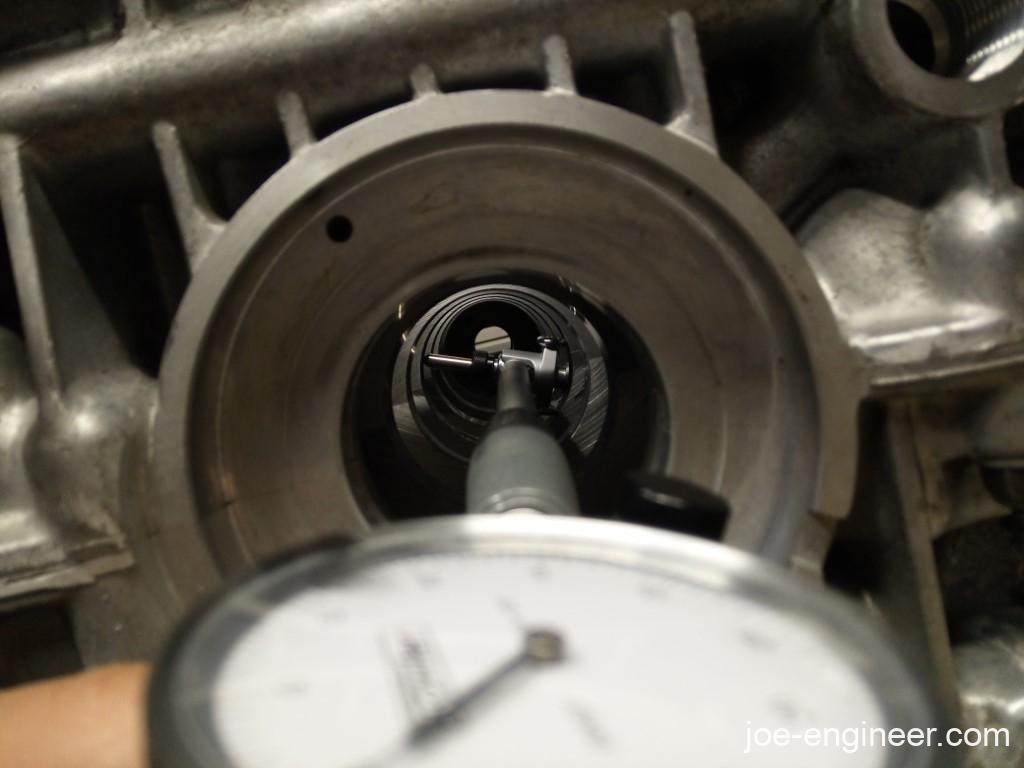
This dial bore gauge is a fantastic tool. I was very happy with the purchase.
Piston Oil Squirters Check
With case bores confirmed I ordered a set of GT3 main crank bearings in the size corresponding to my measurements. If I recall correctly there are 3 sizes of STD GT3 main crank bearings so you can dial in your bearing clearances extra precisely. While those arrived I went ahead and covered a few final details on the case. I cleaned out the oil galleries with carb cleaner and decided to test the piston oil squirters with carb cleaner and compressed air. There is a really sweet tool made by Stomski Racing that attaches to your compressor air line and goes into the oil galleries behind the squirters so you can make them spray. Here’s how it works on the left half of the case.
Final Case Preparation
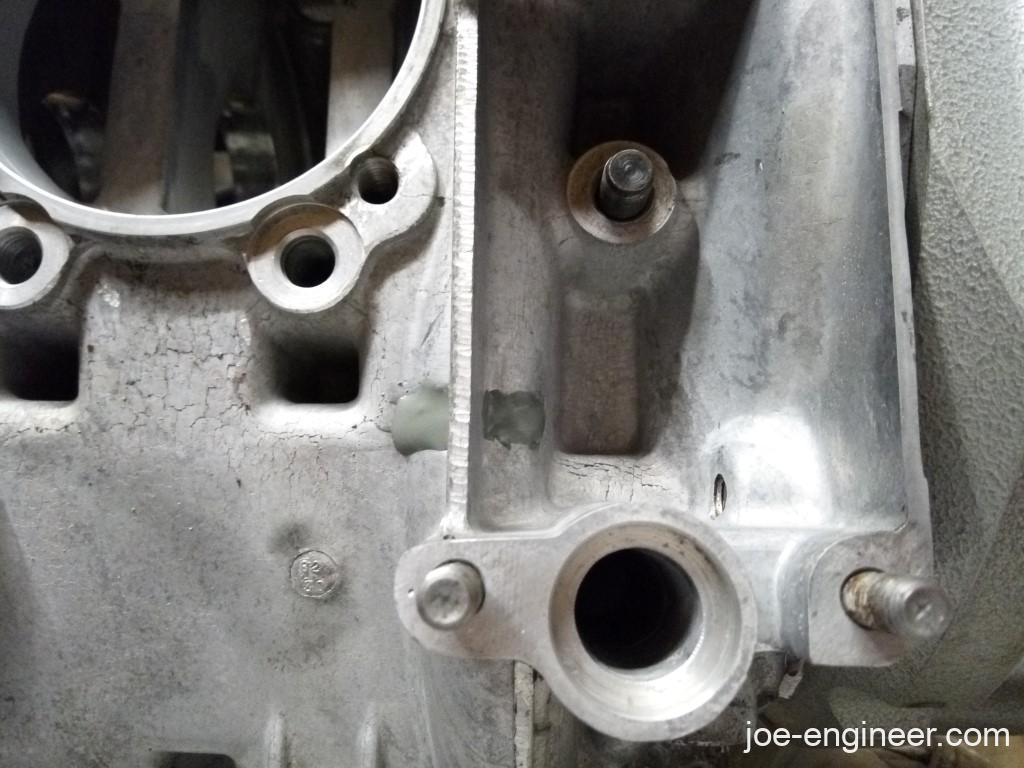
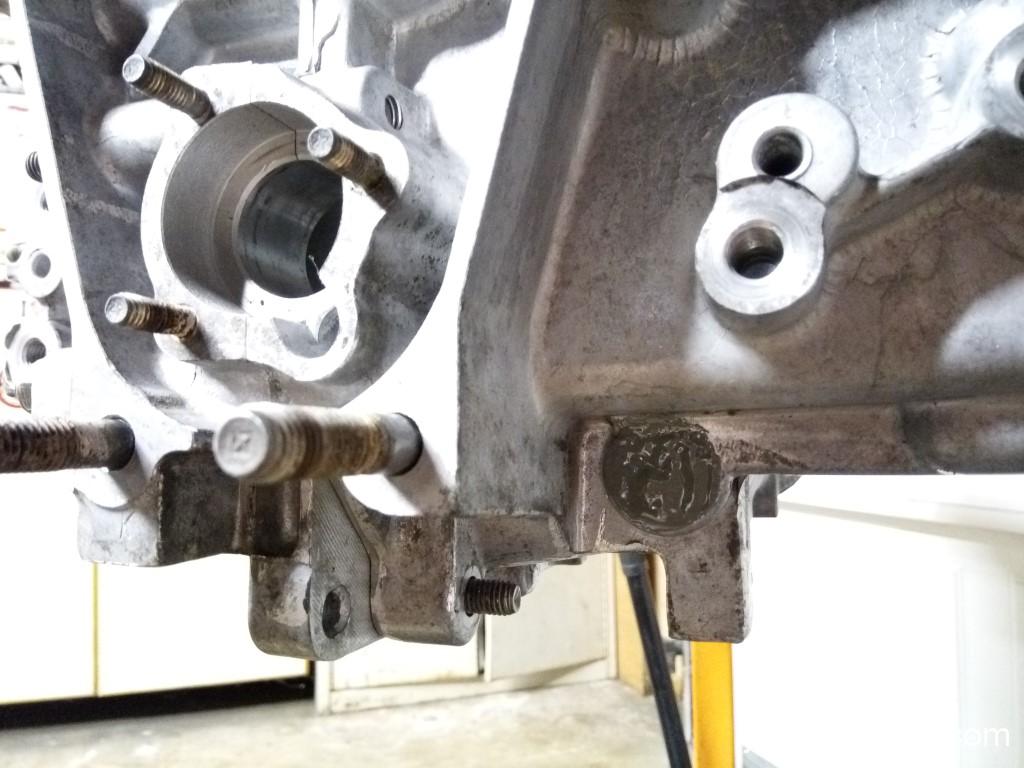
Once all 6 squirters were confirmed to be operating as intended, I turned my attention to preventing future oil leaks. Remember this really oily spot on the engine case discovered during my initial teardown?
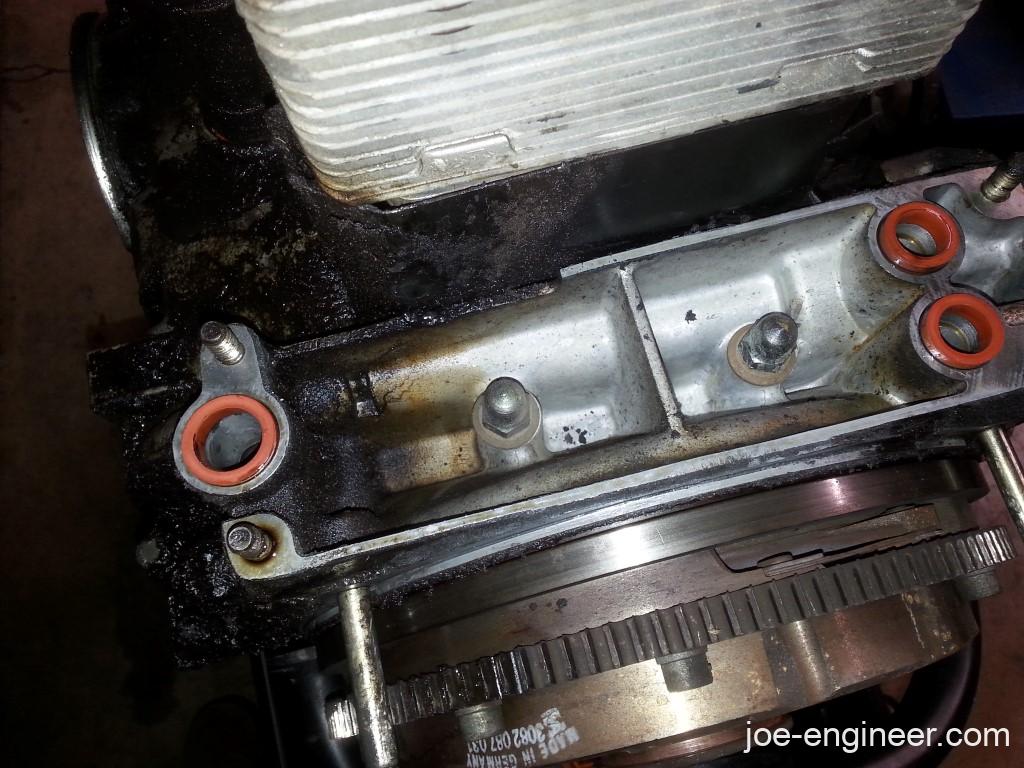
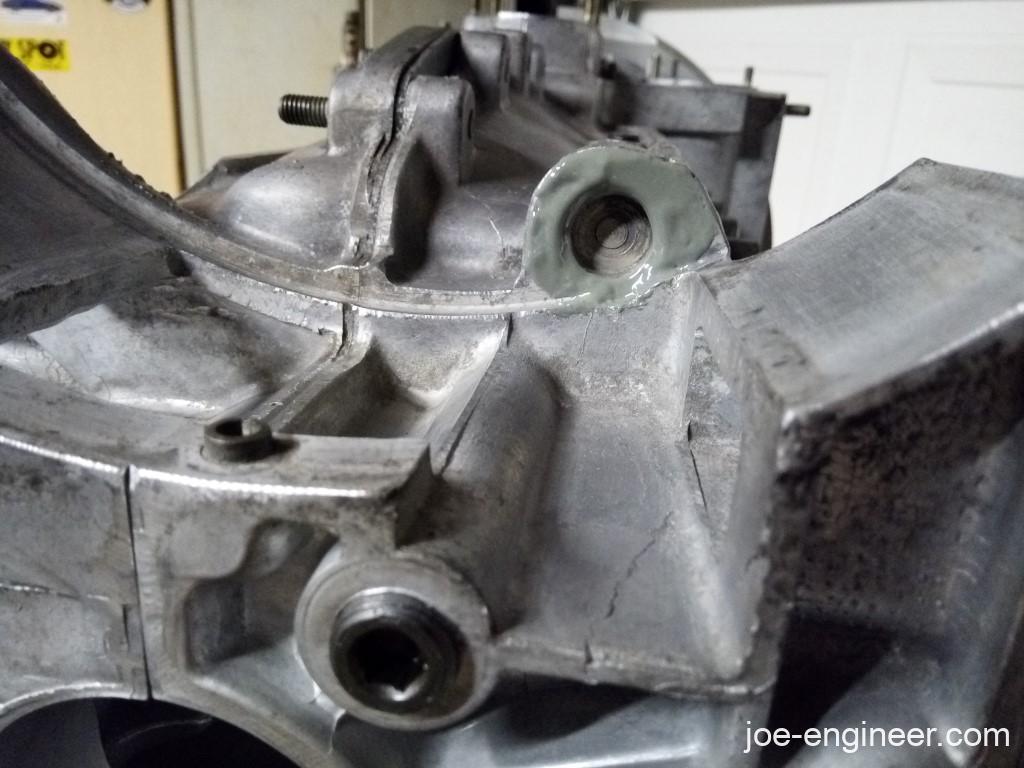
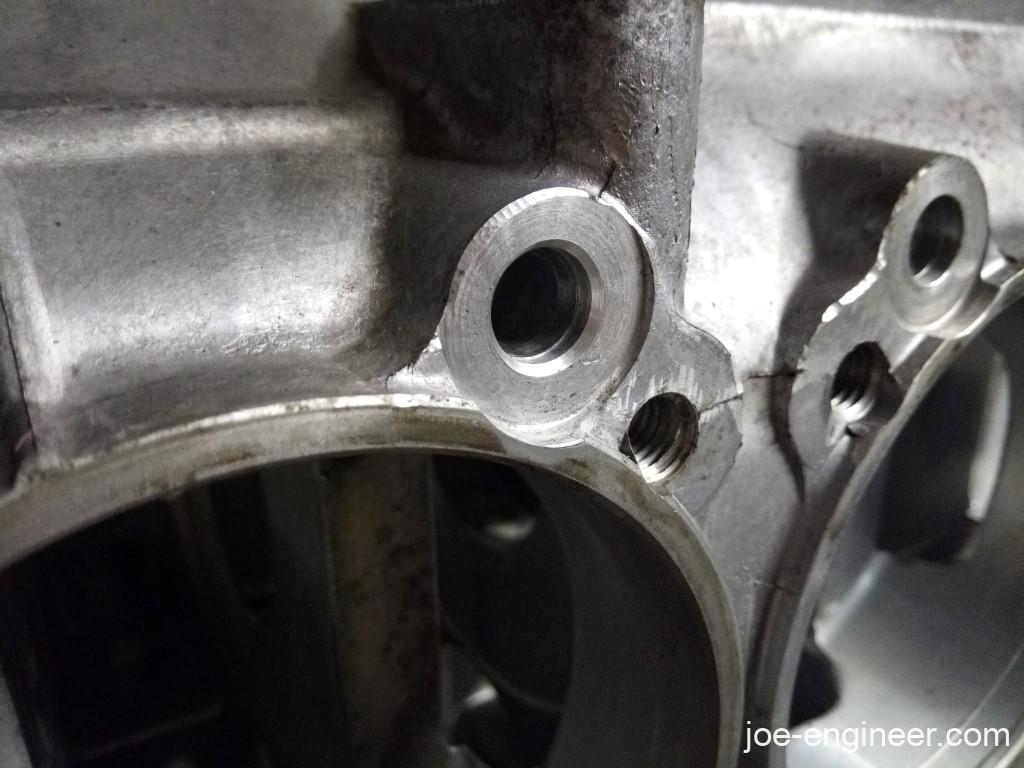
Here is the same area all cleaned up. That small black spot in the recess right above the lower oil seal was a chipped off piece of the case. There is a black metal tube cast into the case and the casting is very thin around the tube and flaked off where it appears black. What did that area look like on the inside of the case?
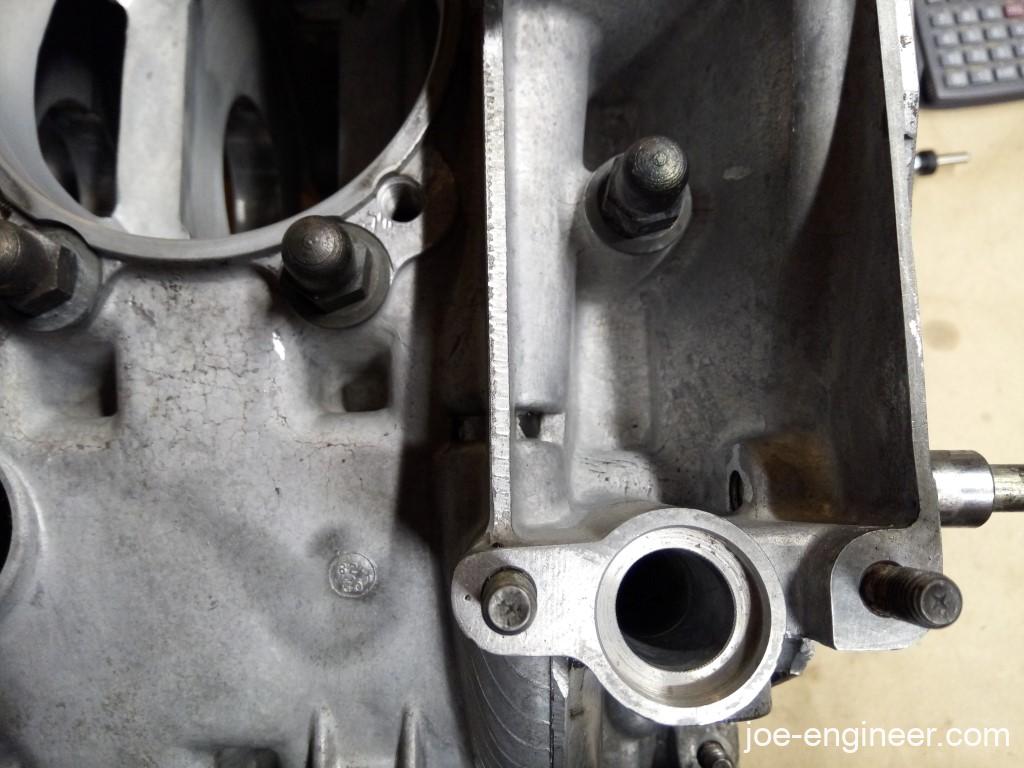
It turns out, it looked exactly the same. The same thin case area flaked off, exposing the metal tube underneath. That gave the engine oil in the sump a path to seep out around the tube and cause the original mess we found during the teardown.
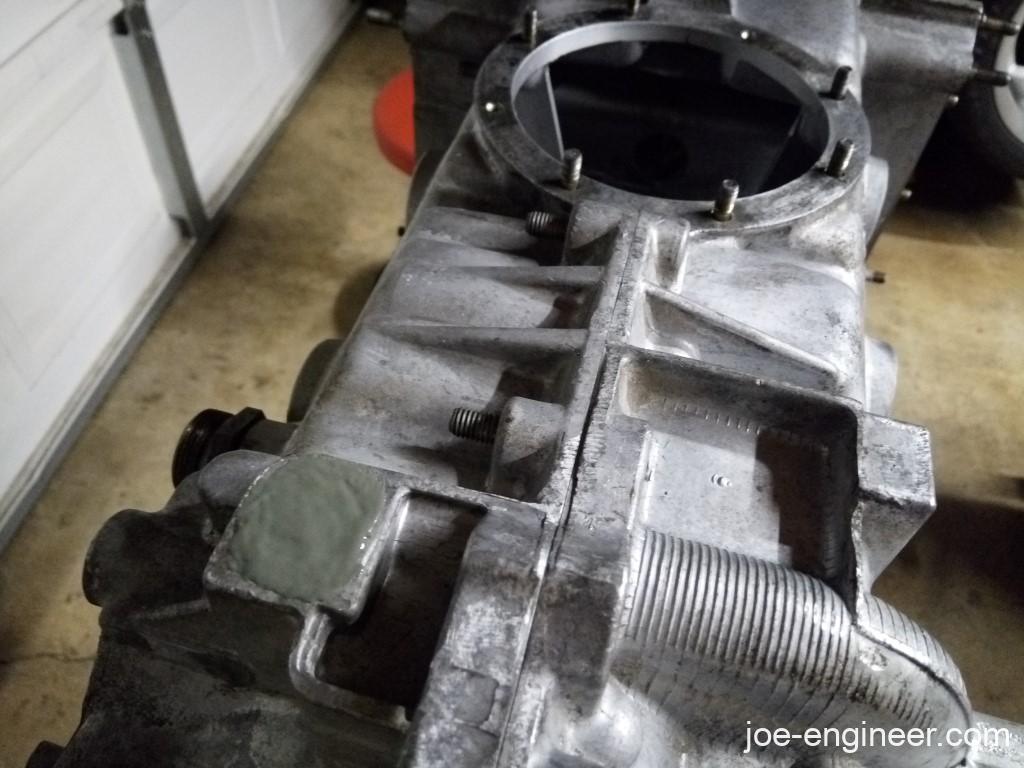
Through research on the Pelican forums, it turned out there was a Porsche Technical Bulletin (number 8911) explaining that the solution was to seal off that part of the case externally. So I went ahead and bond-prepped and epoxied those two recesses shut.
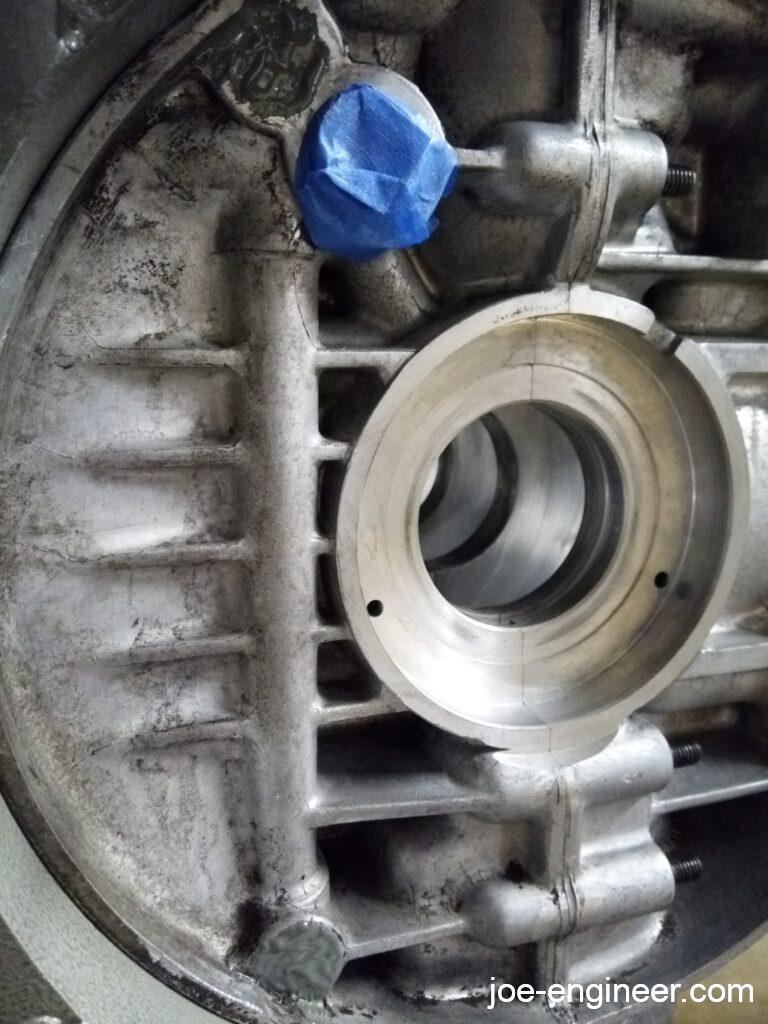
While I had the epoxy out I prepped and sealed all the pressed in case plugs.

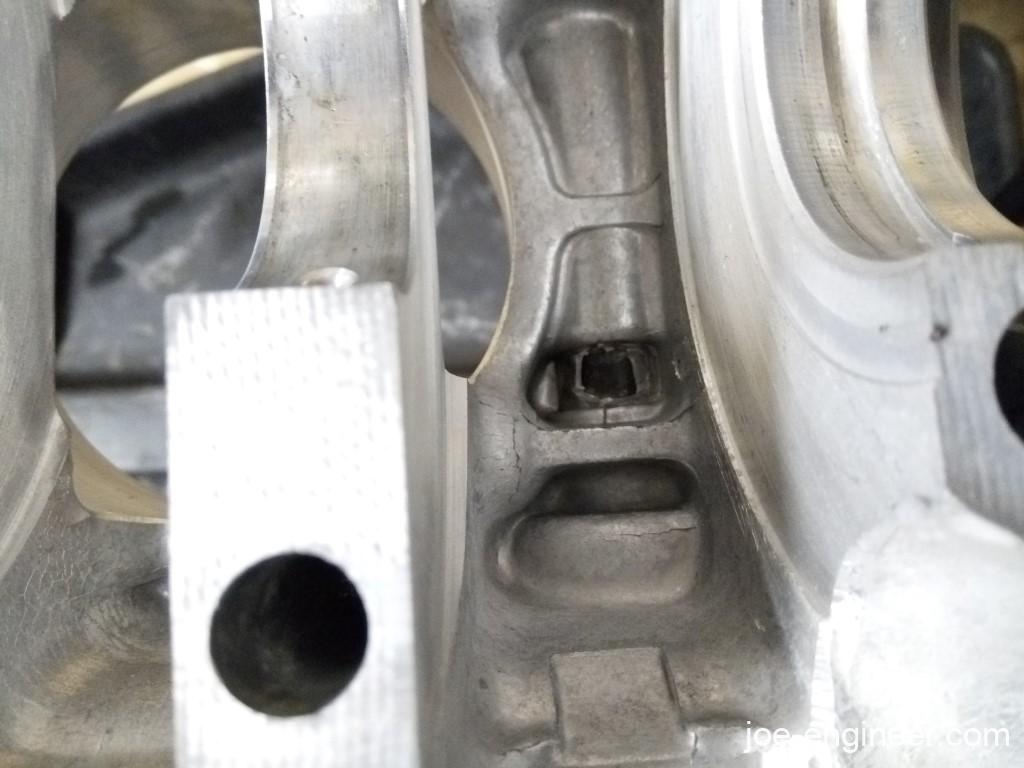
The last leak prevention countermeasure was to chamfer the holes of the case-through bolts. The theory was that the o-rings that seal against here simply get crushed against the flat case surface. If you gave them a chamfer like the mating surfaces of the bolts and washers that go on here it would give the o-rings room to sit against the sealing surfaces while maintaining their round cross-section and be less likely to get damaged.

Since this was a best-practice done by builders with more experience than I, I decided to follow suit.
Final Main Bearing Clearance Check
Finally my GT3 bearings came in.
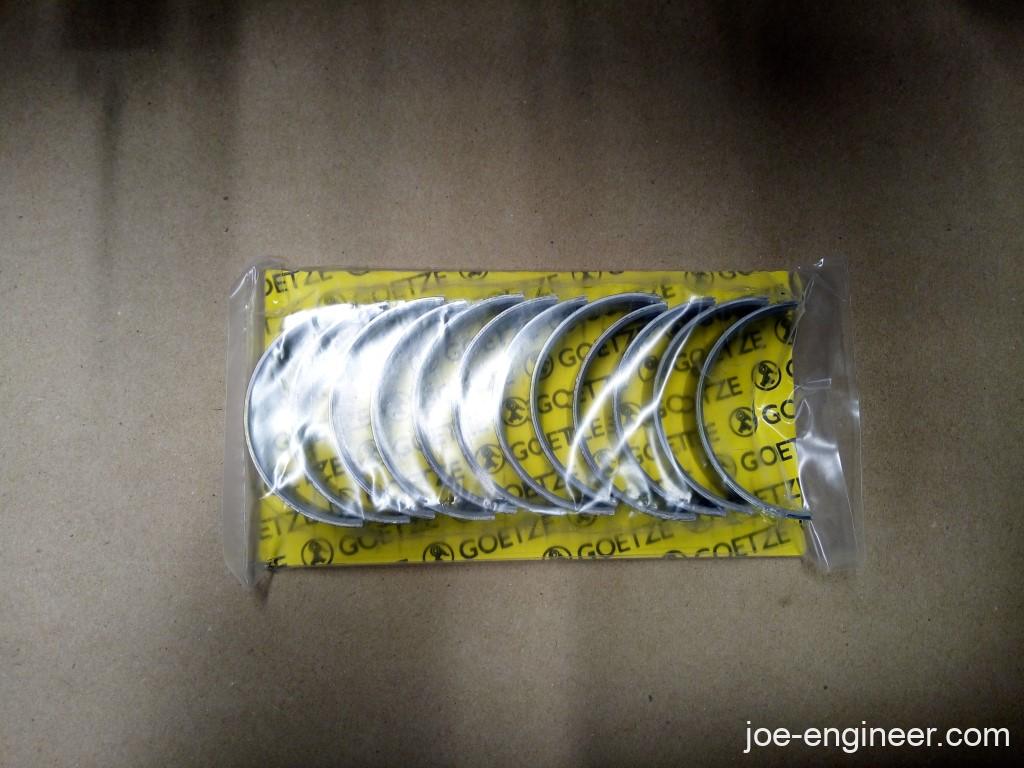
I test fit each bearing shell in each case half.
Then I ran into a slight problem. I discovered that 1 of my bearing shells was loose. It would not fit snugly in any of the bearing saddles but all the other bearing shells fit fine in all saddles.
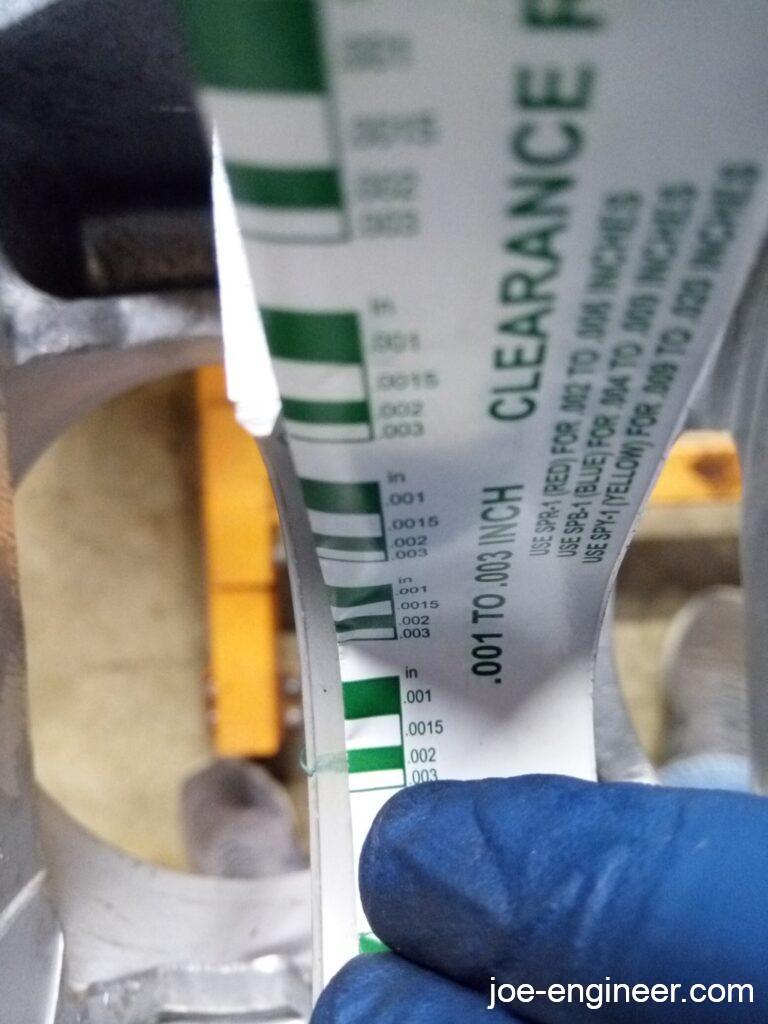
Fortunately I was able to get a single replacement shell and all was well again. Last step was to use Plastigage to do a main bearing clearance check.

Repeating the same process as the rod bearings, I laid Plastigage over the new bearings, gently laid in the crank and rods, put the second case half on and torqued all the case bolts to spec. Once again we got the proper squish.
Case Assembly Work Instructions
With our bearing fitment and clearances confirmed, I removed, cleaned, and labeled each bearing shell to install them in the same location before final assembly. I gave the case a final deep cleaning inside and out and started laying out everything required for case reassembly. At this point I realized there were a lot of parts that had to go in the case, different glues on different parts, and the case sealed and torqued before some of those glues cured. To top it off, I did not find a single source of instructions that had exactly what I needed to follow. The biggest difference was that since all of my rebuild reference books have been published there have been advances in adhesives technology that improve the chances of a leak free engine. In particular this Pelican thread lays out an ongoing list of latest and greatest sealants that can be used.
So in summary, lots of parts, lots of glues, lots of info spread out over several books and websites, and some new info not published anywhere. In order to gather all this data into a single source I wrote a set of step-by-step work instructions on how to seal my case. My brain is hard wired to read these since I came from an aerospace manufacturing engineering background and spent a lot of time reading and writing them. That was the exact same environment. You had exactly one chance to assemble a bunch of really expensive custom built parts correctly, with precise torques and mixed glues that have a limited working time, to make an assembly that would be launched into space and could not fail.
Writing these instructions forced me to re-read all my sources and double check that everything was correct on my procedure before starting. It also allowed me to lay everything out and time myself to see if I could get the case assembled and torqued within the sealants’ working times. If this seems like a crazy amount of detail, remember that professional builders have all this stuff already in their heads and can perform with minimal effort. Since I was working alone and with no prior experience this was my best chance at executing correctly, albeit at a much slower pace. It was a huge confidence booster to practice everything ahead of time, just like rehearsing an important speech or presentation.
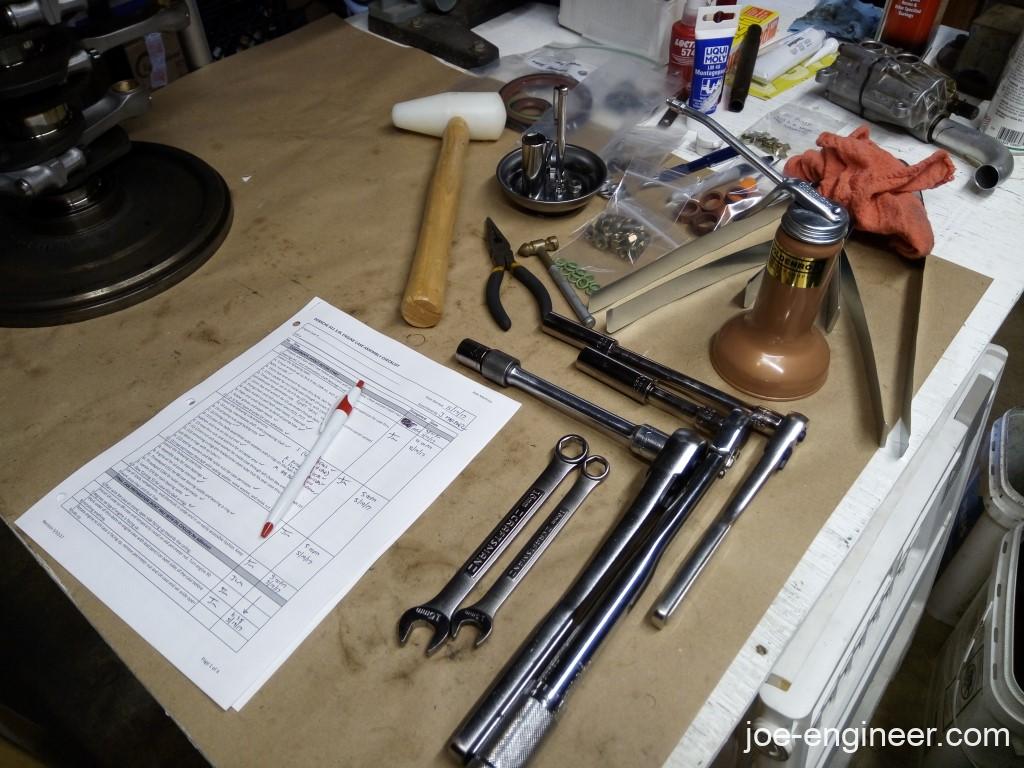
So after a few trial runs I laid all my materials and a fresh set of instructions, physically and mentally ready to do the real thing.