
Porsche 911 Engine Bay Detailing
This is the final leg of engine bay prep for installation of the fresh flat six. Yay!
Disclosure: This post contains links to Amazon products and other trusted vendors. As an Amazon Associate I earn from qualifying purchases.
Hi guys and gals. One thing I’ve learned out of this build is that it is a gargantuan amount of work to rebuild an entire car, the right way. Fortunately we are so deep into this build we have no choice but to keep going. One step at a time. Moving on.
Engine Bay Firewall Cleanup
After spending way too much time steam cleaning, the very last step of the engine compartment cleanup was to remove all the old glue from the firewall to allow the new insulation to stick as best as possible.
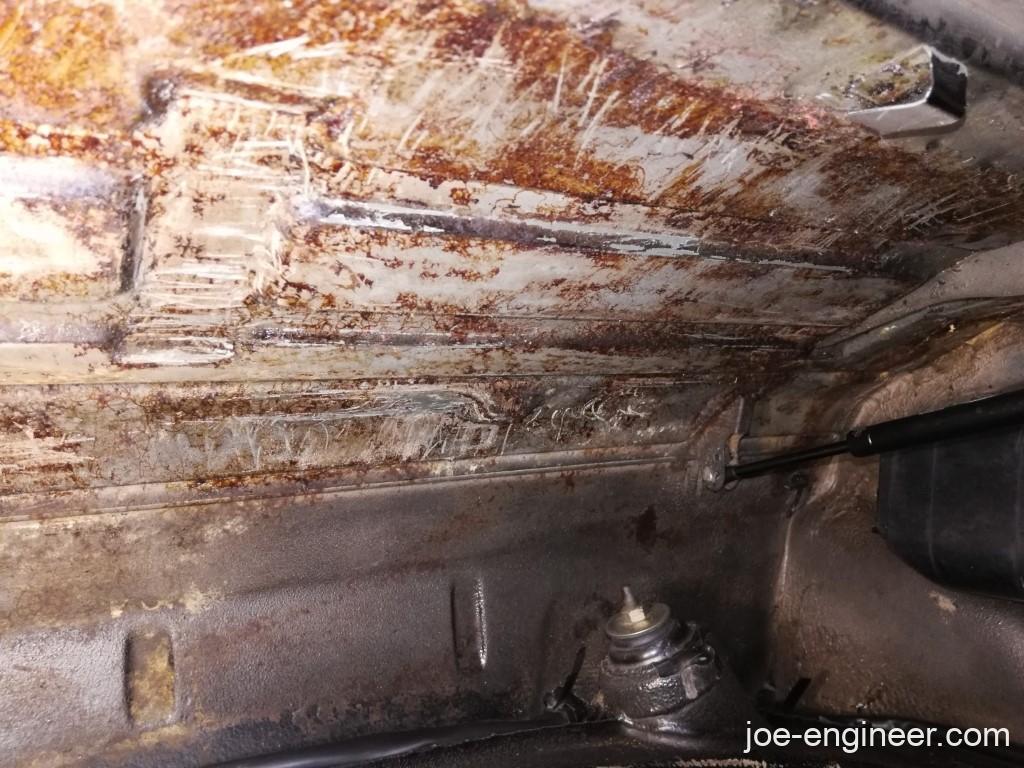
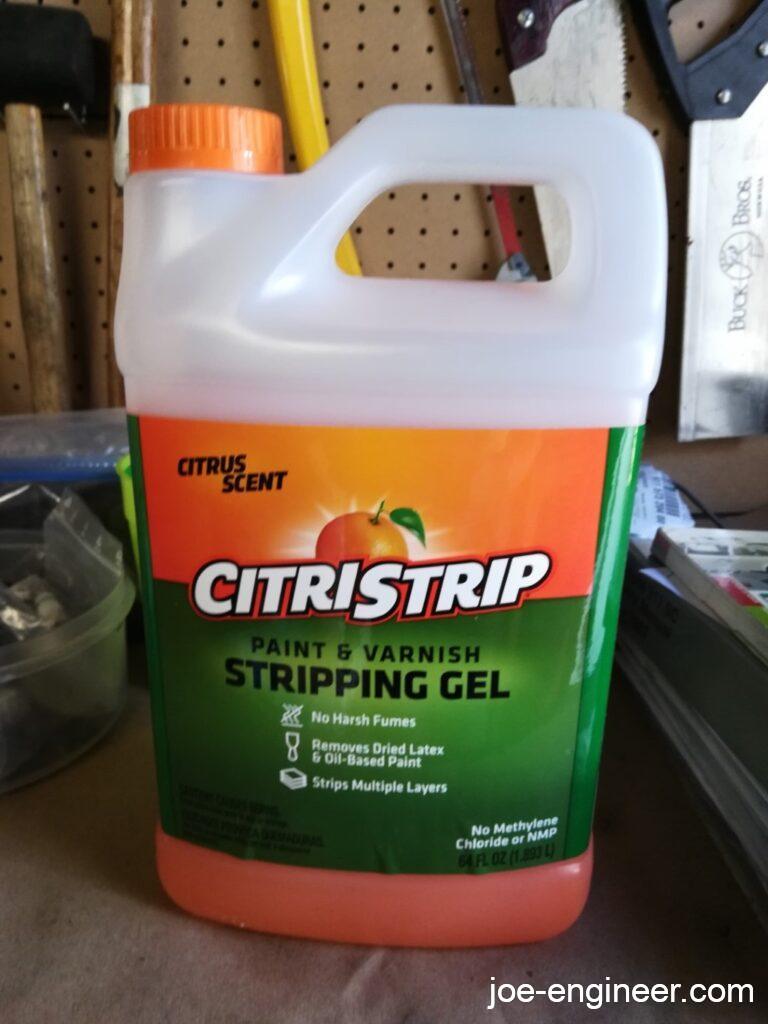
I did a search on the forums and found that this stuff works well for removing the glue without disturbing the underlying paint. I think it’s secret is that it works so slowly you can get the glue off before it eats the paint. I bought a 64 oz bottle but you could get away with this smaller size.
With safety glasses and gloves on, working in small sections, you goop it on with an acid brush, let it sit for about an hour and it scrapes off easily. Gentle brass wirebrushing gets all the small glue bits that stay behind. The brush I used was similar to this one in size. Big enough to cover the flat areas and small enough for the shallow depressions and corners.

Eventually all the glue was gone leaving a clean, smooth painted surface.
Engine Bay Thermal Insulation
Im not a big fan of the sound pads so I decided to not stick one on my firewall. I wanted the intake and fan noise to make it through to the cabin but not the heat. I also had this idea bouncing in my head of how to spice up the engine compartment a bit while achieving those 2 objectives.
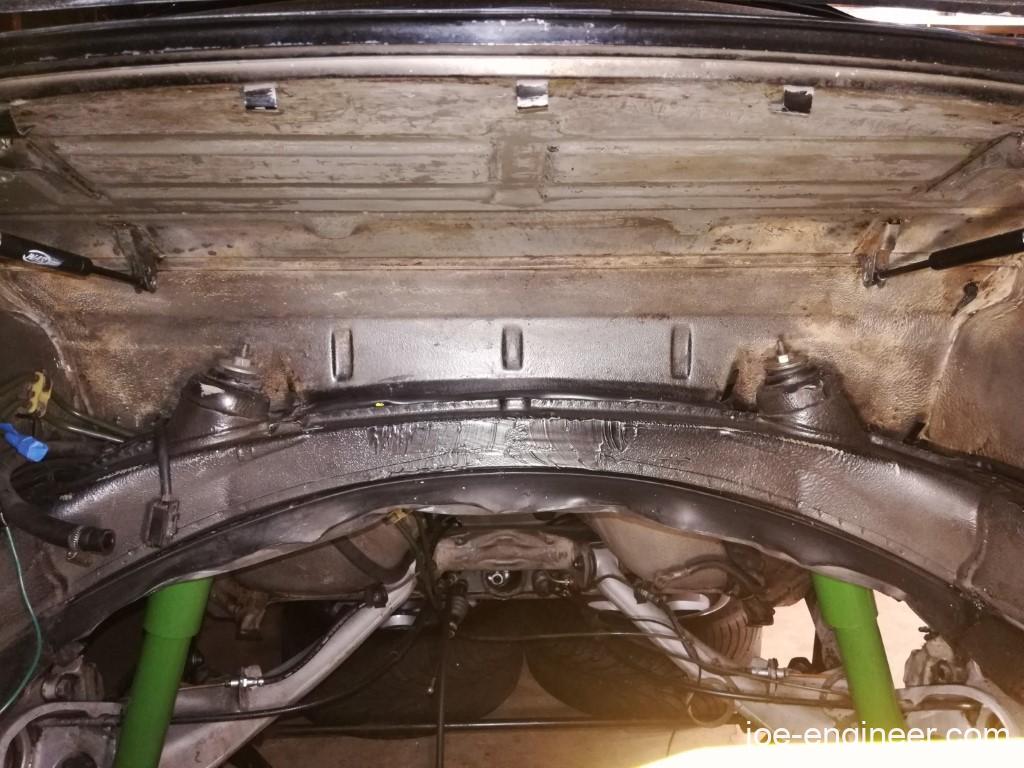
I decided to line the firewall using this DEI gold reflective tape. It seems to be the gold standard (pun intended) for tuners seeking shiny underhood thermal barriers. I used 3 of these 2″ x 15′ rolls and had a little left over for other applications.
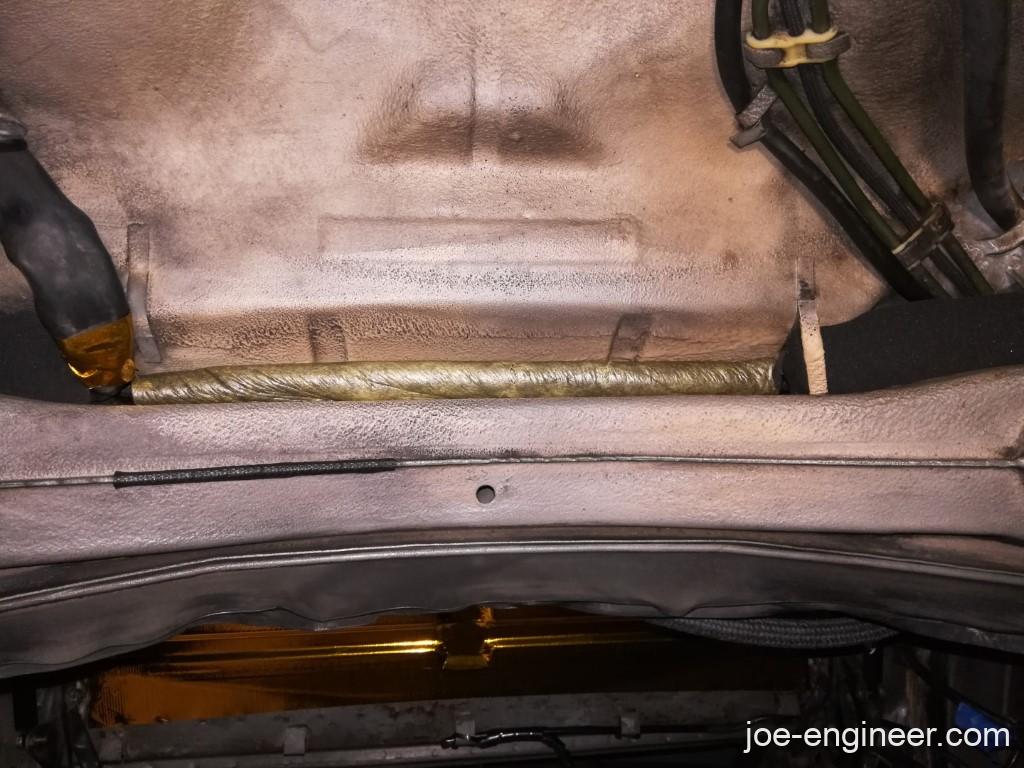
I didnt realize there was a gap back here until I did all this cleaning, so I started the foil a bit below the crossmember so you don’t see the edge and worked my way up.
I had to lay down some tape lines to keep the foil going straight. It is not very flexible and doesn’t like curves. Fortunately it is super sticky and sticks well to the firewall and to itself. I cleaned the firewall with acetone before starting, and wiped the tape with alcohol before laying down an overlapping layer, to minimize the chances of it peeling up later.

With an X-acto blade I made small relief cuts wherever necessary to get the tape to lay down on the firewall topography with minimal wrinkling. Looks very aerospacey.
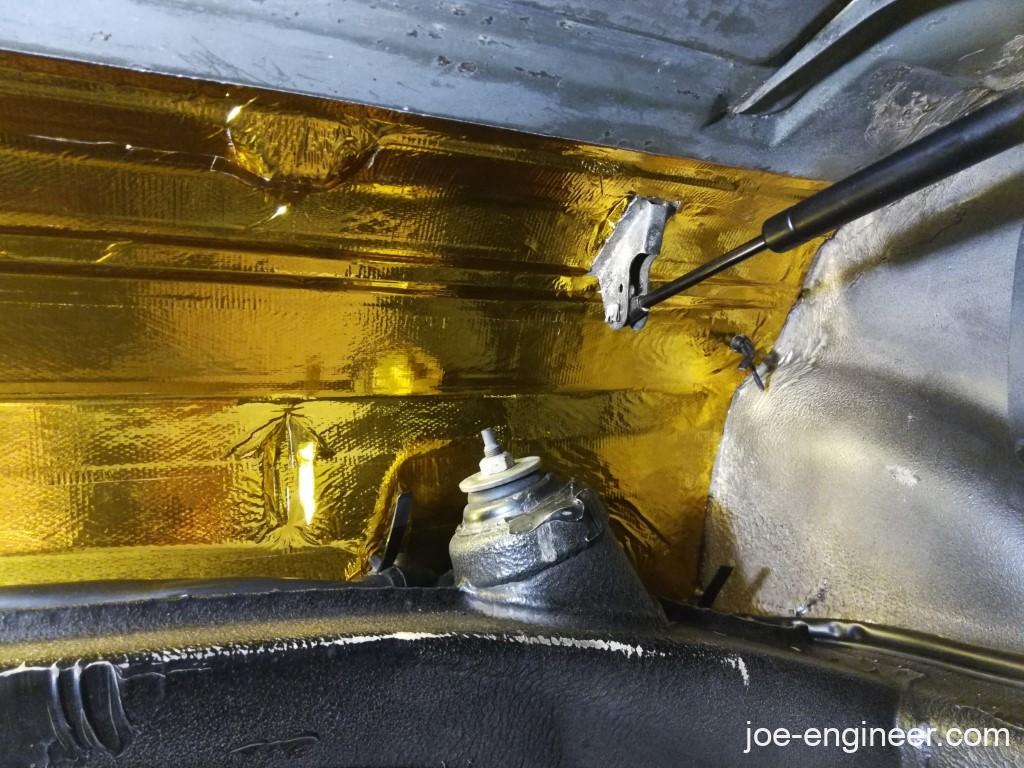
Eventually I was done. I know it looks very bright and overpowering at the moment but with the engine in place it will be mostly hidden and the faint gold in the shadows will work well with the gold engine fan strap and fasteners. Especially on a black car.
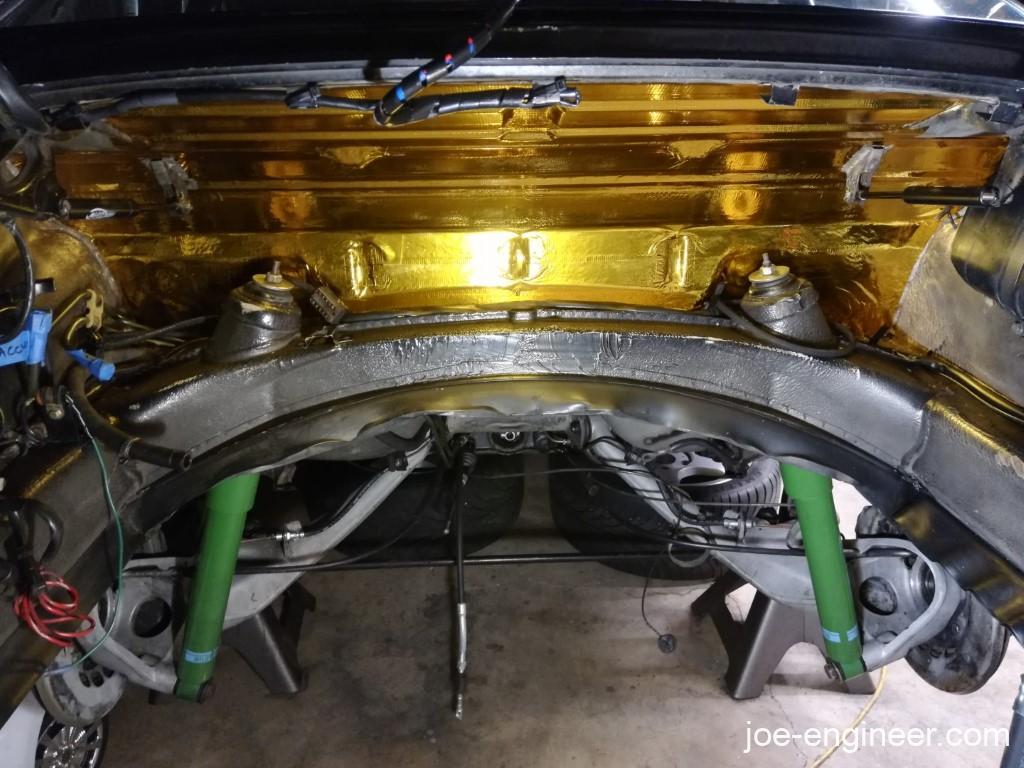
Now I can live out my McLaren F1 fantasies. Or NASA deep space probe fantasies. I havent decided yet…
Engine Bay Final Components
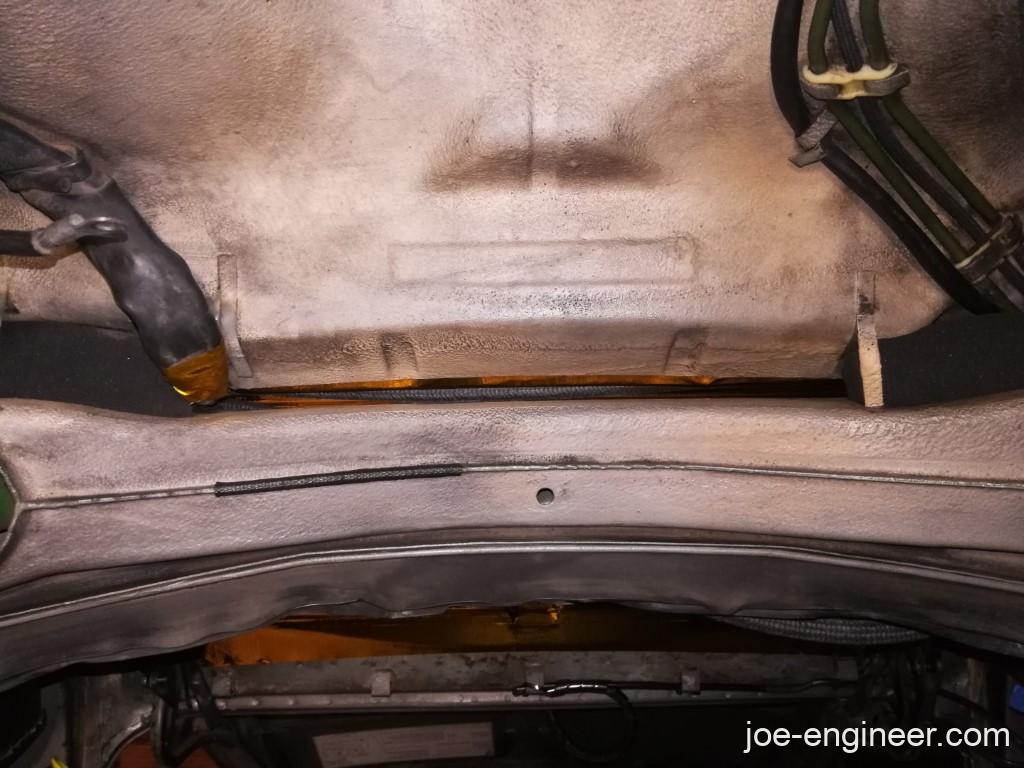
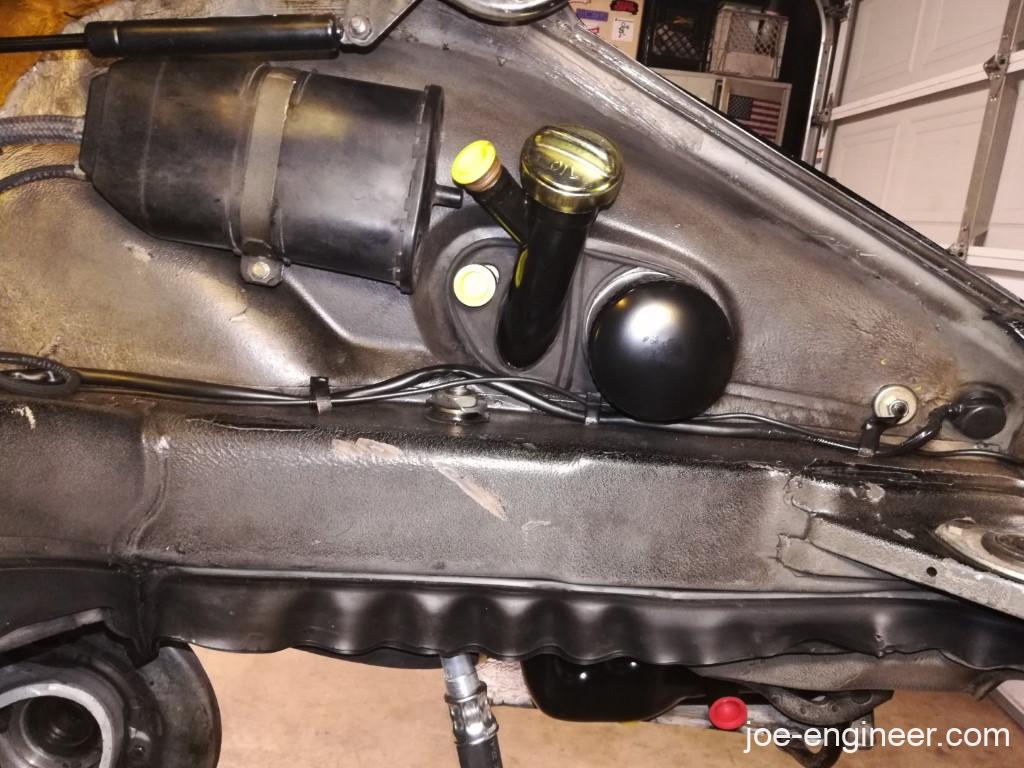
There were a few more details left to do on in here before it was ready to receive the engine and gearbox. I bought the 2 foam blocks that seal the big gap between the crossmember and firewall.
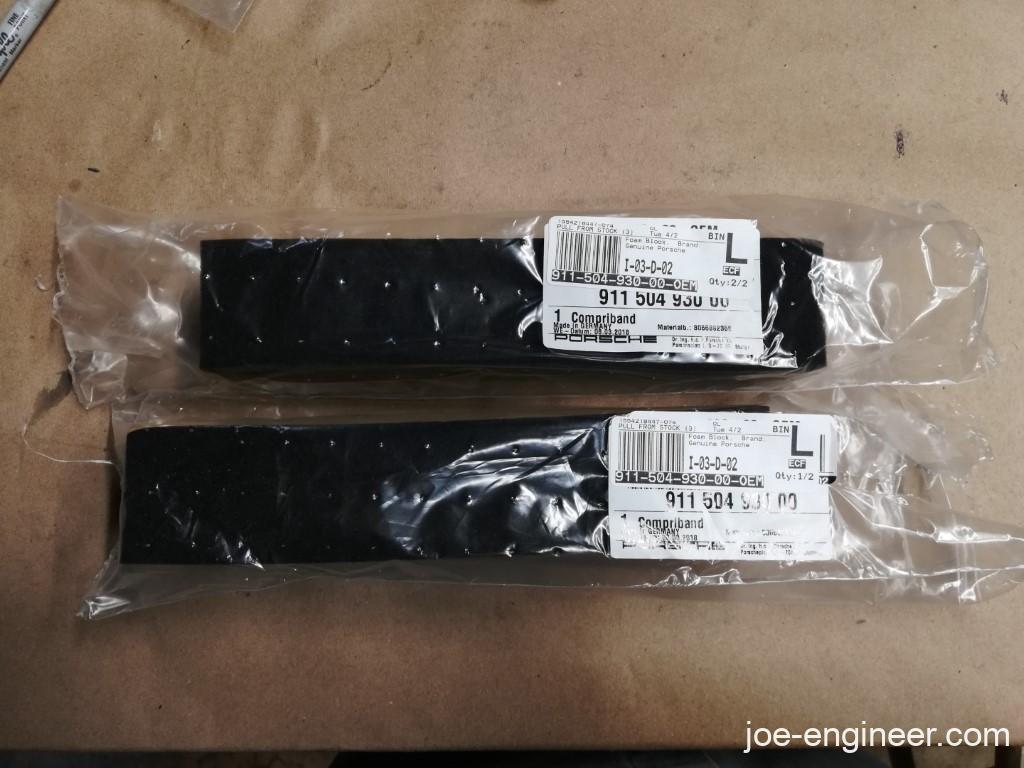
I wiped the mounting surfaces with solvent, stuck those bad boys in place, and bent the tabs to support them from below.
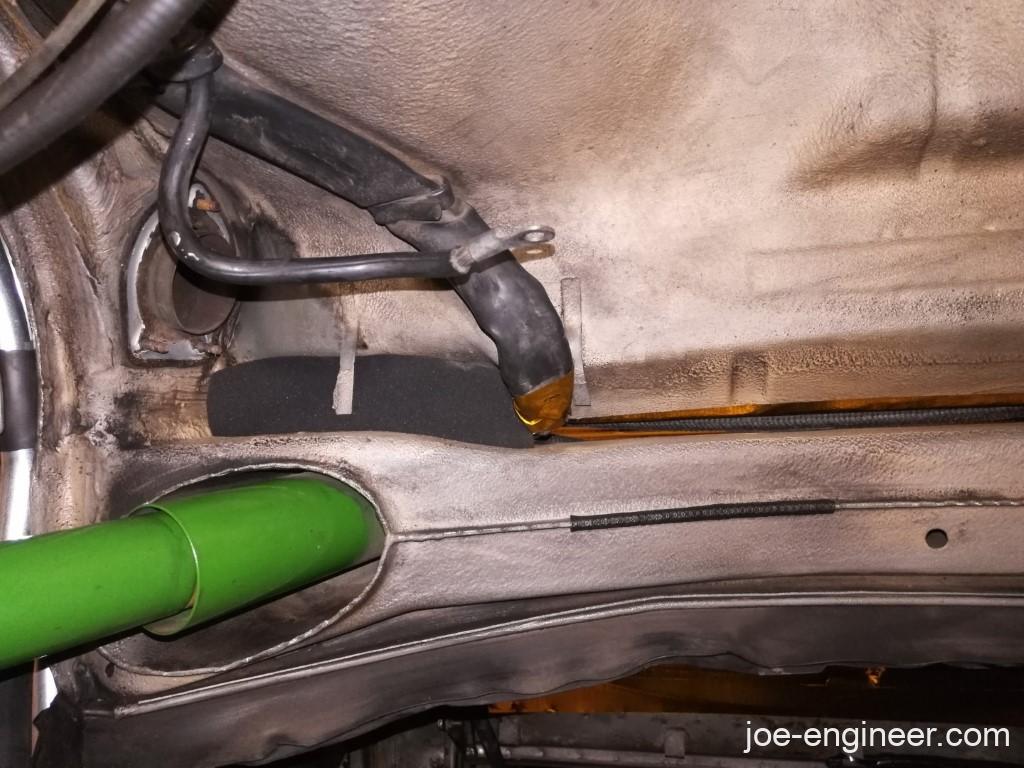
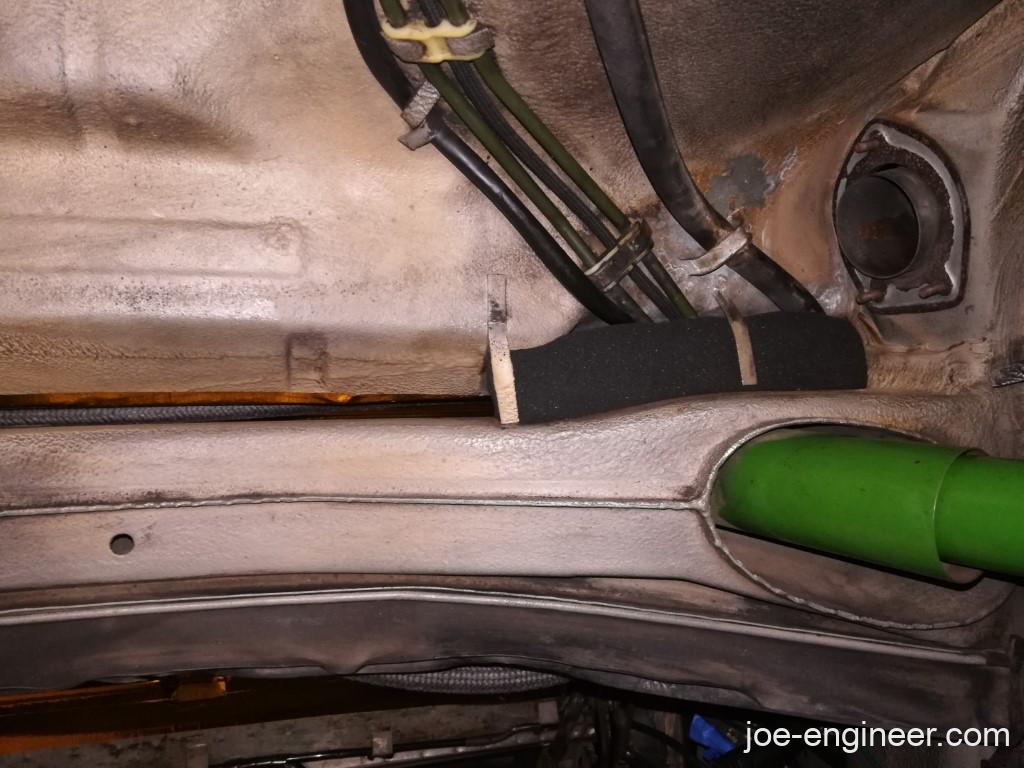
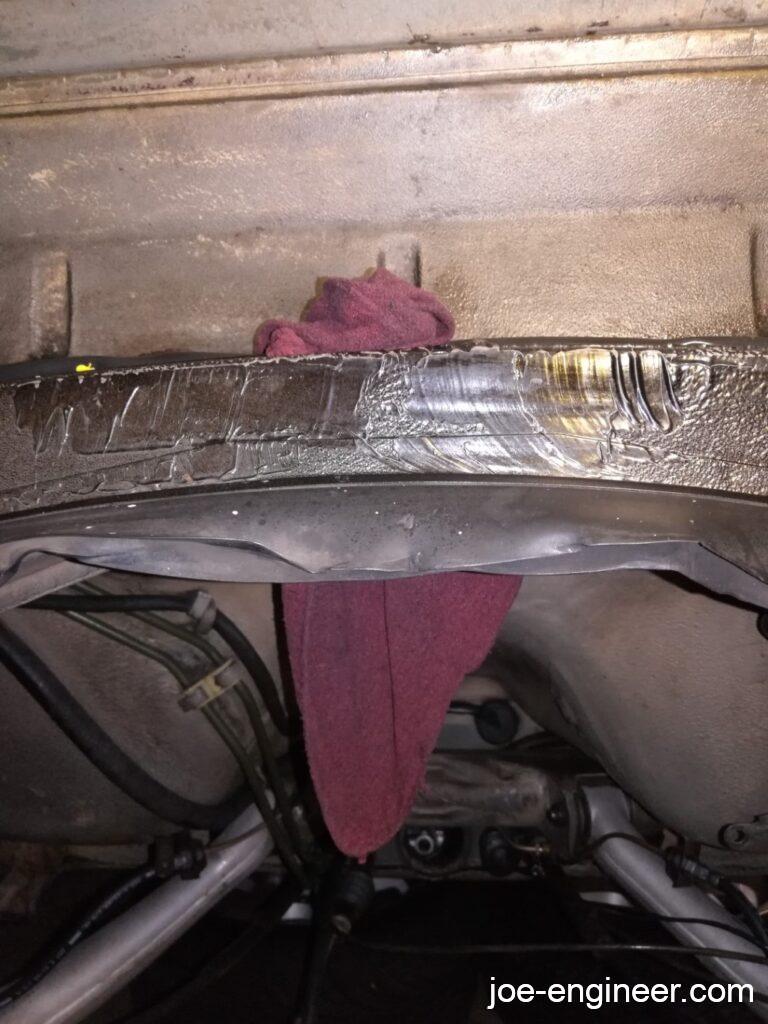
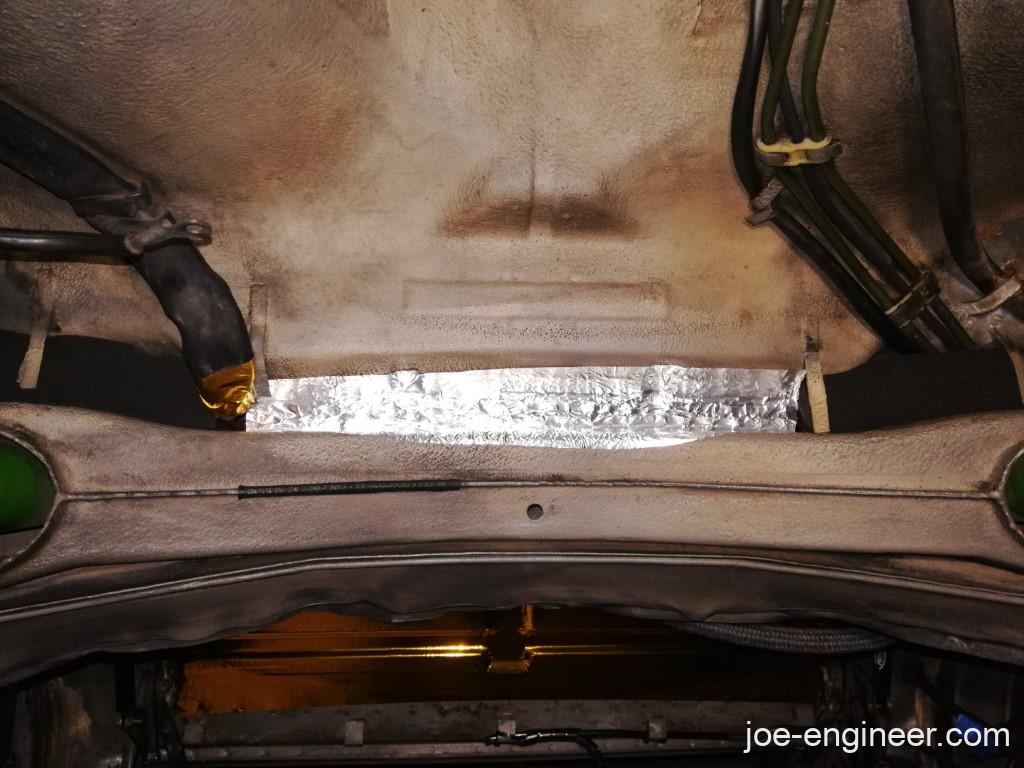
There is still this rather large gap in between them though. Air-cooled Porsche engines work by sealing the engine compartment from the space underneath where the hot exhaust lives. The engine fan could theoretically inhale a large amount of warm air from under the engine through here. It is best that this area be sealed as well.
I have a box full of various automotive grade foam remnants that I use mainly for fixing rattles between interior panels and sheet metal.
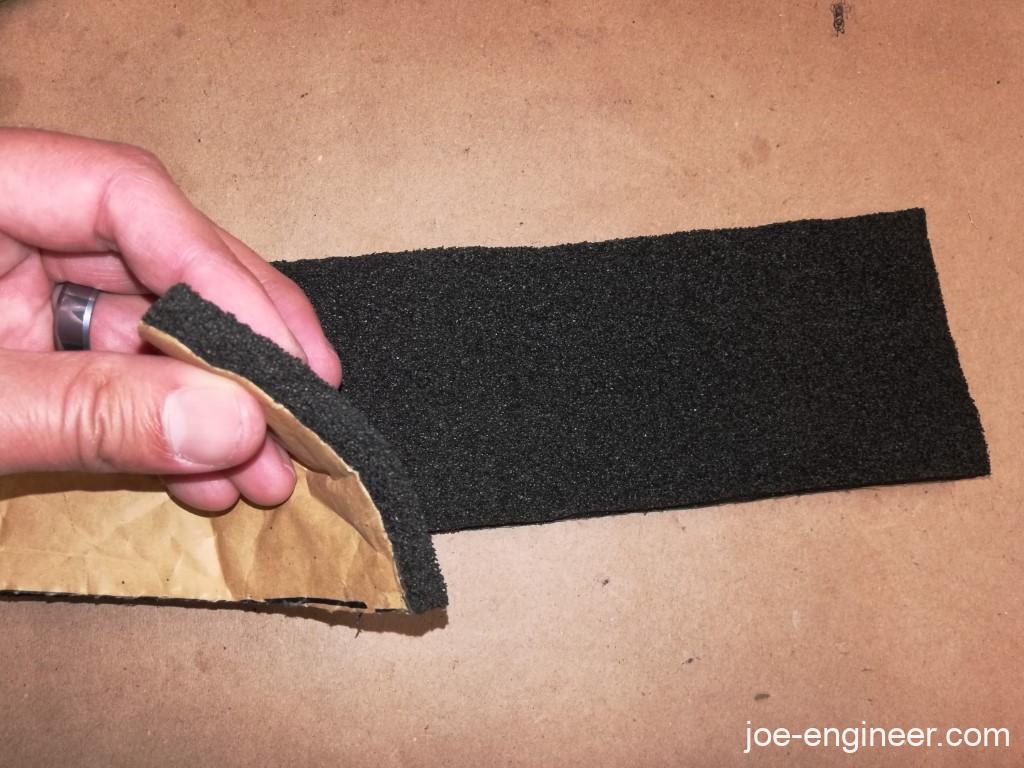
I decided to try some of this stuff and some aluminum tape to seal that remaining gap.
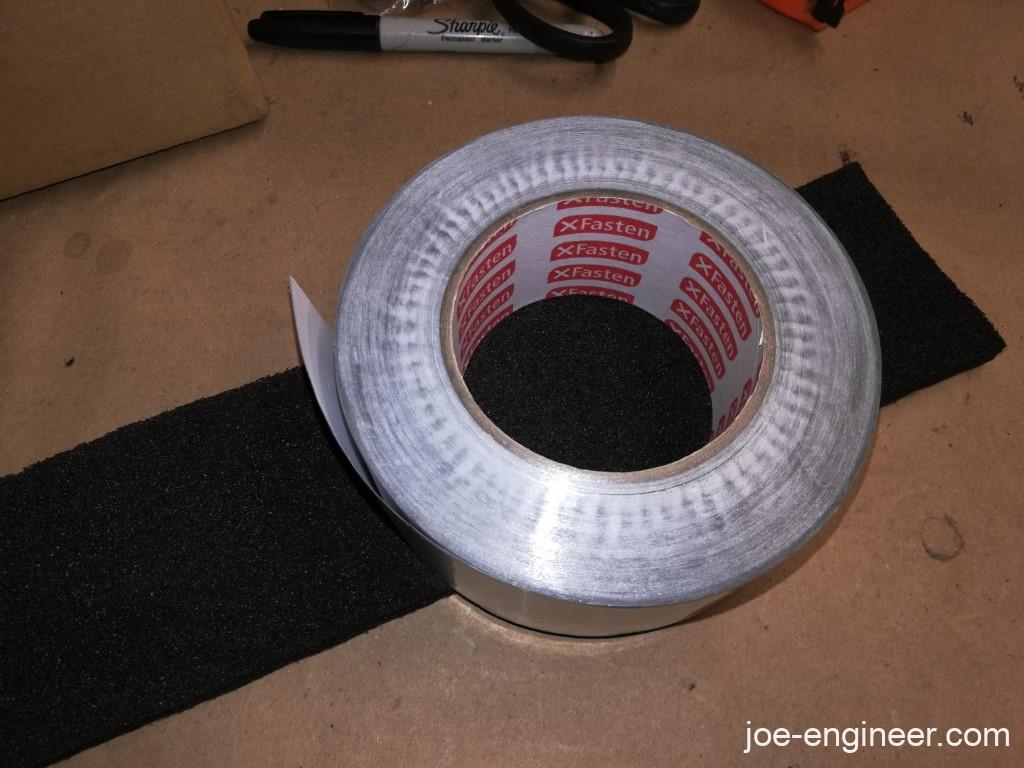
The foam is adhesive backed and when doubled up was thicker than the gap, so I shoved it in there pretty tight.
The adhesive of the foil tape is stuck to the adhesive of the foam so it should hold pretty well, even if it unsticks from the painted surfaces. Plus per usual, all surfaces were degreased before sticking anything on to maximize the adhesive bond. Lets see what happens in the long run.
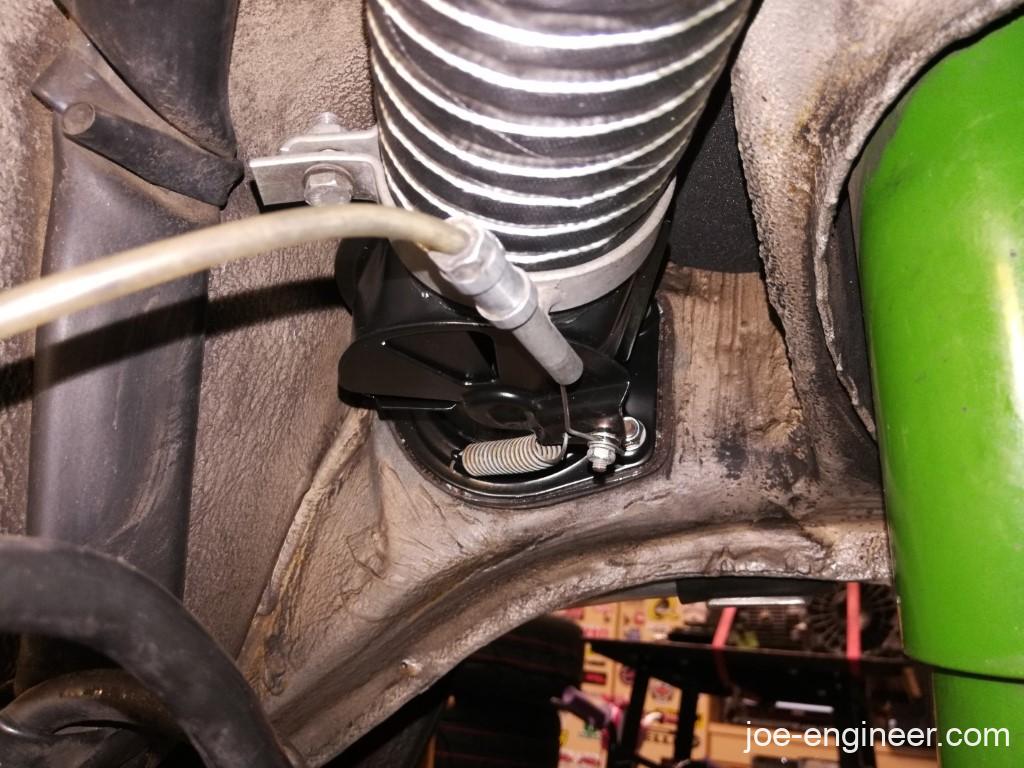
I installed the rebuilt heater flapper boxes. These are interesting clear plastic gaskets.
Next I adjusted the heater control cables so they open and close properly. This is open:
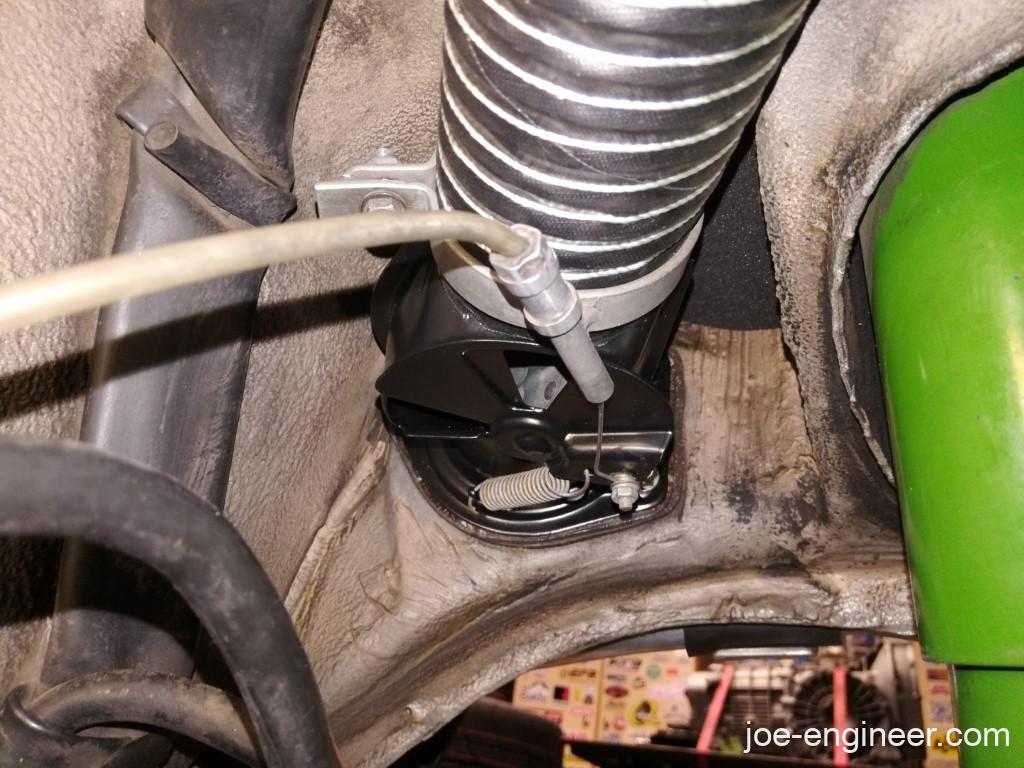
This is closed:
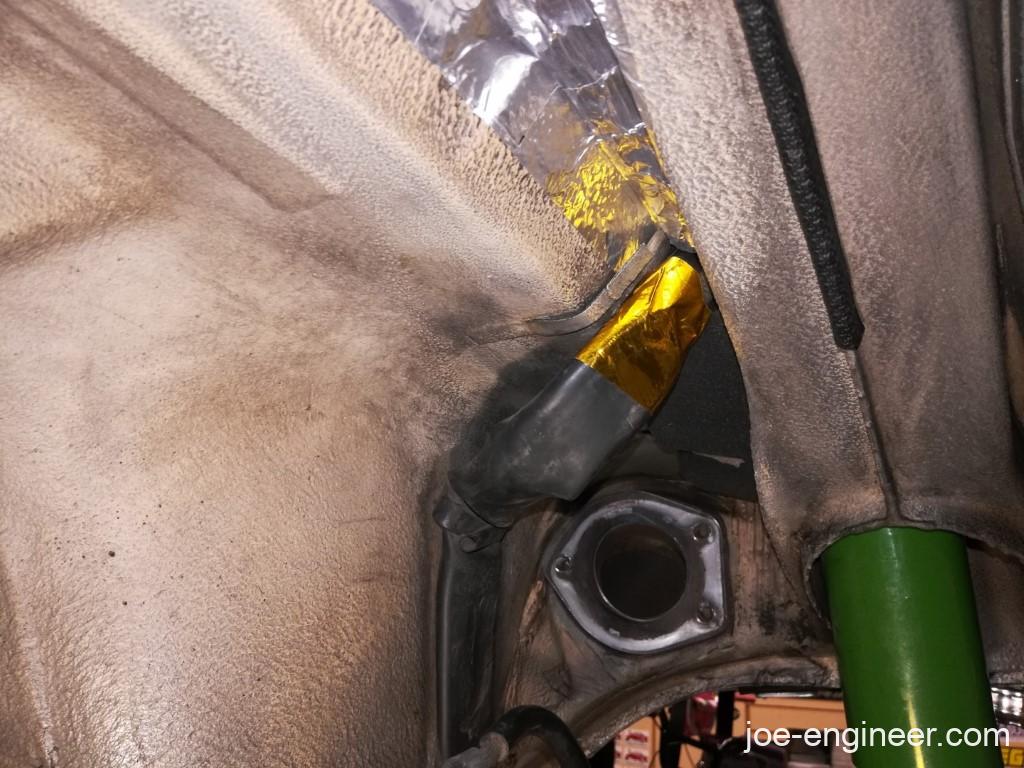
Then I added new heater hoses to connect to the heater boxes. These were silicone aviation hoses from Aircraft Spruce similar to the orange ones I put on the engine.

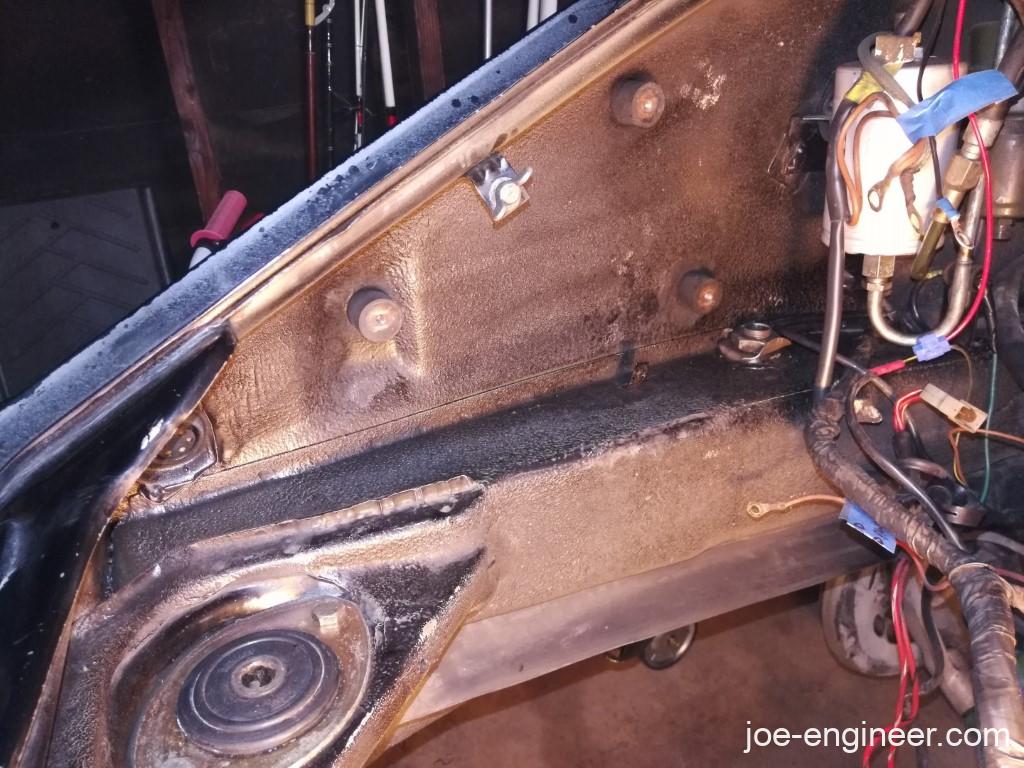
I cleaned the left wall of the engine bay and its sub-panel components.
Nothing too exciting back here. Just dust and a little bit of grime.
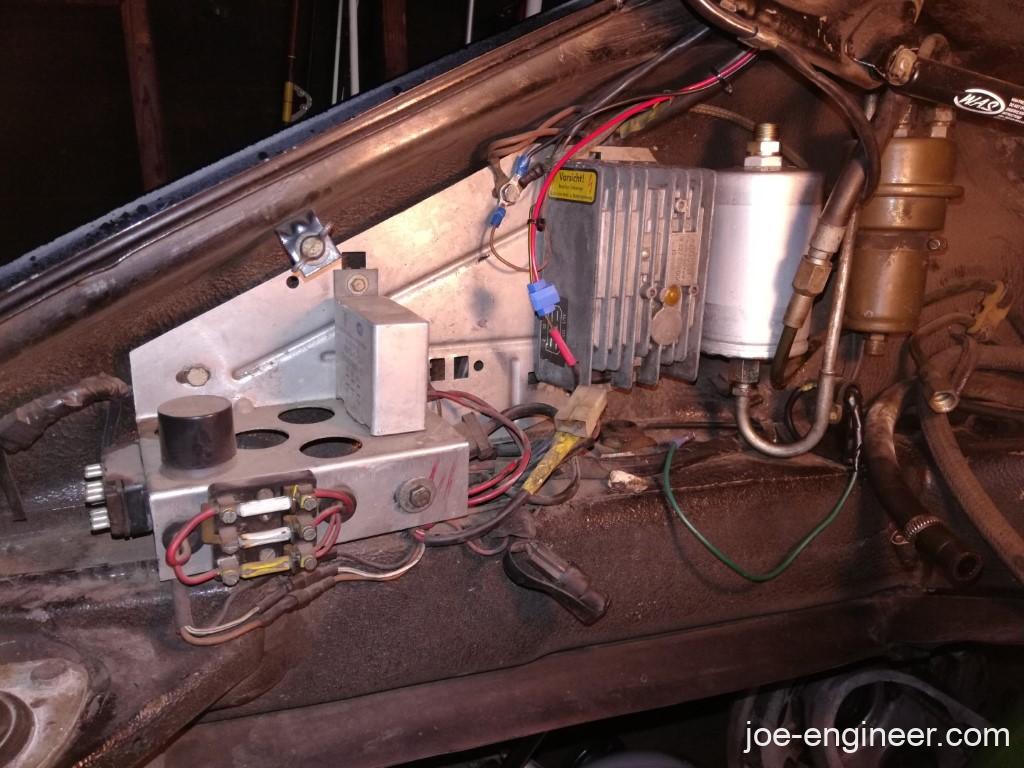
The aluminum electrical panel cleaned up nicely.
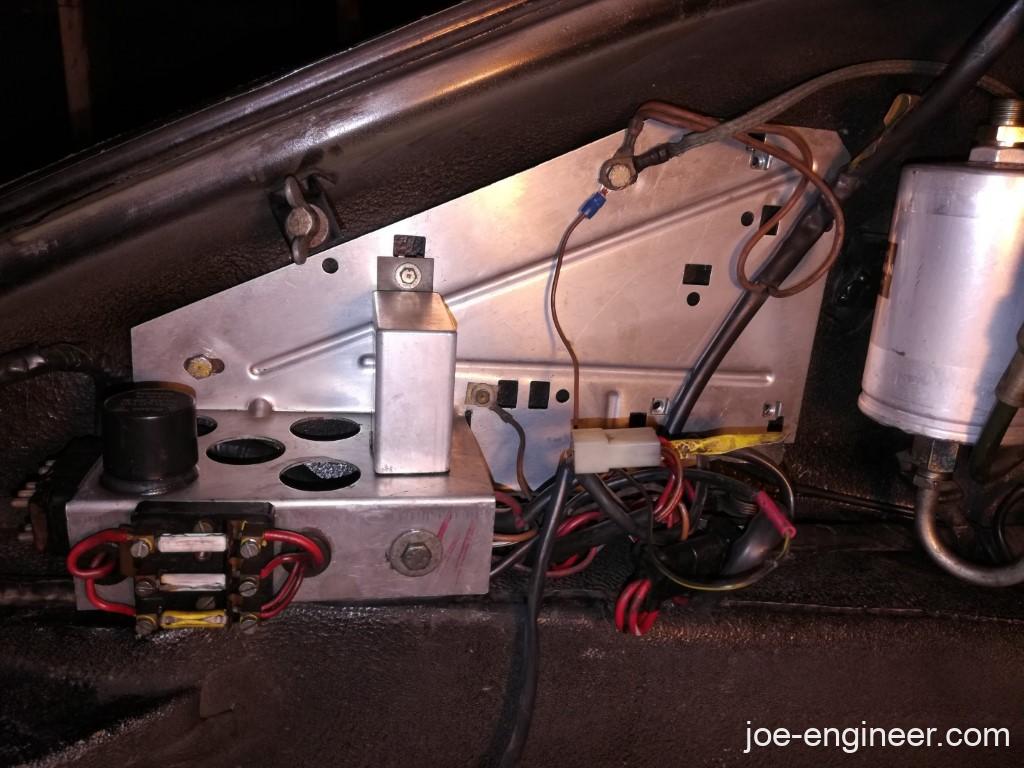
I installed my Parts Klassik CDI box and a new fuel filter. The accumulator is basically new as well. I replaced that when I first bought the car and has very few miles on it.
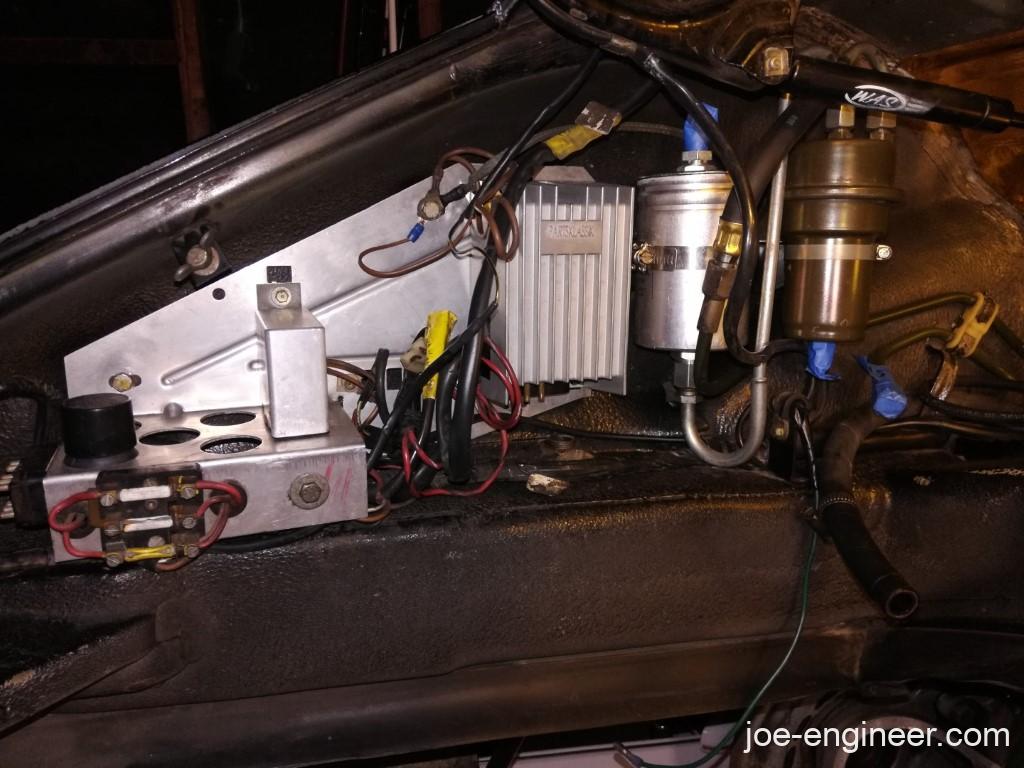
I mounted the vapor charcoal canister with new vacuum lines on the right side.
And that’s basically it. This space is ready to receive a new engine very very soon. 🙂 I know this has been slow and OCD but I want the engine bay to look perfect. When you walk up to the car, its exterior is going to match its odometer reading, but when you pop the decklid I want it to break necks.
Next time we will take care of one last detail on the back end of the car. Figure out how to fix my broken decklid third brake light.