
Porsche 911 CIS Reassembly Part 2
We are closing out this Rube Goldberg fuel system rebuild today.
This is it, the home stretch. So close to having a complete engine.
We continued by connecting the auxiliary air valve.

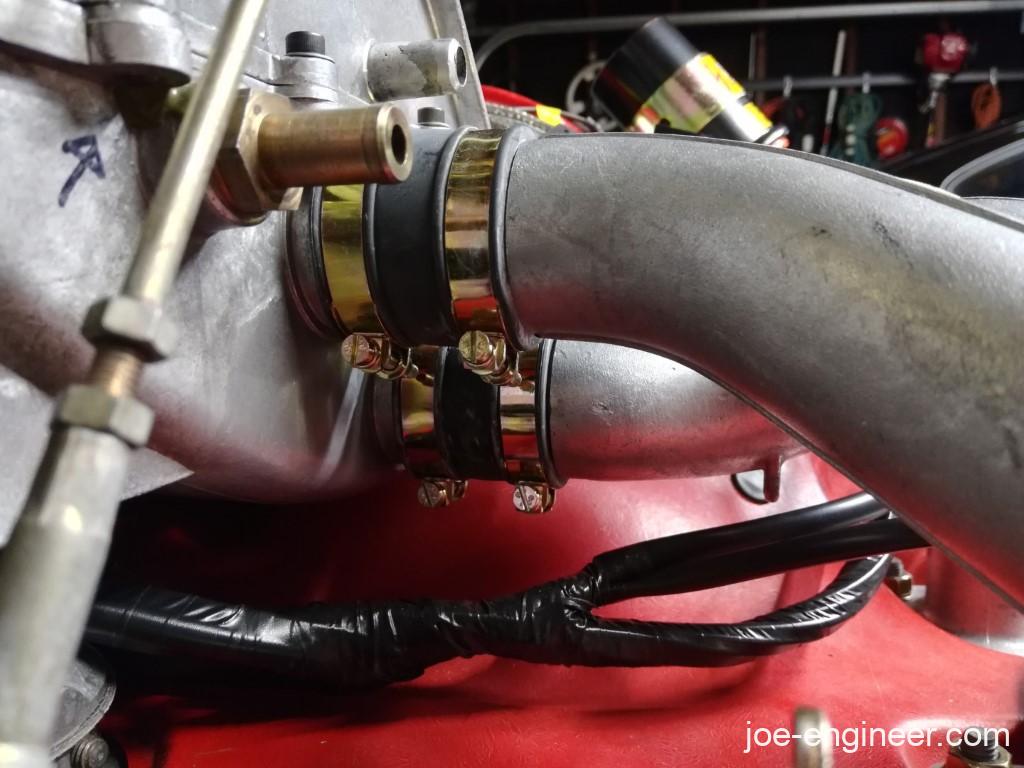
Then I lined up my boot clamps for future accessibility in the engine compartment.
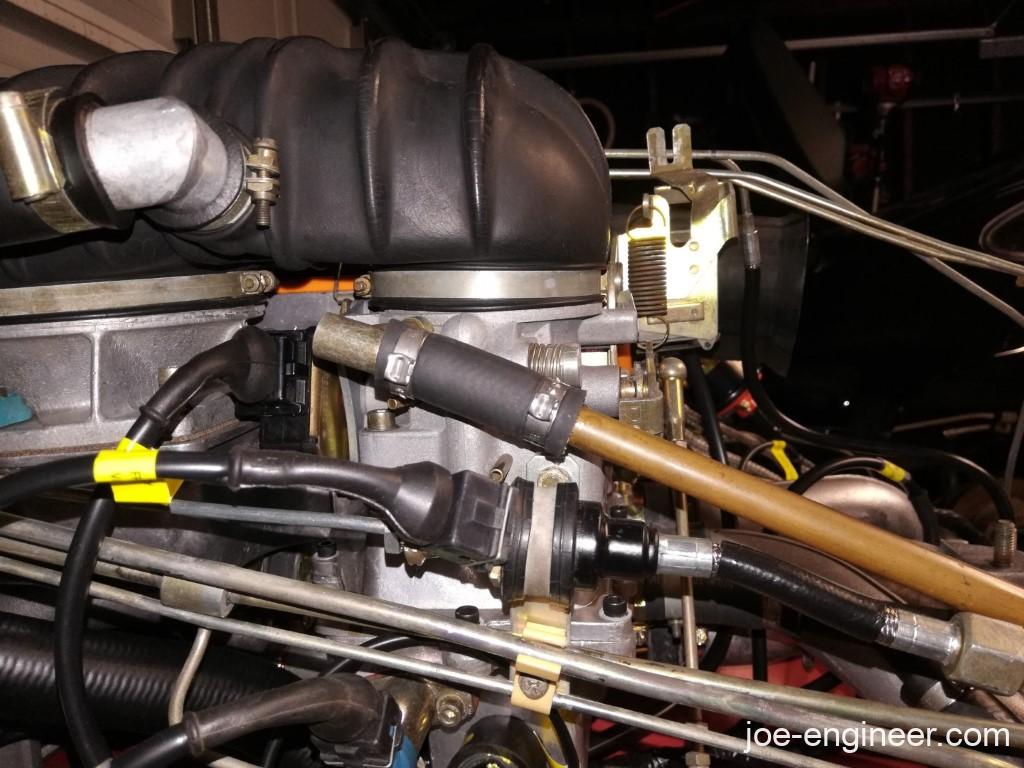
I added the little kickstand under the throttle body with a fresh rubber buffer. This supports the front of the airbox while the intake runners and their boots support the rear of the airbox. Then I connected the throttle rod.
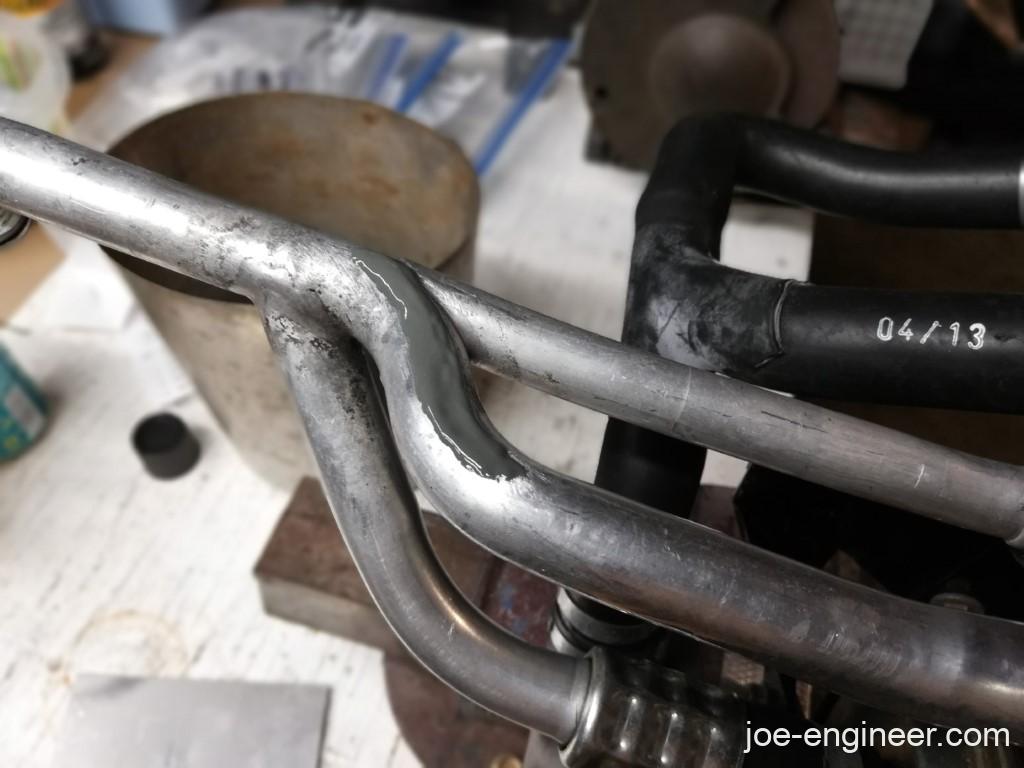
Here’s another small hiccup. There is a second support/kickstand that supports the airbox to the vacuum assembly and it was missing on mine. So the vacuum manifold was resting directly on that small gray fiberglass closeout panel on the shroud and over the years, road and engine vibration wore a spot on the panel and on the aluminum tube. I added the second support to elevate the aluminum tube off the closeout panel.
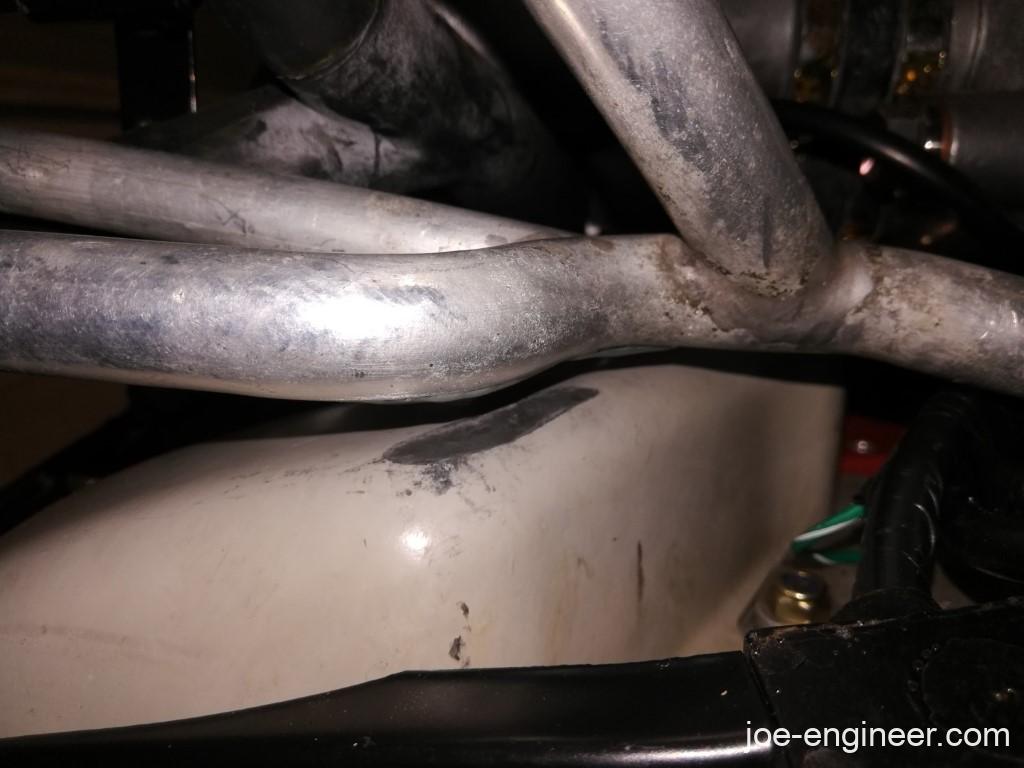
It didn’t wear completely through the aluminum tube, but just in case, I smeared some epoxy on that thin spot to build up the wall thickness a bit and prevent a vacuum leak later.
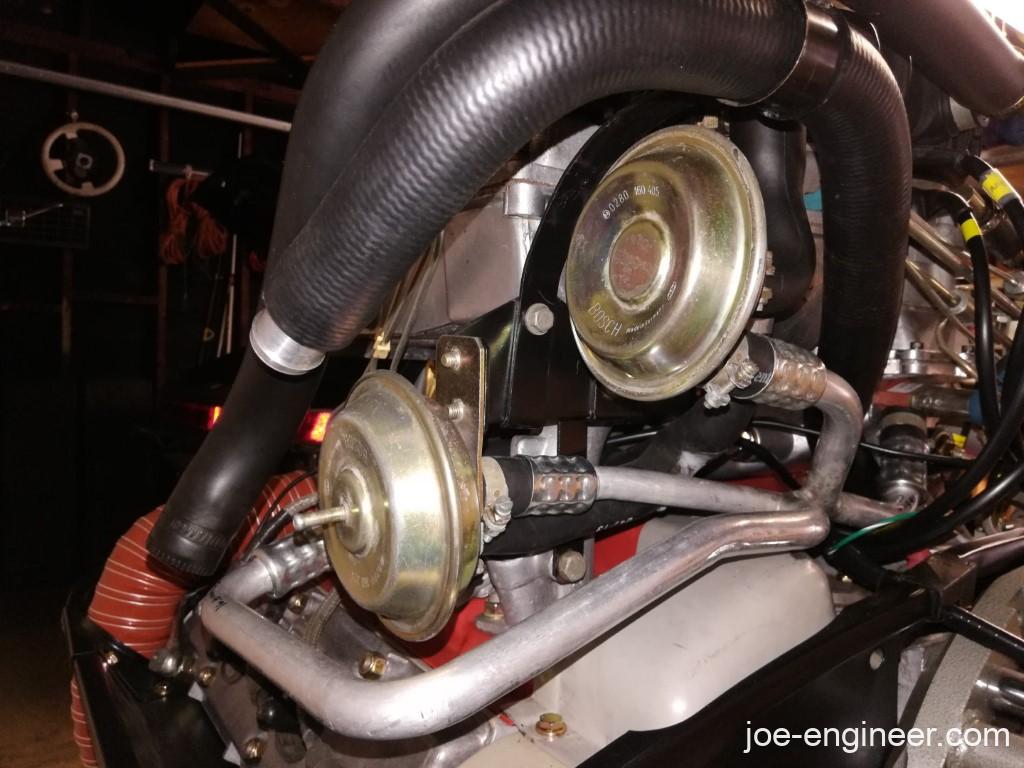
Next I mounted and connected my Tony Donato rebuilt and calibrated warm up regulator.
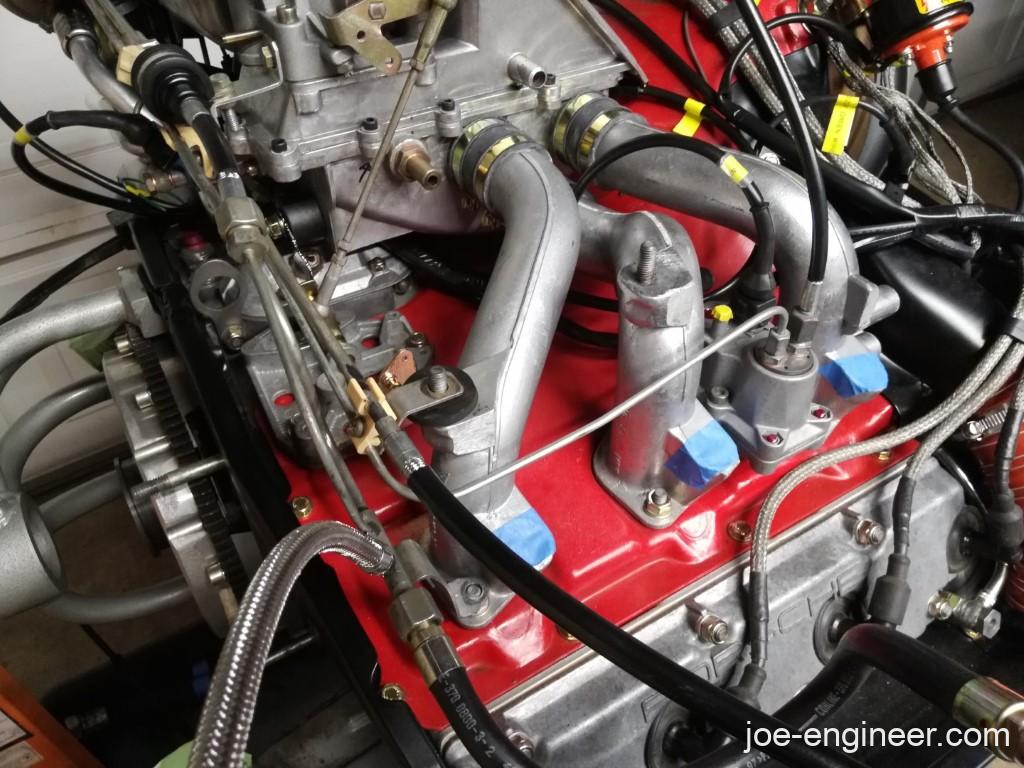
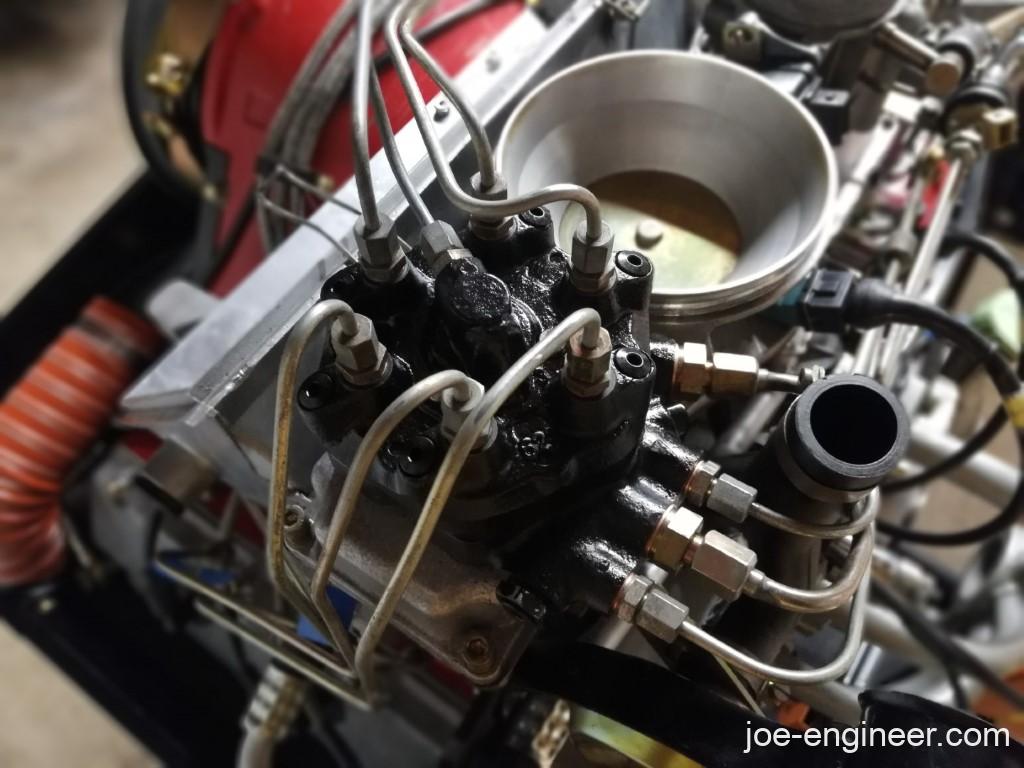
It was now time to install my fuel lines, but there arent really any clear diagrams and the teardown photos I took did not help much, so I asked for help.
I wish I had a methodical description for these but I dont. If I understood exactly how the fuel was flowing through the system I would have figured it out but I didnt. I just lightly assembled them, looked at photos and CIS diagrams, and eventually got them all to line up correctly.
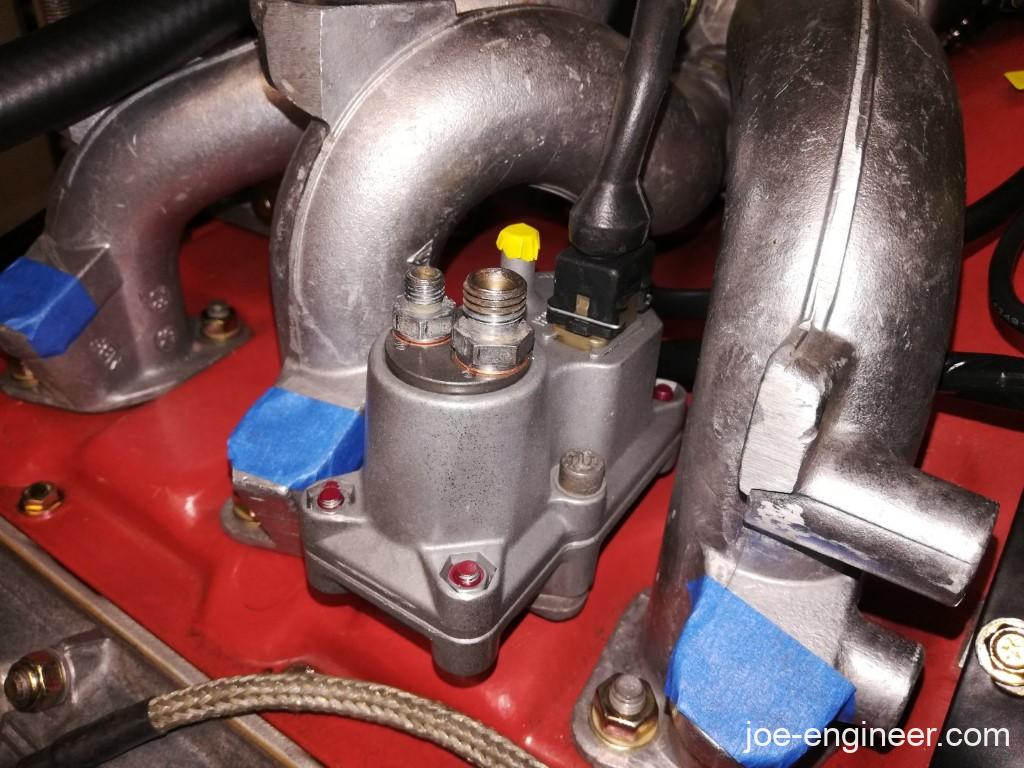
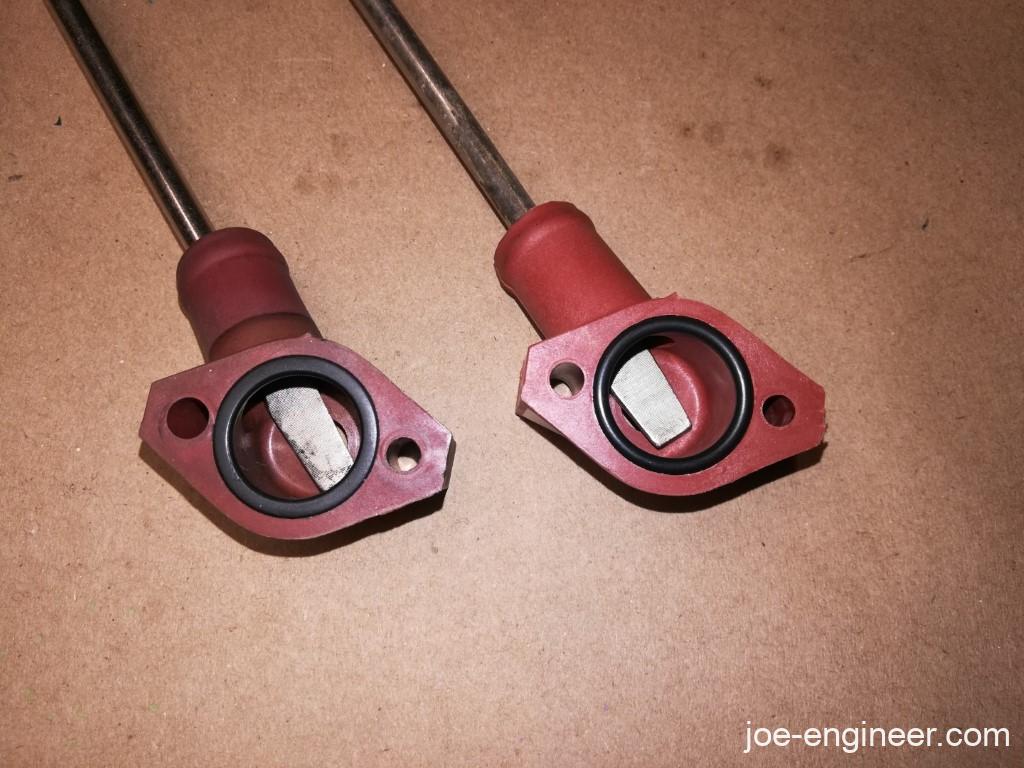
After connecting the cold start valve line I ran into a Pelican thread about some people who bought the mounting blocks with the open port and got some with sealed off ports instead causing start up and running problems. I looked back at my photos to double check what mine looked like and I could not find a picture.
So I removed it to double check. Better safe than sorry. Old one is on the left and new one is on the right.
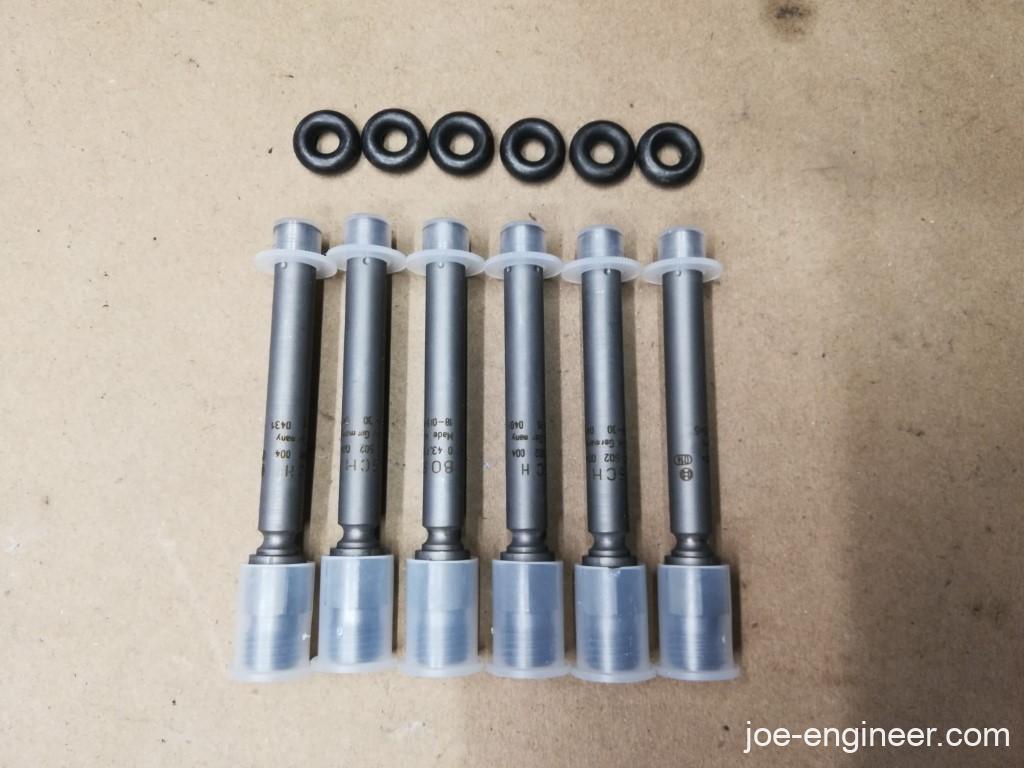
I cleaned my old injectors but later did not want to mess with testing them so I just bought new ones and popped those in.
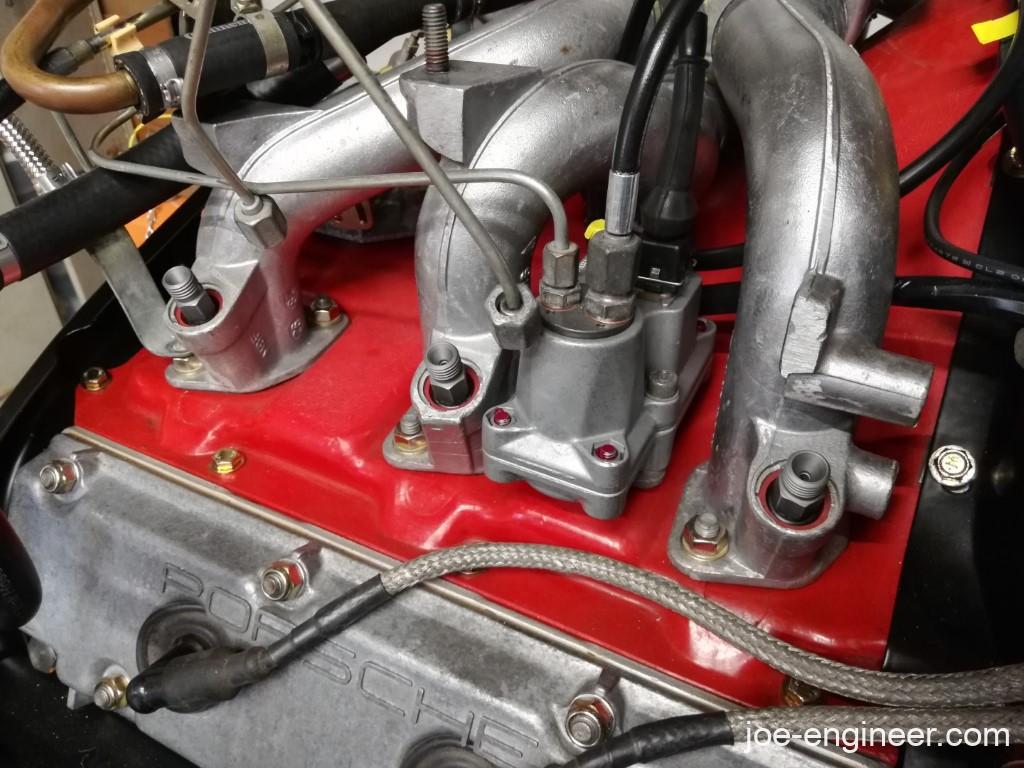

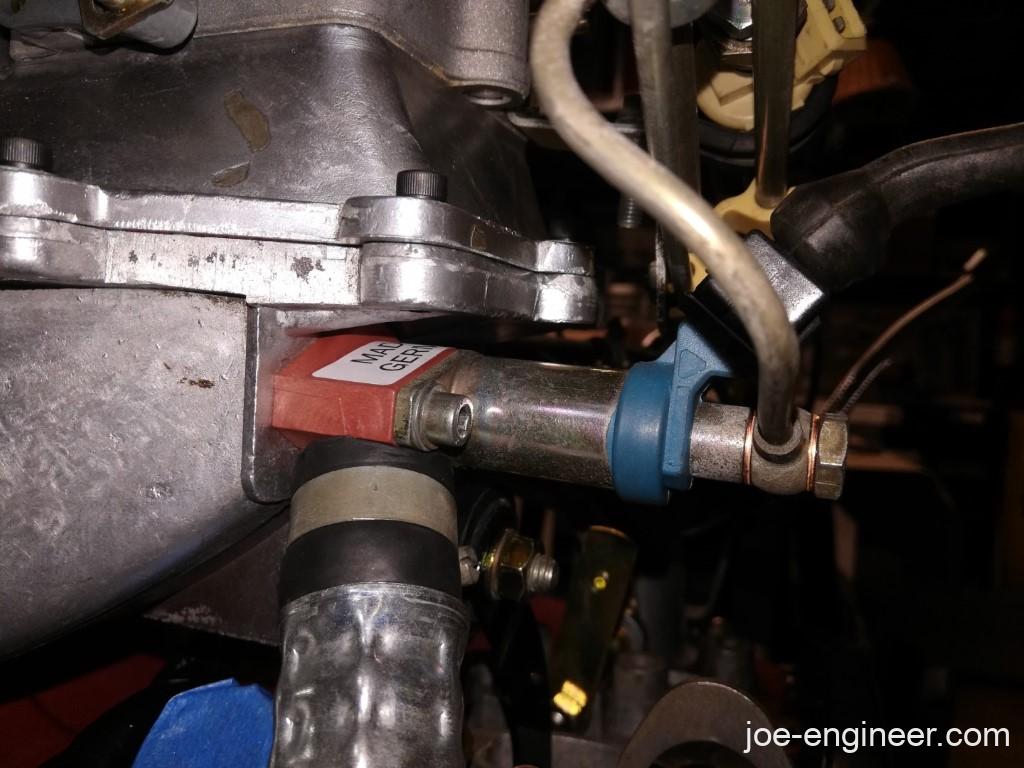
Then I sealed this venturi fitting into the throttle body with some green loctite.

Now that everything was connected I went through and snugged all the rubber clamps and fuel lines. This was scary because there is so much going on here that I didnt want to miss anything that could cause me problems later. I just imagined trying to diagnose a vacuum leak later and having no room to get to it, prompting another engine drop. I had to trust myself and just tighten them to where I felt it was enough and move on.
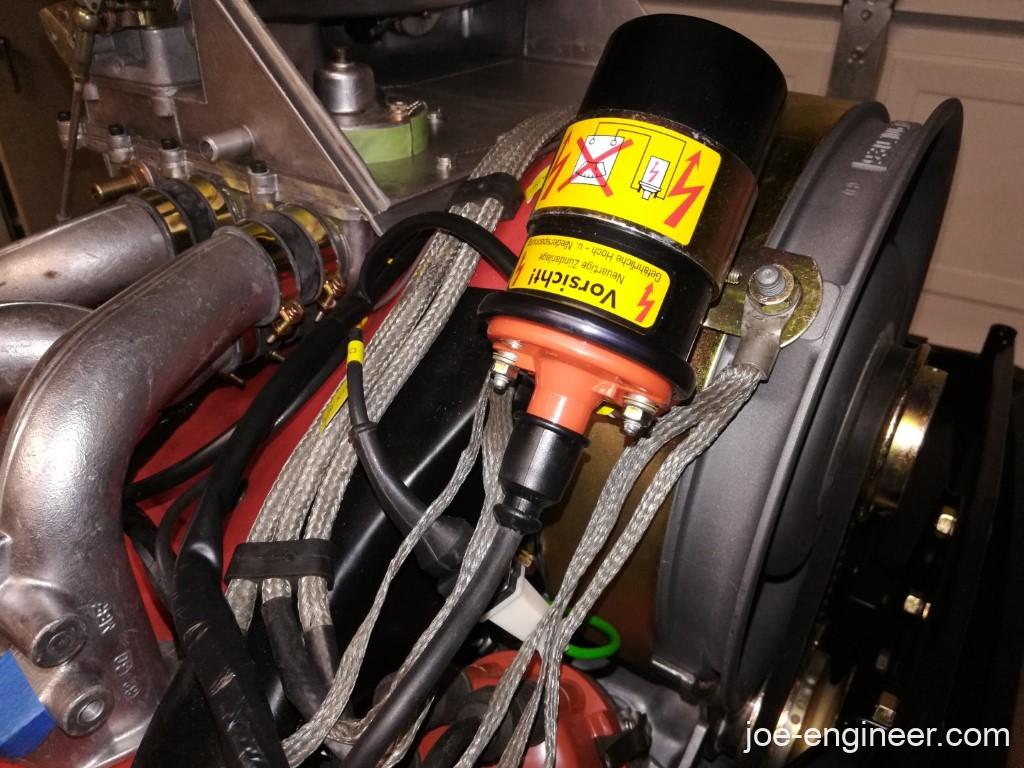
I sourced a new lambda harness from Dennis Powell. Again, in this case my old harness was intact, but I did not want any brittle wiring causing me CIS diagnosis headaches later.
Take note that this is what I believe separates my CIS build from other ones. I thought about each subcomponent and how difficult it would be to diagnose problems with it down the line. For me, the simple mechanical subcomponents would be relatively easy to diagnose and test later but wiring issues would cause me greater frustation, so I decided to get a new harness rather than re-use my seemingly still good old one. That removes the harness from the troubleshooting equation every time. This was the deciding factor on whether I should re-use an original component or spend the money to have a professional rebuild a part. I needed to set myself up for success and make sure the troubleshooting was as easy for a first-timer (me) as possible while I learned the details of the system.

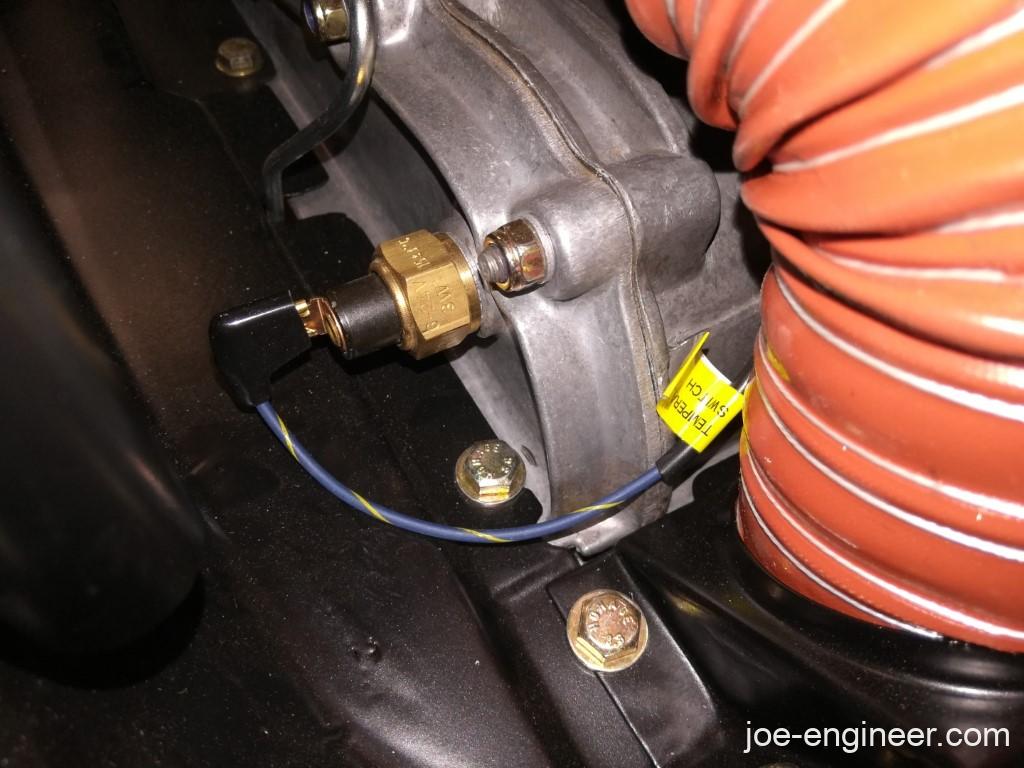
The right chain cover temp switch was connected. This was a new temp switch because my old one failed the bench test.
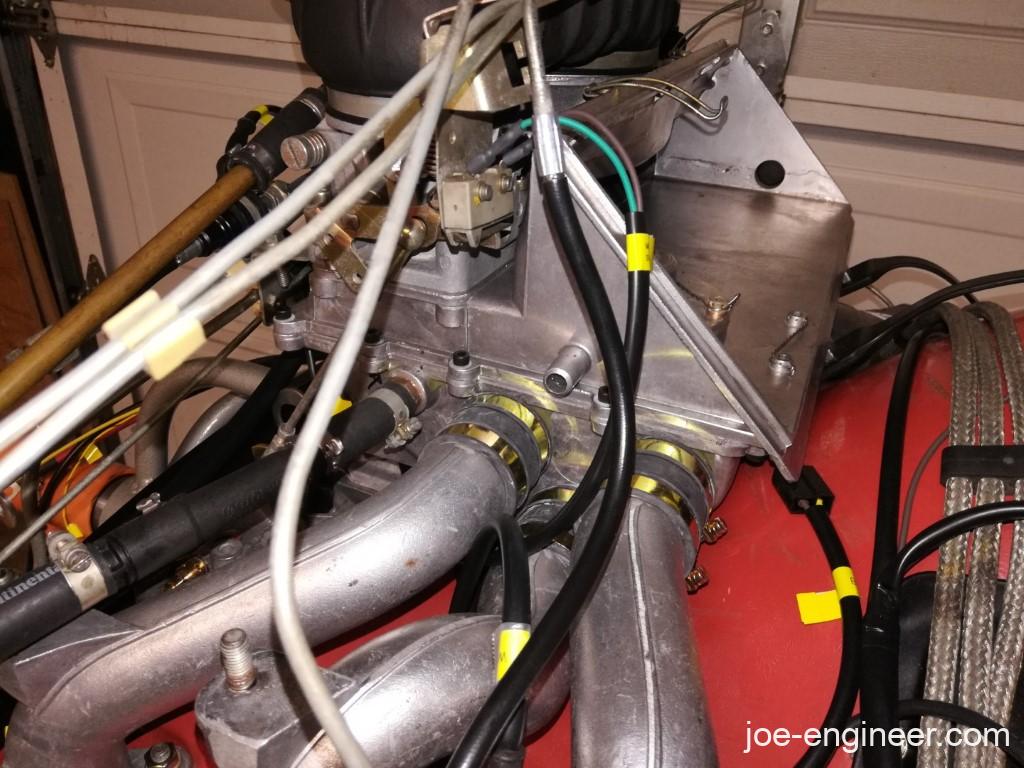
Next the frequency valve and rotary throttle switch were connected and the CIS top boot put back on.
The calibrated microswitch was connected.
New oil breather hoses were connected. Old ones were rock hard.
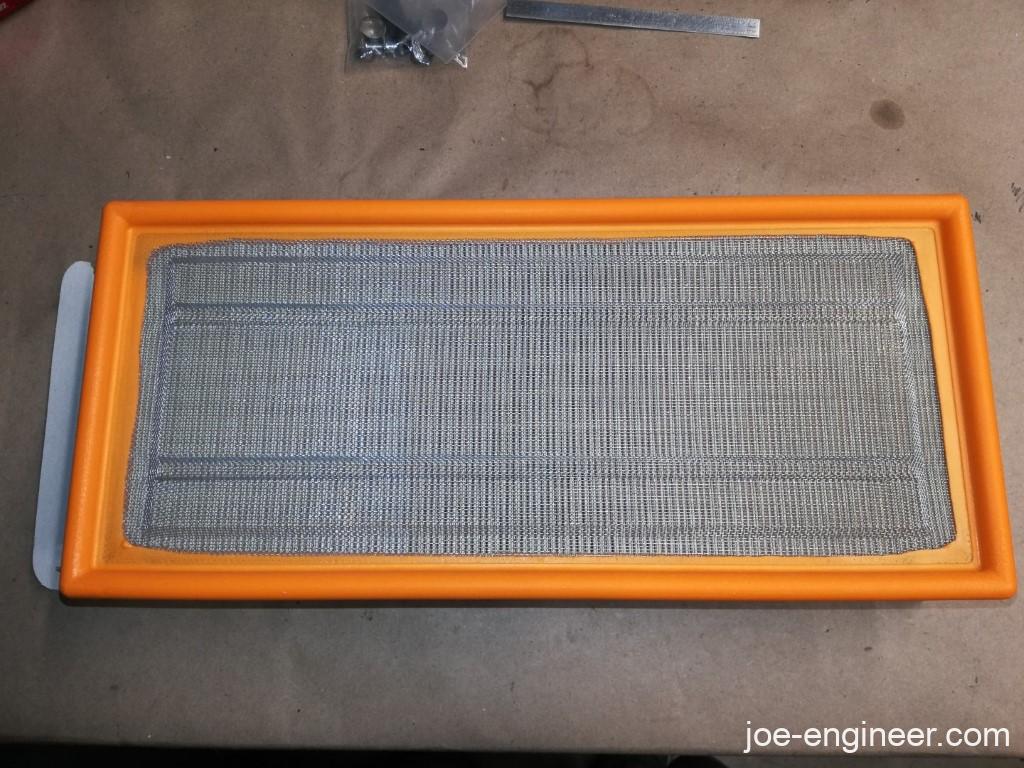
New paper air filter. If you want to know why I decided on a paper filter instead of a K&N drop-in oiled filter for “more power”, look back at the condition of my air valve when I first took the system apart. Not only was the air valve super greasy from swallowing breather hose engine oil but it was gritty too. So this engine had spent some time inhaling dirt and grit which I am sure did wonders for my cylinder/piston ring and valve stem sealing.
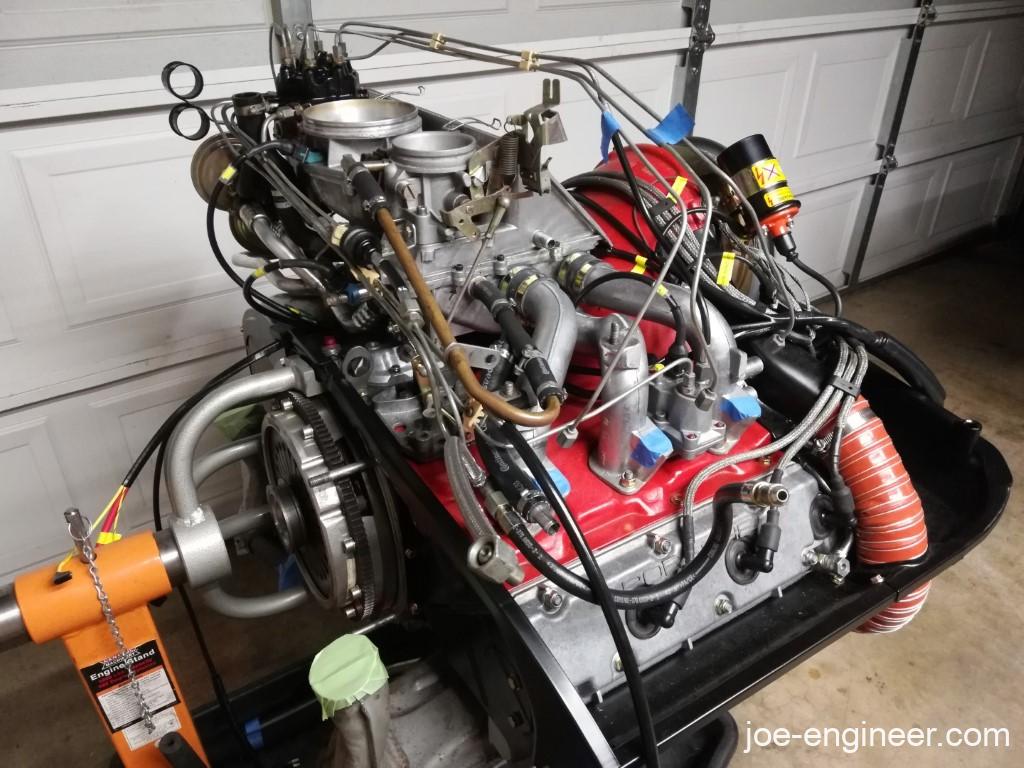
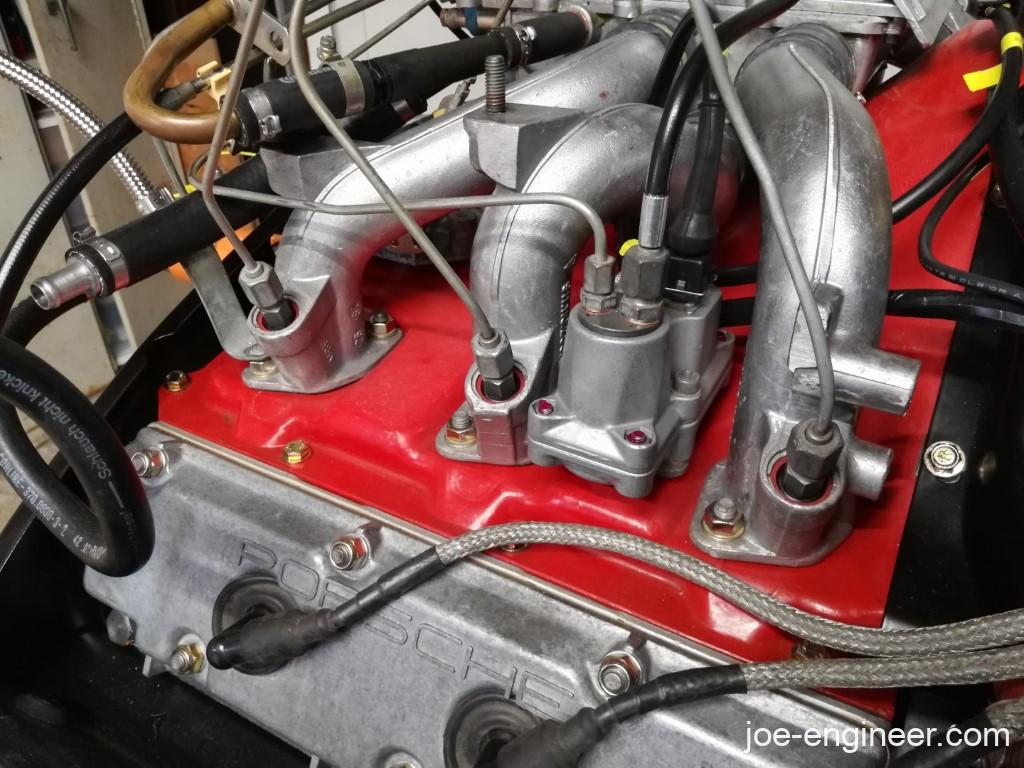
Finally done, except for the distributor vacuum lines which can be done later.
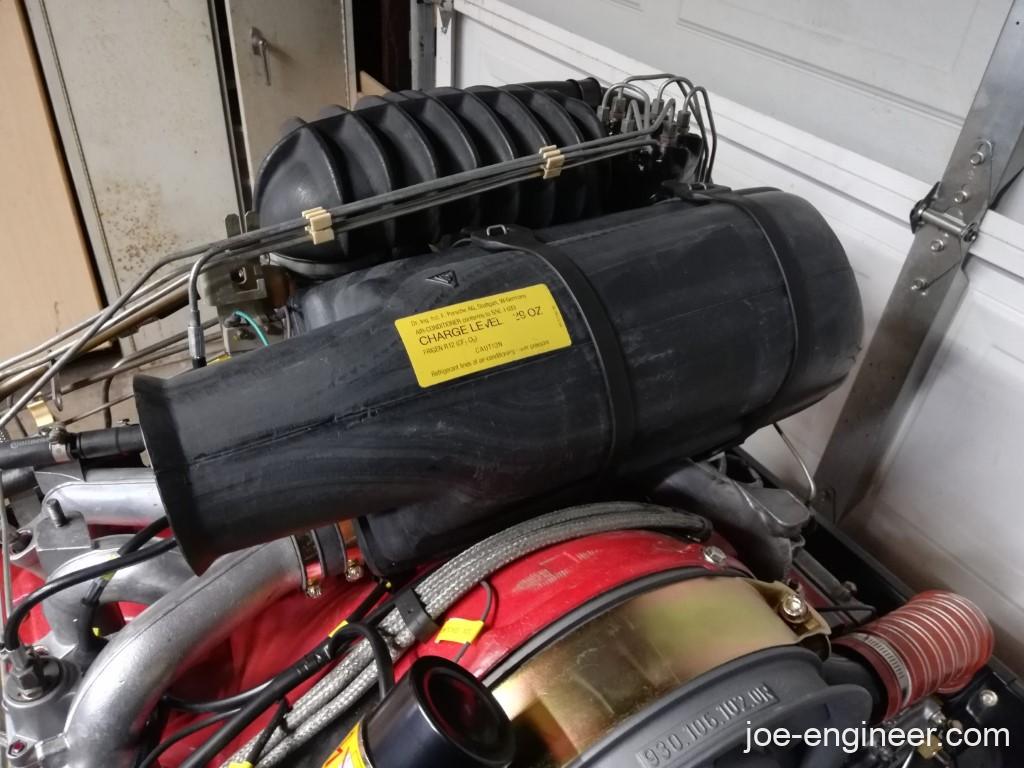
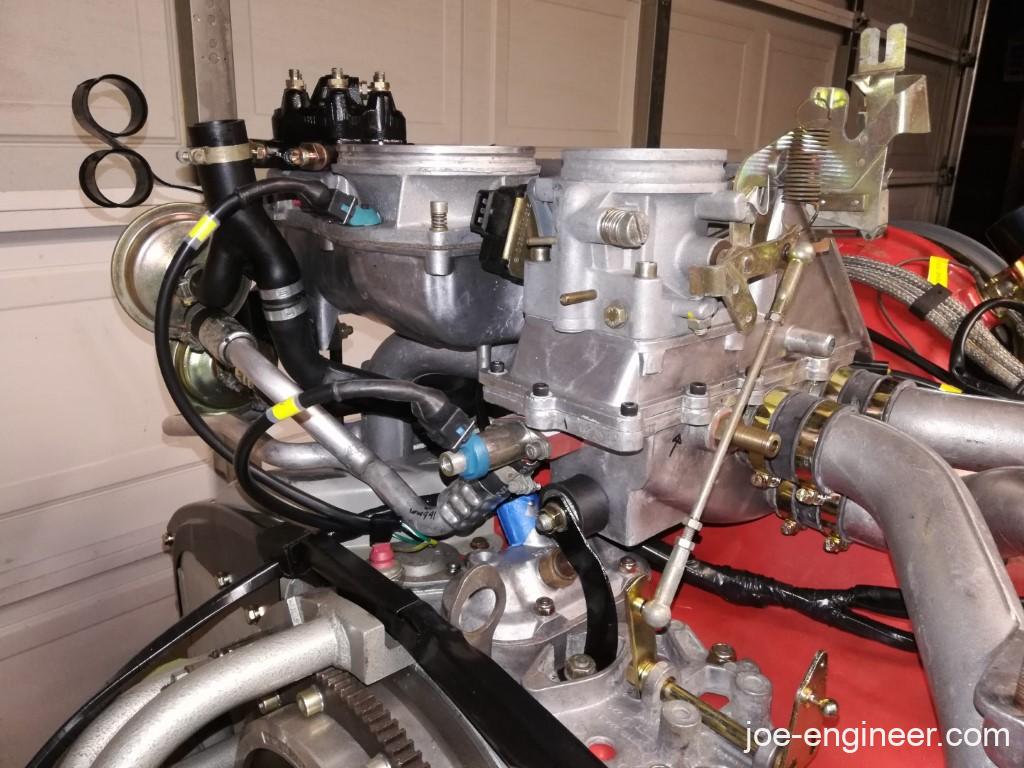
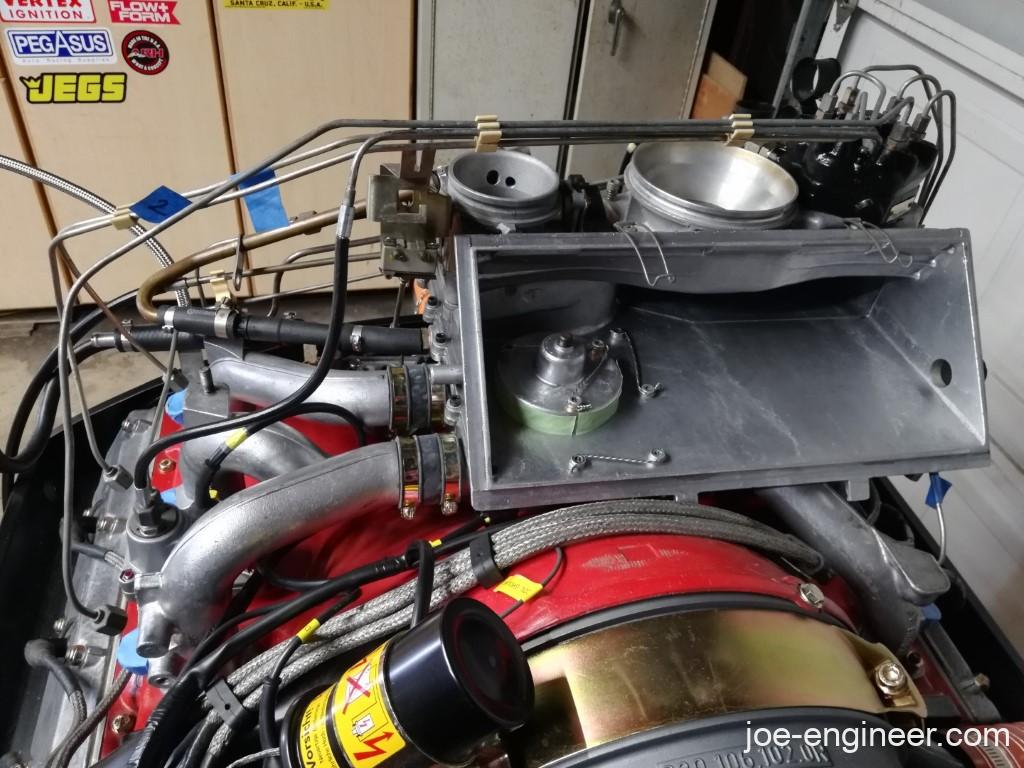
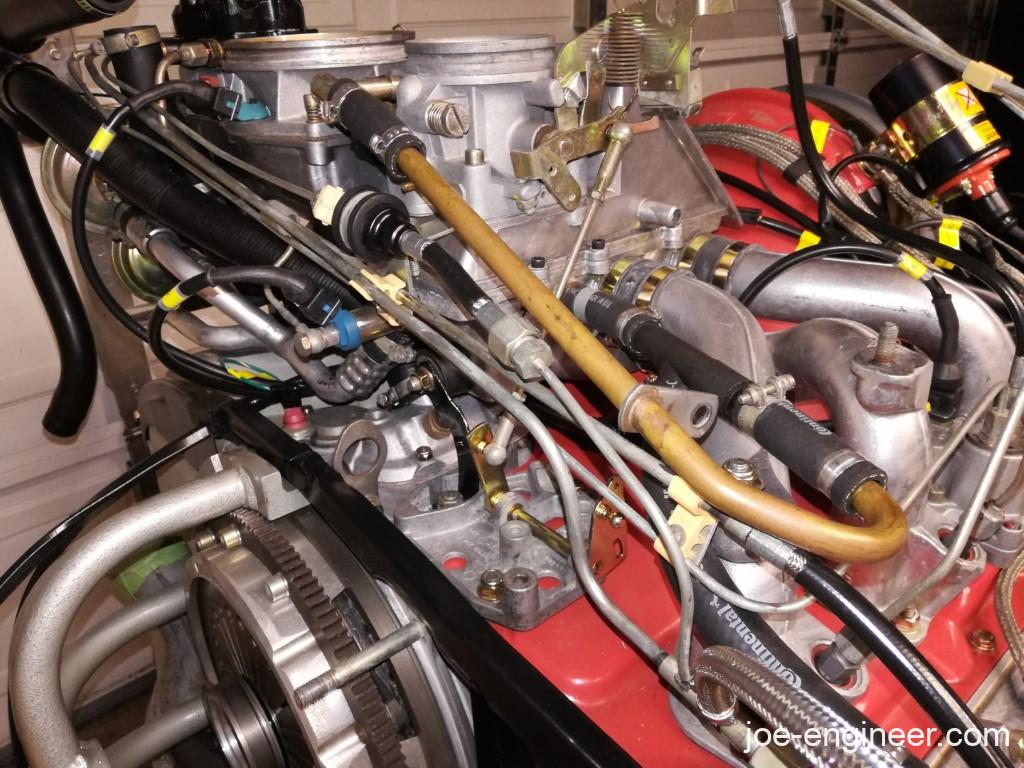
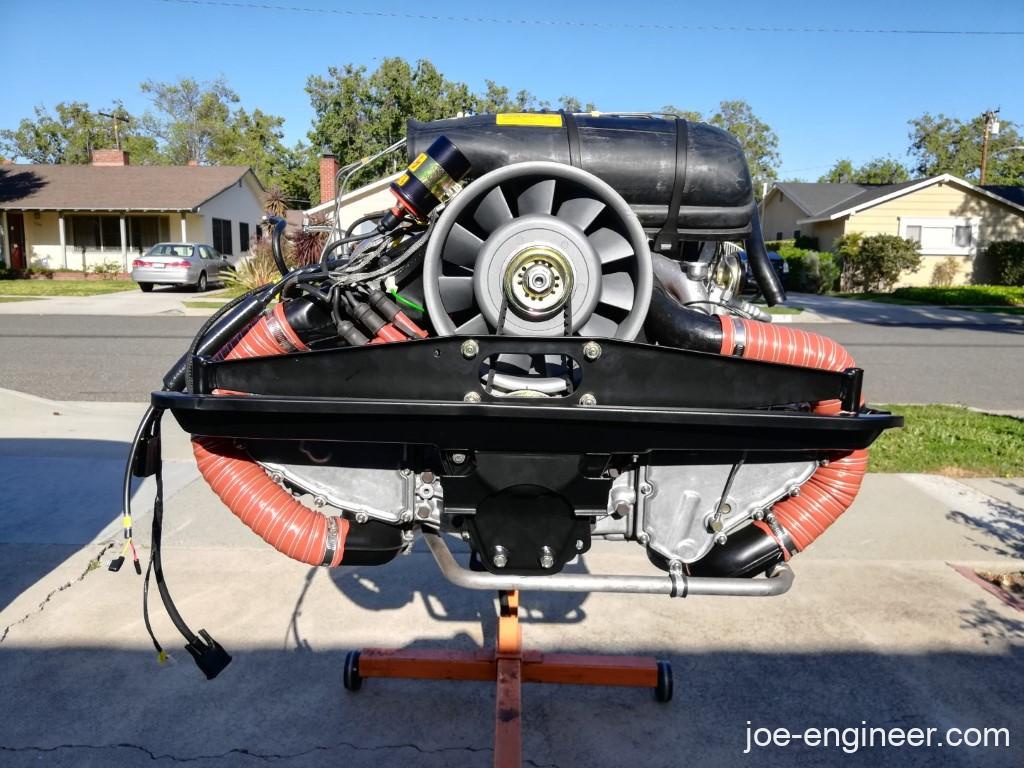
So after coming up for air after that deep dive, I think this is what a complete 1983 911SC 3.0L air-cooled flat six CIS lambda motor is supposed to look like.
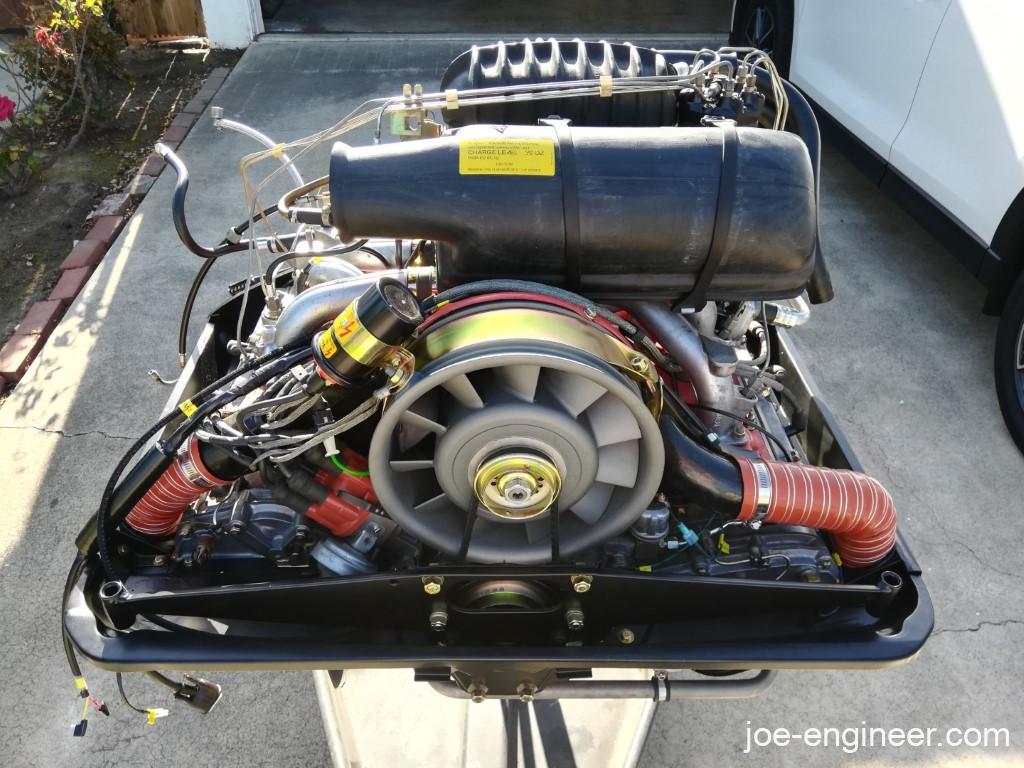
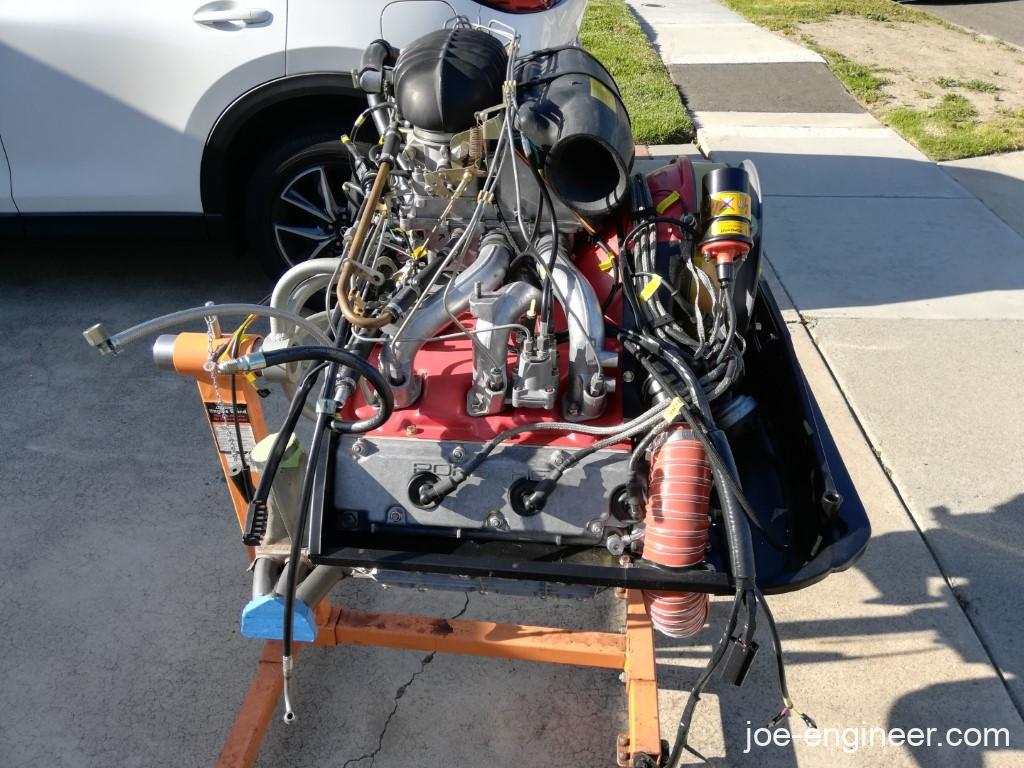

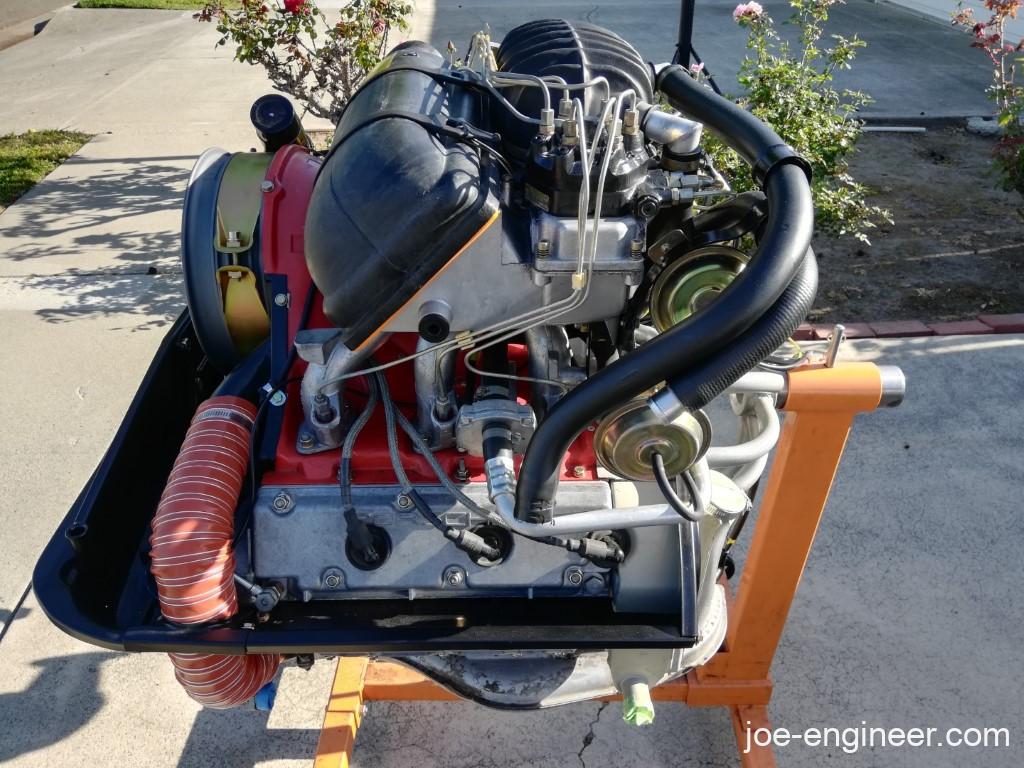

I couldn’t be happier with the results. It truly was a sight to behold out in the sunlight.
That’s it for this CIS assembly saga. It is far from over though; there is a lot of CIS tuning that needs to happen once its back in the car. That will be an adventure in itself.
Next time we will lower the engine back down to the ground and mate it to the refreshed gearbox.