
Porsche 911 CIS Reassembly Part 1
Time to put this 500-piece fuel system puzzle back together.
Disclosure: This post contains links to Amazon products and other trusted vendors. As an Amazon Associate I earn from qualifying purchases.
CIS Rubber Lines Replacement
After verifying that all my CIS subcomponents still worked correctly, it was time to replace all the dried out rubber bits on the vacuum subassemblies.
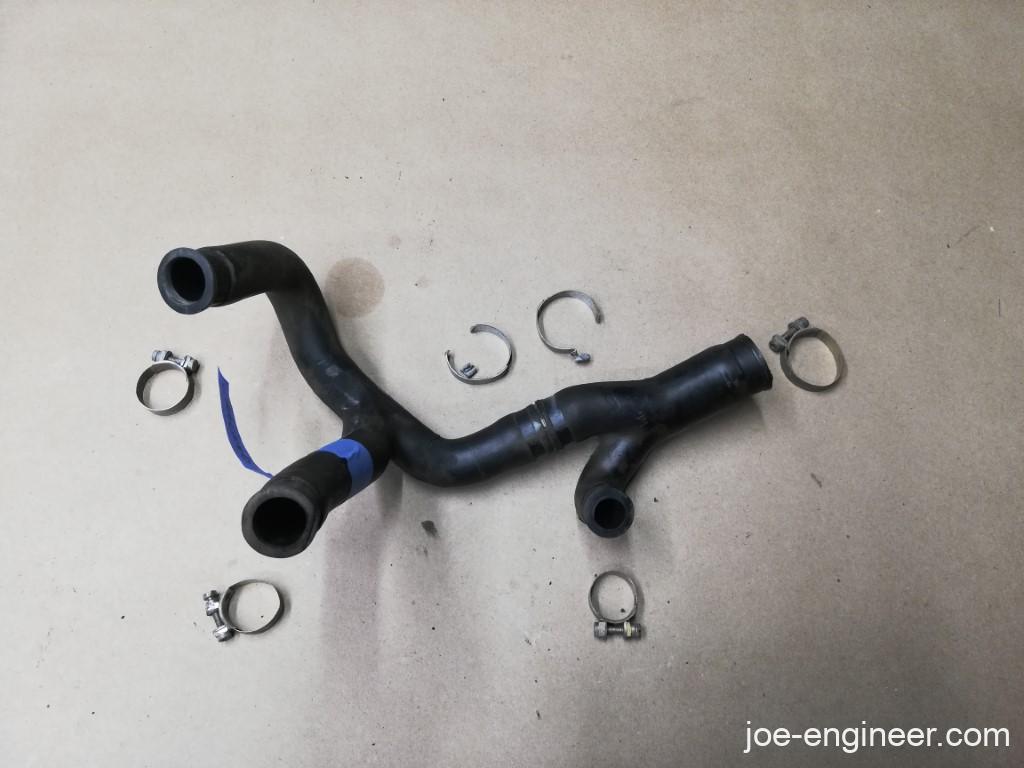
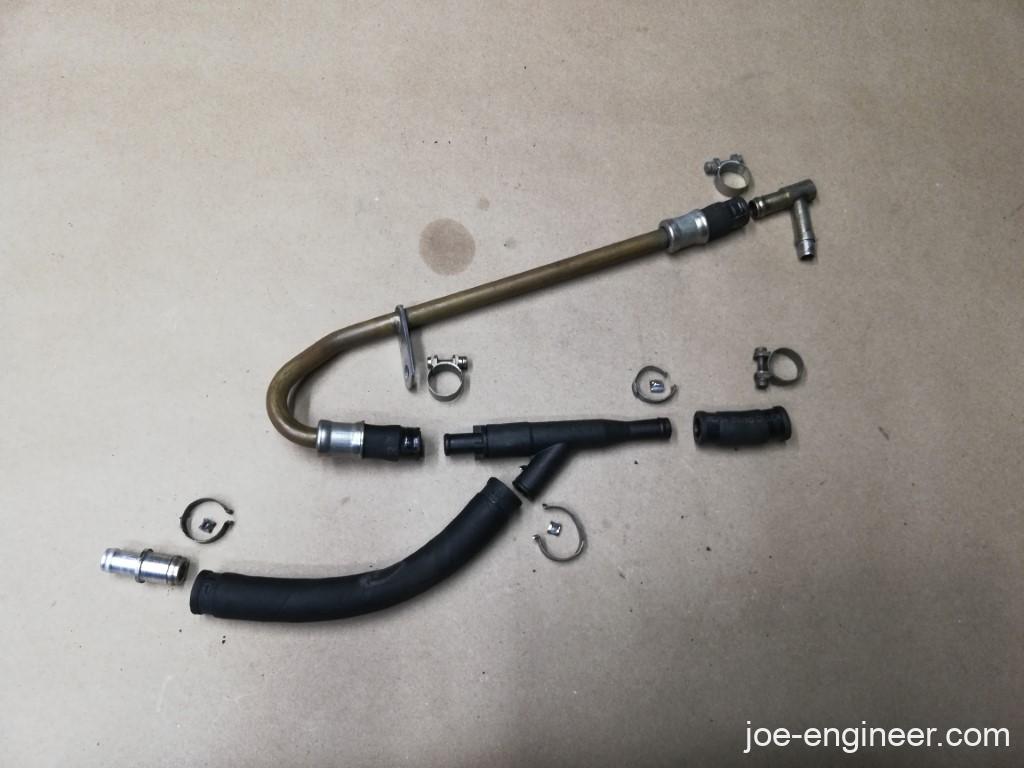
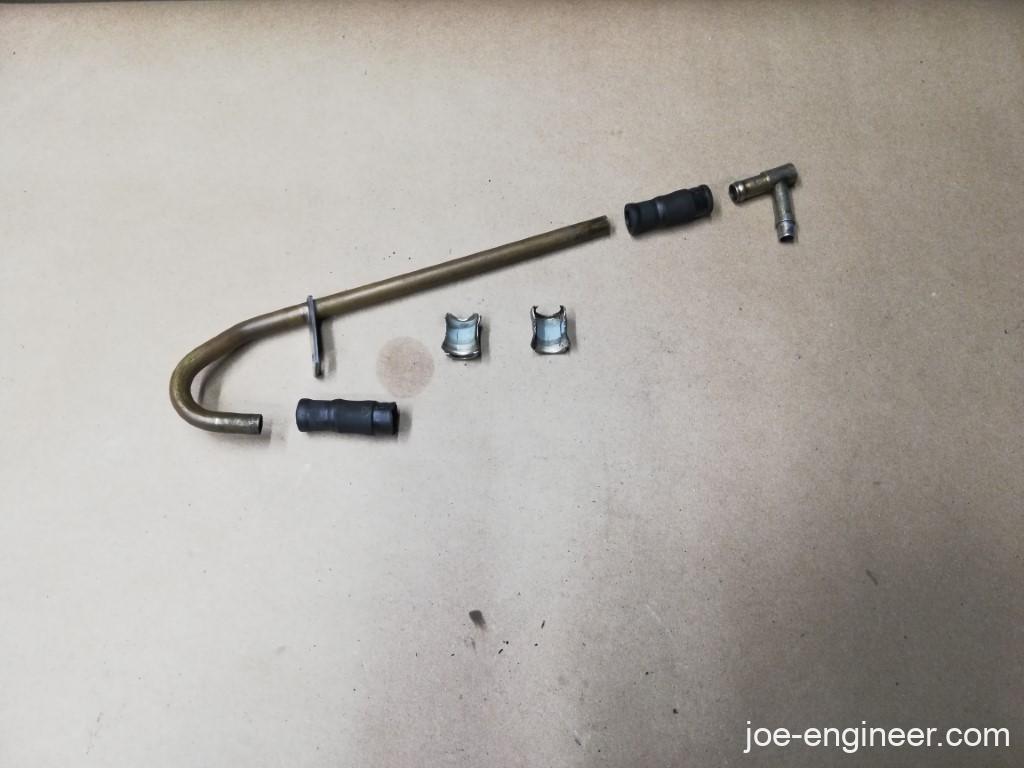
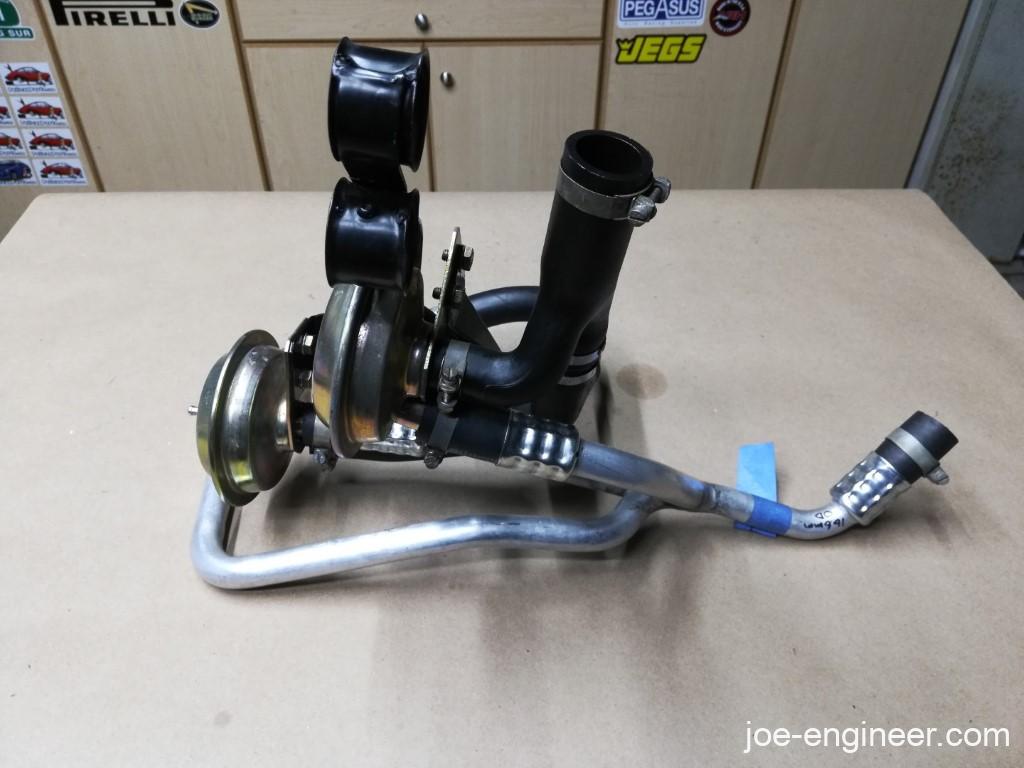
Here is this hard aluminum vacuum manifold with rubber bits:
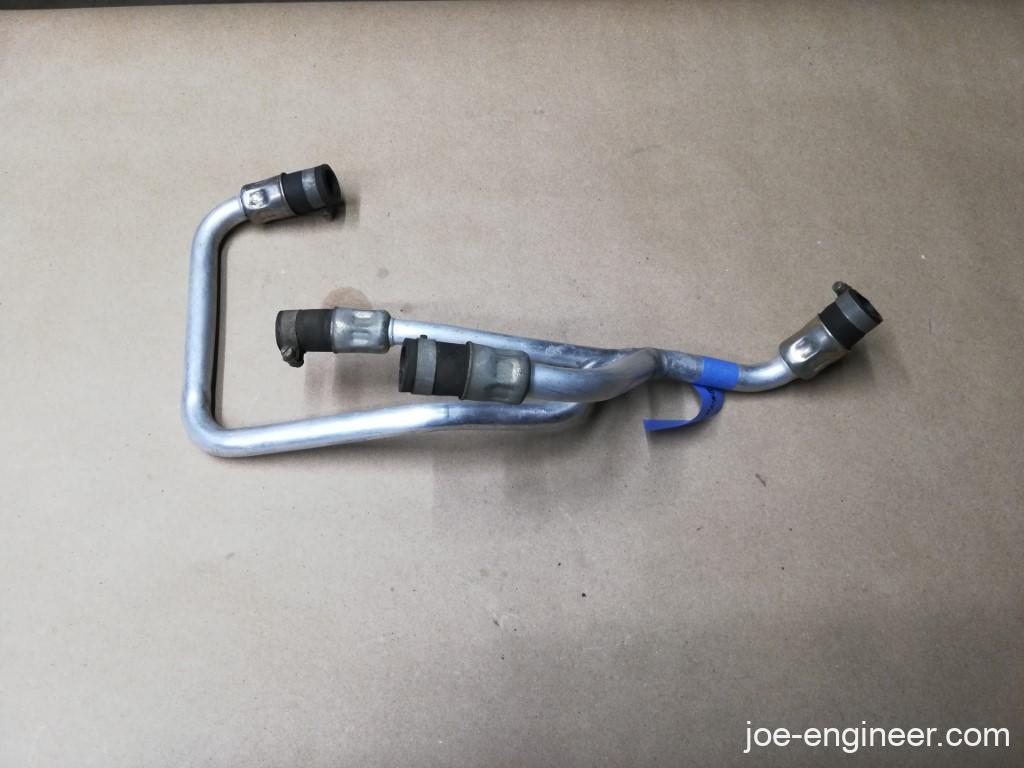
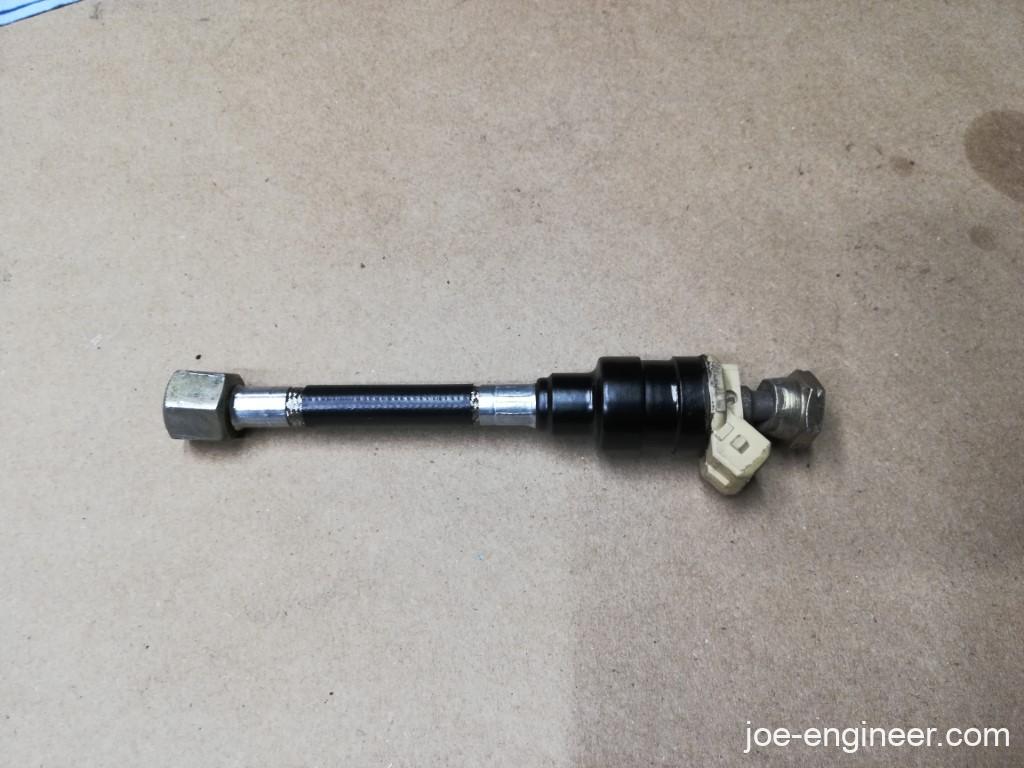
Mostly rubber vacuum manifold:
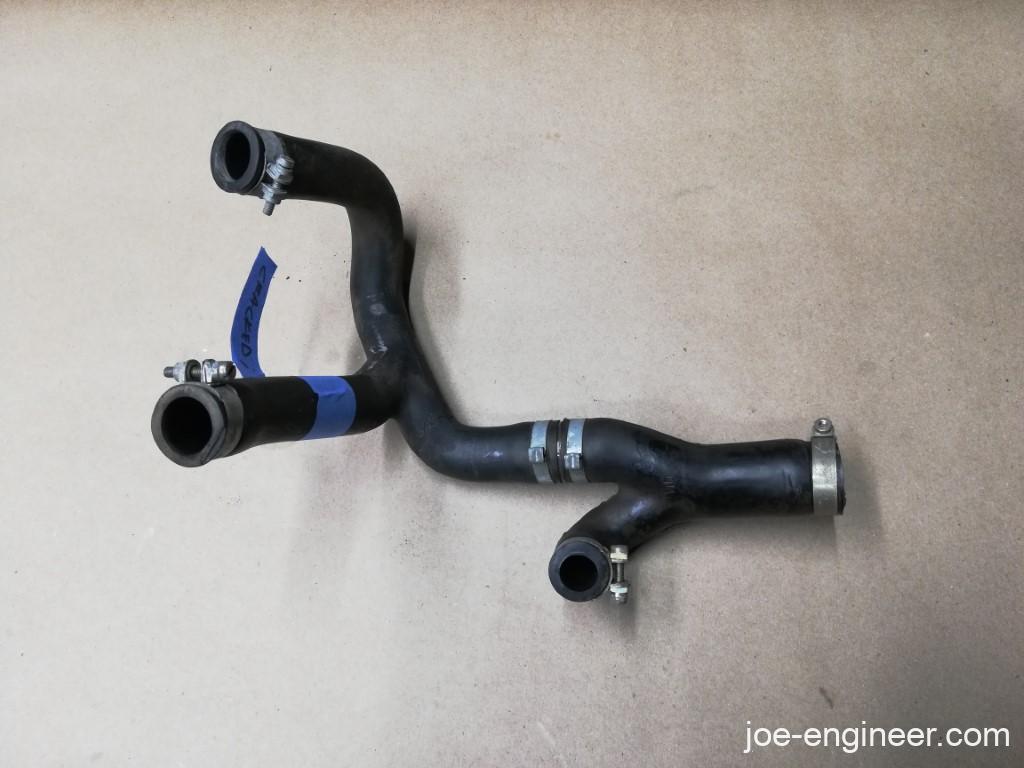
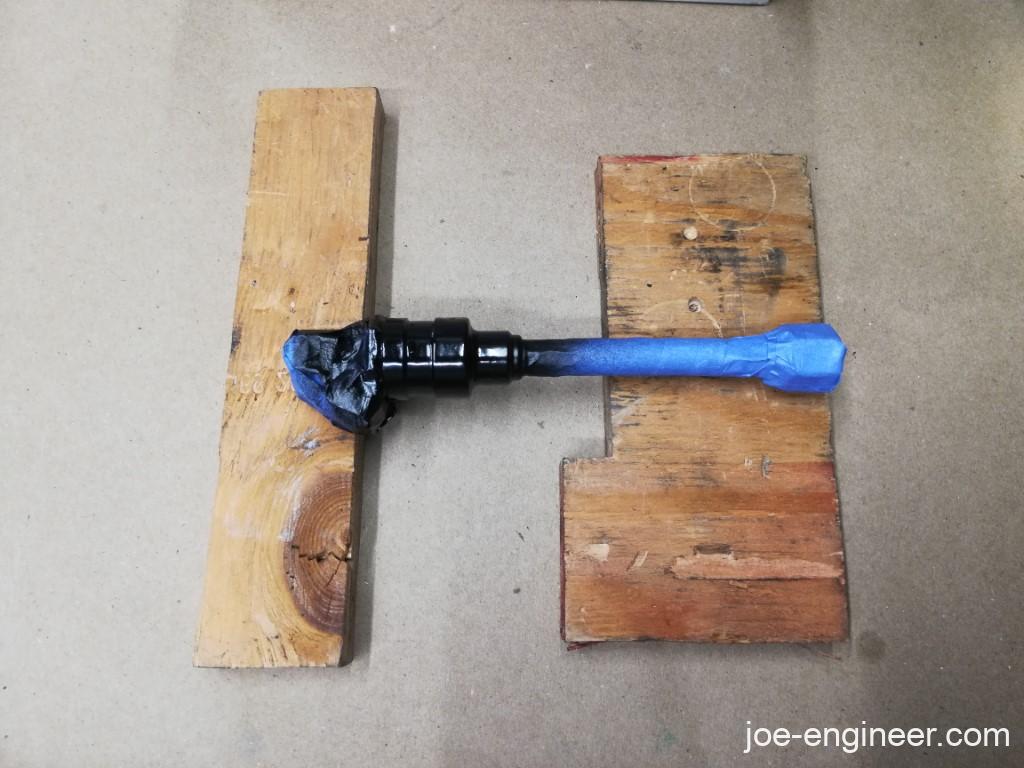
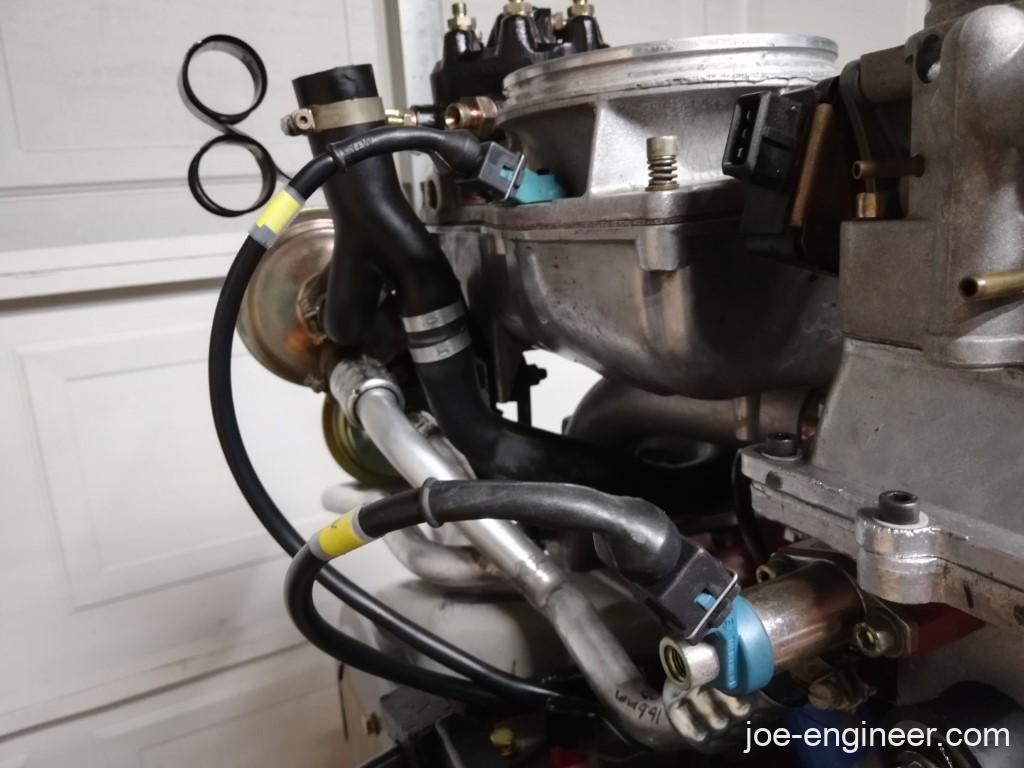
And the brake booster vacuum venturi:
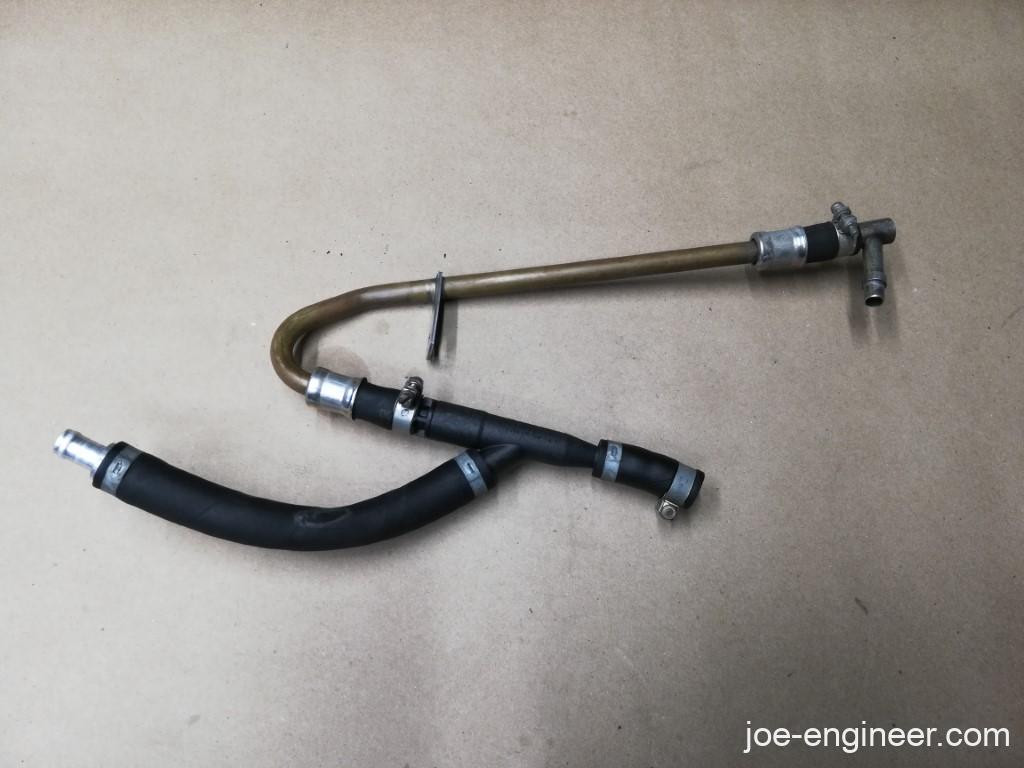
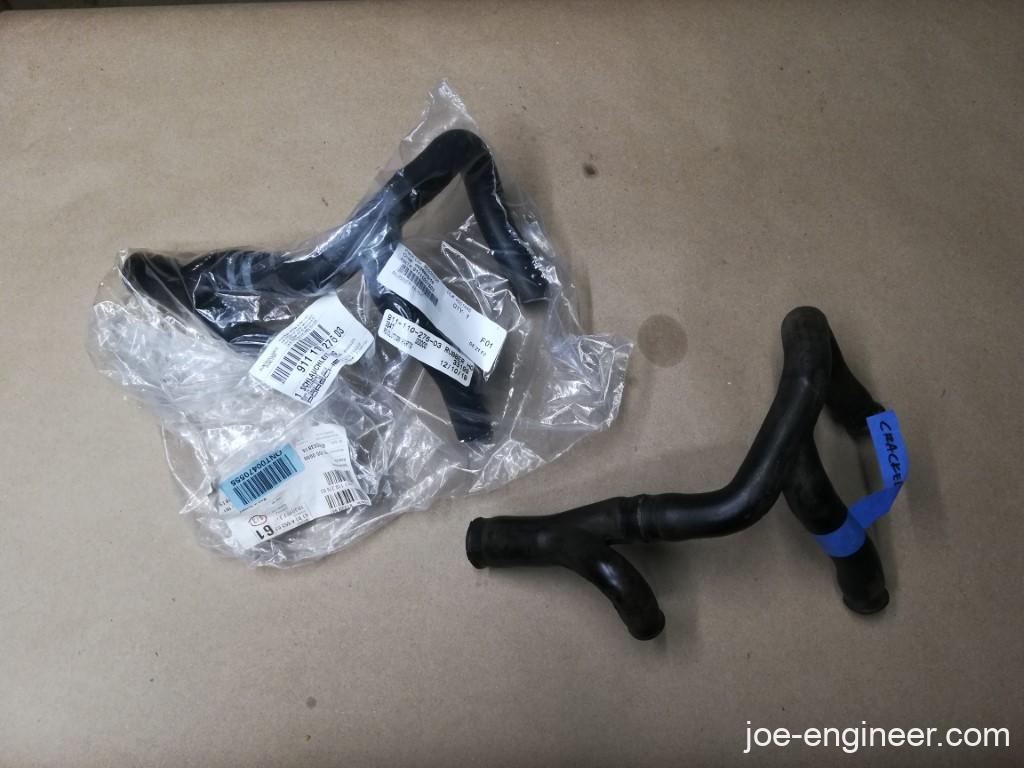
I found out soon that these were either NLA (no longer available) or stupid expensive. Actually they were stupid expensive even in used condition, identical to these.
No problem, I figured, I would try to replace the dried out rubber sections and re-crimp them myself. So of course I took them apart.
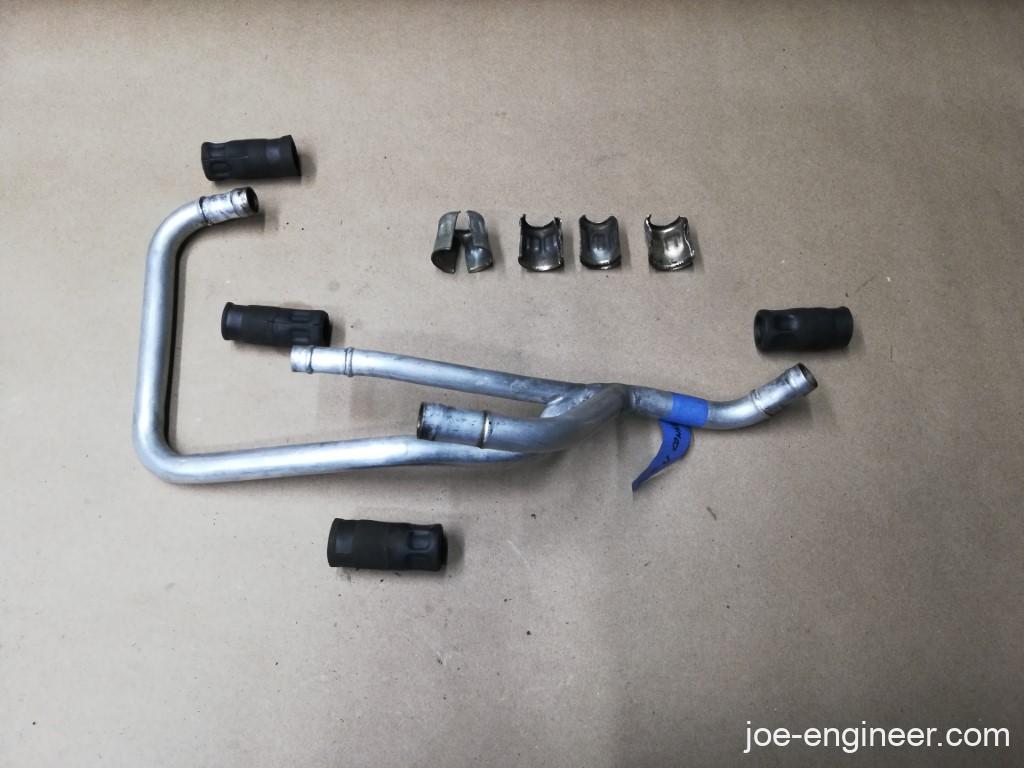
This was an exercise in futility because I came to the realization that the correct rubber lines and proper crimping tools are really expensive and not cost effective for doing this one single time on my car. I wasn’t ready to start a professional rubber line operation at home just yet. (hint hint anyone trying to get into the classic Porsche parts business 😉 )
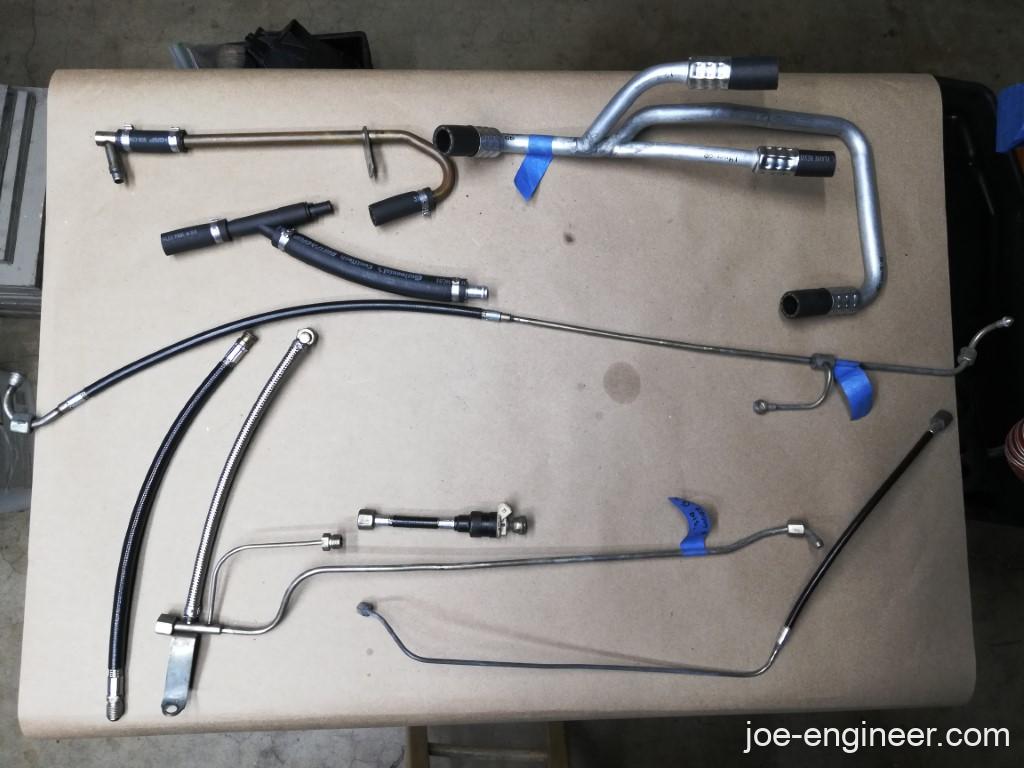
Fortunately I found a local hose rebuilder that specializes in drag cars but pretty much repairs most automotive lines. I wasted no time in dropping off all my old rubber to let the pros take care of it better and faster than I ever could for this rebuild. They rebuilt all my vacuum assemblies as well as those NLA CIS fuel line assemblies with hard sections and rubber sections.
I lucked out and found the all rubber manifold brand new at an East Coast Porsche dealership. Not cheap but I am not sure this would have been easy to duplicate and I have the reassurance that this OE quality part will be good for another few decades.
My frequency valve had a tiny bit of surface rust on the body itself so I sanded and sprayed it black again and made it good as new.
Time to put some parts together.
CIS Vacuum Manifold Assembly
CIS reassembly began with this complicated vacuum device subassembly.
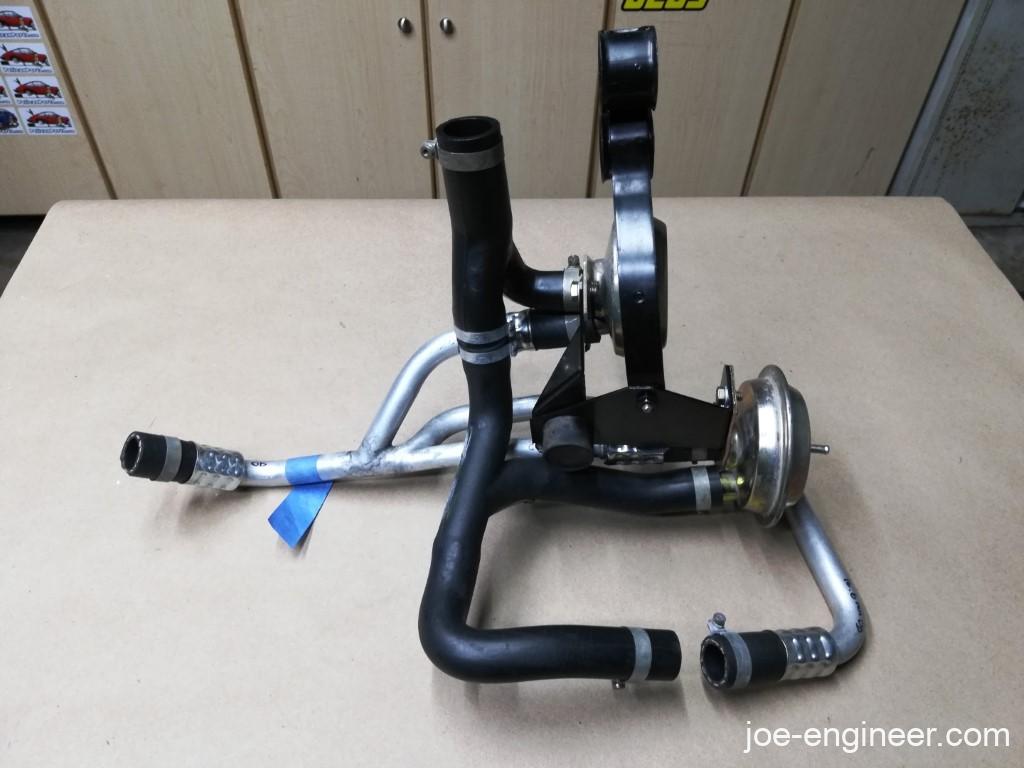
This is one of those items that has such a strange shape that its tough to do a step-by-step assembly description. I just referenced all my old teardown photos as well as the exploded view in the PET to put this back together.
Intake Runners and Aluminum Airbox
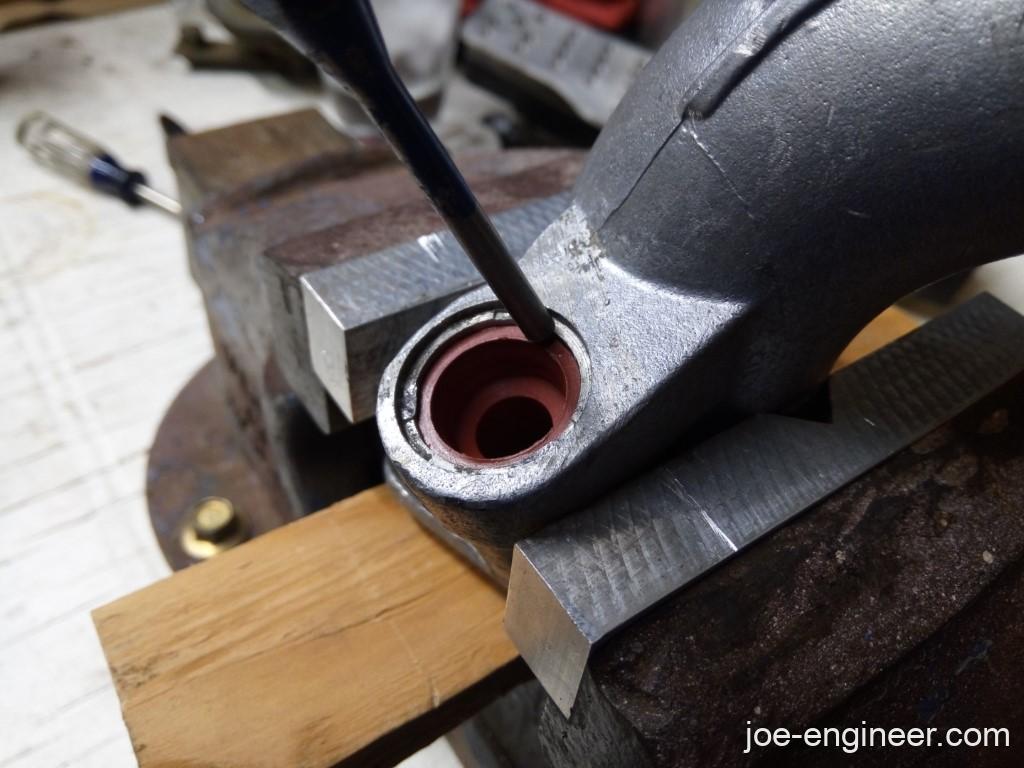
After cleaning the intake runners I needed to replace the old fuel injector sleeves stuck inside each one.
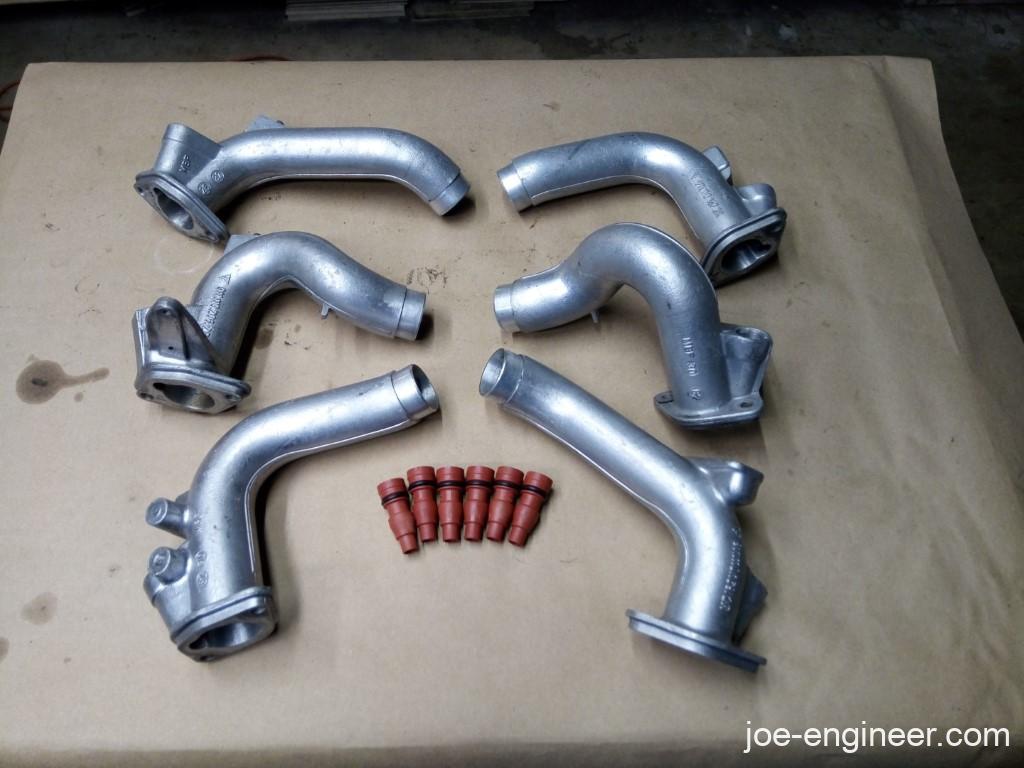
The sleeves are staked in place to make sure they don’t come out. First I had to carefully grind off each stake with a Dremel tool on the top side to allow the sleeve to come out. After that I tried pushing the injector sleeve from the bottom to make it come out of the top. Some of them came out easily, some were so brittle they broke inside the intake runner when I pushed on the bottom end. In this case I had to use a easy-out style of extractor tool to twist into the top opening of each sleeve, bite into it, and pull it out along with its old o-ring.
Then I cleaned up each runner and staked in a new injector sleeve with new o-rings.
After this I mocked them all up on the engine with nuts installed finger tight.
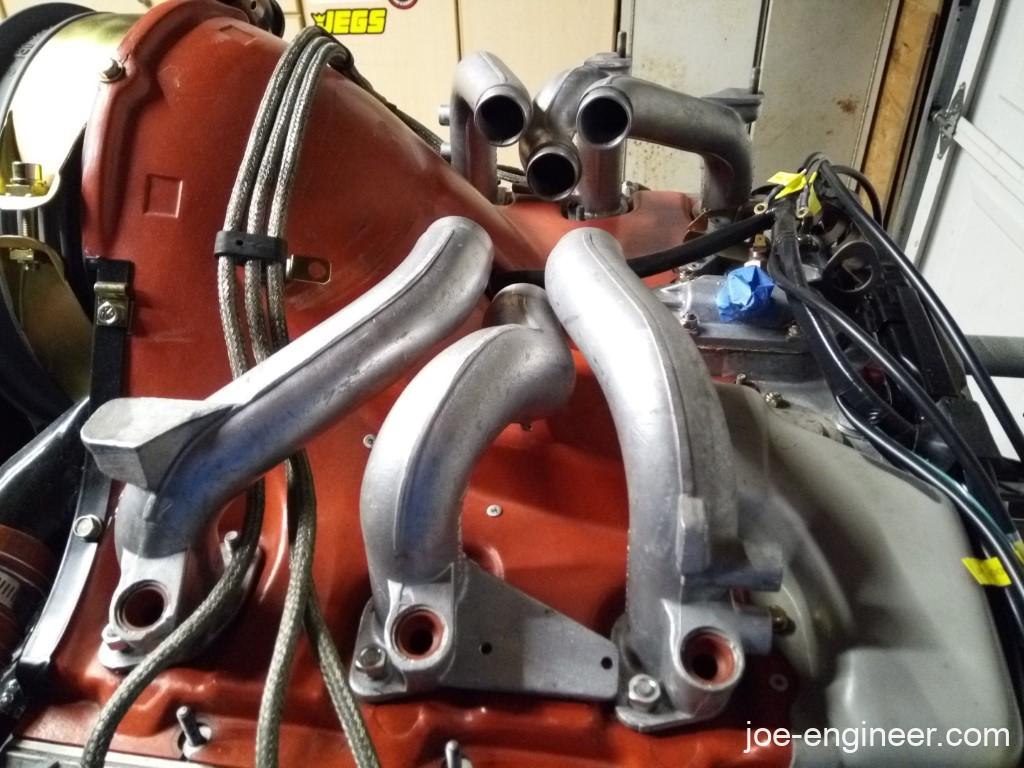
I slipped new rubber boots on the airbox along with my old replated clamps.
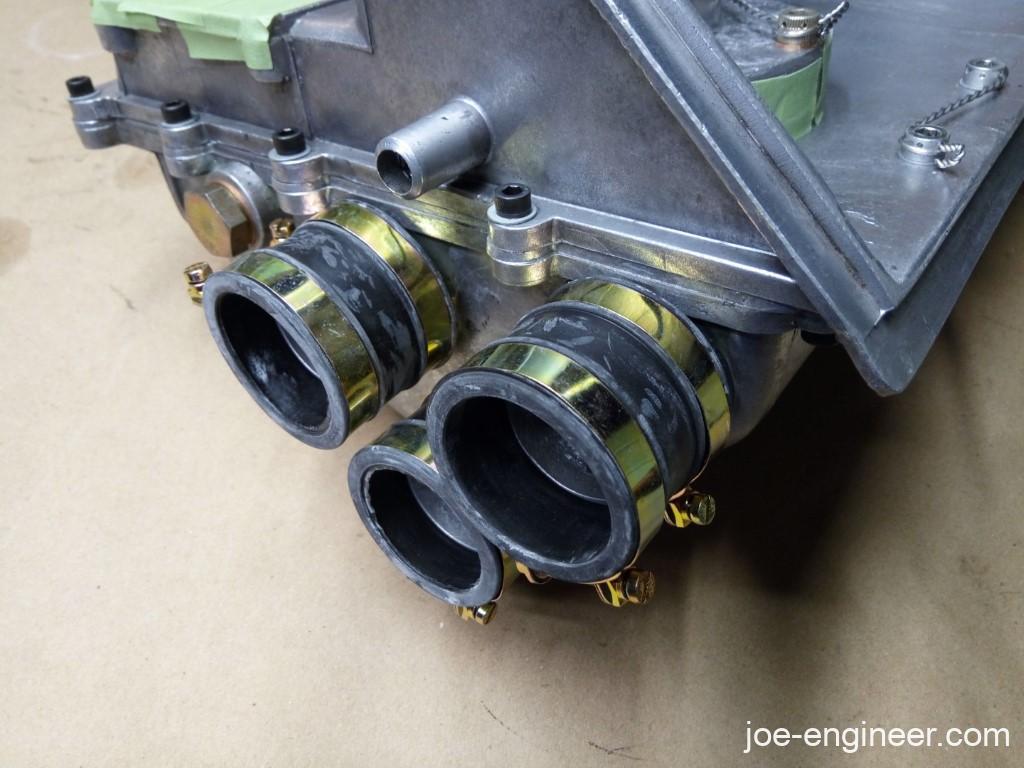
I tightened up the clamps in the final installed runner positions.
And the runner to airbox assembly was done. This view shows you why everyone is afraid of CIS. It looks like a metallic face-hugger alien!

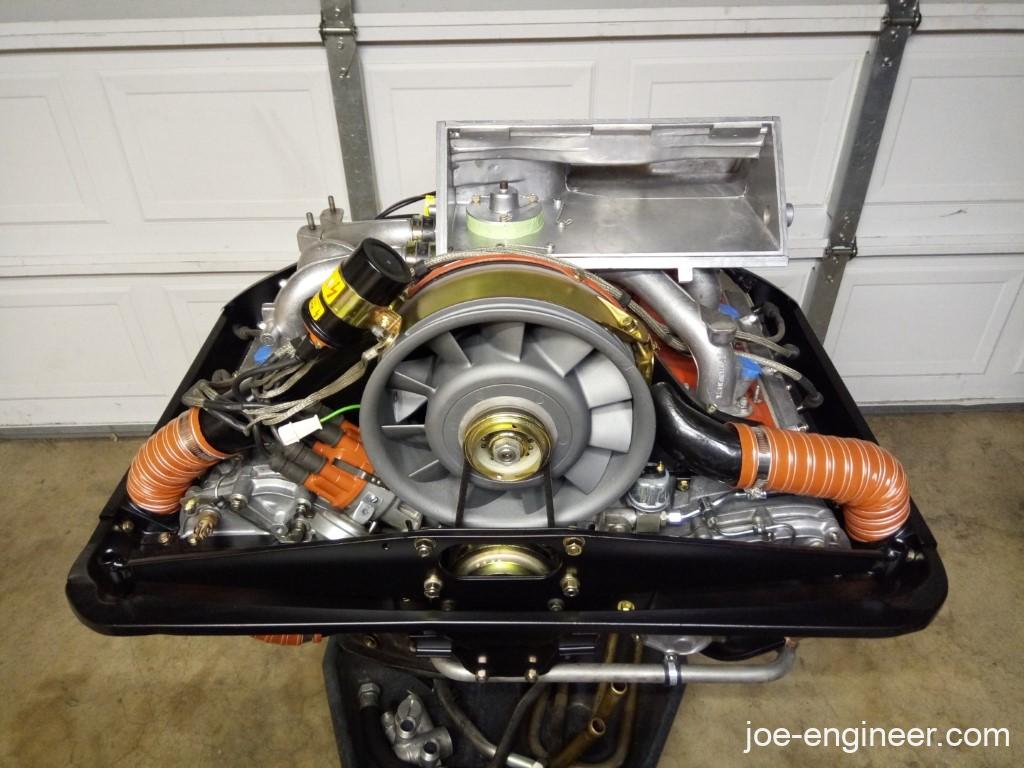
Airbox Mounted Components
I put the intake runners and airbox assembly back on the engine with new intake gaskets underneath and mounting nuts still finger tight. Then I started bolting more parts onto the airbox.
I started with the air valve on the airbox with a new cork gasket.
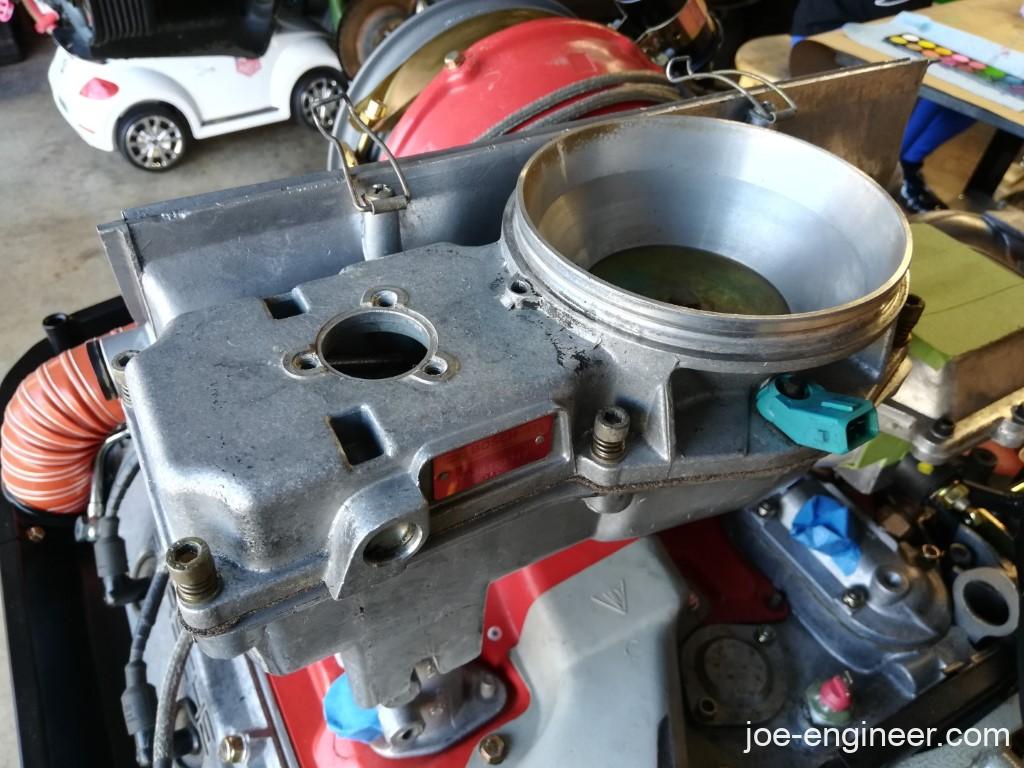
I then added my Tony Donato rebuilt fuel distributor. Added the fuel line fittings with new copper sealing rings. In case anyone is wondering, yes I bought the copper sealing rings on Amazon. I bought this metric multi-pack of soft copper ones to use on everything. They work fantastic on the fuel distributor and do not leak when torqued properly.
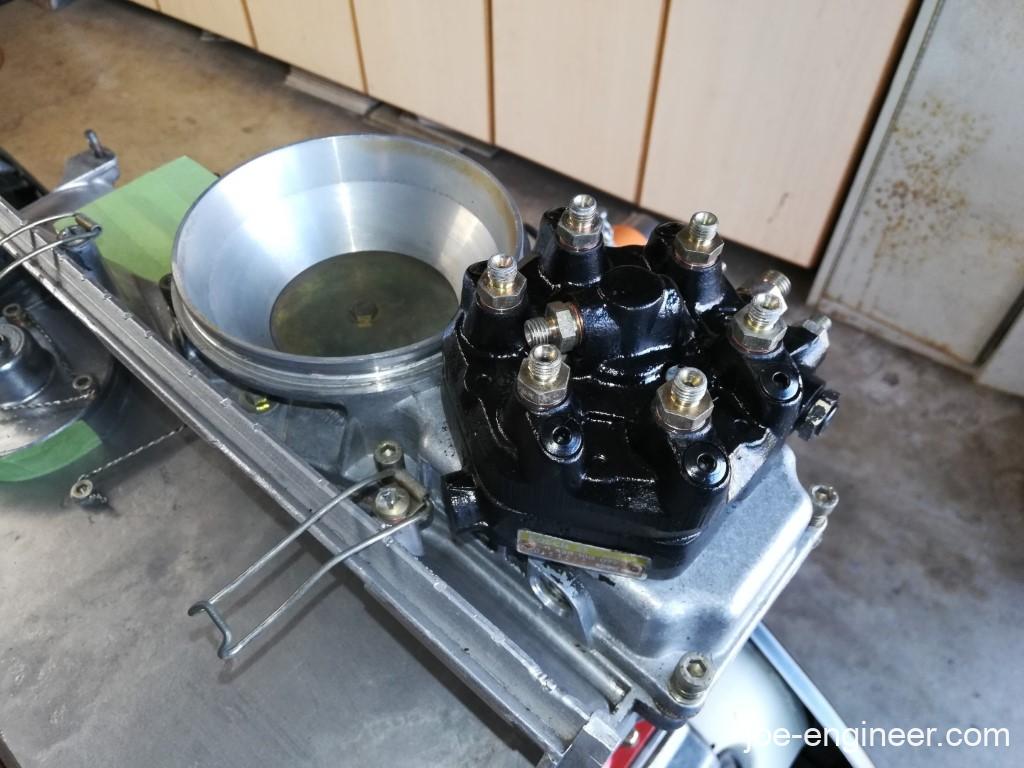
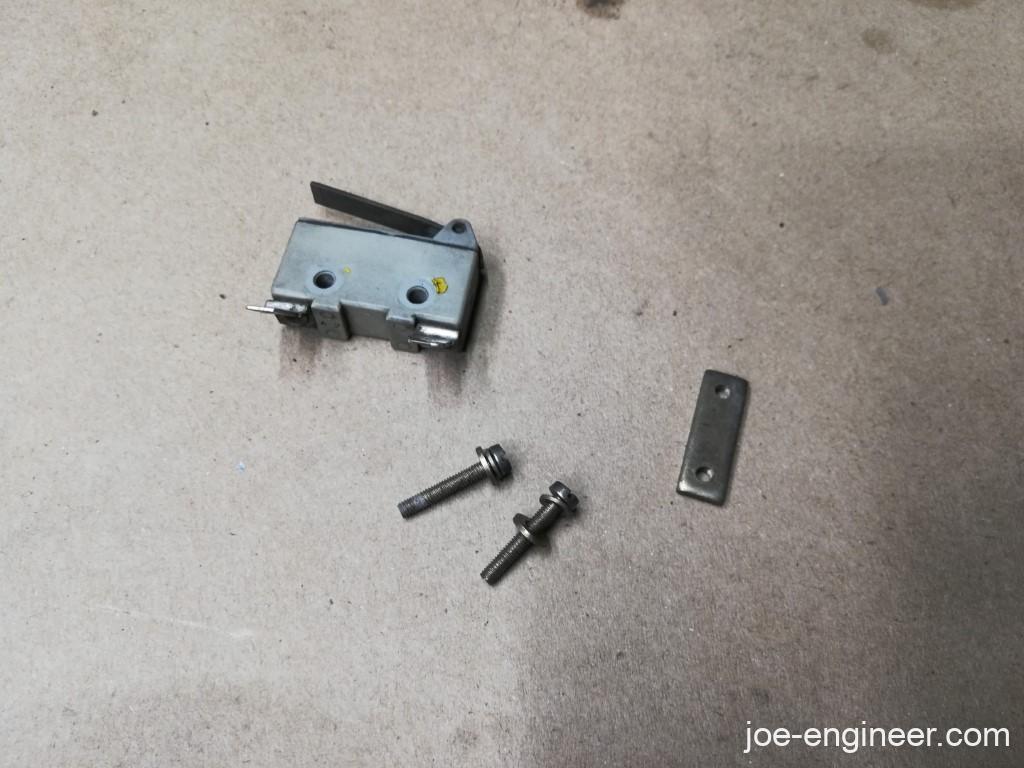
Next up was mounting the rotary and microswitches back on the throttle body.
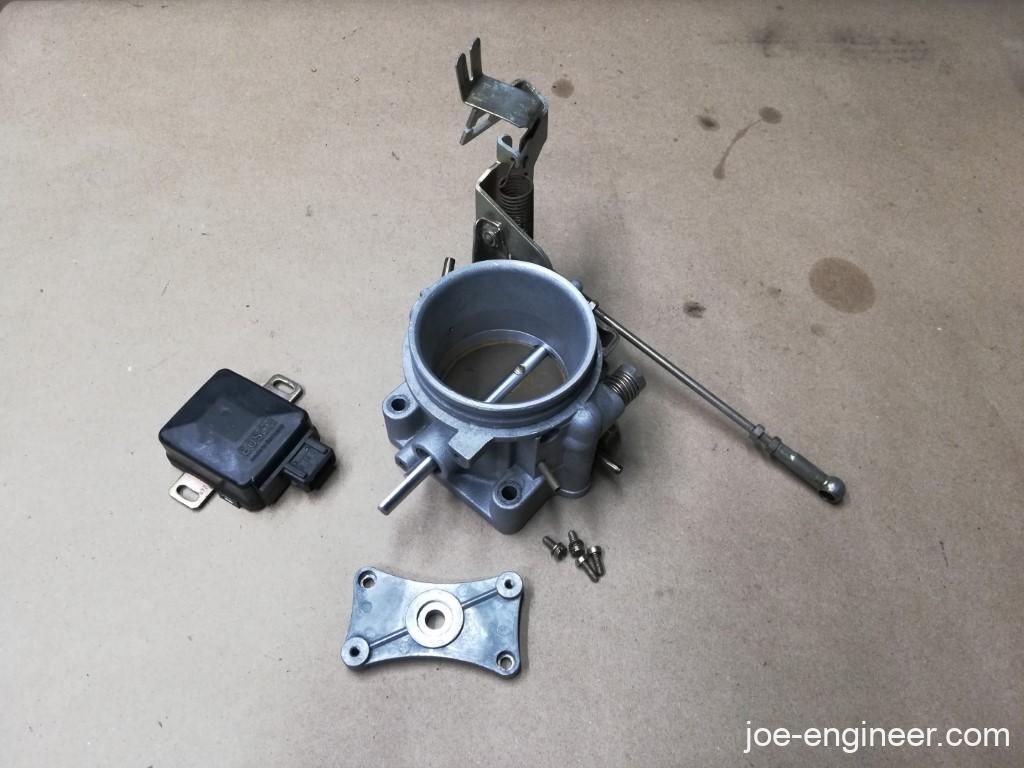
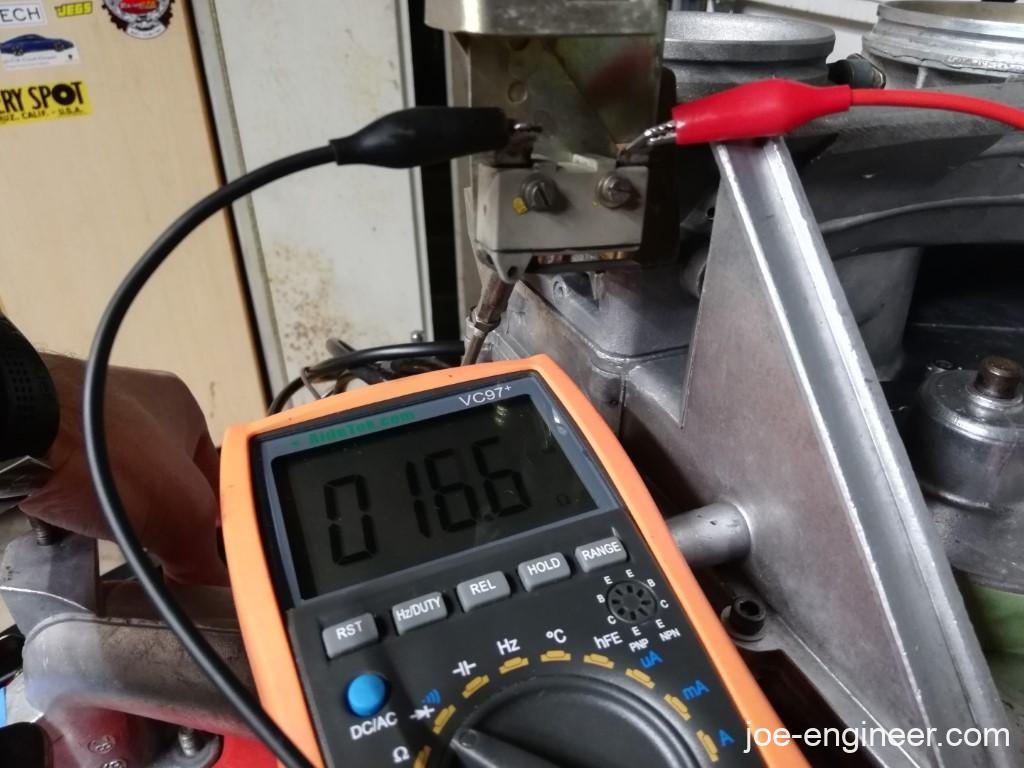
The throttle body was then mounted on the airbox with a new o-ring. To be safe I rechecked the rotary switch opening angle…
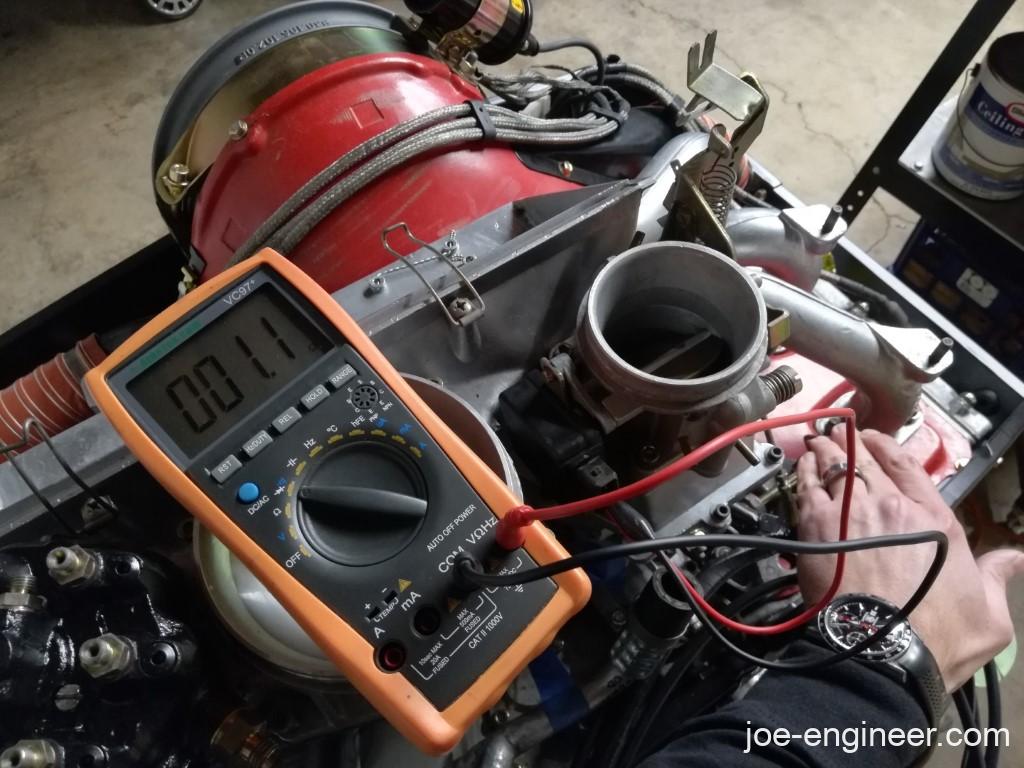
…as well as the microswitch opening angle.
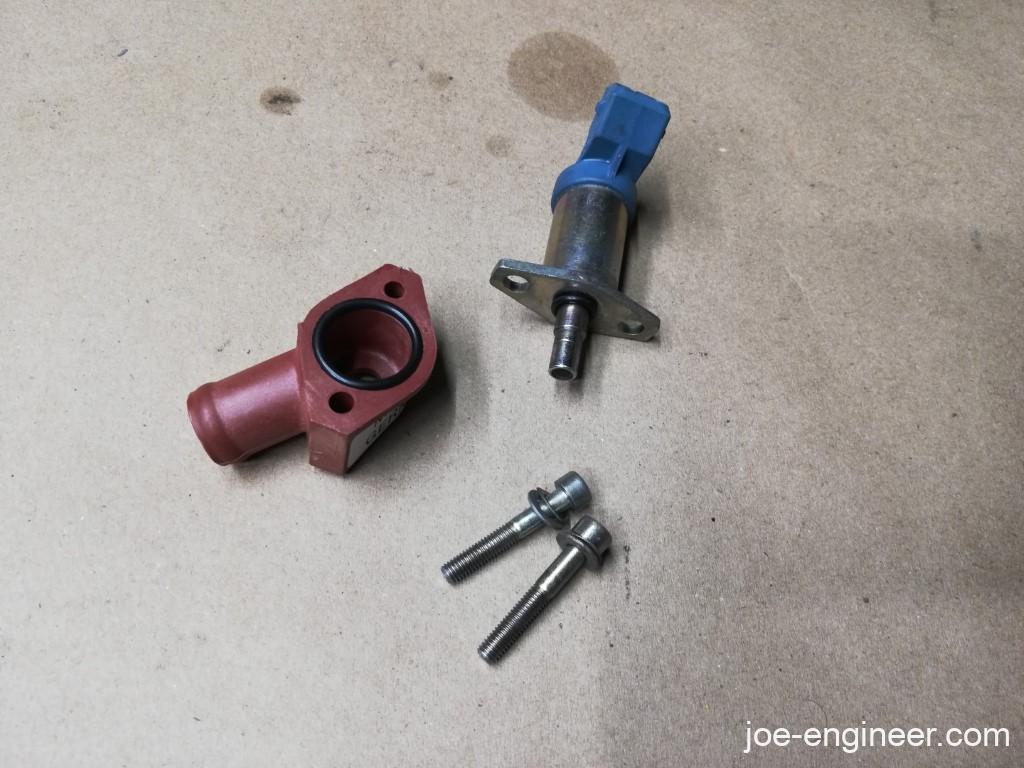
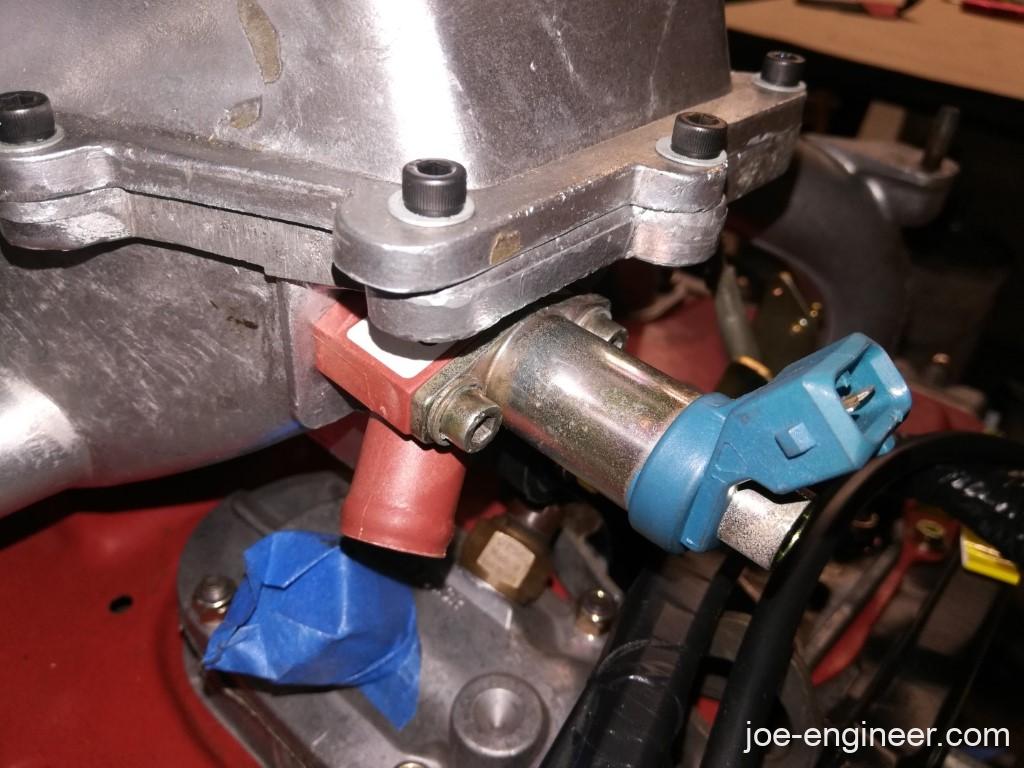
Cold start valve went back on with new o-rings and mounting base.
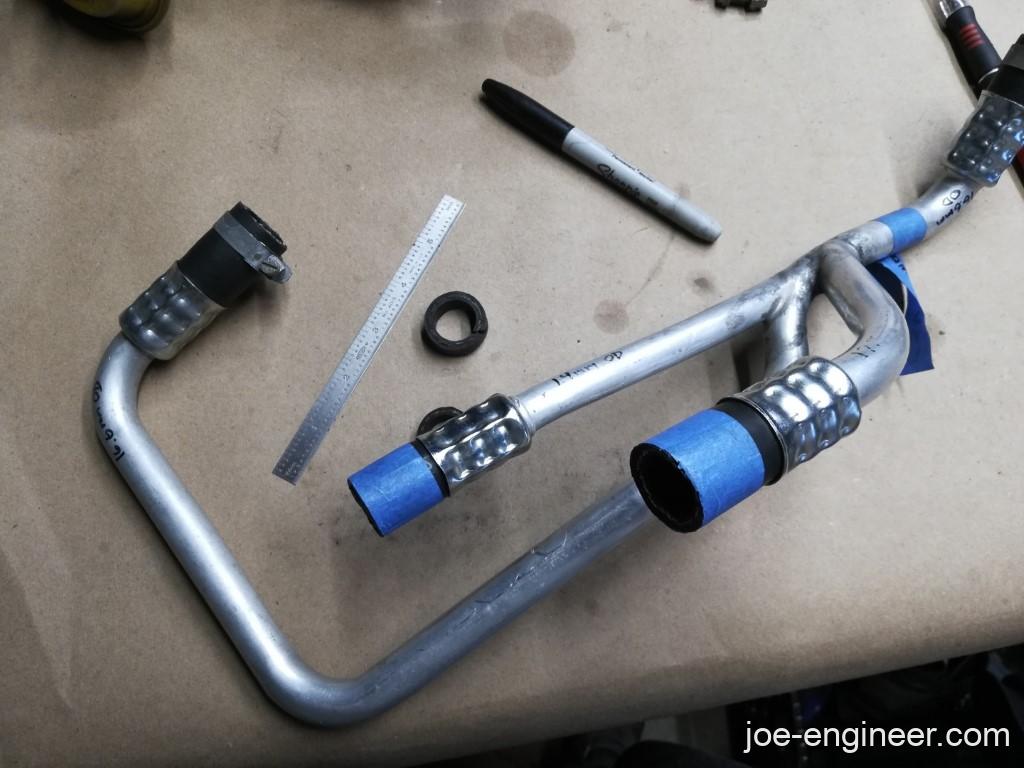
One small hiccup I ran into was that the rubber sections on the hard vacuum manifold were cut a bit oversize and didnt fit onto the airbox right off the bat.
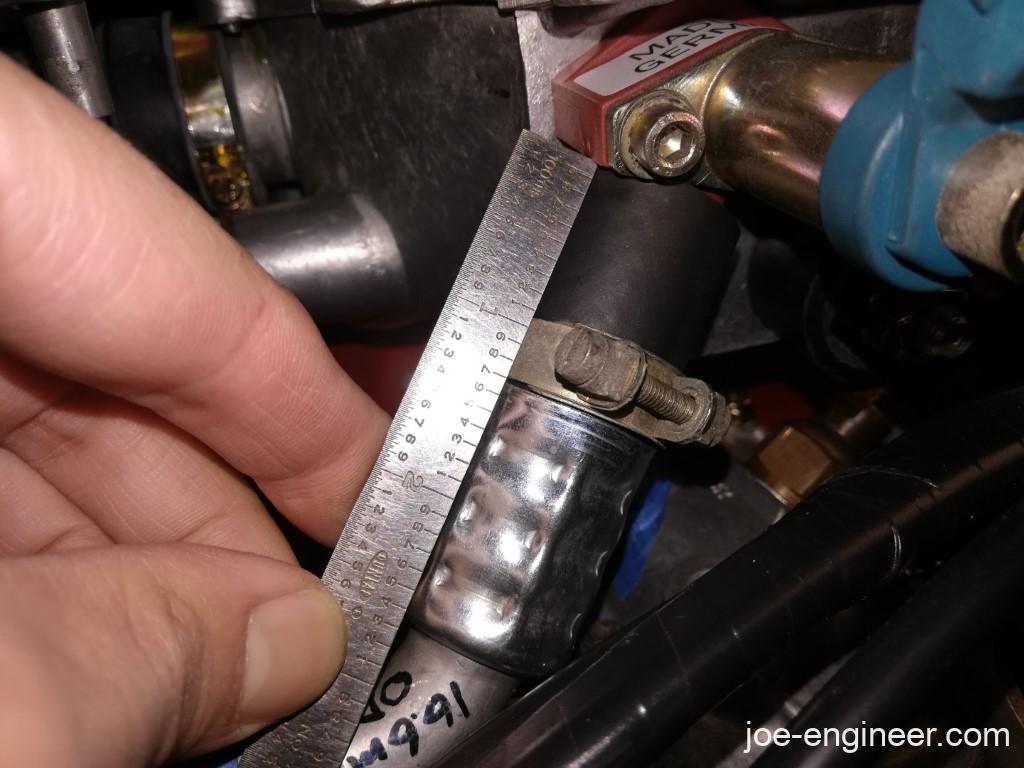
So I had to take the assembly apart, measure and trim off tiny bits at a time until every rubber section assembled where it needed to and the holes of the mounting bracket lined up with the airbox.
For the first harness connections I plugged in the switch at the air sensor and the cold start valve.
This is about the halfway point of this install. Next time we will wrap up the remaining bits on this crazy fuel system.