
Porsche 911 Center Tunnel Fuel Lines Replacement
The chassis plumbing work continues with replacement of the center tunnel lines.
Disclosure: This post contains links to Amazon products and other trusted vendors. As an Amazon Associate I earn from qualifying purchases.
So we have proactively replaced all rubber oil lines to prevent oil leaks, all rubber brake lines to prevent brake fluid leaks, next on the list was to replace my center tunnel fuel lines to prevent future leaks there as well. But first I need to drain my fuel tank.
Fuel Level Sender Testing & Tank Draining
I had completely forgotten that I still had an almost full tank of gas! I had filled it up, trouble happened, and the car sat. Then I dropped the engine and knowing it might be a while before the gas gets used I decided to put some Sta-Bil fuel stabilizer in it. Fast forward to this point and the gas was now about 3 years old.
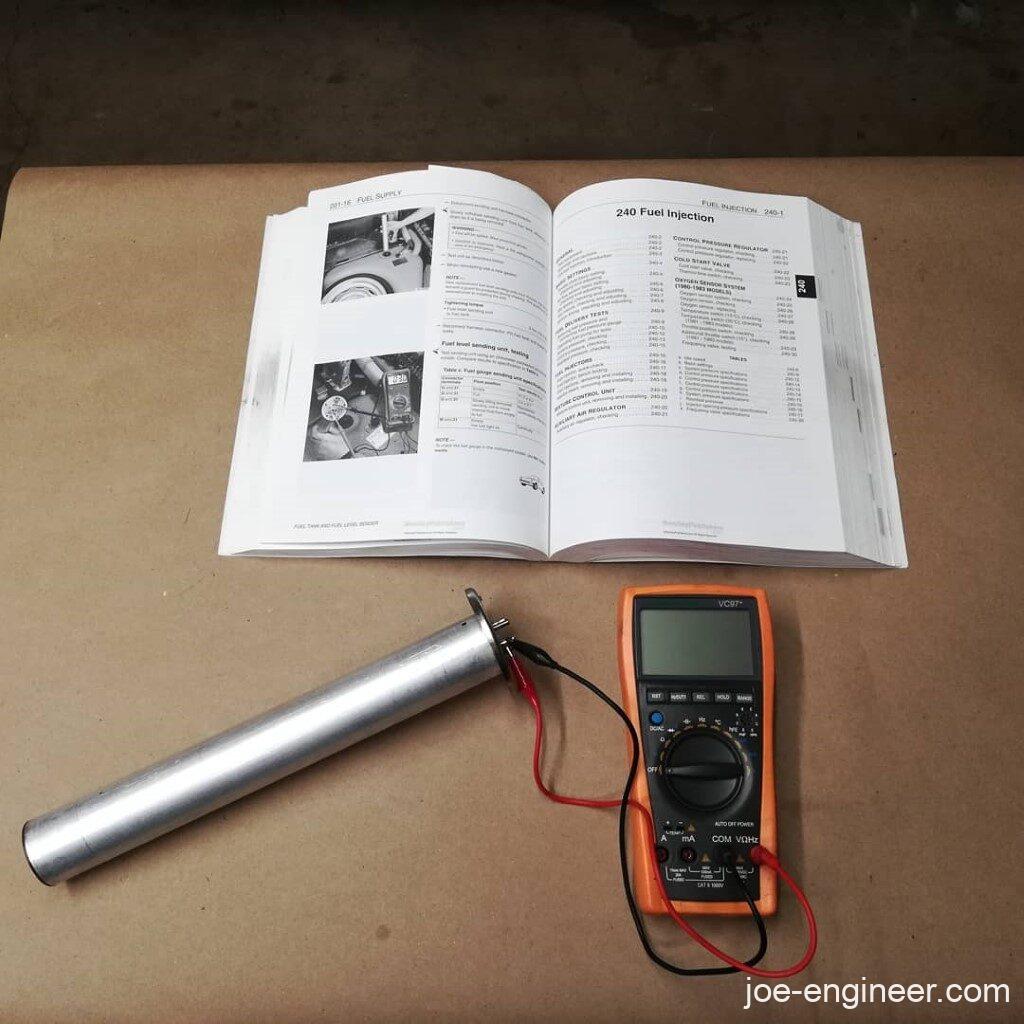
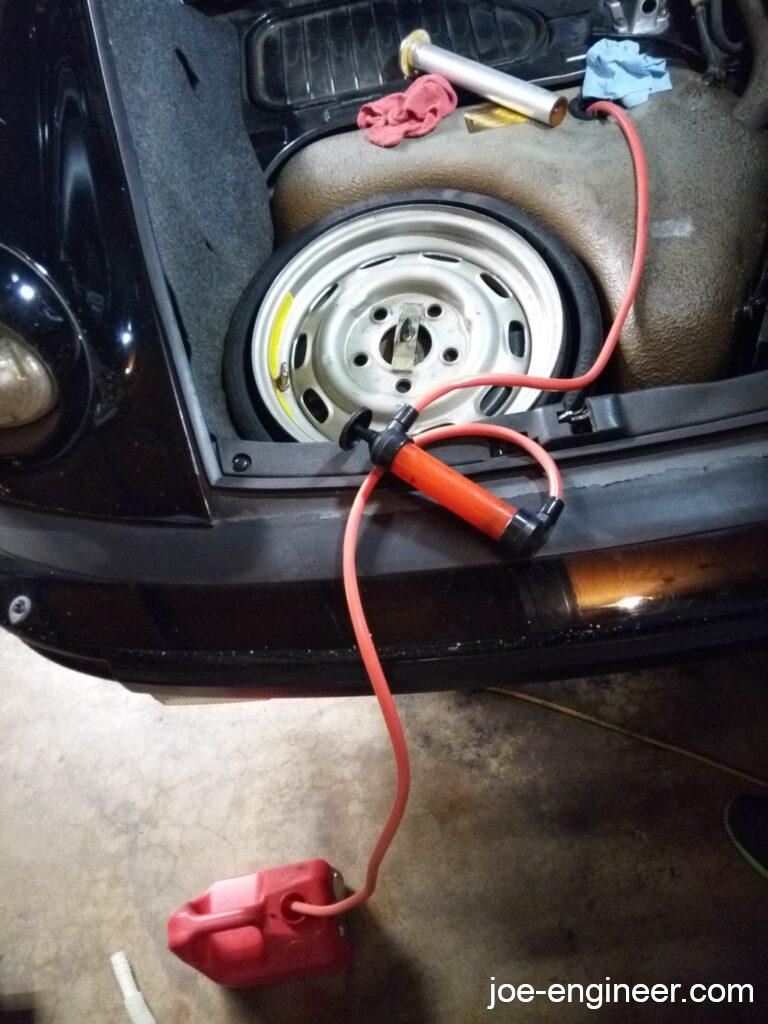
I had to figure out how to drain the tank of such a large amount of fuel. To minimize splillage and fire risk I decided to go in through the fuel sender at the top of the tank.
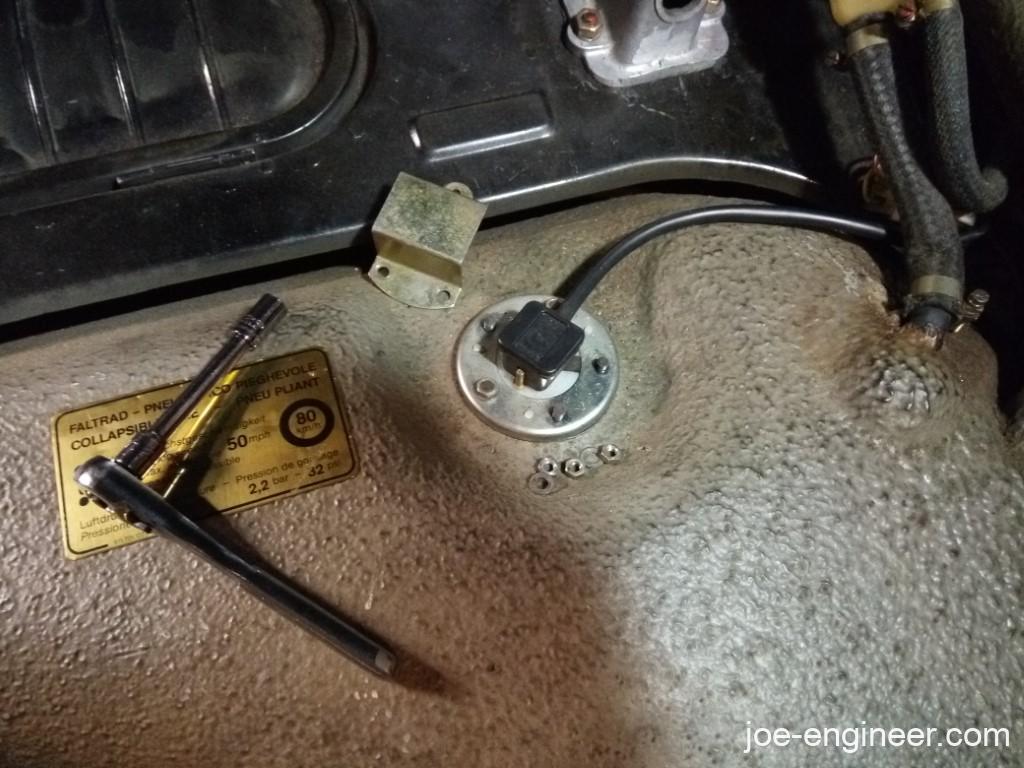
I popped off the sender electrical plug, the nuts, and started to pull the sender out.
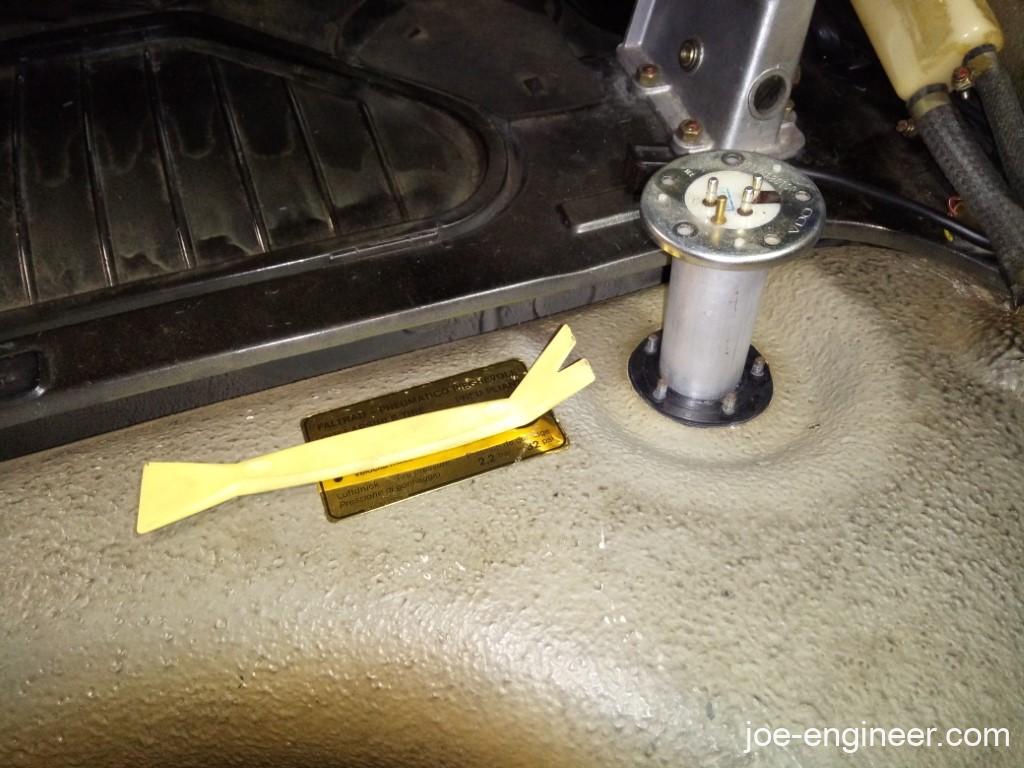
Whoa this thing is pretty long! As long as its out I may as well test it.
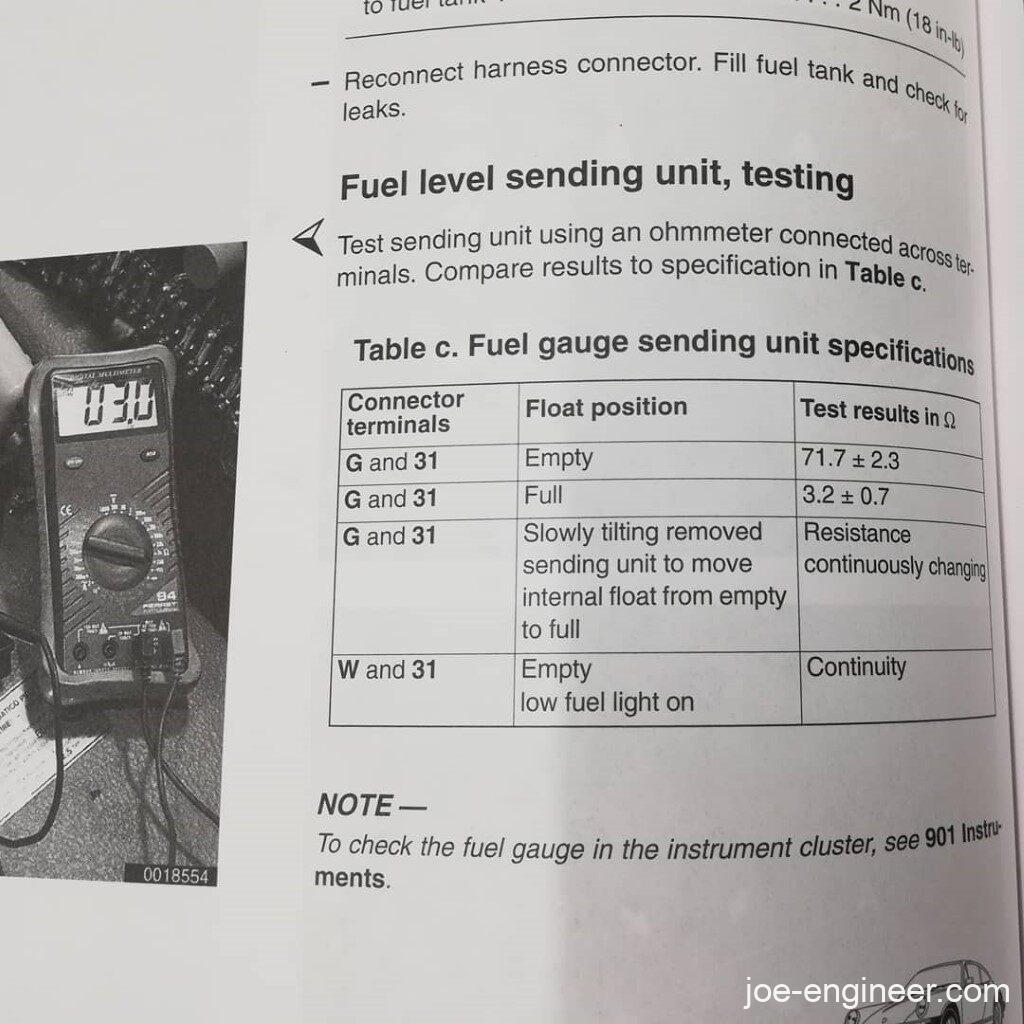
The sender is a variable resistor similar to the oil tank level sender. Here are the resistances at full tank and empty tank per the Bentley manual:
Gave it a quick check on the multimeter and it turned out to be ok.
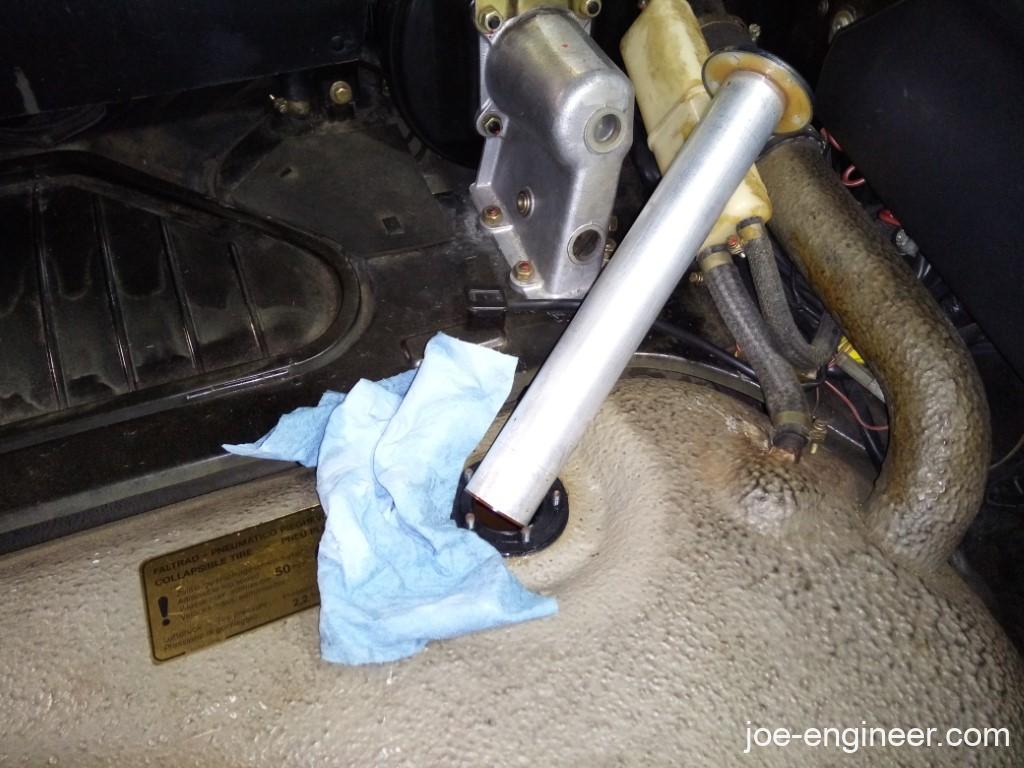
Time to set it aside and drain the tank. This took a long time, 1 gallon at a time, but I didn’t spill any or catch anything on fire so Id say it was worth the effort.
I dont know how well fuel stabilizer works but the gas was still clear and smelled quite normal. My daily driver didnt complain when I filled it and ran it on this old gas. Needless to say I’ll likely use it again if I run into a similar situation in the future.
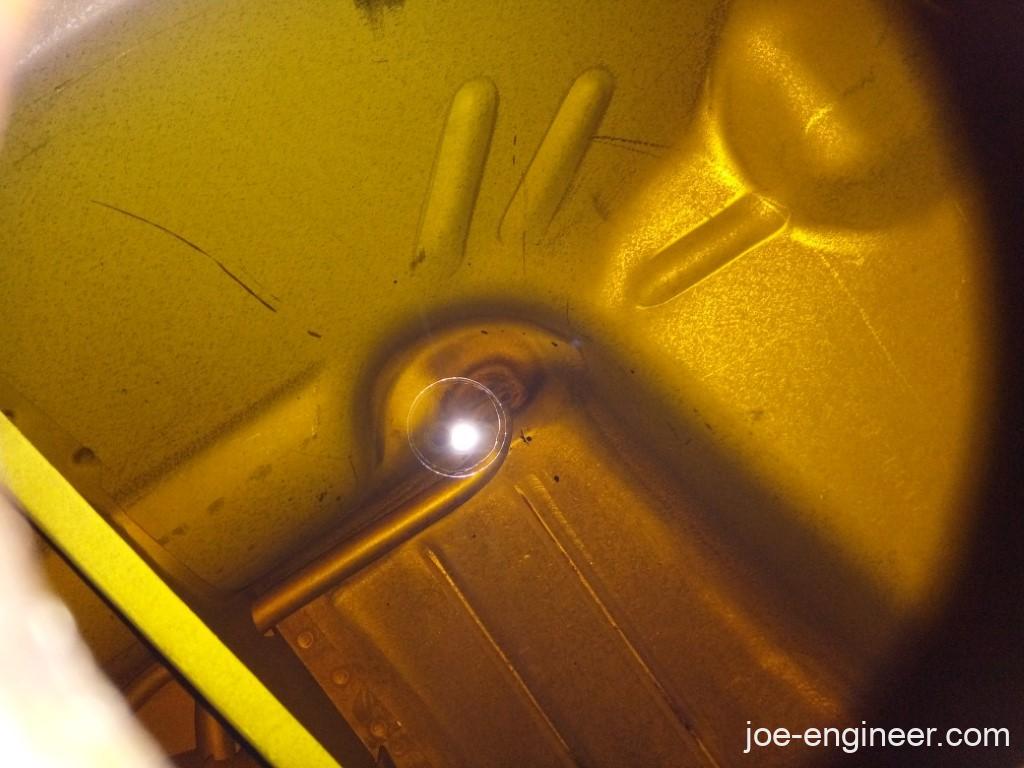
View inside the tank:
Center Tunnel Fuel Lines Replacement
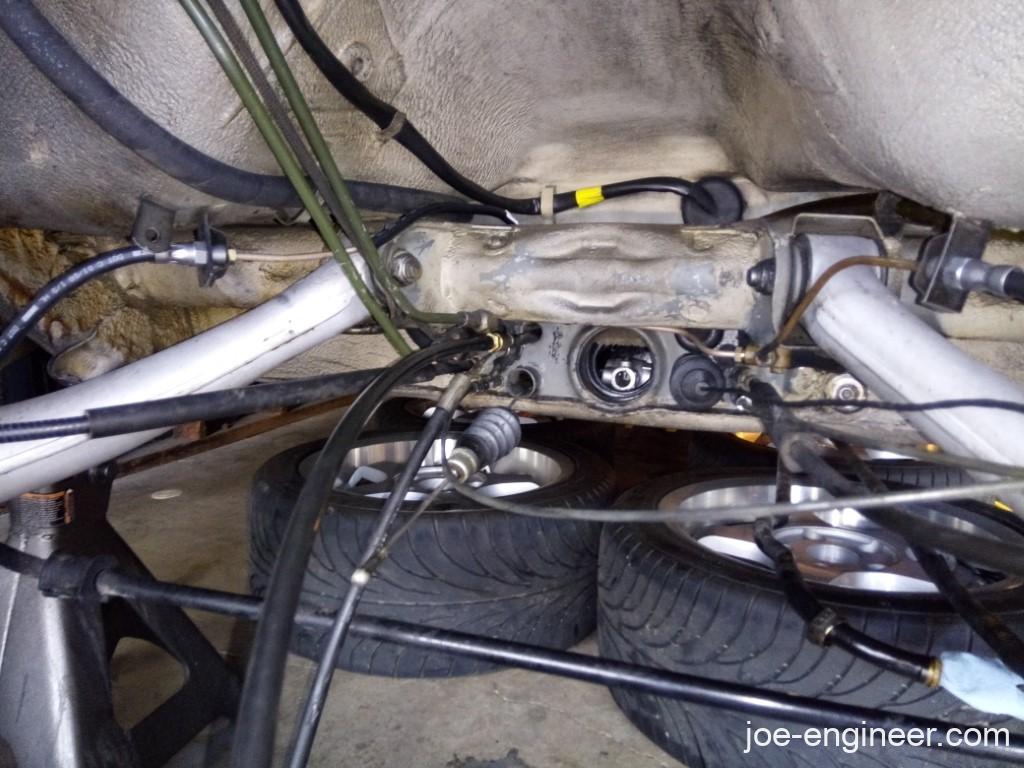
The two center tunnel lines were easy to access with the engine out and the front belly pan off. The car was high enough for the engine drop that I could sit comfortably on the floor and plan my attack.
I disconnected and replaced the tunnel lines one at a time.

I pushed in the old line grommets and used a double-ended threaded coupler to connect the new replacement line to the old one. Then I proceeded to pull the disconnected old line out the front of the car while I had a helper gently push and feed the new line in from the back.
The coupler and line fittings ended up getting hung up somewhere in the tunnel. My countermeasure was to duct tape the fitting to give it a taper and let it slide past whatever was catching on the edge of the fittings. Once the new line emerged out of the front of the tunnel near the fuel pump, we repeated the same process on the second tunnel line.
The internet says this is a quick job but it took us a few hours and lots of synchronized pushing and pulling.
The new rear grommets were fairly easy install by lubing them with vaseline and using a plastic trim tool to push them into place. The old grommets end up in the center tunnel next to the shift coupler for easy removal.
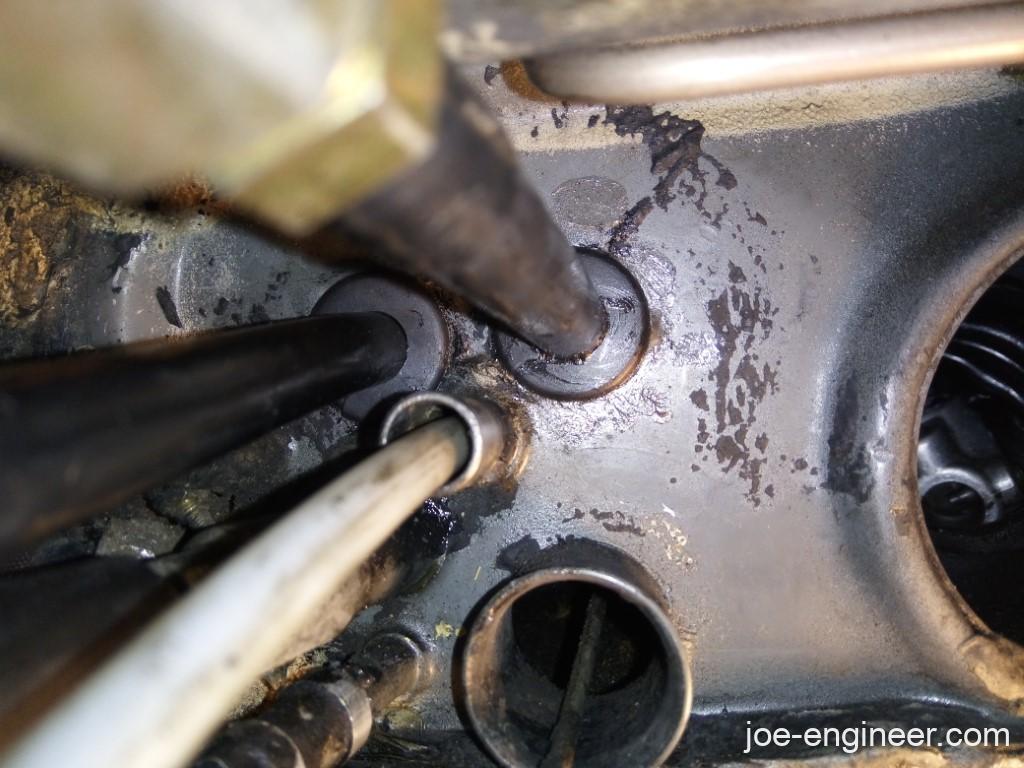
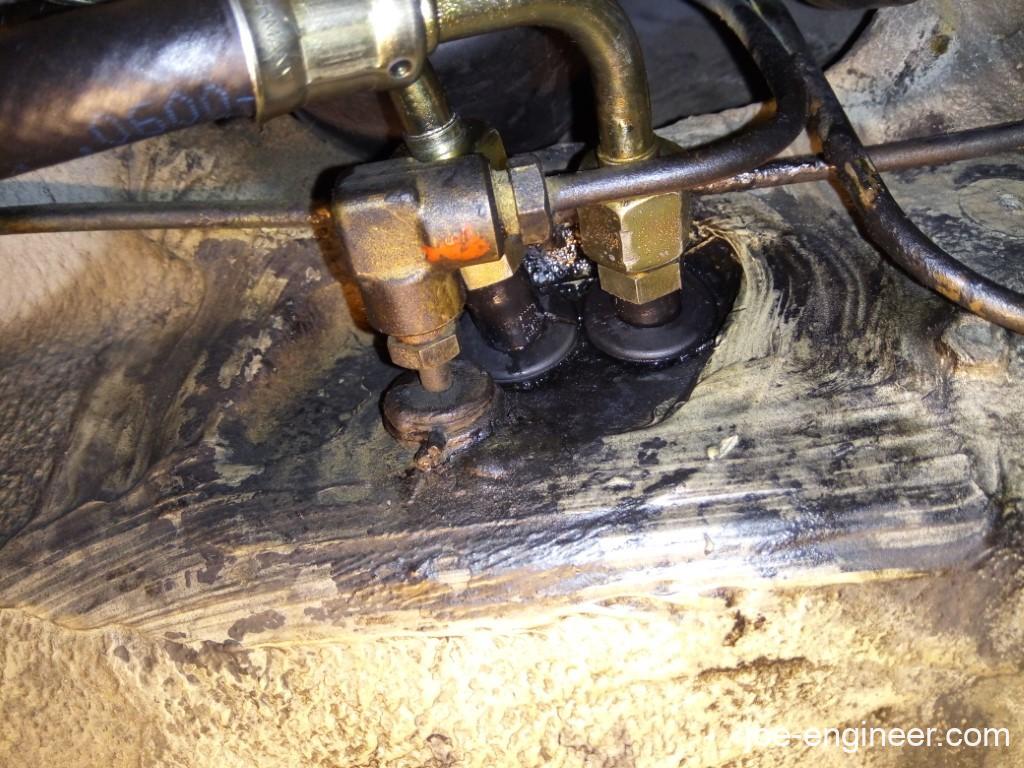
Front grommet install situation was kind of ridiculous due to the lack of clearance. Between the steering rack and the fragile center tunnel hard brake line there was barely any clearance for your fingers.
I somehow managed to press the one closest to the brake fitting in. I smeared some vaseline on it and literally lots of yelling and frustration later it was done.
The second one was nearly impossible as it had worse tool and finger access even though you cant tell from this view. I can work through complex problems but few things infuriate me more than limited tool access. Then I consulted the forum elders and they showed me the path to the light.
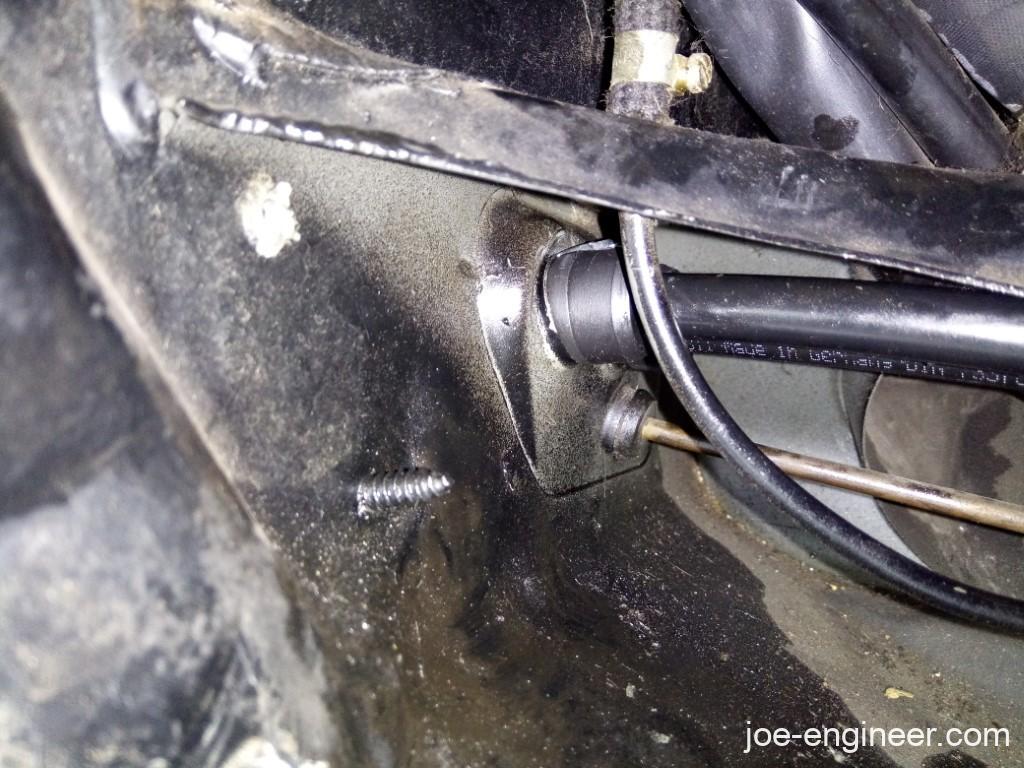
I dunked the grommet in engine oil and with a flat head screwdriver I was able to slowly work it in.
I didnt realize at first I had access to the back of the grommet (behind the pedals) to check my work. Then it was easy to wipe the lube off the grommets from both sides.
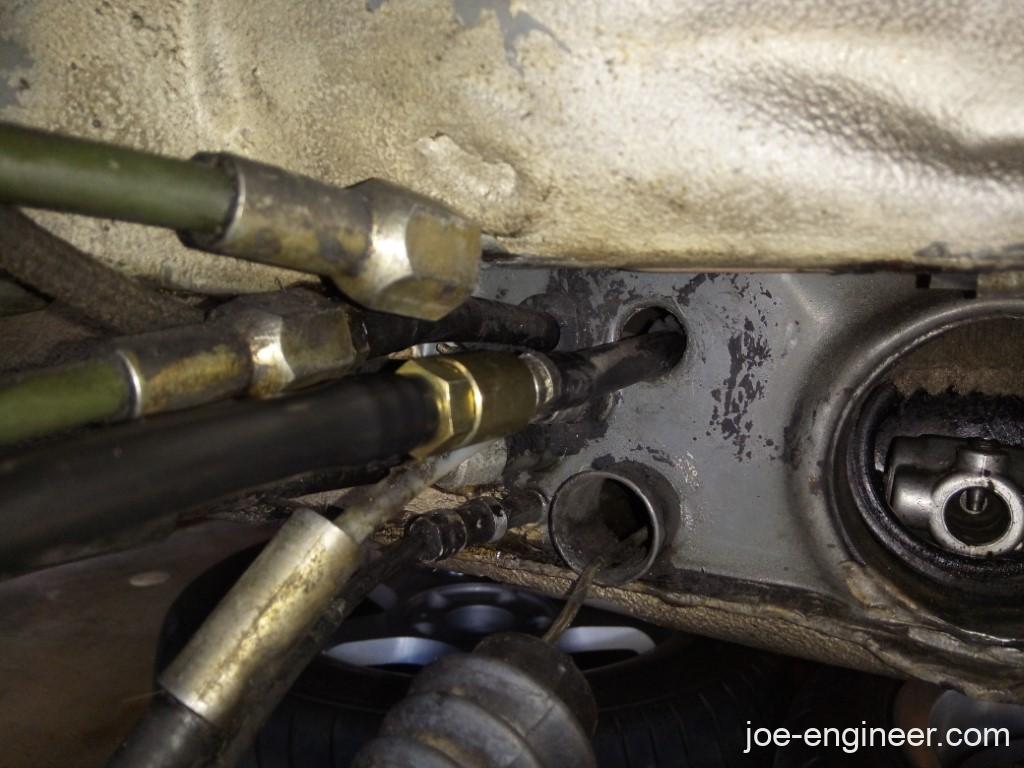
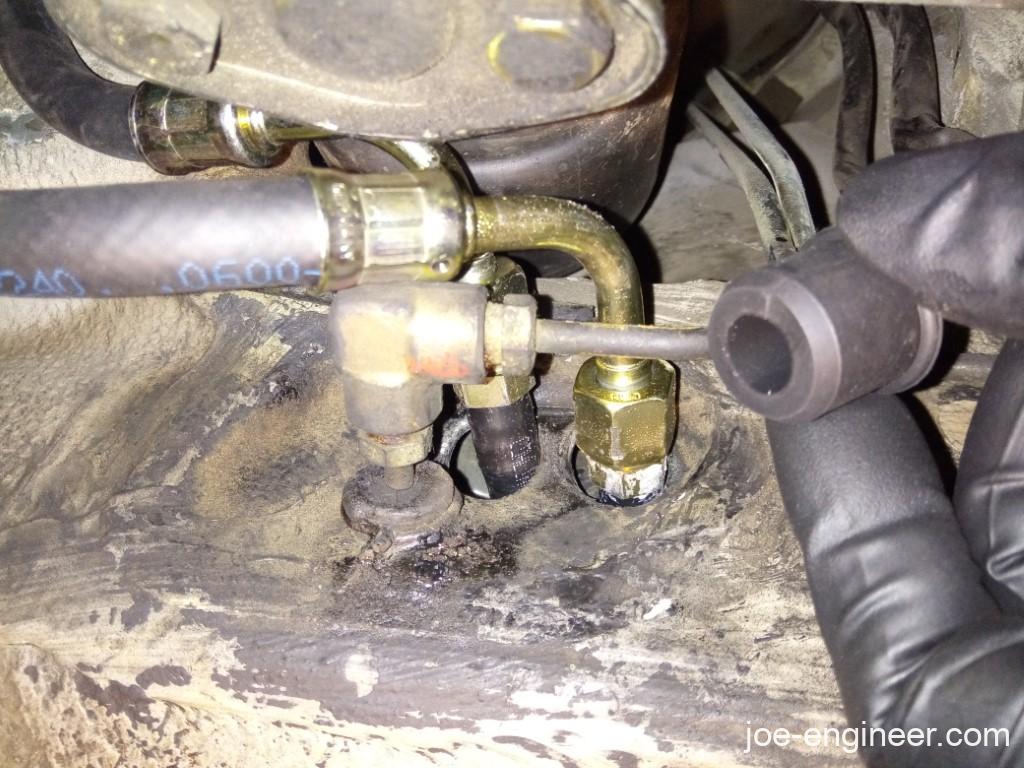
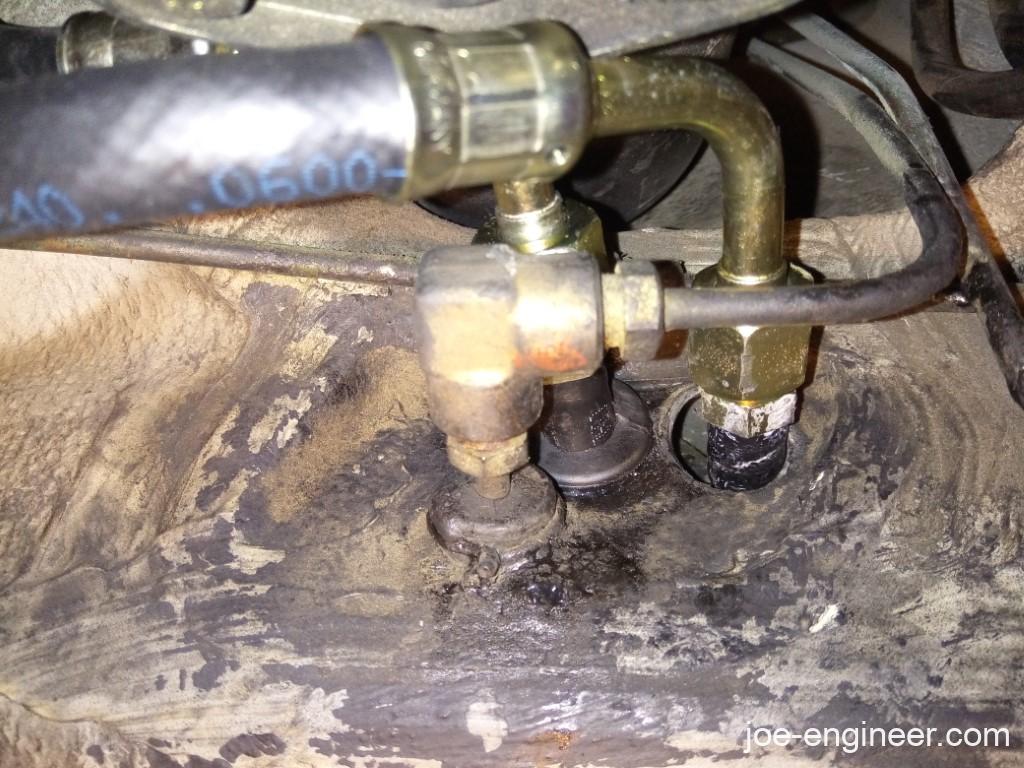
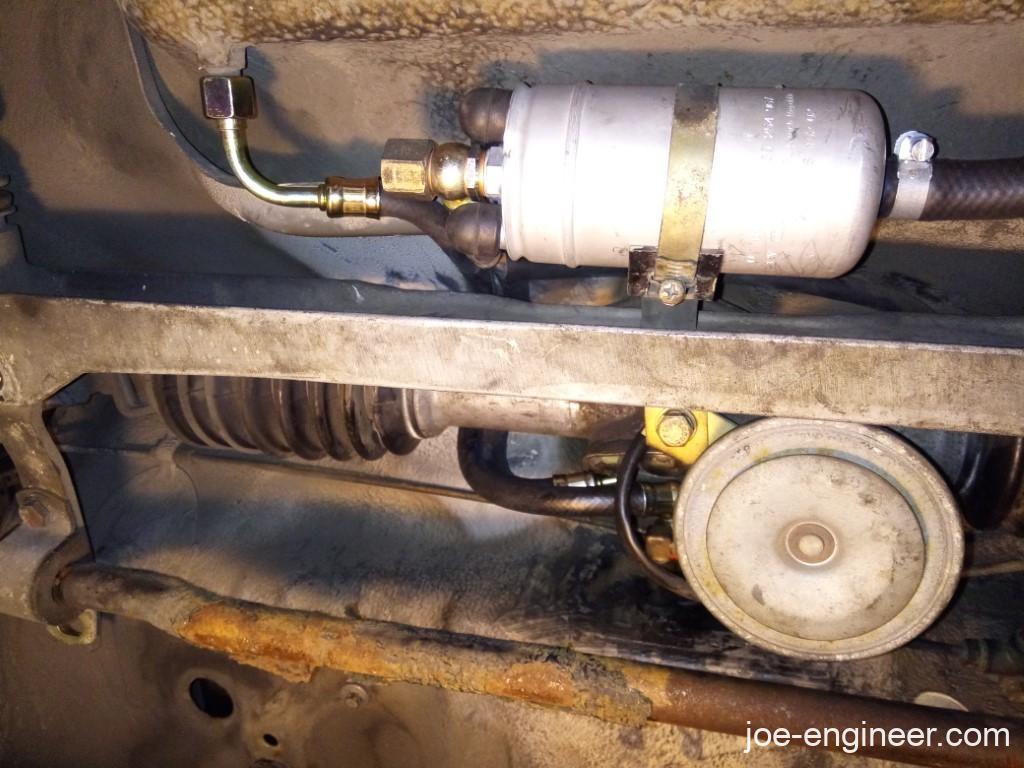
Then I buttoned up the short front tank and pump lines. There is a pump feed line, a tank return line, and a short rubber feed line between the tank and pump. This would have been the perfect time to replace the fuel pump but mine has very low miles on it so I only replaced the check valve in case it stuck from sitting for a few years.
Here are the old removed lines. The front rubber lines were all very old and due for replacement but if Im honest, the tunnel lines still looked to be in great shape.
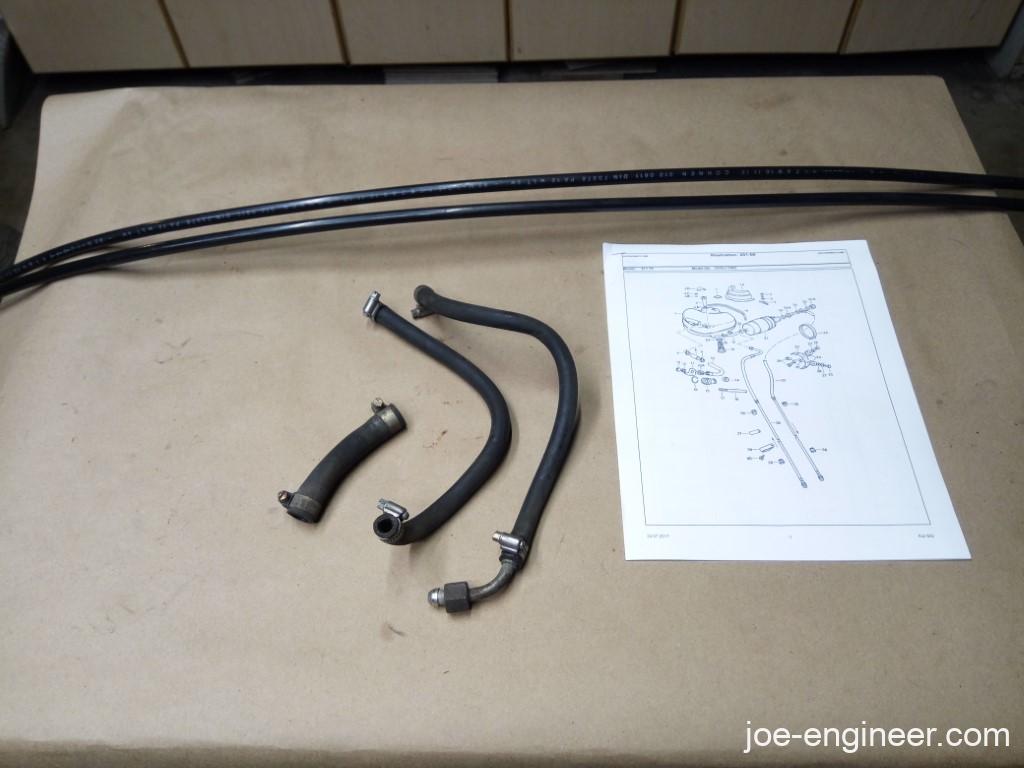
The polyamide tubing they are made of seems to hold up well. Still, I replaced them with new polyamide lines and with rubber that is E85 compatible to avoid any issues with modern fuels. All the fuel lines on the engine side will be replaced as well to reduce fire risk as much as possible.
Fuel Tank Screen Replacement
The last step of this fuel system refresh was to replace the screen at the bottom of the tank. I dug up a junk bolt and 2 nuts to make a tank screen hex removal tool.
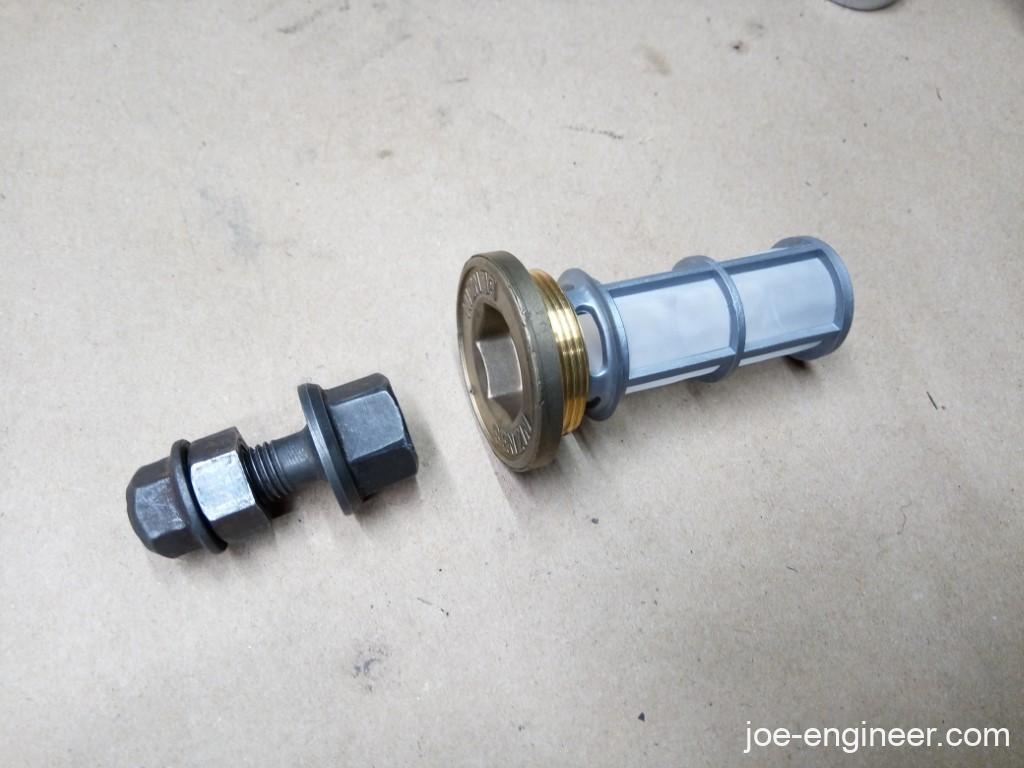
It worked like a charm.
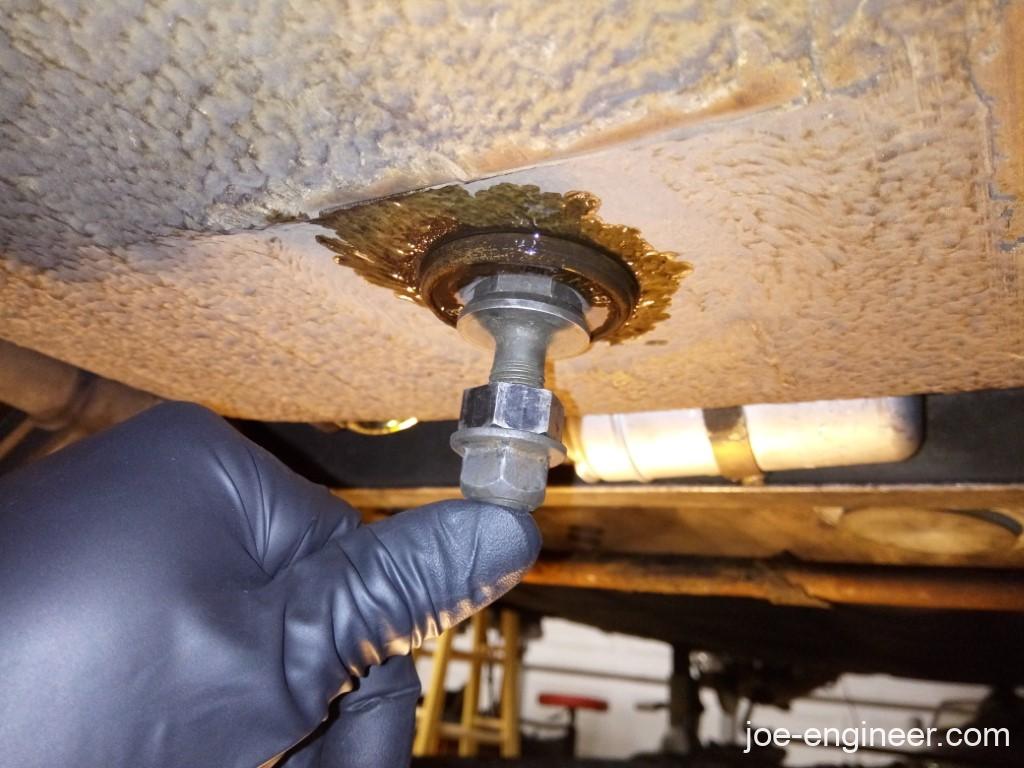
Old tank screen out. I probably could have just cleaned it and reinstalled but I had a new one on hand so what the heck.
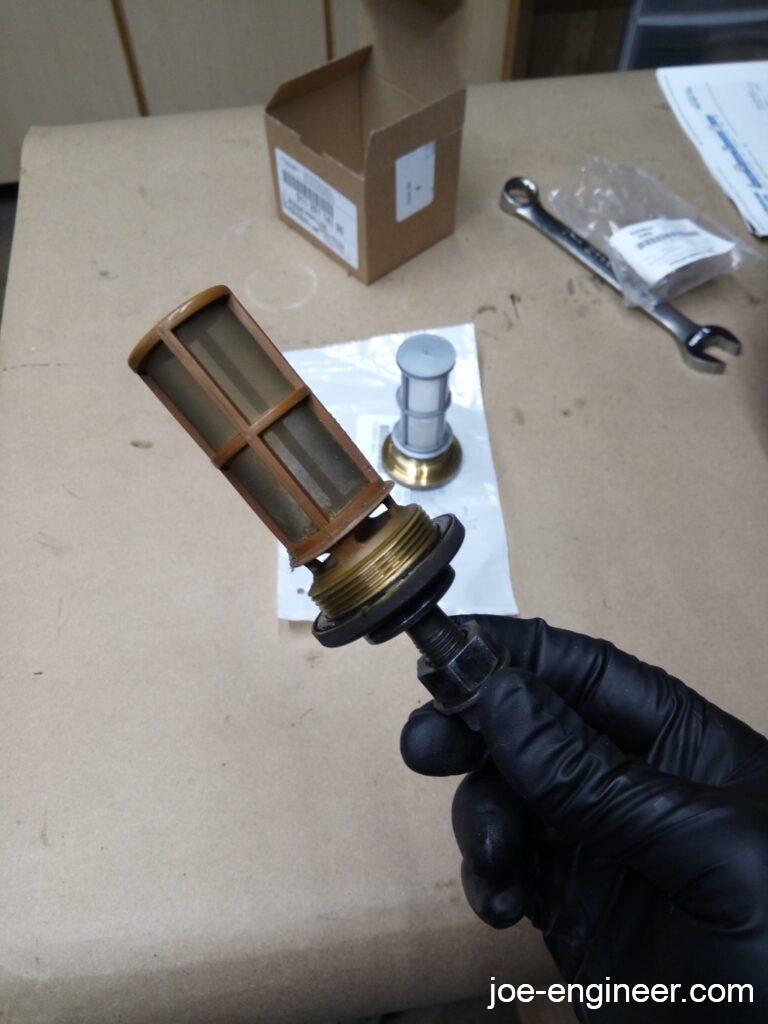
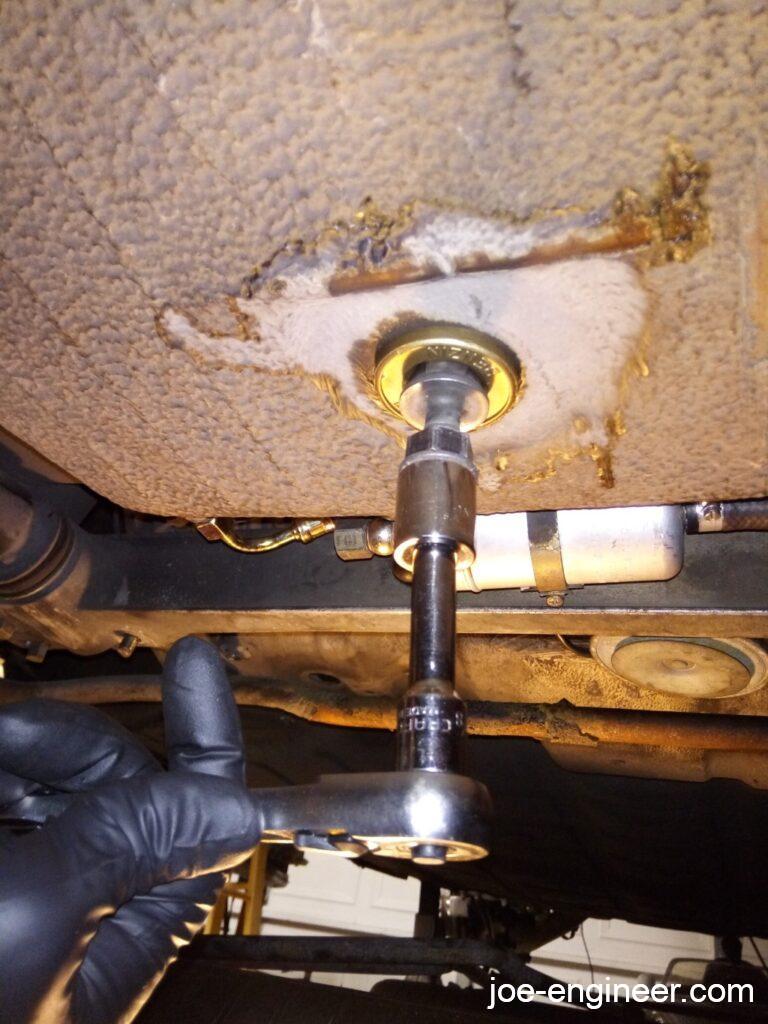
I used the same tool to reinstall the new screen and this job was done.
As long as we are we have the pedal floor board out, may as well remove the pedal cluster and rebuild that too. We will cover that next time.