
Porsche 911 Bottom End Rebuild Prep
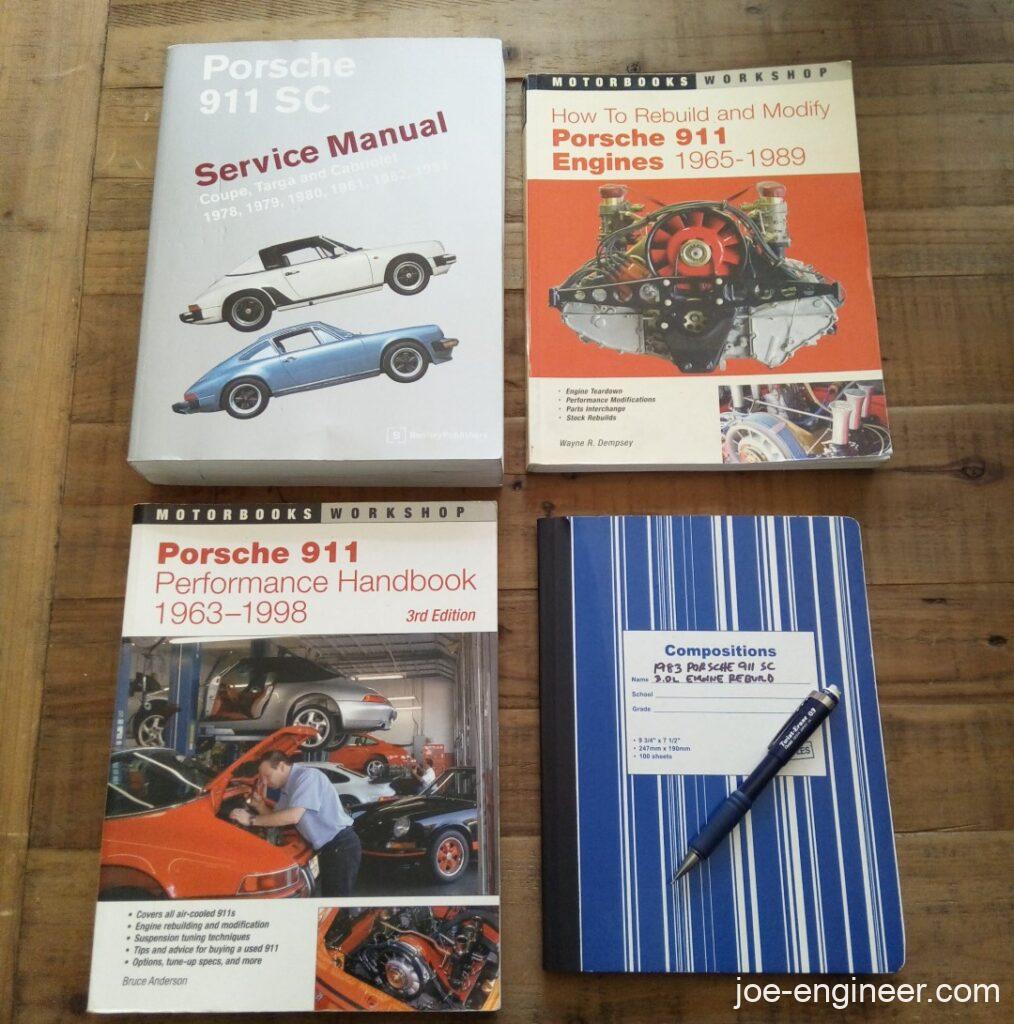
Once I received my engine case, crank, and rods back from the machine shop, my next target was to gather all the parts, tools, and information I needed to start reassembling the bottom end.
Since the bottom end is the core of the engine, I needed to make sure all dimensions were perfect and that I documented every detail of the reassembly to make sure I set myself up for success the first time. Wayne’s book made it very clear that this was not a slap-it-together kind of an engine and parts prices were a daily reminder of that.
Documentation is Everything
I started an engine rebuild notebook to write down all re-assembly steps and measurements as I went along. This way I could recall detailed information for new builds and start the detailed documentation process that this poor car never had when I bought it.
More Parts & Tools
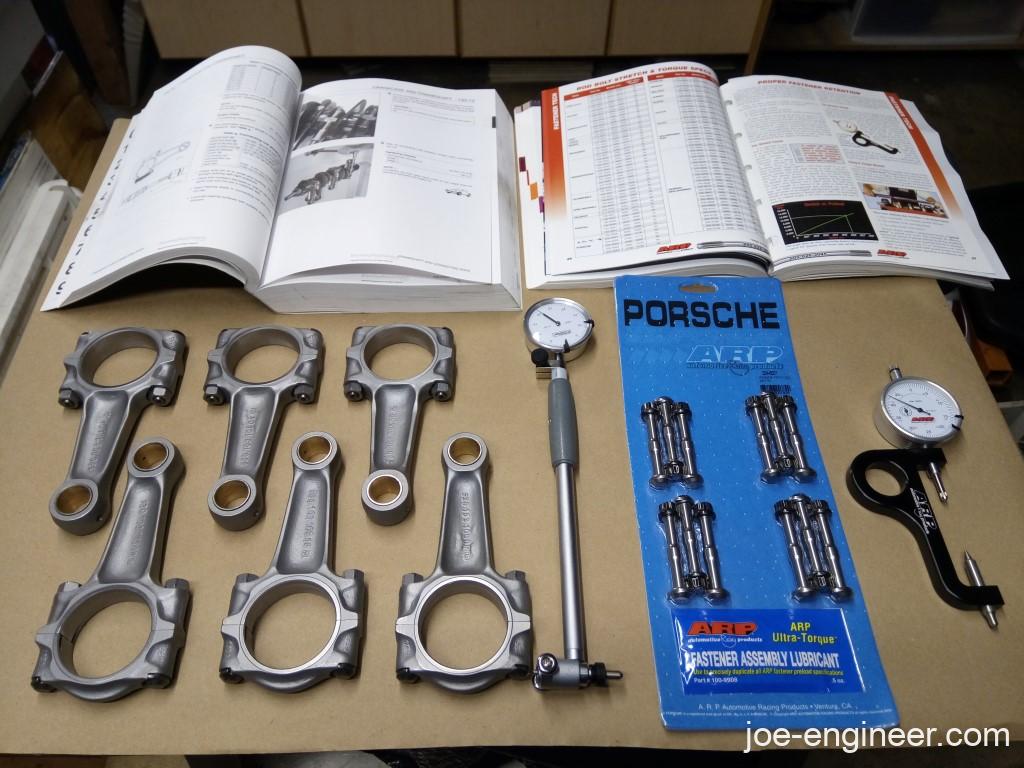
I started collecting more parts and tools to prepare for this bottom end rebuild. Since I needed new rod bolts and bearings anyway I decided to upgrade to ARP rod bolts and GT3 rod bearings. I also picked up an ARP bolt stretch gauge (and ARP catalog listing specs) to measure bolt tension more precisely than traditional torqueing. Plastigage was ordered to double check bearing clearances.
The rod bearings were supplied by none other than FCP Euro!
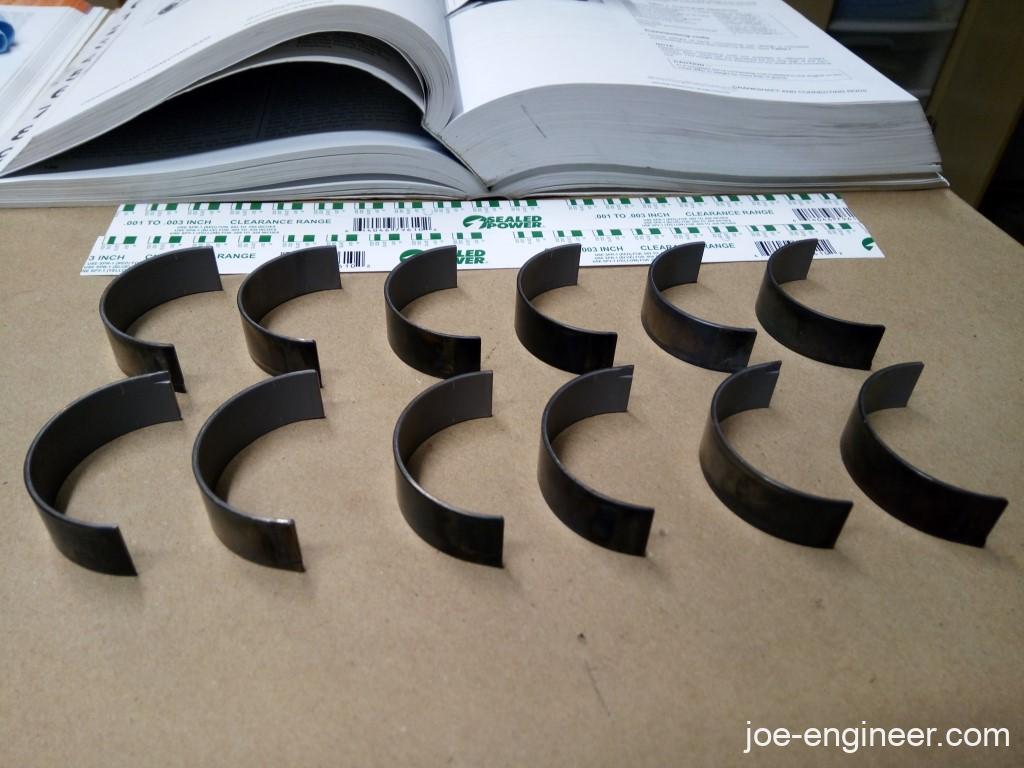
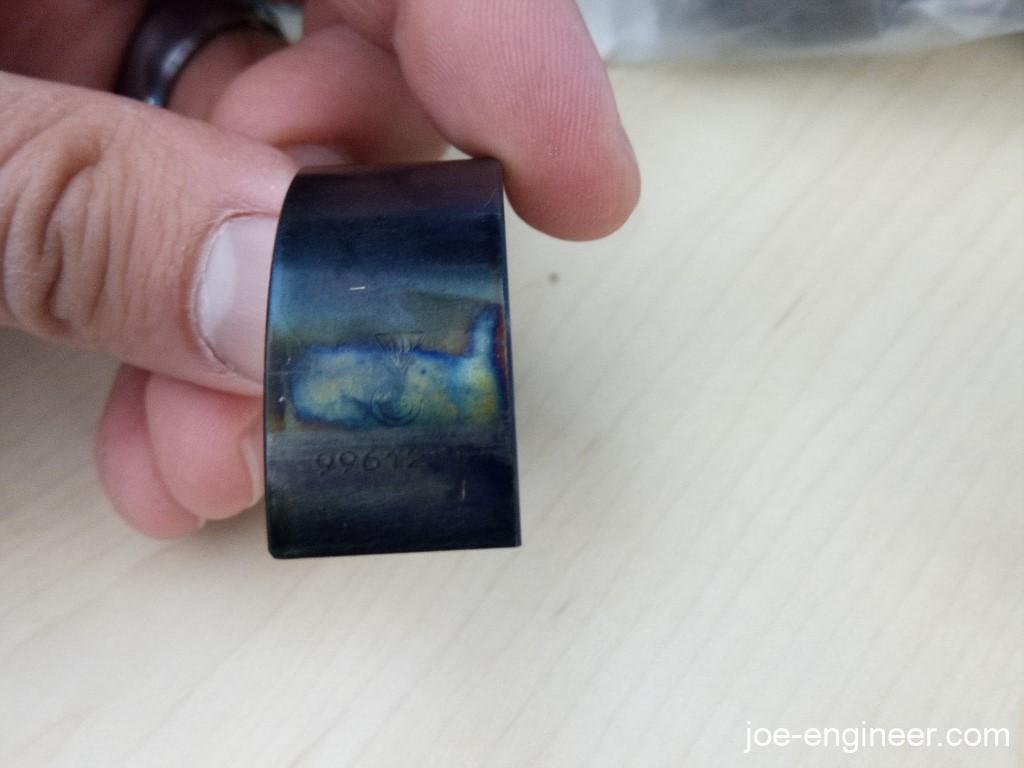
I didn’t buy these because they would allow my engine to spin up to 8K, rather because online research indicated that there were quality issues with existing replacement OE bearings. The existing replacements were not dimensionally correct and it was difficult to achieve correct bearing clearances which affect oil pressure and will directly impact engine life. Apparently these were built and inspected to a higher standard so they became my bearings of choice. The markings on these units verified that they were in fact, Genuine Porsche units.
Measuring
Armed with Wayne’s rebuild book, the Performance Handbook, and the Bentley manual to cross-check all specs, I started measuring everything on the rods. Lengths and widths were first on the list. No issues.
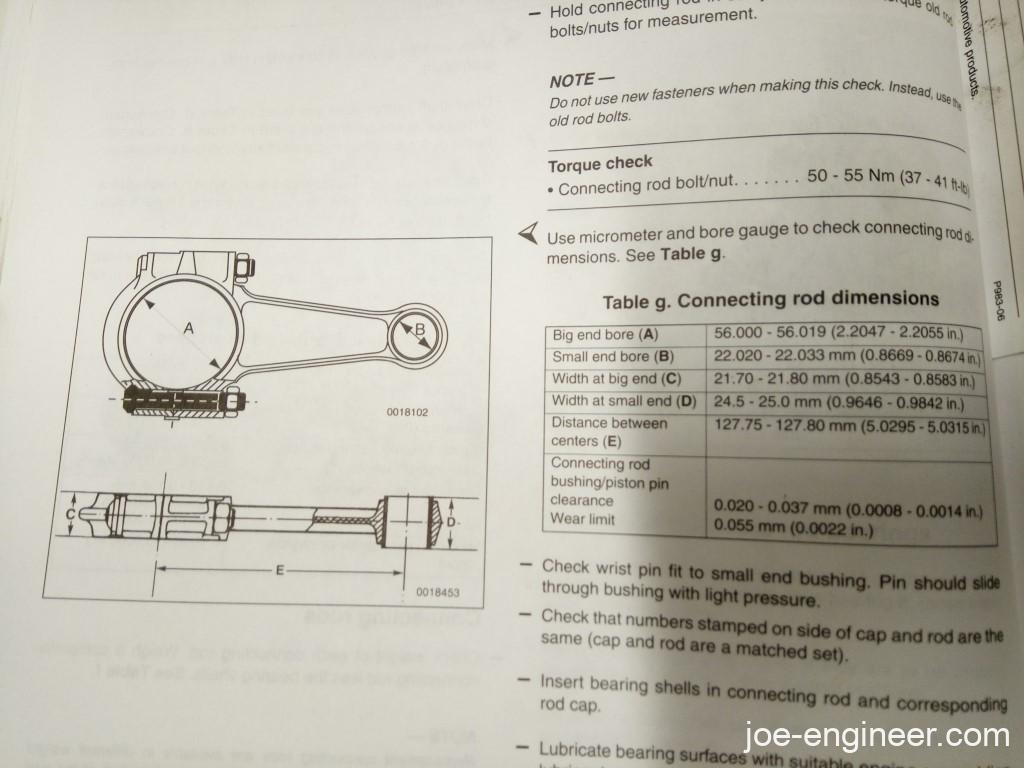
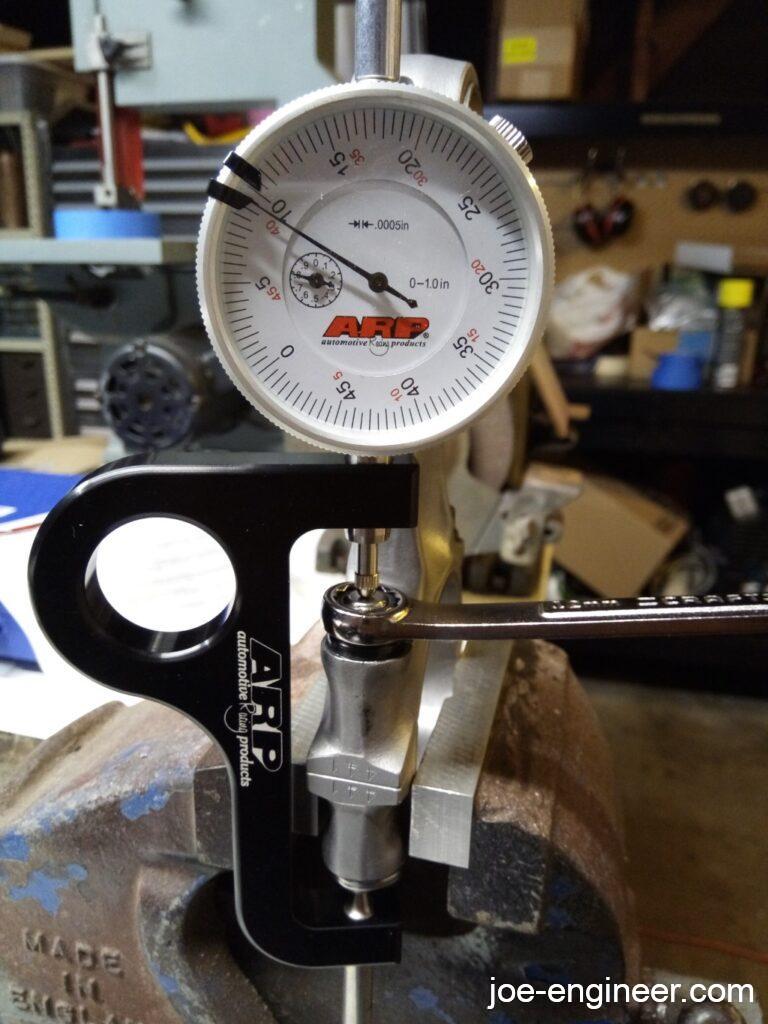
I then checked the large end bores using the old rod bolts torqued to spec as well as with the ARP bolts stretched to spec.
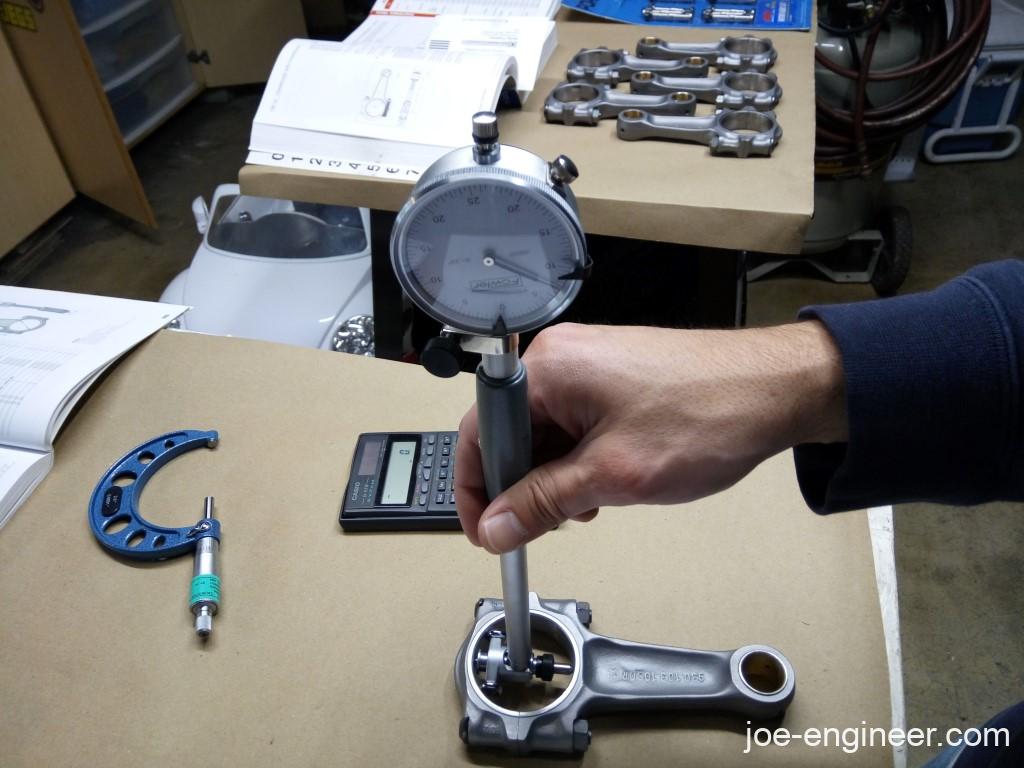
I verified with ARP that the bolts do not yield when they are stretched to (but not exceeding) the catalog specs. This way you can measure the bores with the correct clamping force applied, and re-use the bolts for final assembly. The large ends checked out ok. I also checked the ARP bolt lengths before and after with a micrometer to verify that there was zero bolt stretch.
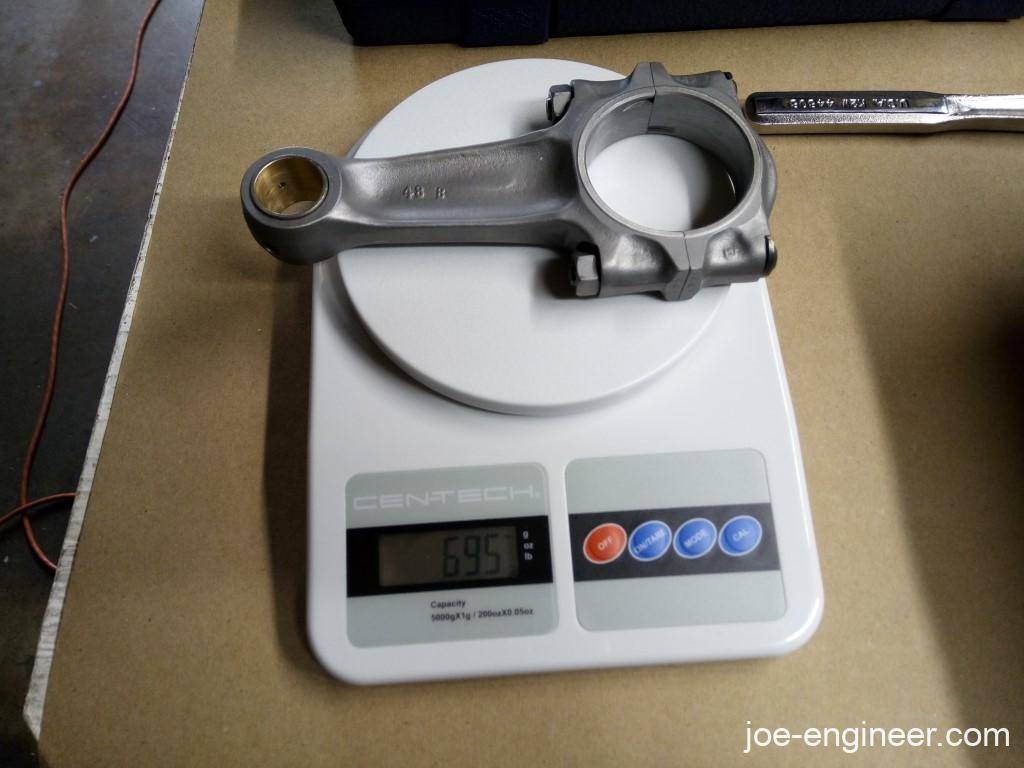
I weighed each rod and found them all to be within a gram of each other. Knowing all the weights let me arrange them in 3 matching pairs to set the heaviest pair on cylinders 3 and 6, the next heaviest pair on cylinders 2 and 5, and the lightest pair on cylinders 1 and 4 for balancing purposes, per Bruce Anderson’s book.
But by far the most satisfying step was checking the small rod ends with a piston pin. The spec calls out for the oiled pin to slowly glide through the small end under its own weight like this:
And with that the connecting rod check was done and we moved onto the crankshaft. A micrometer check on all rod and main crank journals passed with flying colors. We were ready to move to checking bearing clearances on the assembled crank, rods, and bearings for final assembly.