
Porsche 911 Bottom End Assembly
With the rods all spec’d out, I turned my attention to my crank and how I should set it up for measuring and hanging the rods.
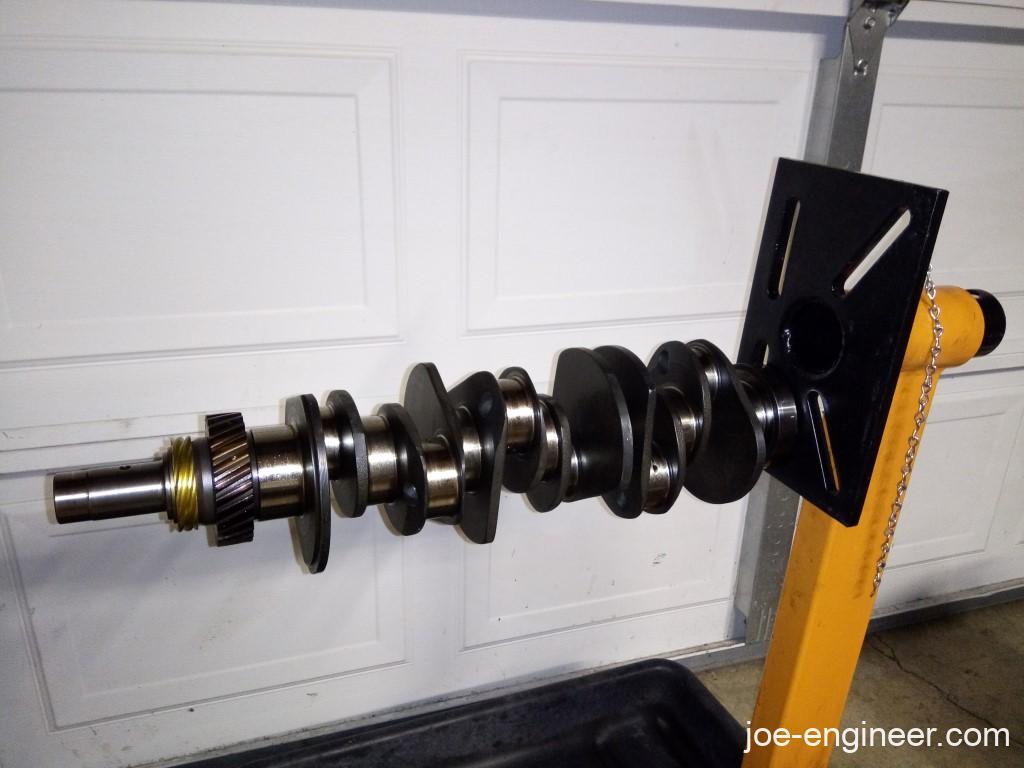
Engine Stand Crank Mount
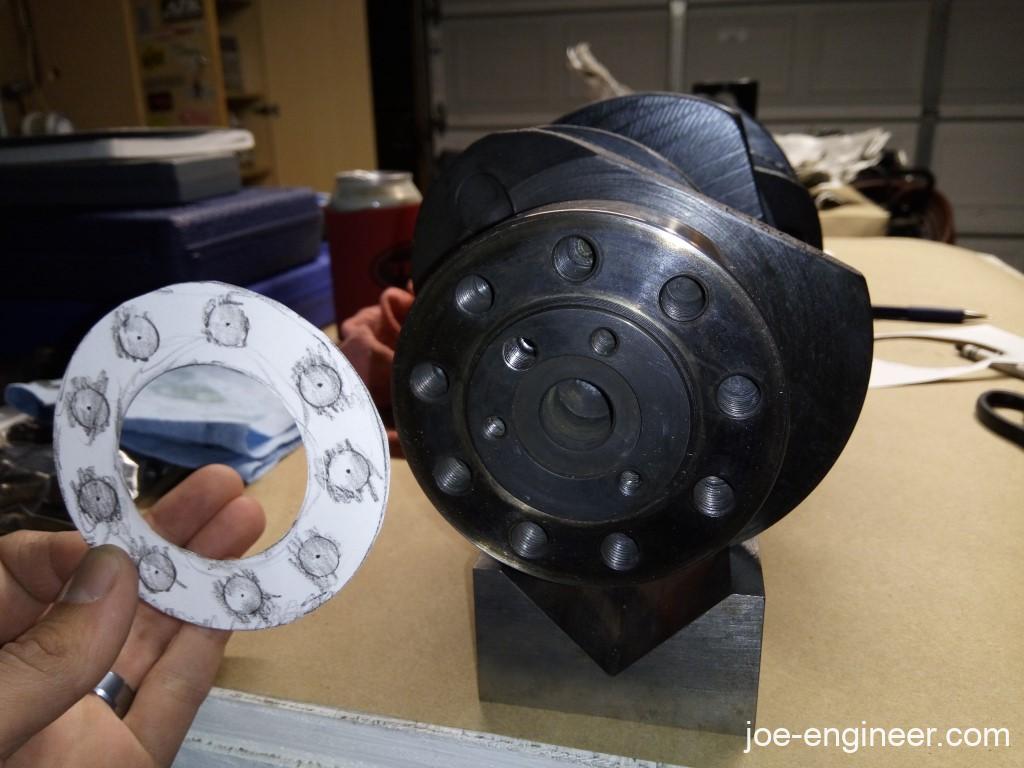
I did not have the expensive factory crank holding tool but I did have a generic engine stand adapter laying around so I decided to get creative. First I made a paper pattern of the flywheel mounting holes on the crank.
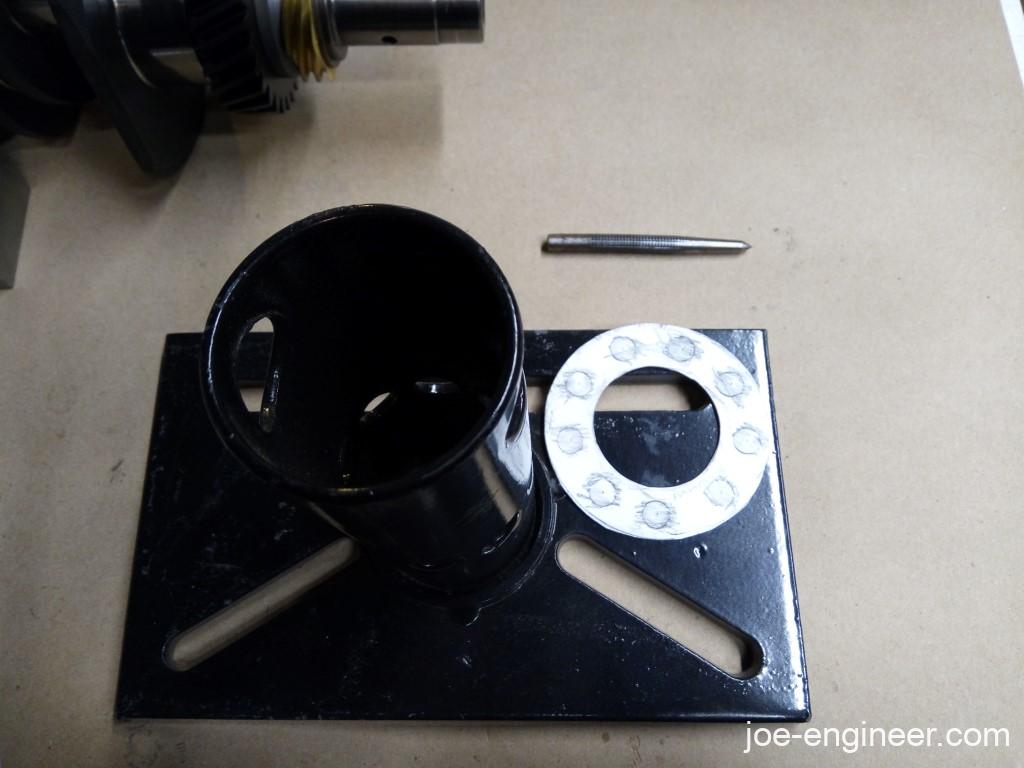
Next I transfer punched the hole centers onto the engine stand adapter.
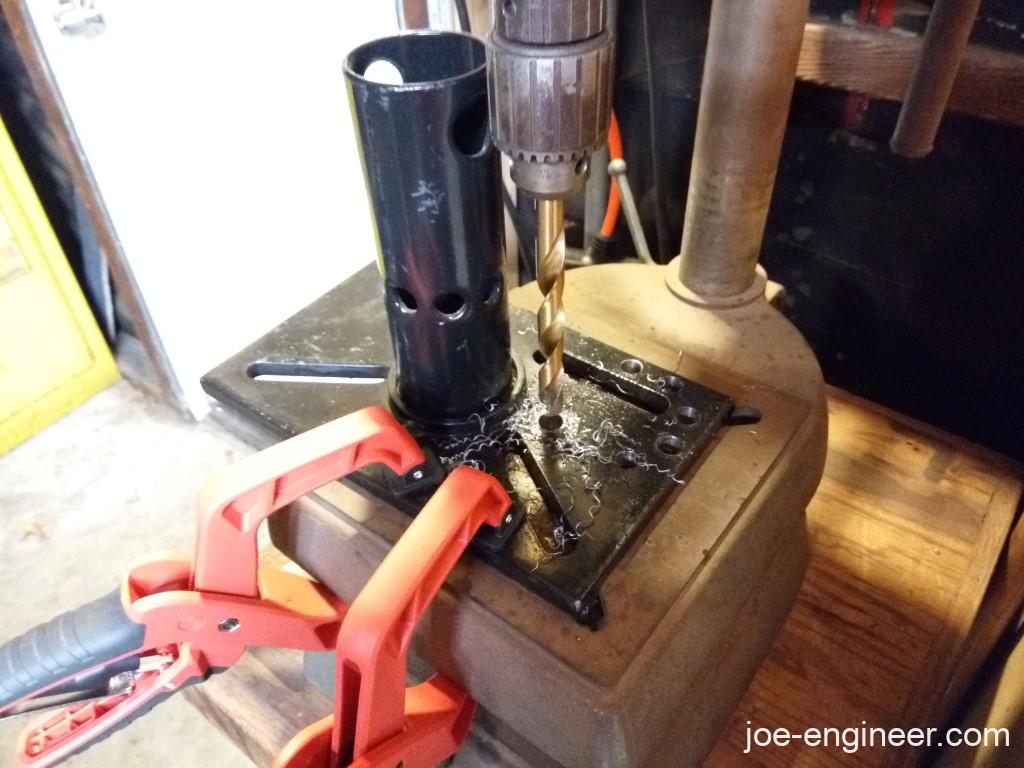
Then I drilled the holes with my trusty old press.
My eyeballed hole pattern got me 6 holes in the correct spot. That’s probably strong enough for this operation.
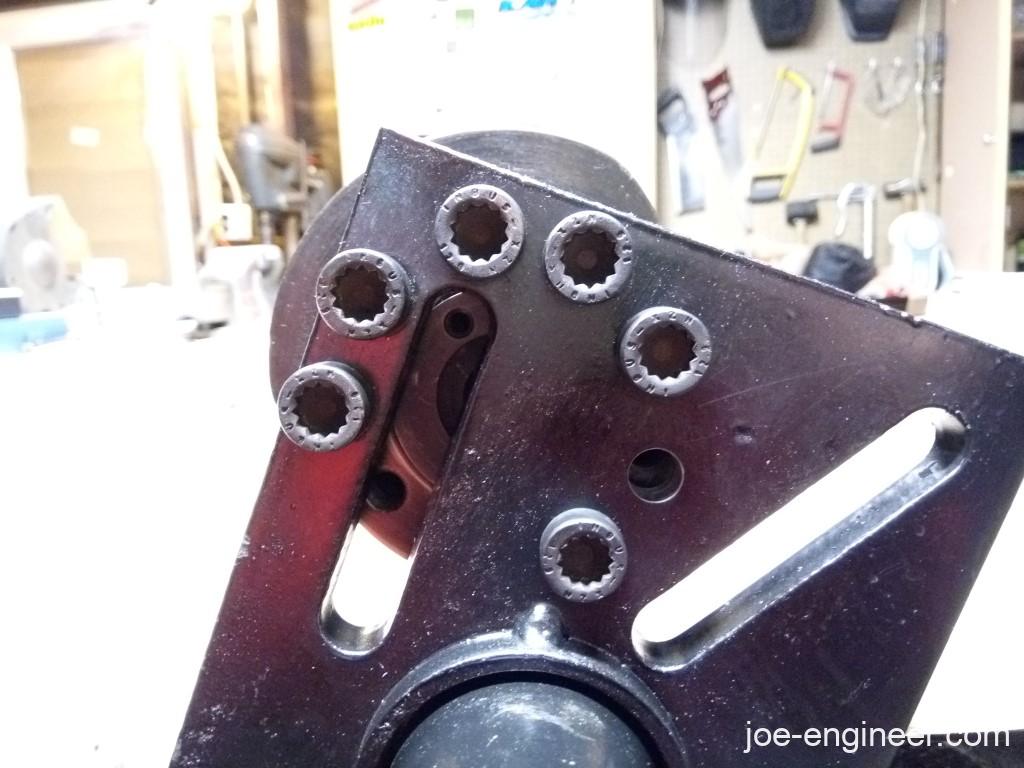
Then I had a safe and sturdy engine stand adapter for my crank.
Final Crank Prep & Bearing Clearance Check
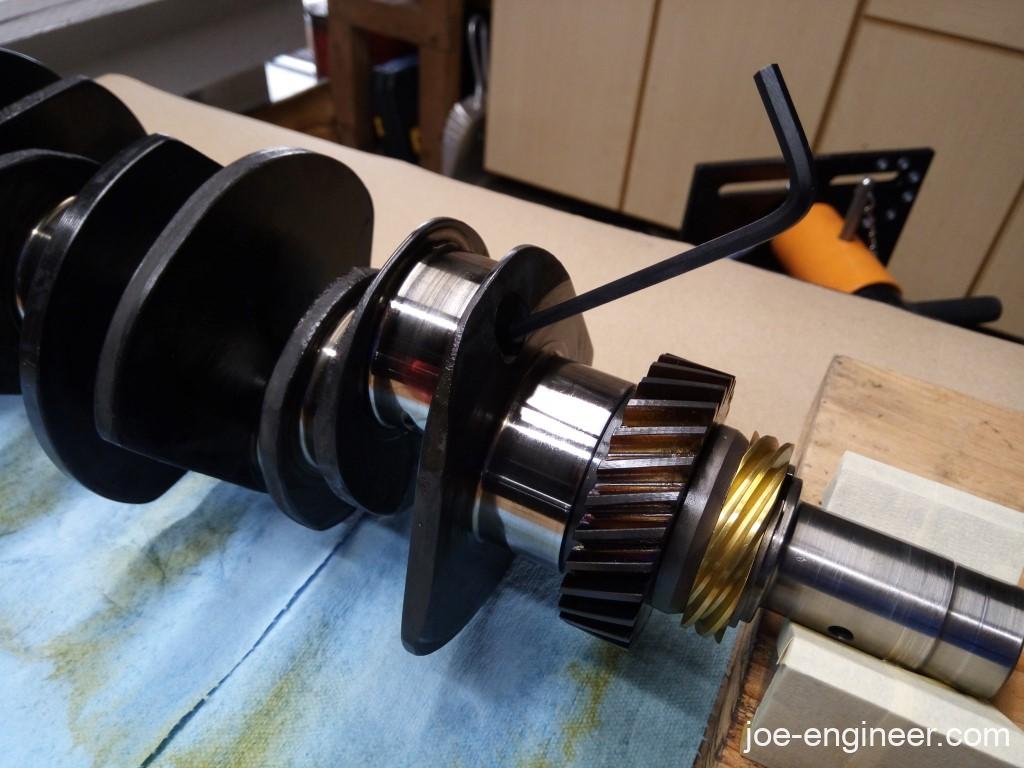
Back on the bench, I cleaned the crank exterior and blew an entire can of carb cleaner into the oil passages and blew everything out with compressed air. There were no signs of machining grit thanks to the machine shop doing a fine job. I installed 9 threaded plugs with green Loctite 620 per the machine shop’s recommendation.
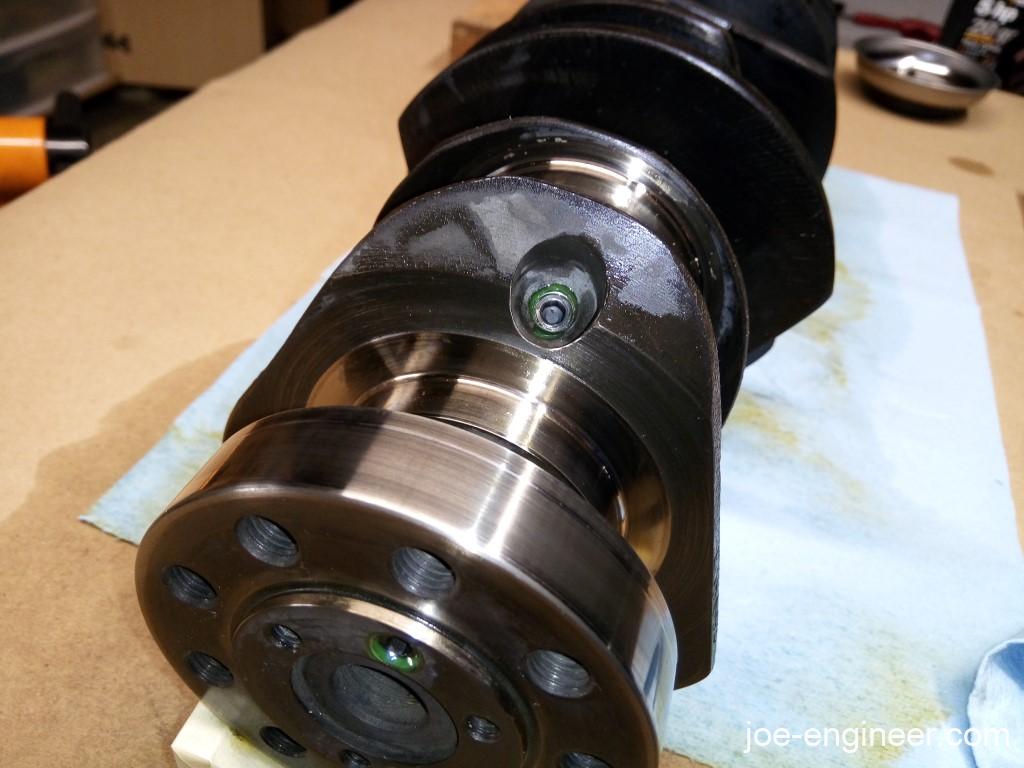
I tightened them as much as was possible with the little hex key as these things can never ever come out unless we are rebuilding again in the future.
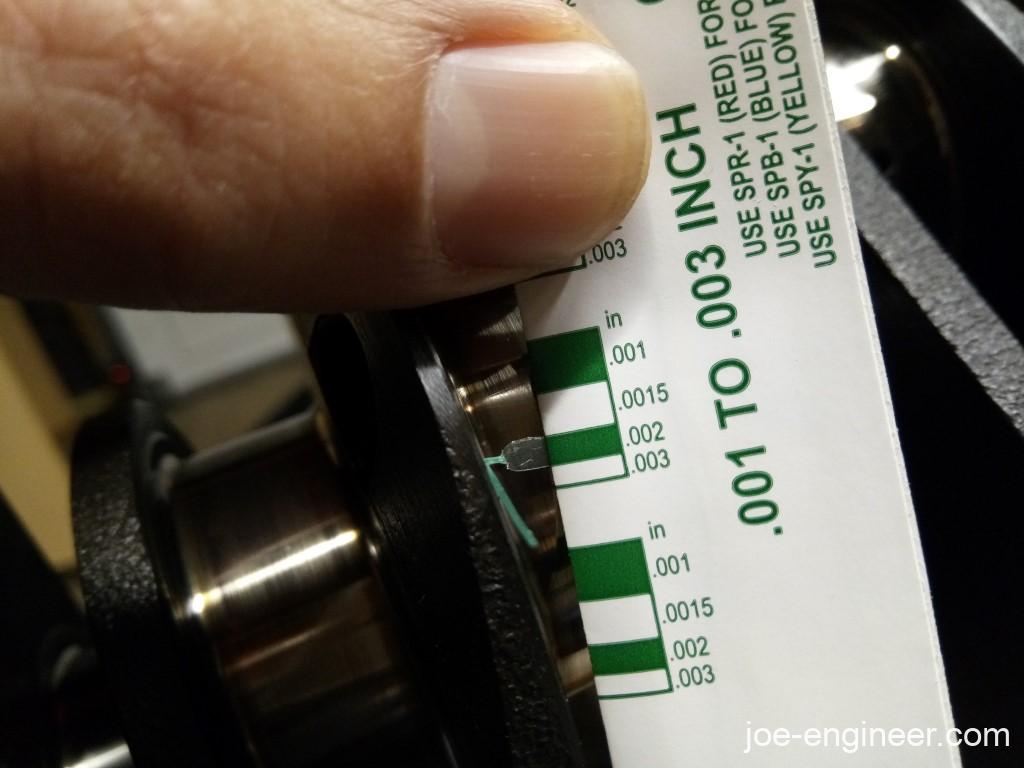
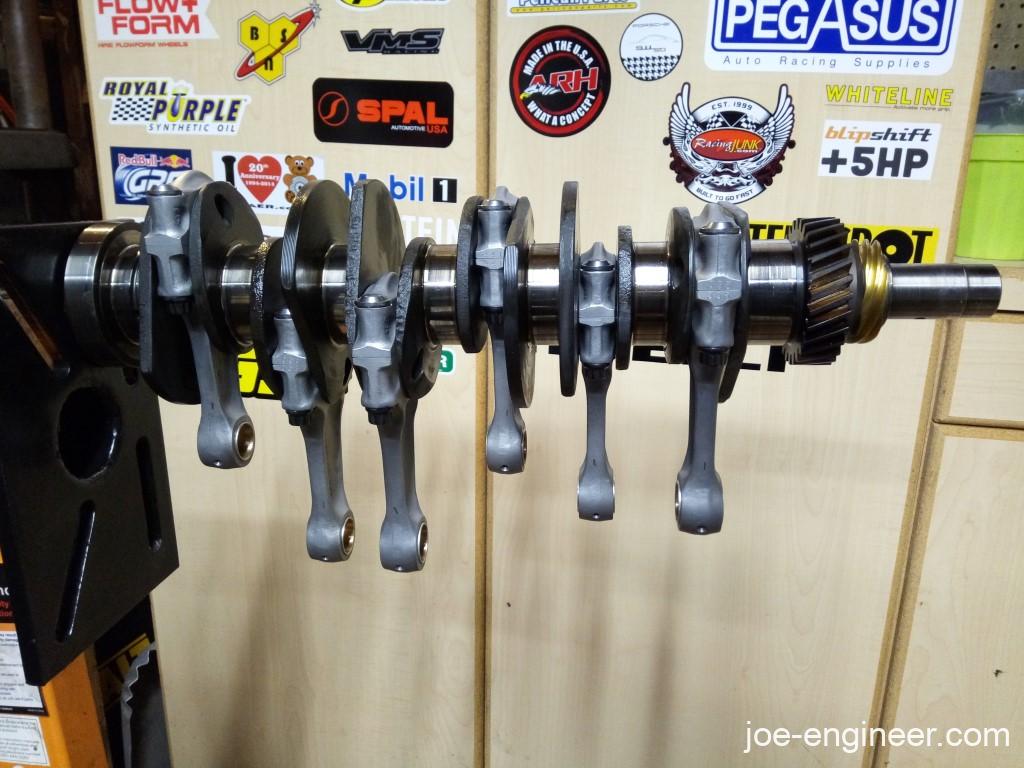
With the crank back on the stand, I wanted to perform one last rod bearing clearance check using green Plastigage. If the rod bores, crank rod journals, and bearing thicknesses were within spec, mathematically the bearing clearances should work out, however the Plastigage is a known low-tech additional double-check method. As you already know, I am a fan of data and you can never have too much of it. I arranged the rods in their new locations (by weight), the new GT3 bearings, and the old rod bolts torqued to spec. Fortunately we had the correct amount of Plastigage squish on all rods.
Final Assembly
After cleaning off the Plastigage, I final reassembled each rod using assembly lube and the GT3 bearings paired with the ARP bolts. The rods bolt stretch was easy to setup in this orientation. The extra fine thread on the bolts and the bolt lube lets you sloooowly turn the nut and watch the stretch gauge dial sneak up on the desired range. Fantastic fasteners and measuring tool.
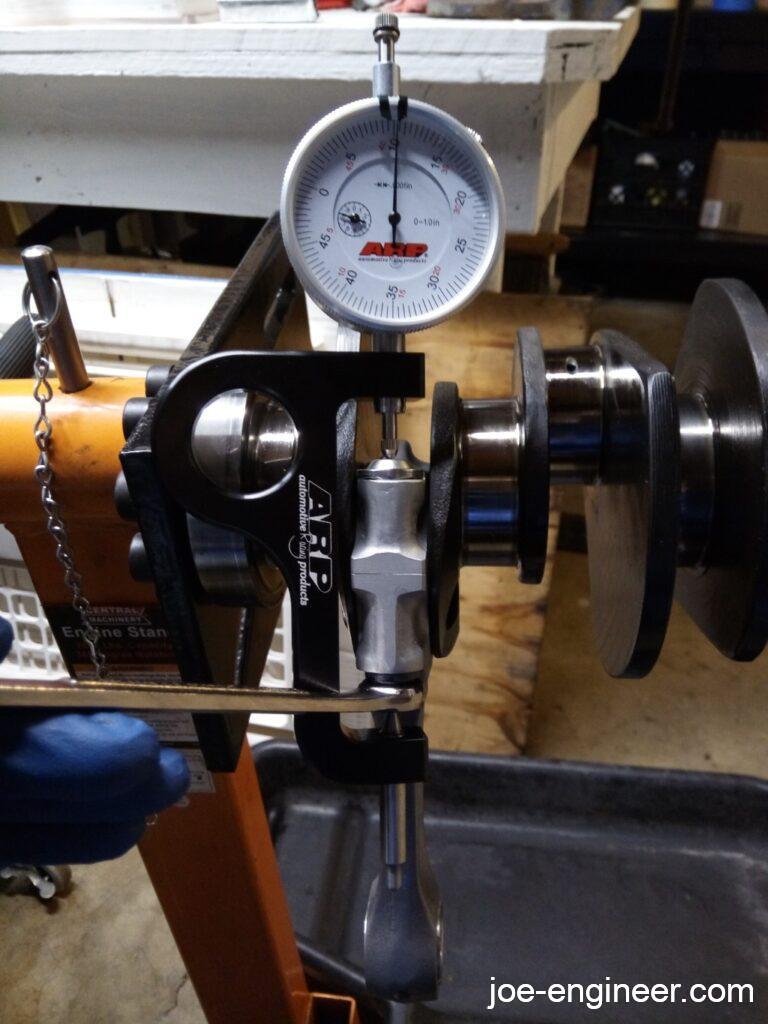
Eventually we completed all six rods successfully.
The final triple-check of bearing clearance is that in this orientation, the lubed rods should slowly drop under their own weight, similar to the wrist pins.
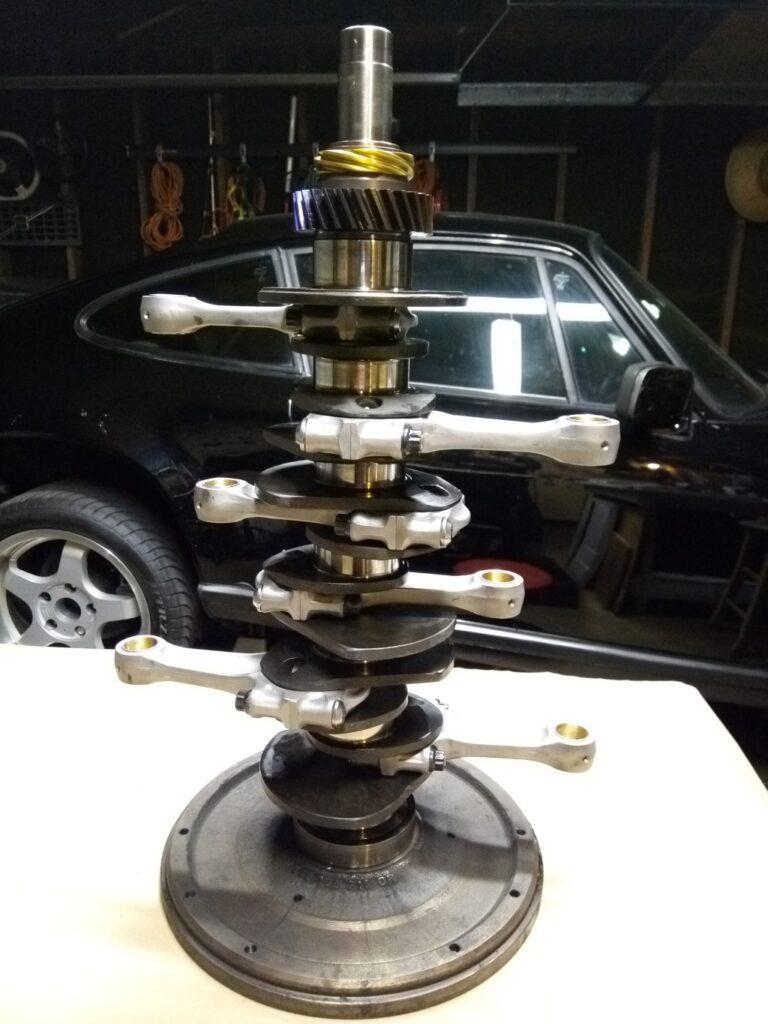
After passing all these tests, this newb was confident that the bottom end was assembled correctly. Hopefully the upgraded rod bolts and bearings further bullet-proof the bottom end for many more decades. I removed the crank and rods assembly and parked it back on the flywheel for temporary storage.
Next we will prepare the case and all the other parts that go inside for short-block reassembly.