
DIY: How To Teardown an Engine and Stay Organized
Ever come across one of those Craigslist, Ebay, or car forum classified ads for a box of someone’s failed dreams?
Note: The following information is for educational use only. Before proceeding please read my disclaimer page.
Note: This post contains links to Amazon products and other trusted Porsche parts vendors. As an Amazon Associate I earn from qualifying purchases.
I’m talking about an ad for a box of engine parts resulting from someone taking an engine apart, failing to stay organized along the way, becoming overwhelmed by the pile of hardware in front of them, only to give up and put it up for sale, at a gigantic loss, leaving the mess for someone else to figure out.
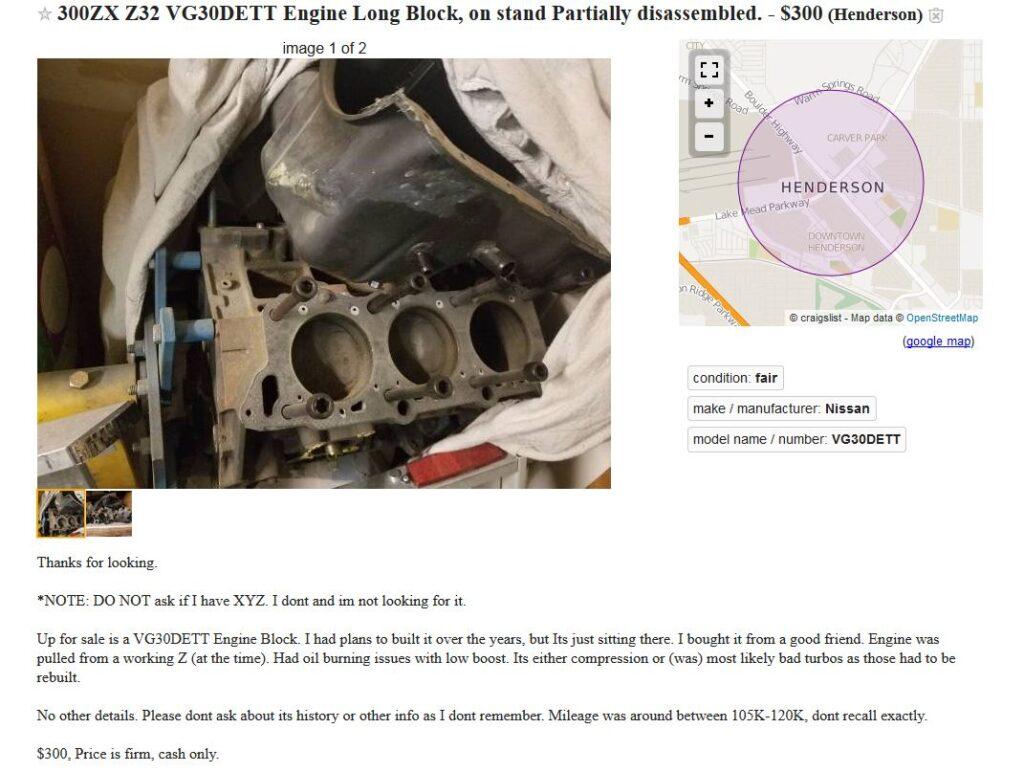
“I had plans to built it over the years, but Its just sitting there.”
Our goal is to never become one of those. I believe that with a little bit of organization and a lot of patience, you can successfully tear an engine down that you have a fighting chance of eventually putting back together. Part 1 of this post will show the DIY process and part 2 will detail my actual teardown.
Note: this process can apply to any subassembly such as a corner of your suspension, your cooling system, transmission, etc.
1. Be patient. Be detail oriented. Be OCD.
I cannot stress how important it is to be patient. It is so easy to tear something apart, throw all the parts in a bucket, and forget how it goes back together. Don’t do that. You have to be able to track where every fastener came from so you can put it back in its place when you are finished.
2. Take lots of photos and notes.
I have over 1000 photos of my 911 engine rebuild. At least 200 of the teardown itself. It may seem extreme, but in a matter of seconds, I can scroll to any point during my teardown and remember where every part goes and in what order and orientation. If there are fasteners that are difficult to see because they are covered in grease, etc. I point to them as I am taking pictures so I know they are there. Use photo editing software to circle stuff, point arrows, and write notes as needed. Most phones should have this capability as you shoot the photos.
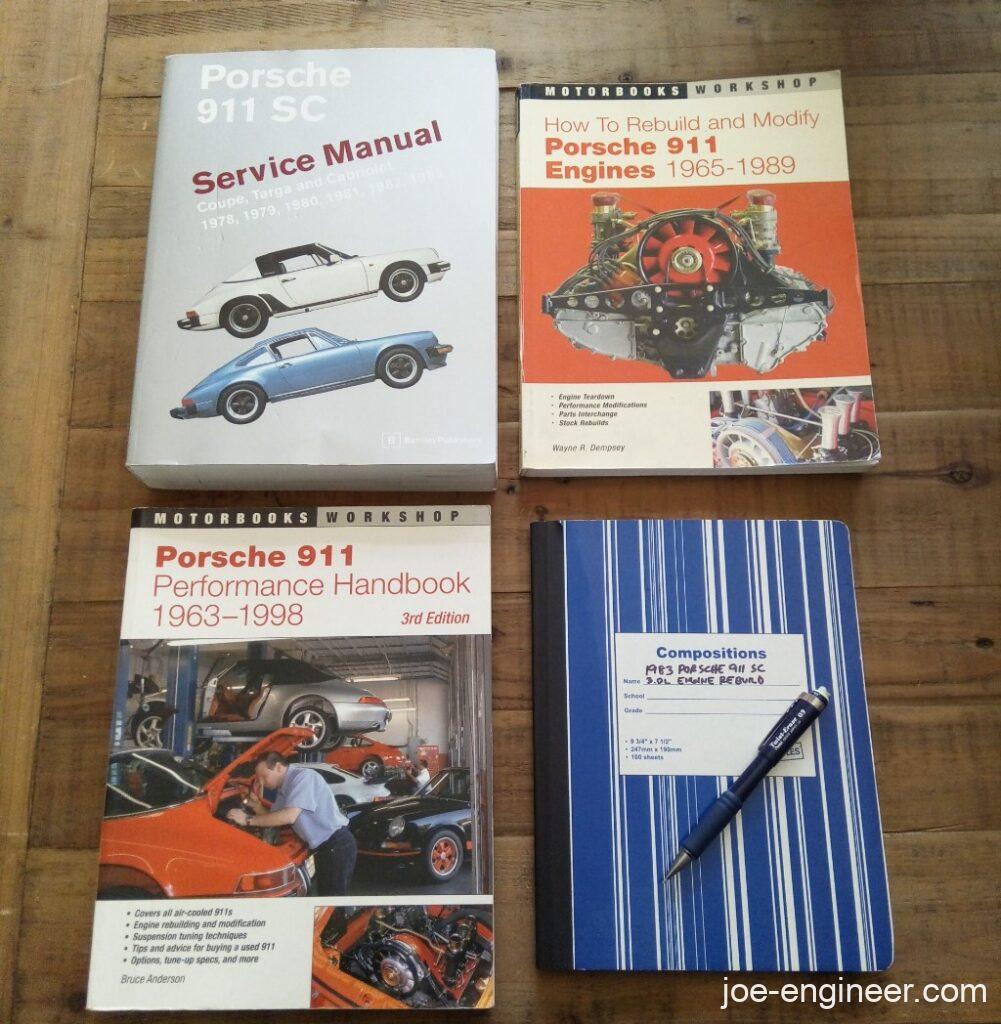
If possible buy a cheap notebook and dedicate it to your engine rebuild. Date and write down what you tore down, every time you work on it. Note any and all details. The general idea is you want to capture as much detail as you can through photos, notes, video, etc. because it may be a very long time before you need to recall that information again. I used to have a great memory but since becoming a dad, my brain automatically deprioritizes recalling anything that doesn’t have to do with my little ones.
3. Follow along with teardown/rebuild instructions.
If available, use a rebuild book, video, or forum DIY thread that shows detailed step-by-step teardown instructions. This way you can spot things that don’t look right, such as broken parts or missing fasteners. Then you can take photos and notes like in step 2 above. In vehicles that are commonly modified, it is almost guaranteed that you will find something different going on, even if it is a hex bolt in place of a missing stud and nut. If you come across 2 or more set of instructions for the same task I highly recommend following along with all of them. Sometimes you will pick up details from one set of instructions that won’t be in the others, or some simply explain things better than others.
If you get stuck ask for help. Ask a friend or a shop or hop on an online forum. Lots of good people out there willing to share their knowledge.
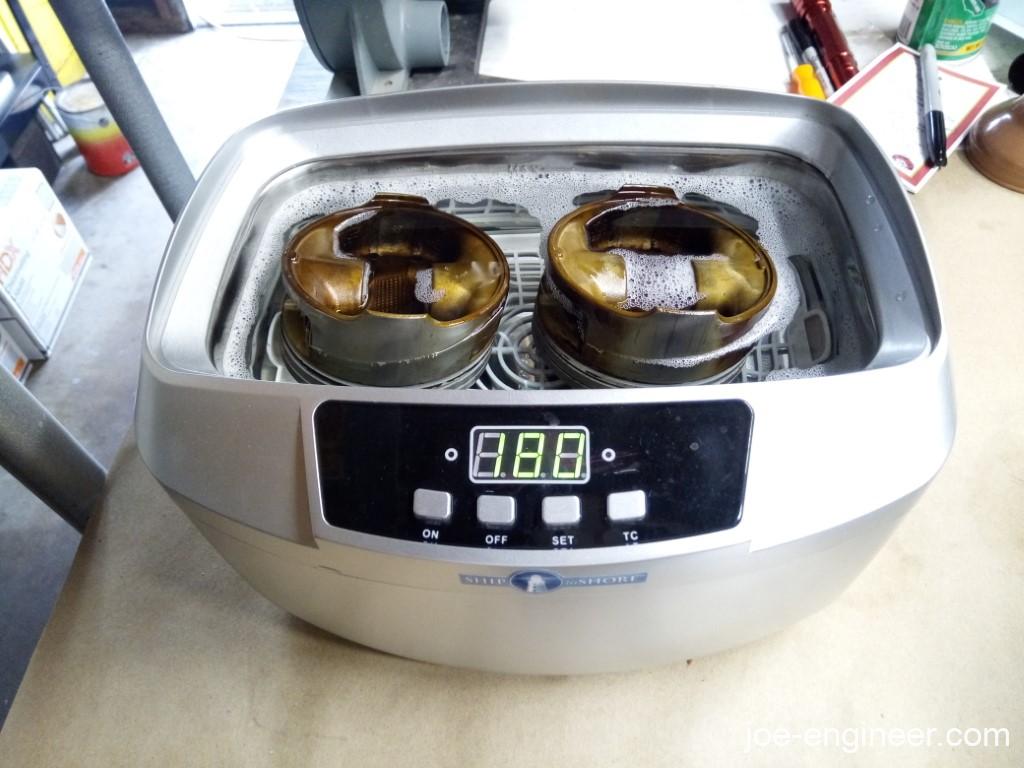
4. Clean small parts as you go along.
Clean batches of parts as you go along. Use a bucket of water and degreaser, carb cleaner, brake cleaner, or even better a small ultrasonic cleaner. It’s much nicer to store clean fasteners than dirty ones. When you do perform your rebuild everything will be clean and ready to install. It is a pain to have to stop and clean dirty fasteners before you re-install them or worse have to waste time finding replacements for damaged ones at the last minute. This also lowers your chance of getting lazy and reinstalling dirty or questionable parts, which looks terrible when you show off your hard work to others.
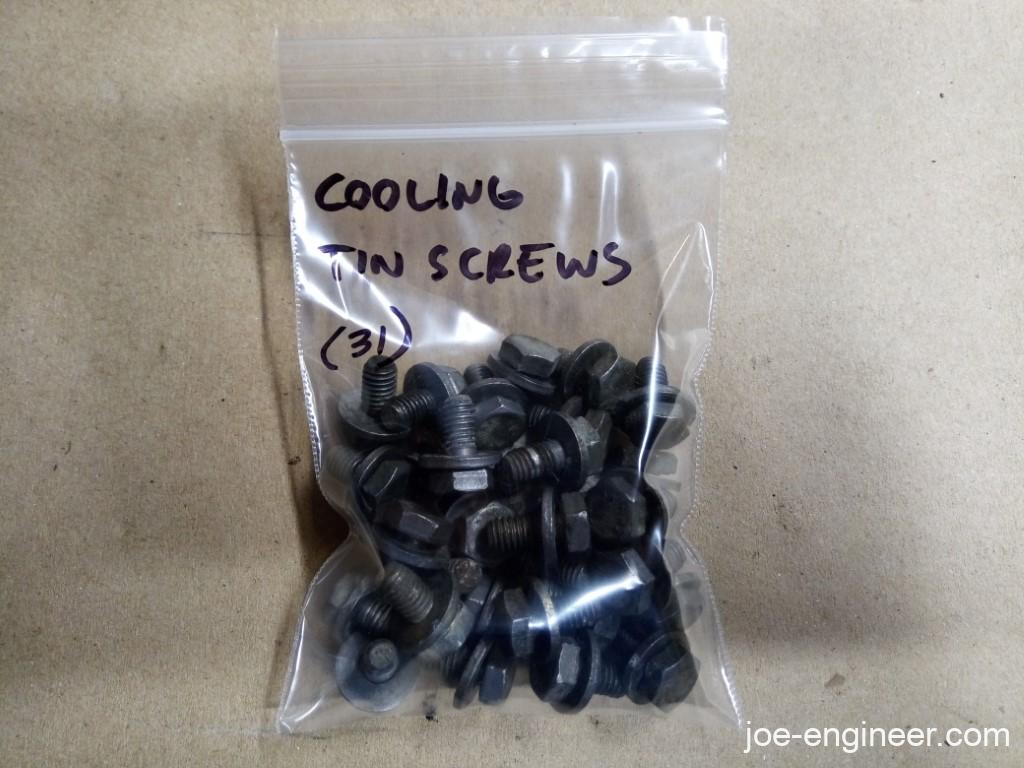
5. Bag and tag everything & zip-tie assemblies together
Go buy a few sets of small plastic baggies and bigger quart and gallon freezer bags. Store your cleaned parts in these bags and write the contents with a permanent marker.
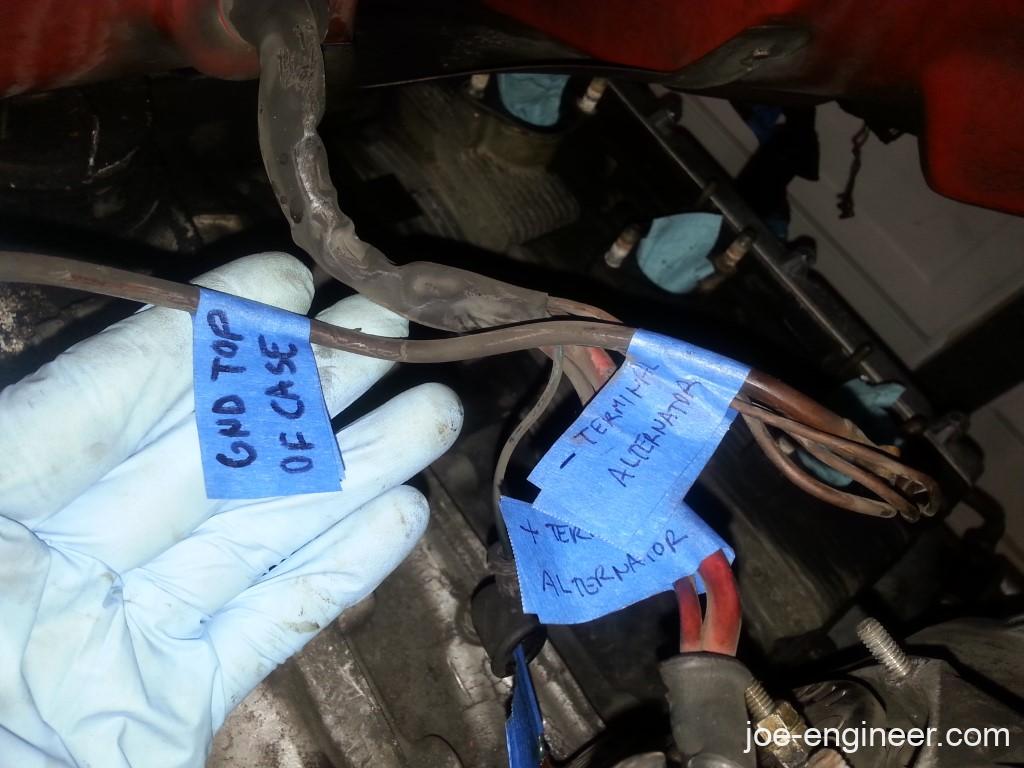
Use masking tape to tape little flags onto wire harness connectors or any kind of vacuum or fluid lines. These are somewhat fragile and could tear off if they snag on something or get wet so be aware of that. You could also try brightly colored electrical tape like yellow, red, or white for a more robust solution.
It helps if you know the correct names for parts and fasteners but if you don’t, it is completely ok to label parts “bolts for bracket at the front left corner of engine, next to battery”. It will help to have supporting notes and pictures for these. If you have a small assembly of parts that go together in a certain orientation, you can also zip-tie the assembly together so you nothing gets reinstalled backwards or out of order.
6. Storage cases for hardware are gold.
Buy a couple of these cases and you will wonder how you ever worked without them. They are usually a large plastic case with a clear lid which holds many reconfigurable small trays. I cannot stress how amazing it is to organize small parts in these. All my external and internal 911 engine hardware fit into 2 of these hand-held cases which I was then able to safely store on a shelf with the complete peace of mind that everything was there. Keep an open case next to you as you teardown, clean, and bag and tag and never worry about missing parts ever again. When you rebuild, you will know they are there.
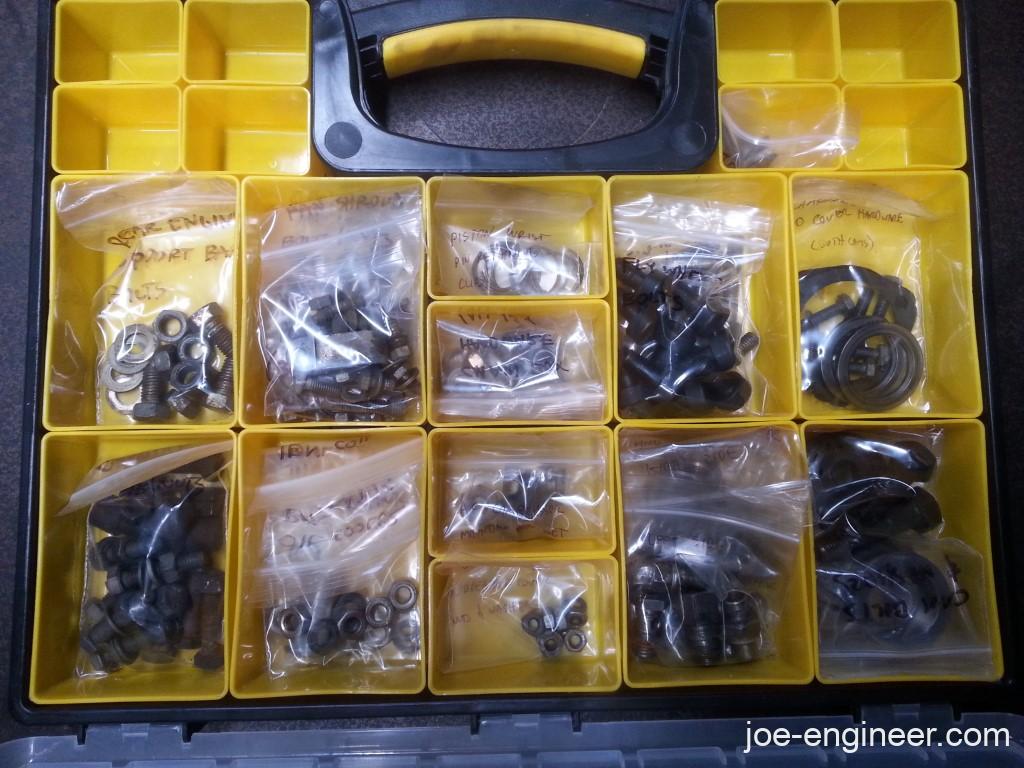

Cardboard boxes, coffee cans, and Tupperware are ok in a pinch until you accumulate a lot of them and then you can’t remember what went in which box. Then you start opening and digging for stuff which gets old fast. Do yourself a favor and get a couple of these cases.
7. Stash boxes and packing material.
If you are like most people and already buy a lot of household stuff online, you may want to start keeping a small pile of boxes and packing material. They will come in handy for long term storage of delicate parts and in shipping parts out that need to get rebuilt or reconditioned. If you know of any mailing services that offer free boxes fully take advantage of those.
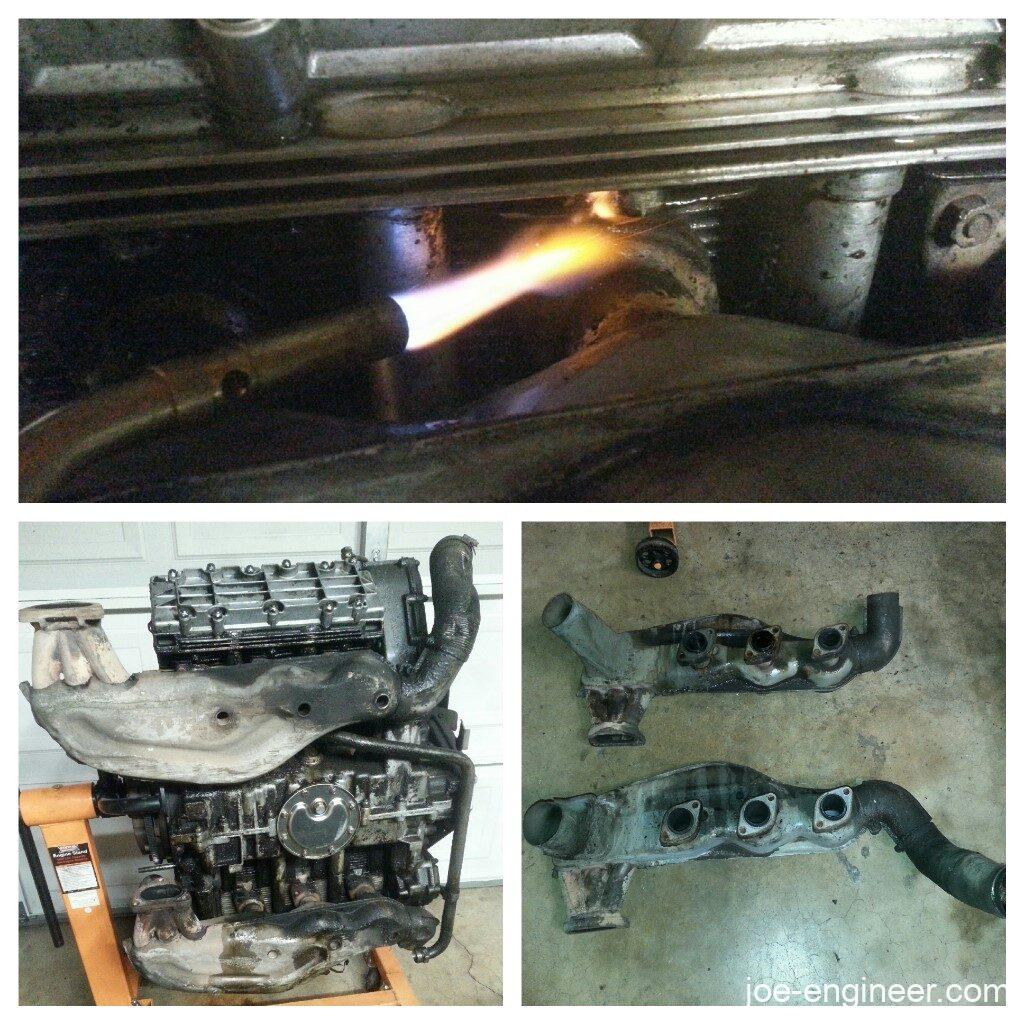
8. Penetrating oil, more patience, and heat
Please review point #1 about having patience. You need this throughout the whole teardown phase. If you come across any stubborn fasteners that are rusted, use penetrating oil and give it time to soak in over the course of a few days. Several applications may be necessary. If that is not enough, use heat as many times as necessary to get it free. A few cycles of heating with a propane torch and air cooling will usually break whatever rusty bond is holding the threads together. Or if you are heating a nut it might expand enough to loosen.
In all cases try to avoid brute force to reduce the chance of breaking fasteners, especially around engine and transmission cases. If you break any studs inside a delicate case you are looking at using extractors or drilling them out. In the worst case you will have to pay a machinist big bucks to get them out without damaging the material around them.
Be patient and know when to walk away, take a break, and come back to it with a cool head.
Warning: Penetrating oil is flammable so please dont light it, yourself, anyone or anything else on fire.
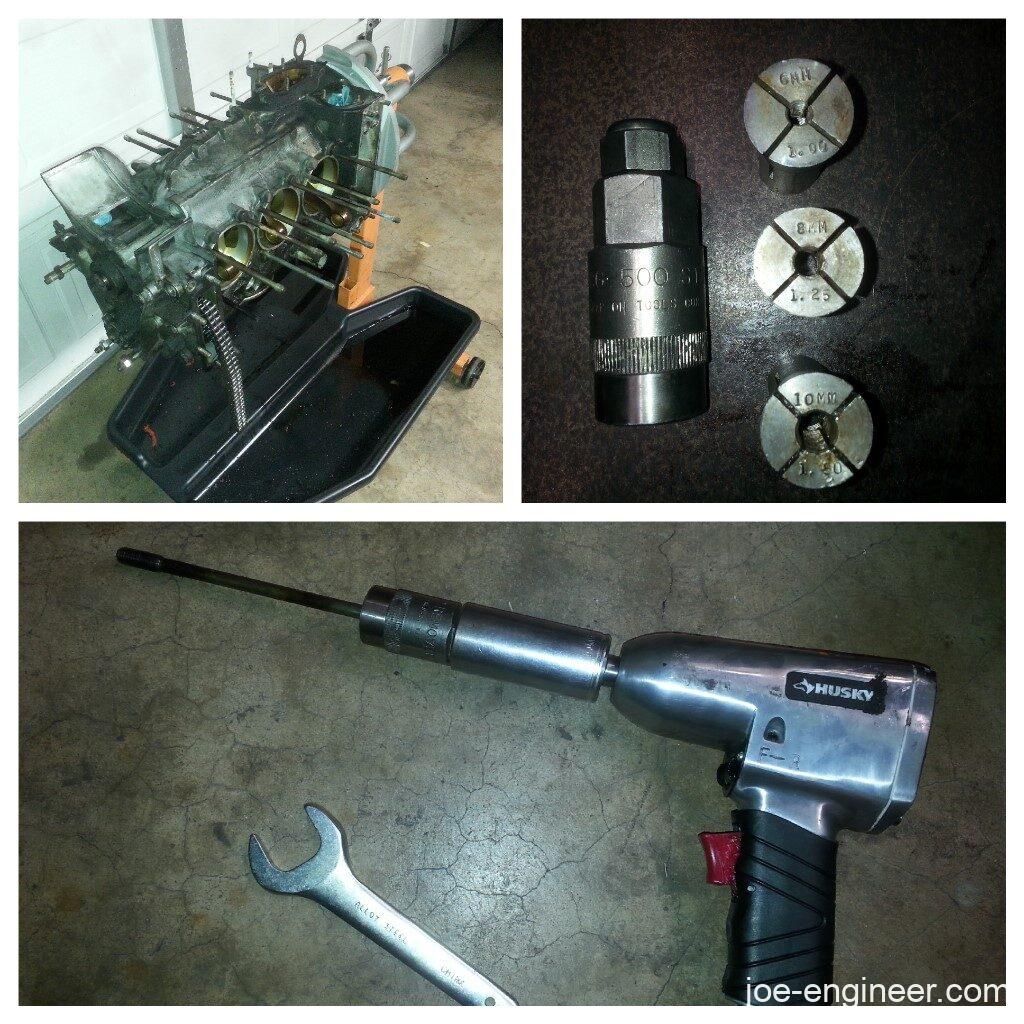
9. Get special tools if you need them
Some parts require a special tool for disassembly, such as a special wrench with some strange bends in it or an adapter of some kind. Many times these special tools are expensive because only professional mechanics buy them. Don’t risk damaging anything by trying to get by without the right tool. Borrow, rent, or buy used in that order.
If you have to buy it new, buy it. You can always keep it for future use or re-sell it privately at a very small loss. You can think of it as having paid a rental fee for it. I am a tool nerd and don’t mind buying special tools if they will make my life easier during that particular job and there is a chance I could use them in the future.
10. Place heavy and delicate items on stable shelving
Keep heavy stuff closer to the ground so they have less distance to accelerate if they fall off. Keep delicate items packed and away from places where they can fall off or from heavy parts that could damage them.
11. Disassembled engines take up a lot of space
My 3.0L 911 engine took up all my shelf space in my garage and spilled over into a pile of boxes next to my desk in my office. Keep that in mind before you disassemble your Lamborghini V12 in your car port.
12. Remember to have fun
Don’t stress out. Take your time, have fun, and enjoy the journey. That’s what this is all about.