
Air-Cooled Porsche 911 Rear Window Seal Replacement
Goodbye dried-out, leaky rear window seal.
Note: The following information is for educational use only. Before proceeding please read my disclaimer page.
Disclosure: This post contains links to Amazon products and other trusted vendors. As an Amazon Associate I earn from qualifying purchases.
I can still count on two hands the total number of times I have washed the 911. This is tragic, because this car looks its best the first 30 minutes after a wash. Then the curse of the black paint shows every little spec of dust on the surface until the next wash. 🙂
One of the main reasons I don’t wash it often is that water leaks into the cabin. I need to re-do every rubber seal on the body. The worst offenders were the sunroof and the rear window seals. I have already rebuilt my sunroof so the rear seal was up next.
After seeing this operation performed a few times, I gained more confidence in being able to do it at home, though I knew I would need an expert to lead the process and I be the humble apprentice. Fortunately my friend Mike (@bigmikey_mike on IG) offered to help. I bought a new rear window seal and off we went.
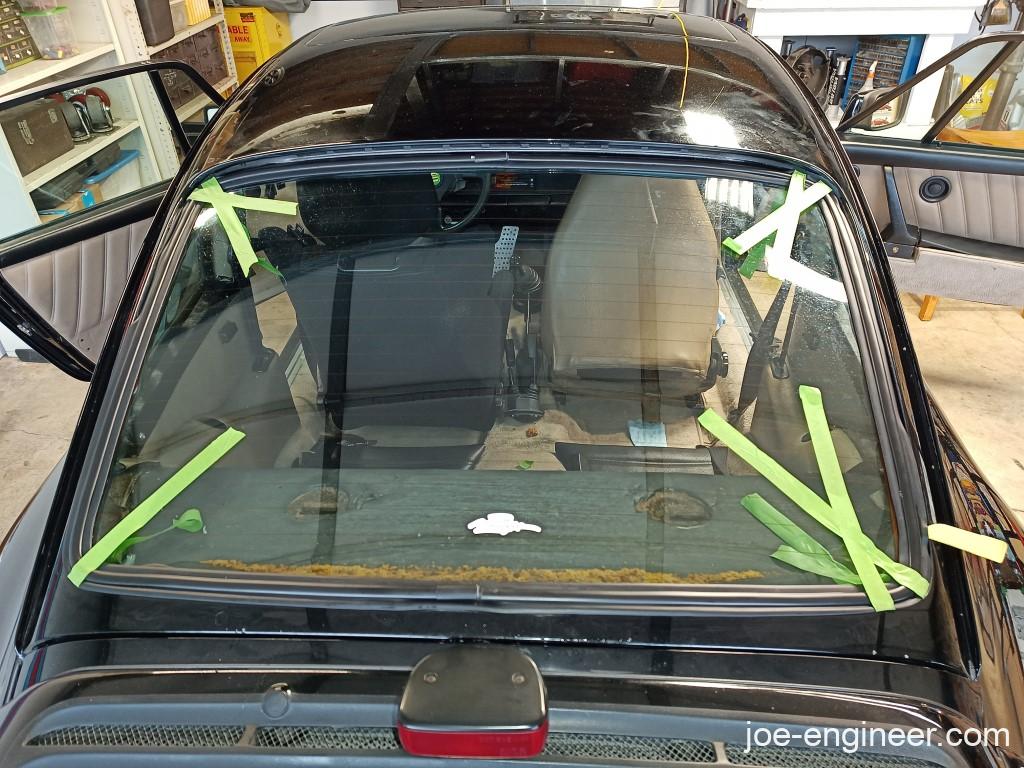
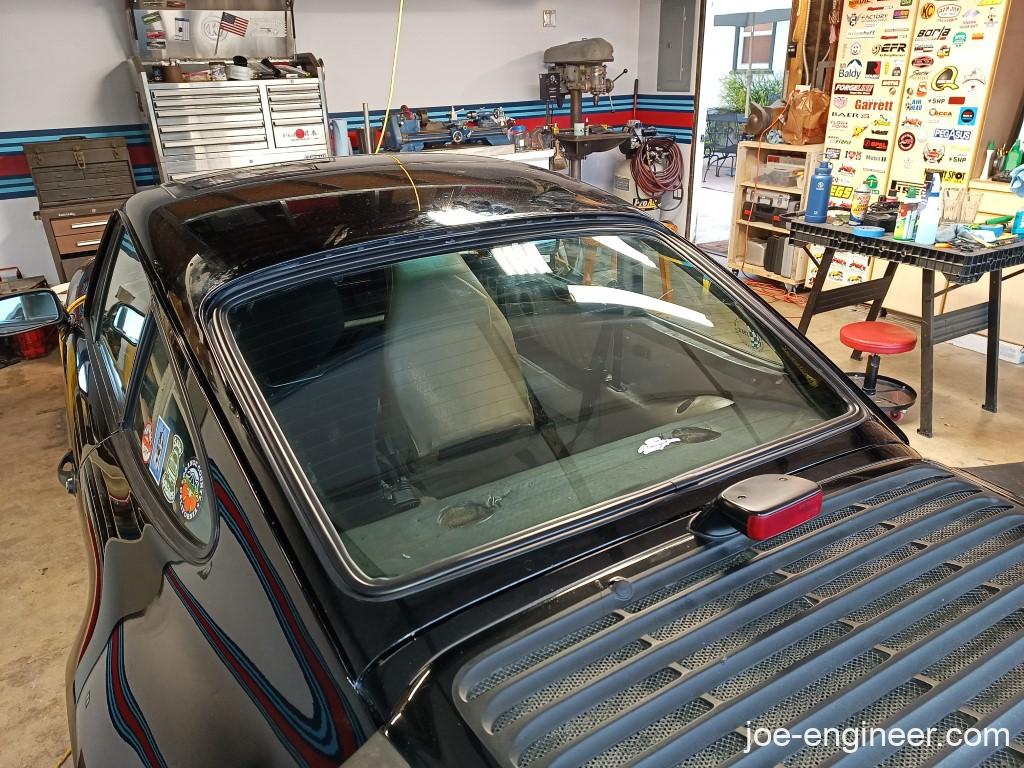
Before
This is what my seal looked like before. Hard to see anything wrong on a black car, but the most obvious problem was that the window trim was completely popped out at the top corners. The window trim helps expand the seal against the surfaces of the window channel, sealing out rain.
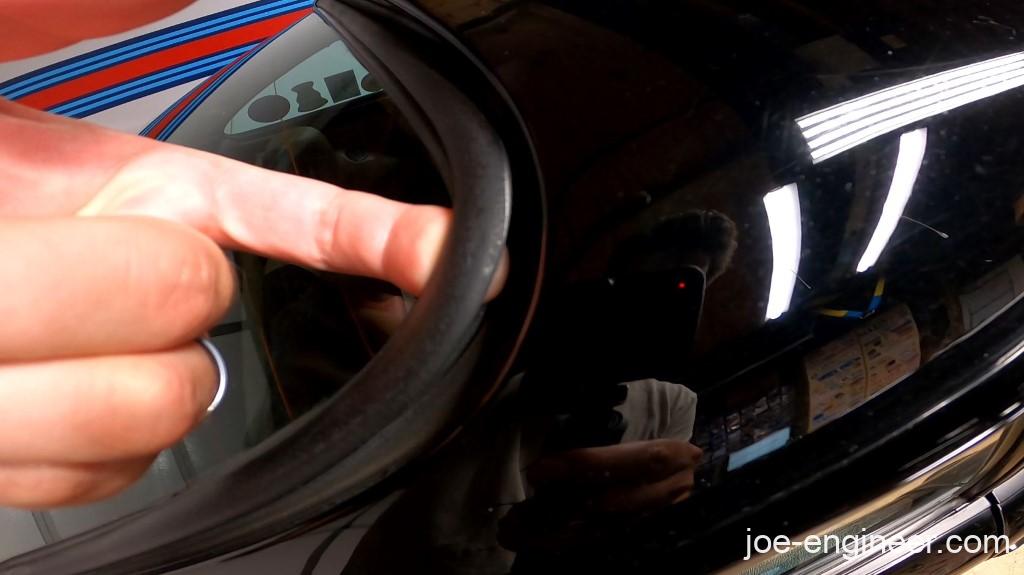
At the bottom corners, little puddles of water form in the lower corners then slowly disappeared if I didn’t wipe them away immediately. Then my rear glass fogs up by the time I am done drying the car.
Disassembly
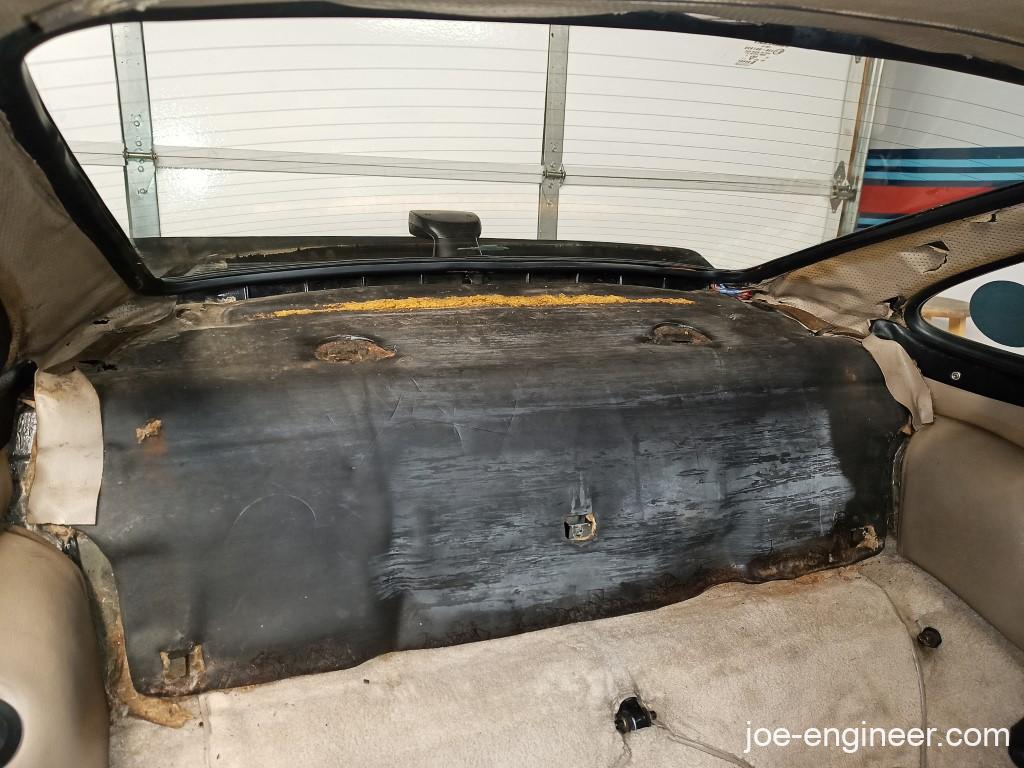
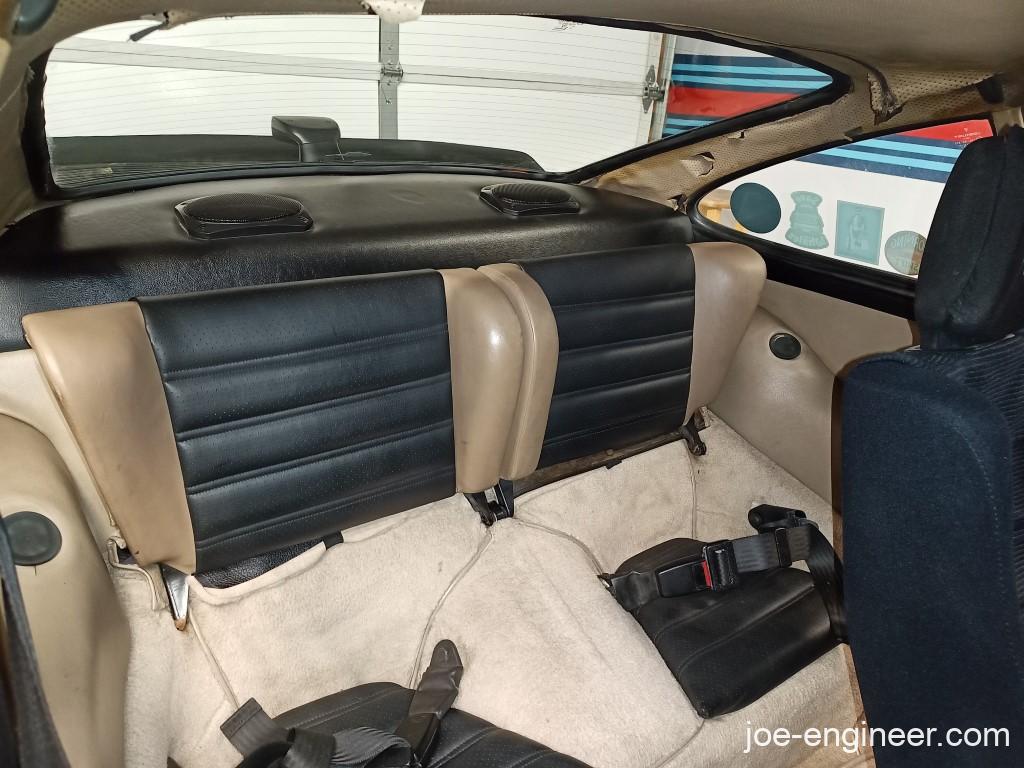
I thought I was going to have to remove the entire back half of my interior but thankfully I was wrong. 1 bolt removes each rear seat back, and 4 interior screws removes the leather rear parcel shelf. Then I had access to the entire perimeter of the seal. You may find excess speaker and rear defroster wiring under here. Mine was all disconnected.
Seal Removal
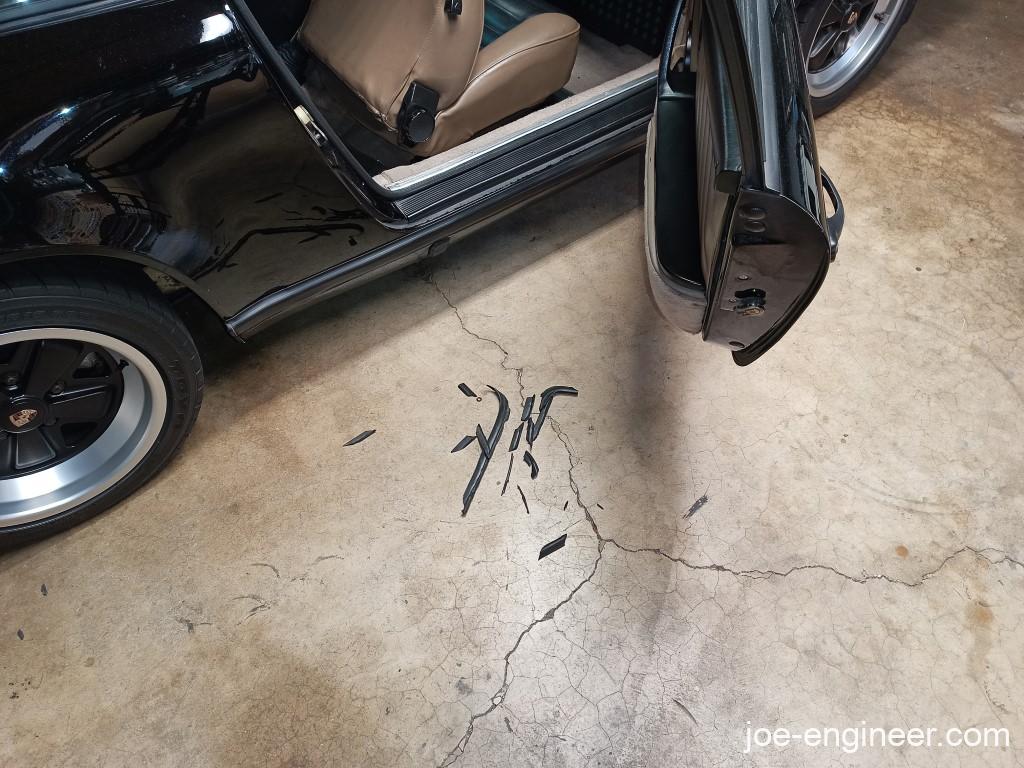
We very quickly realized the existing rear window seal was not pliable any more. I suppose that is to be expected after 39 years of service in Texas and California. Normally you can push up on the top edge of the window from inside the cabin, the seal will flex, and the window will pop out. Since the seal was bone dry, we had to cut the top inner seal lip in order to get the window to pop out.
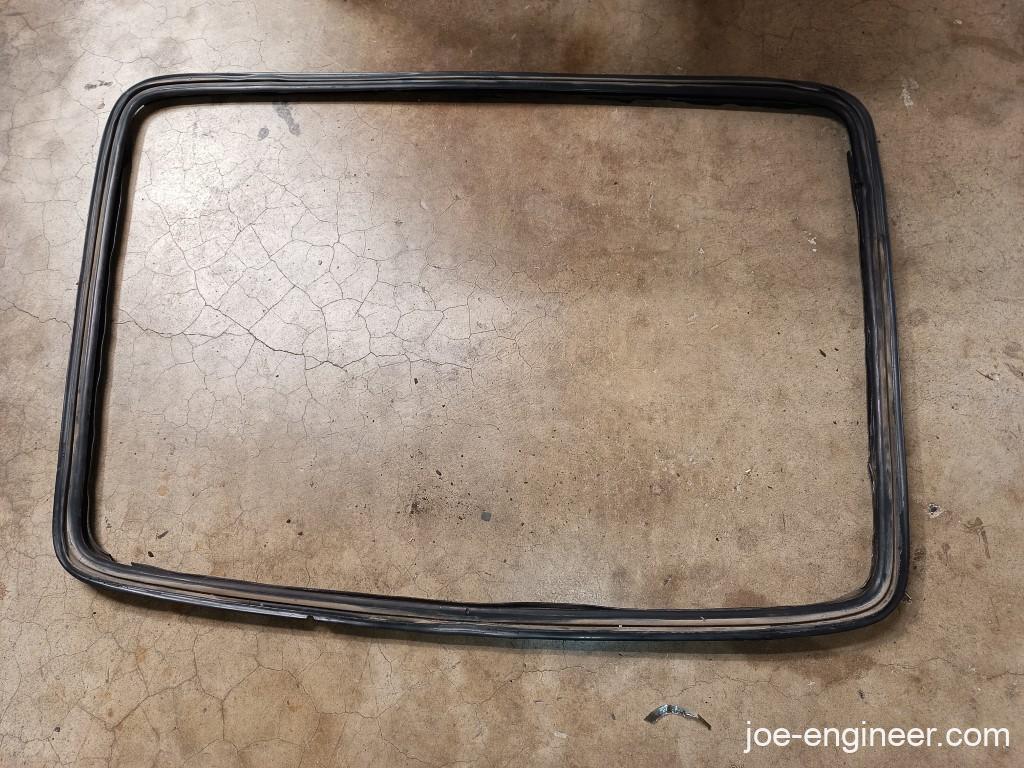
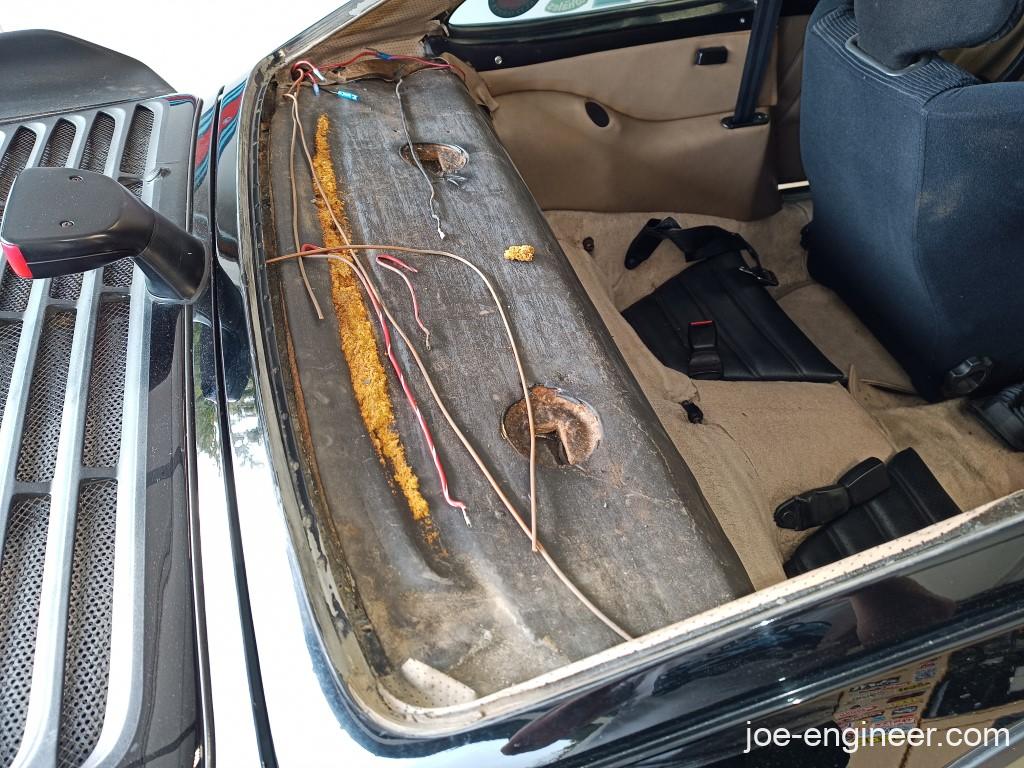
The window, seal, and trim all came out as a unit and dumped a yard of dirt onto the rear of the car. We could not believe how much topsoil was packed in there.
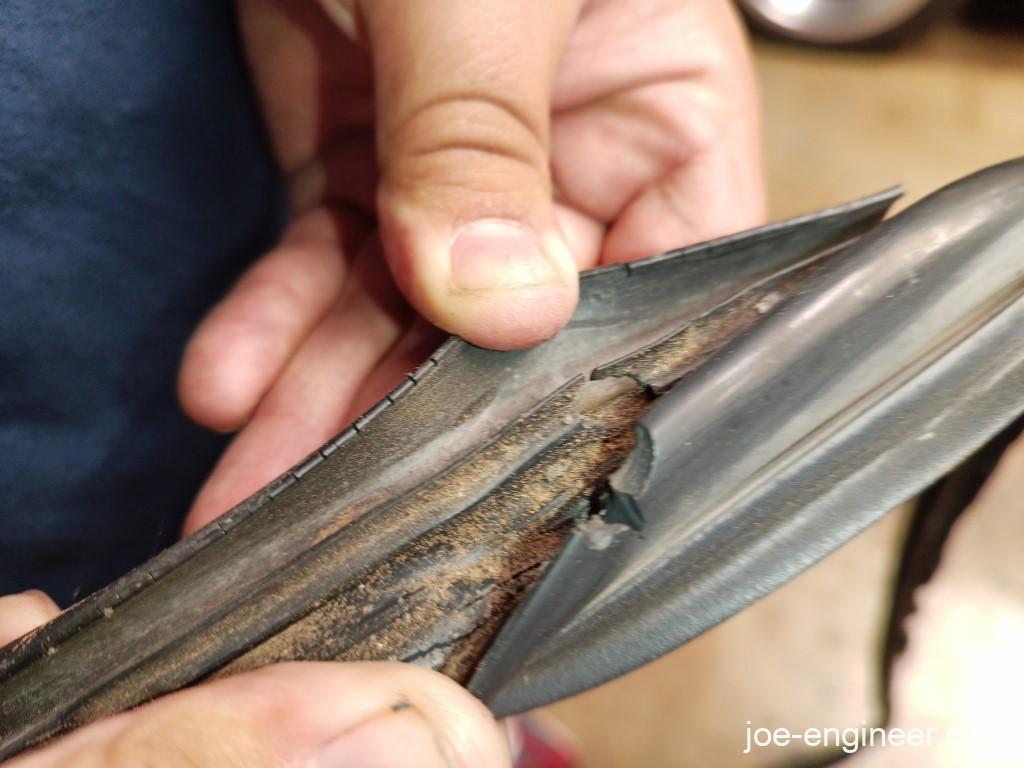
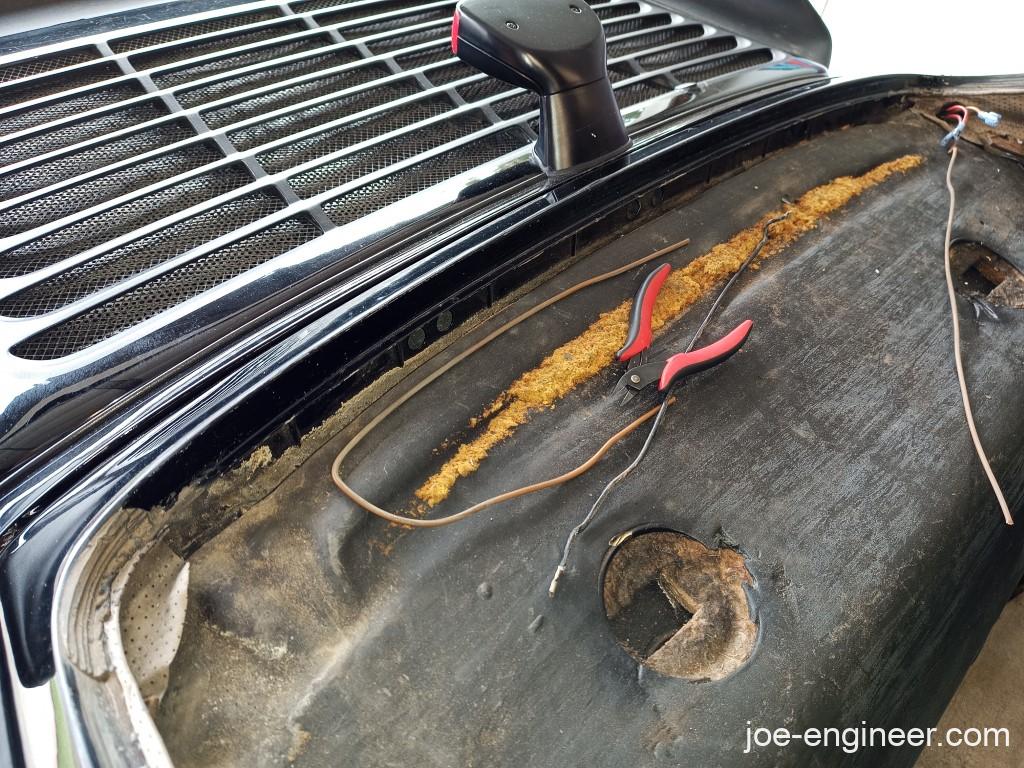
I think the rubber seal dried out and shrank, allowed dirt to fall into the channel, and no longer sealed against water. There was plenty of exposed window channel metal that was missing paint but was protected from rust by the body galvanizing. I was so relieved that there was no rust.
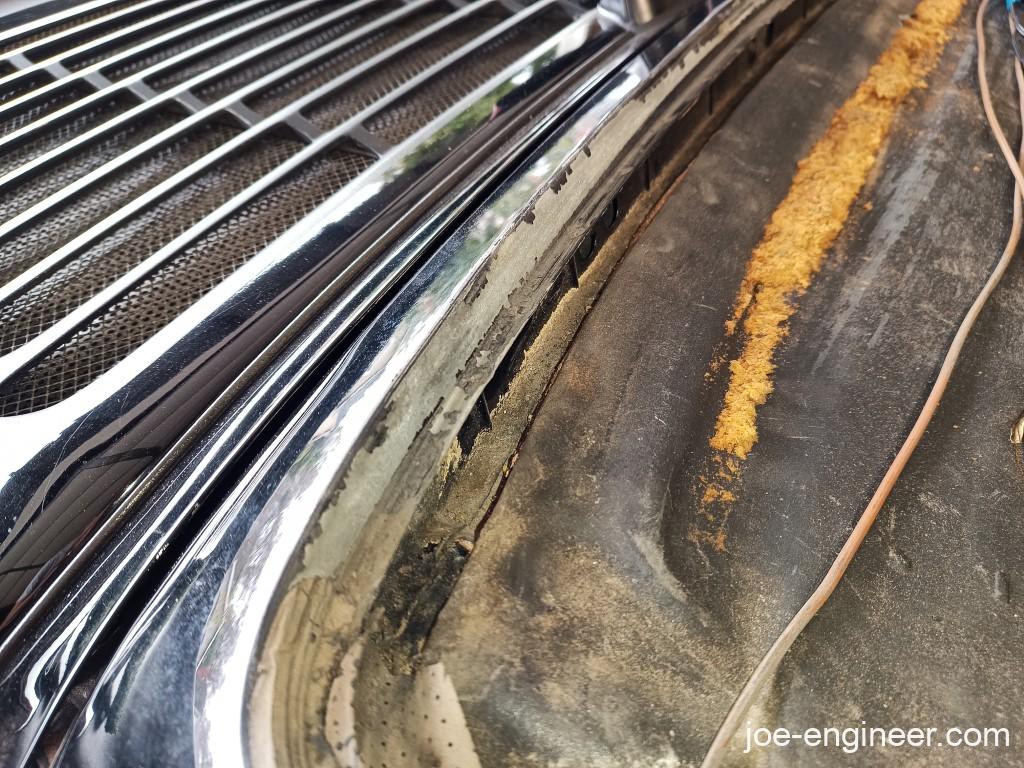
I vacuumed out the dirt, wiped the body window channel clean, and documented how the rear defroster power and ground wires were laid out for future reference.

Prep Before Seal Replacement
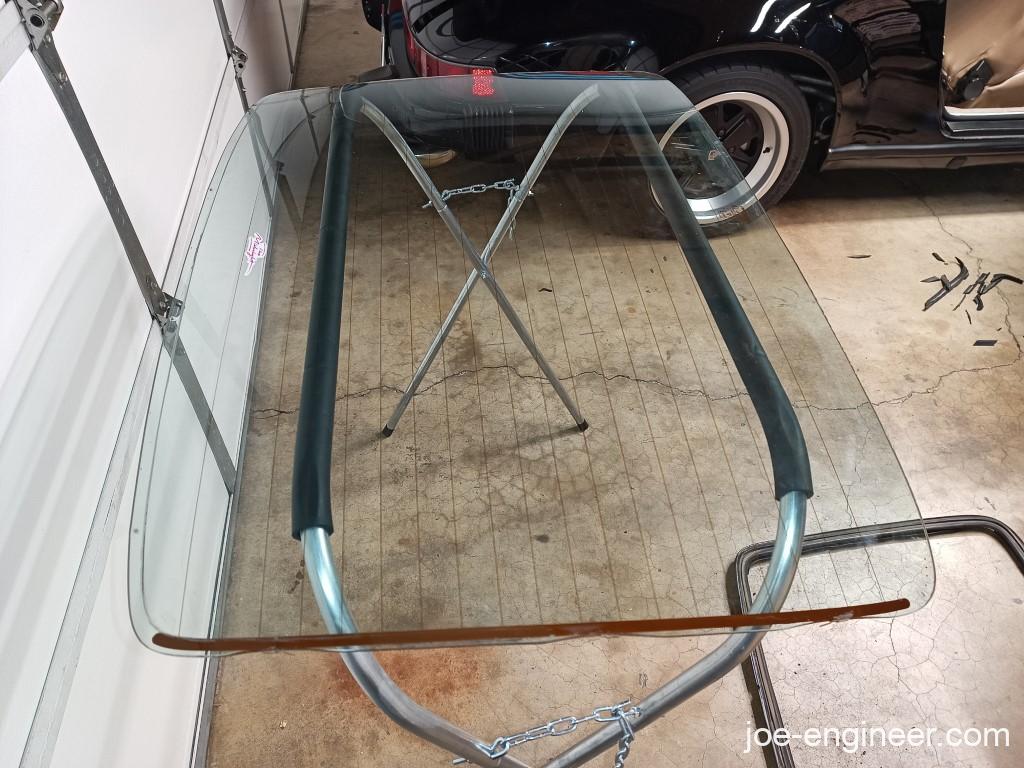
The entire glass, trim, and rubber needs to fit together, as a system, on the same window flange it came out of. These cars were all hand built and each has body variations that make replacement parts not a straight swap. You will understand when you see shims/spacers in certain corners but not in others. Try swapping the glass or doors on 2 cars and see what happens…
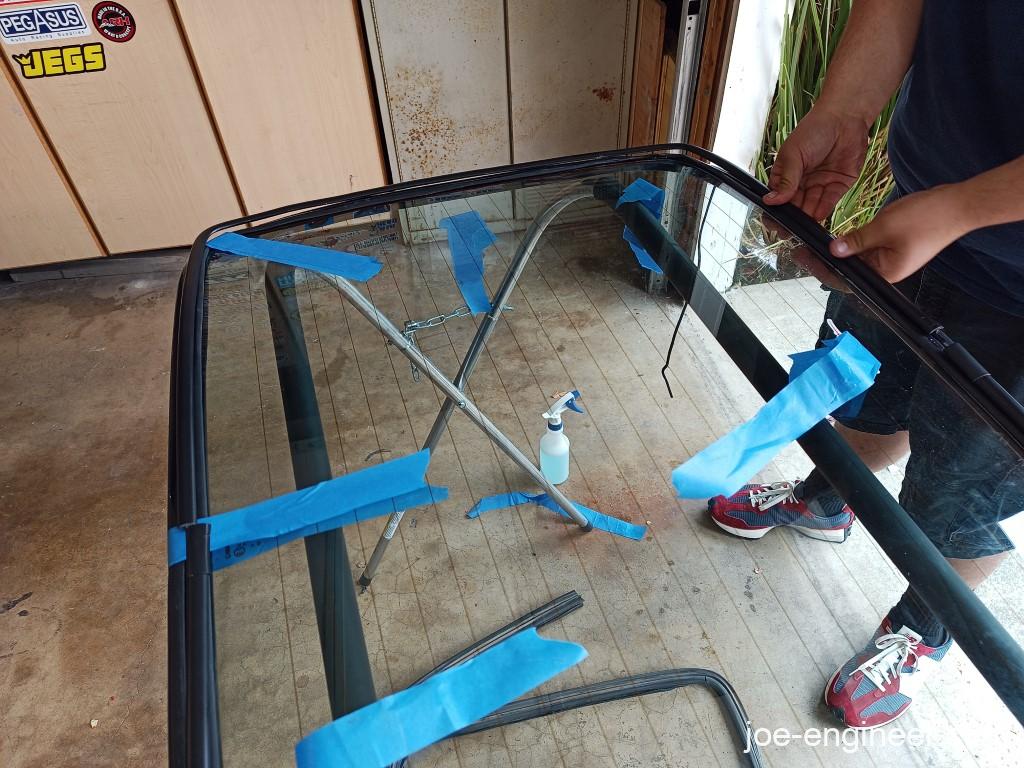
A fender stand helped hold the glass safely at a height that was easy to work with.
First thing we did was carefully peel back the old rubber seal to release it off the locking tab on the window trim. Since the window trim was aluminum, we had to be extra careful to make sure we did not deform it from its original shape.Then we cleaned the glass of any excess junk on the edges where it would contact the seal.
The new seal was sitting in a box in a warehouse for most of its existence. We installed it on the glass and put it out in the sun to let it stretch to its new permanent shape.
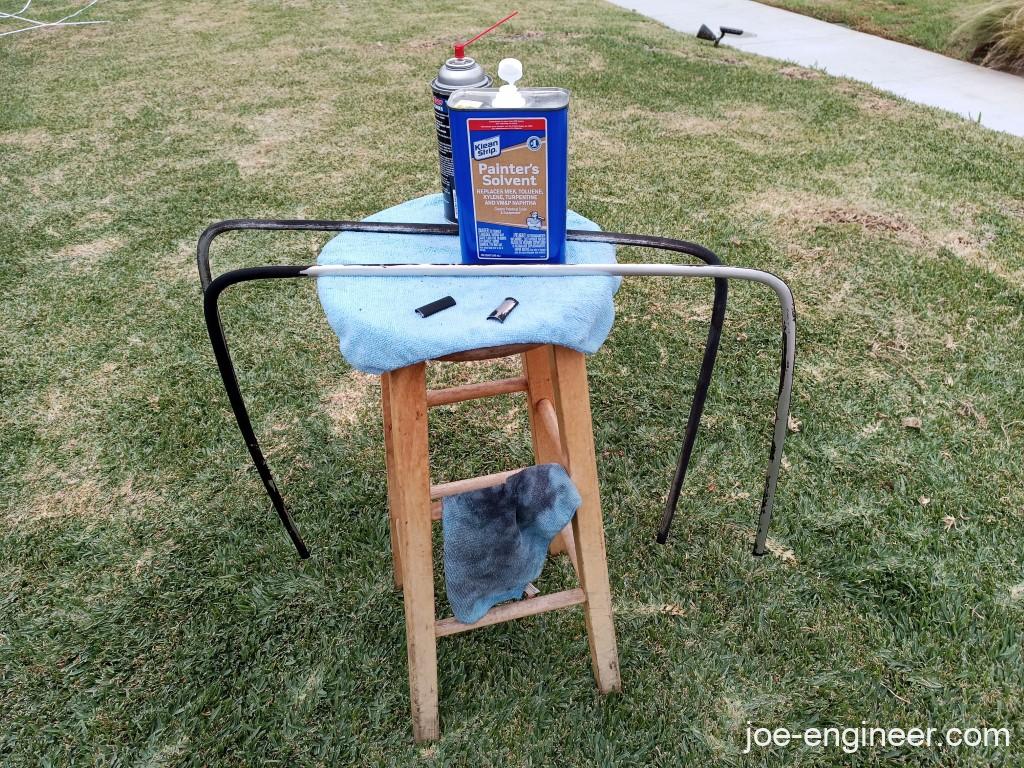
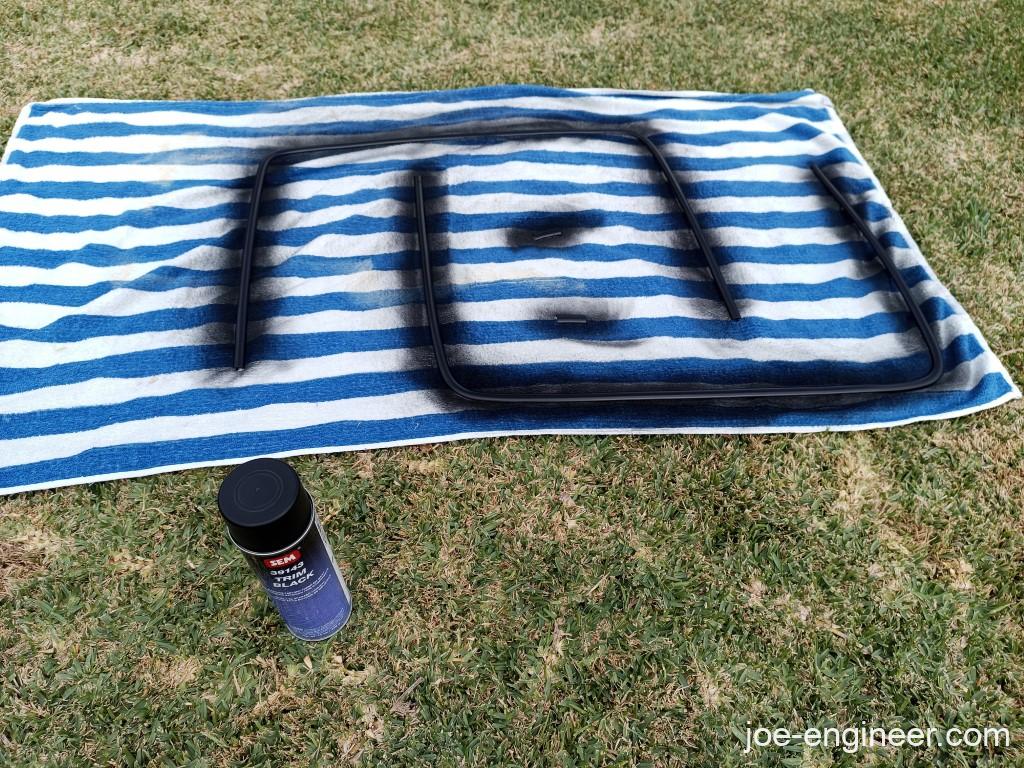
While this was happening, we did a bunch of maintenance on the metal bits. We stripped and painted both halves of window trim and the 2 cover plates with SEM Trim Black. This is one of the best rattle-can paint matches for exterior automotive black trim. This was extra challenging because someone previously plasti-dipped the trim and it was very difficult to strip off.
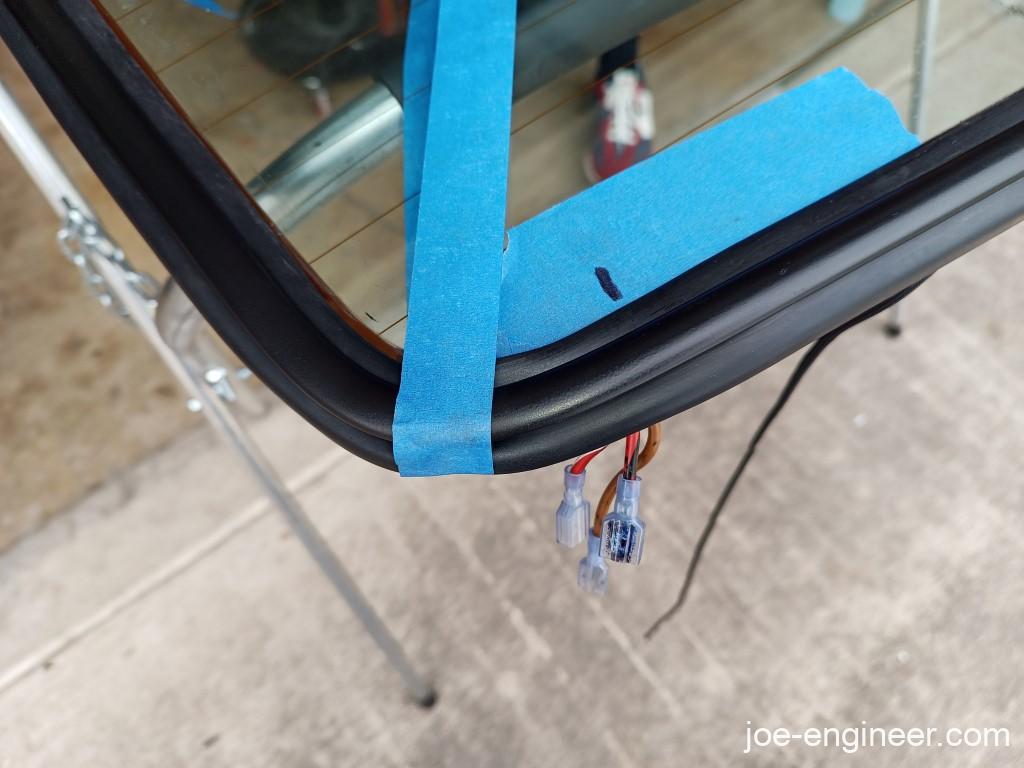
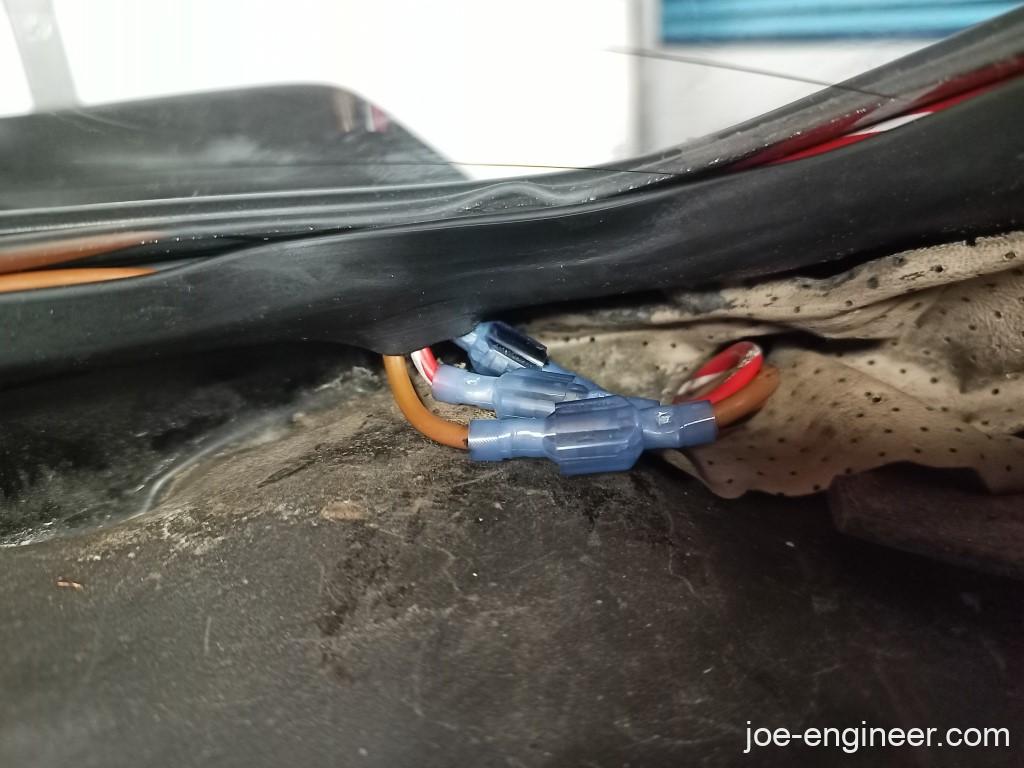
We sprayed the glass defroster connectors with DeoxIT contact cleaner to make better electrical contact. We also added insulated spade connectors inside the cabin to make it a “quick disconnect” of sorts for future window maintenance.
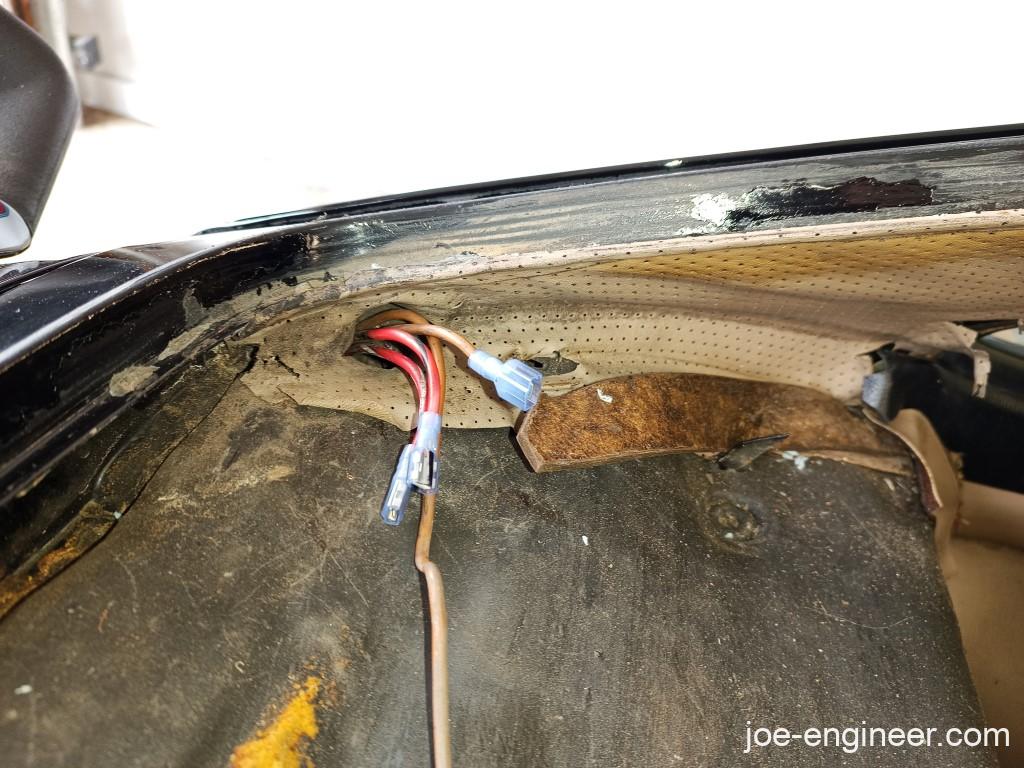
If you don’t want to modify this, you need to create slack in the wires originating from the engine compartment fuse panel to allow you enough length to disconnect from the glass connectors once the window is out.
Lastly, I grabbed some off-the-shelf gloss black touch up paint and coated the bare galvanized surfaces in the window channel. These had escaped rust before and I wanted to make sure they stayed that way. This gets covered by the rubber, so an exact color match is not critical. A wipe with alcohol to clean the surface and then I painted directly on.
Next we went back to the new rubber seal on the glass and carefully poked wiring holes using a sharp straight pick. We used the old seal and the spade connectors on the glass as references for the hole locations.

New Seal Installation
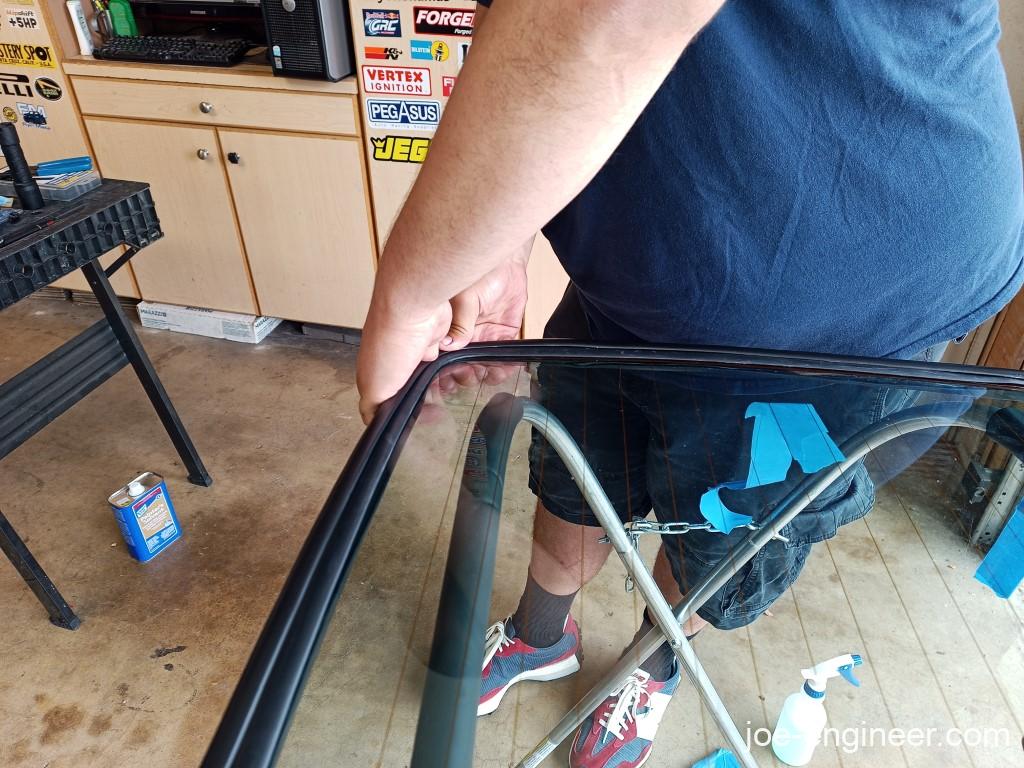
After letting the seal relax in the sun and the window trim paint cure, it was time to install the trim on the new seal. This is the part that requires experience that I knew I did not possess at the time. You now have to reinstall the window trim onto the new seal in the reverse process that it was removed. You pull the rubber channel open and gently let the window trim (and its locking tab) find its home in the channel. Once you release the rubber it will wrap over the locking tab and keep it in place. You place the rubber over the trim rather than shove the trim in the rubber.
If the trim is not in all the way, you can ever-so-gently use your thumbs to apply pressure but if you press too hard you will create permanent waves in the soft aluminum. Things will get challenging around the corners, as you want to make sure the trim does not get distorted from its original shape otherwise you will have a heck of a time getting it back to its old shape to fit the glass and your car’s unique window opening.
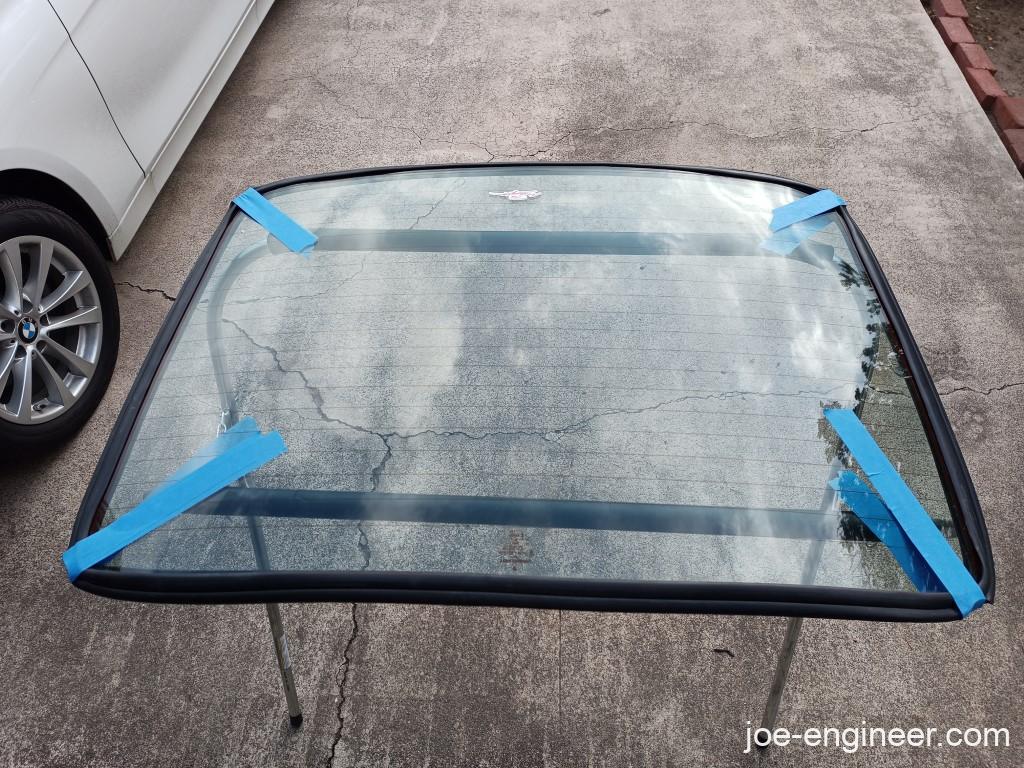
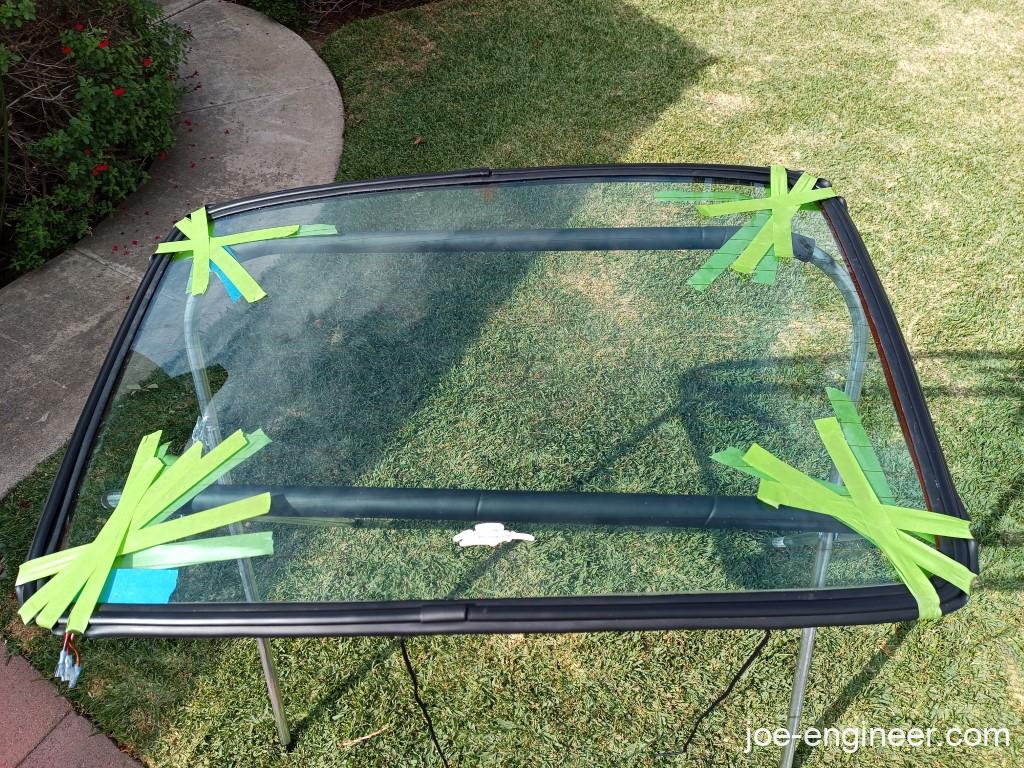
My corners were a bit tweaked, which is why they were outside of the seal at the top, and leaking at the bottom. So Mike used experience to hand mold the corners to better fit the glass and the rubber. Frog tape held the rubber and trim in position onto the glass while the whole assembly was moved to the car. This tape was crucial because it was juuust strong enough to hold everything onto the glass, and easy enough to tear through during the window roping process. The usual blue masking stuff didn’t work as well.
Speaking of roping, this was another area where Mike took the lead. He inserted a length of 1/8” paracord into the window seal channel where the body flange will normally sit. This body flange will hold the entire assembly in place on the car once it is fully installed. The purpose of the rope is to fold the rubber seal inner lip outward so it goes over the body flange and captures itself on the car. When you start, the rubber inner lip is on top of the flange. When you finish, the rubber inner lip is below the flange, touching the interior edges of your headliner. You do that by pulling the rope, around the window opening, until the rubber seal grabs the body flange.
We did one complete loop around the whole window, with the ends at the lower center, then overlapped each end all the way to the opposite lower corner. We sprayed the window body flange with a mixture of Blue Dawn dish soap and water to provide some lube. Then we gently placed the window over the body’s window opening and seated it as best as possible.
With the roper (Mike) inside the cabin, and a helper (me) outside the window, I put firm hand pressure on the lower window corners with open palms. As Mike pulled one end of the rope towards the center, I moved one of my hands over his rope location and slid my hand as he pulled the rope, keeping the same hand pressure. As this was happening, the rope was flipping the seal inner lip over the body flange and I had to maintain pressure on the glass so it did not slip off.
My pressed hand followed the rope all around to the top center of the glass, while my other hand was still pressing on the original lower corner. Then I switched hands, pressed on the opposite lower corner, while my other hand again follows the rope all around the opposite side of the glass from the lower center to the top center. The entire time, the rope cut each piece of tape as it passes through it. The glass was then fully seated in place on the body. A thin plastic scraper or spatula helped make sure the outer flange was seated nicely over the paint. Then we pulled each piece of tape out.
Repeat As Needed
It took us a few tries to get it right, because each time we noticed a new detail we were not happy about. Once, one of the corners of the trim, didn’t fully seat in the rubber. Another time the window trim ends (at the center of the glass) were touching, exerting pressure on the trim in other locations and causing it to bow out. The solution was filing the ends of the trim so they did not touch in the installed position. Then we simply slid the cover plates over to hide the trim gap. Fortunately it was very easy to pop the glass out by pressing on the top edge from the inside, while the new rubber was still lubed. Then we made the adjustments, re-taped, and re-roped until we got it right. Tedious but the results were worth it.
Lastly, I reconnected the defroster wiring inside the cabin, and hid the whole thing under the package tray and rear seats.
Job done. It looks fantastic and doesn’t leak anymore. Now I am one step closer to getting that headliner and the rest of the interior sorted.
Thanks again Mike. You are the best!