
Porsche 915 Gearbox Reseal
For the last 3.5 years I’ve been pushing this gearbox from garage corner to corner while I rebuilt the engine. Now it is time to reseal it.
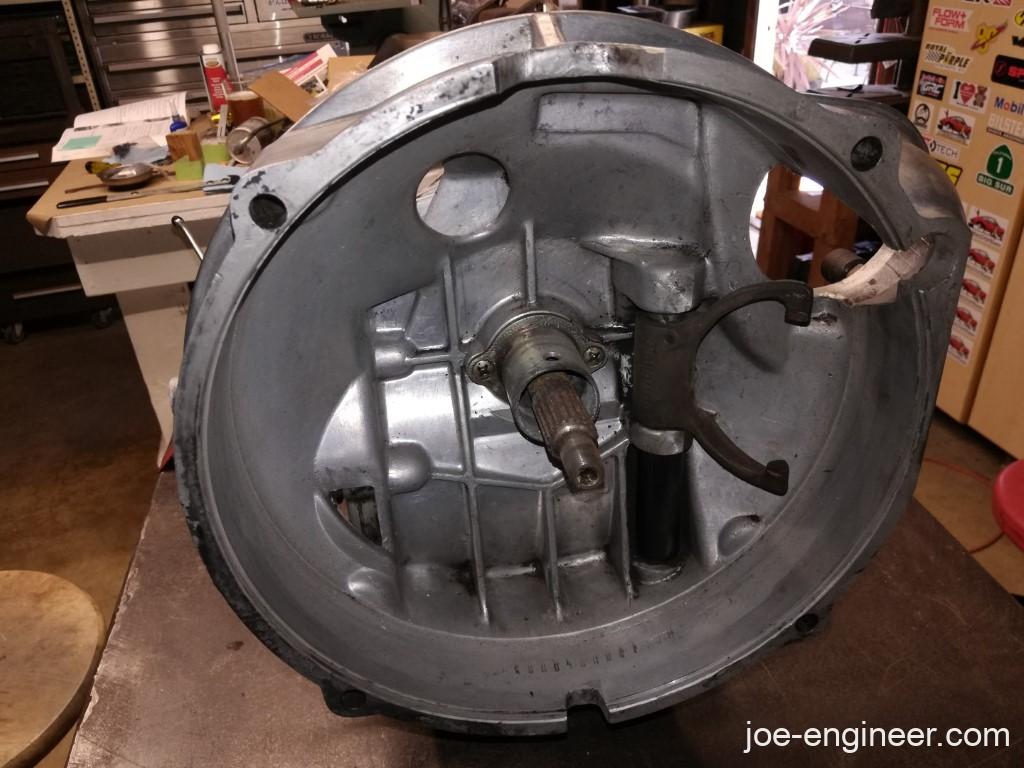
After being meticulously steam cleaned and left to gather dust, this gearbox finally got its turn to shine. The first order of business was to take care of the stub axle seals.

Axle Shaft Seals
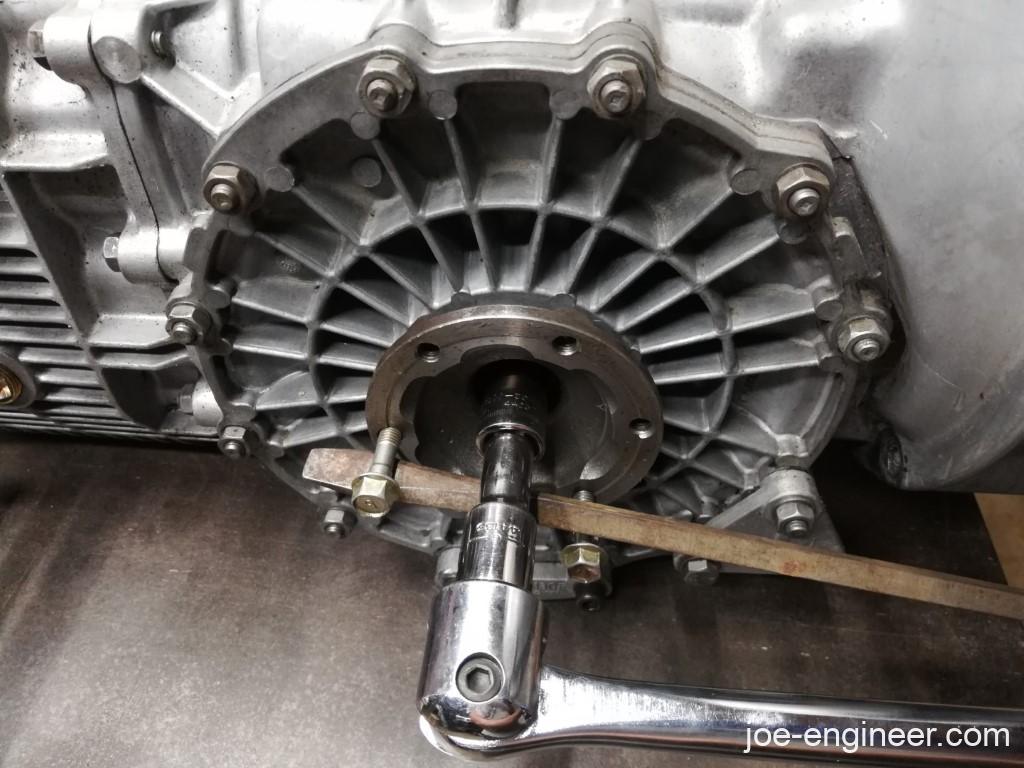
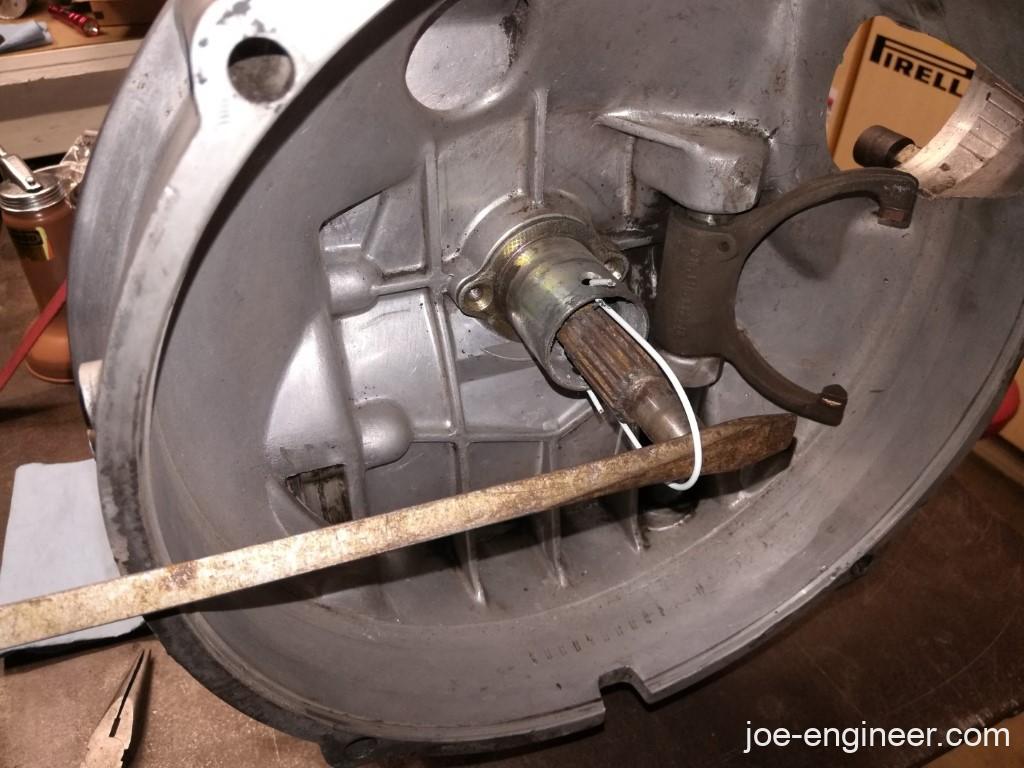
First I broke the torque on the center bolt.
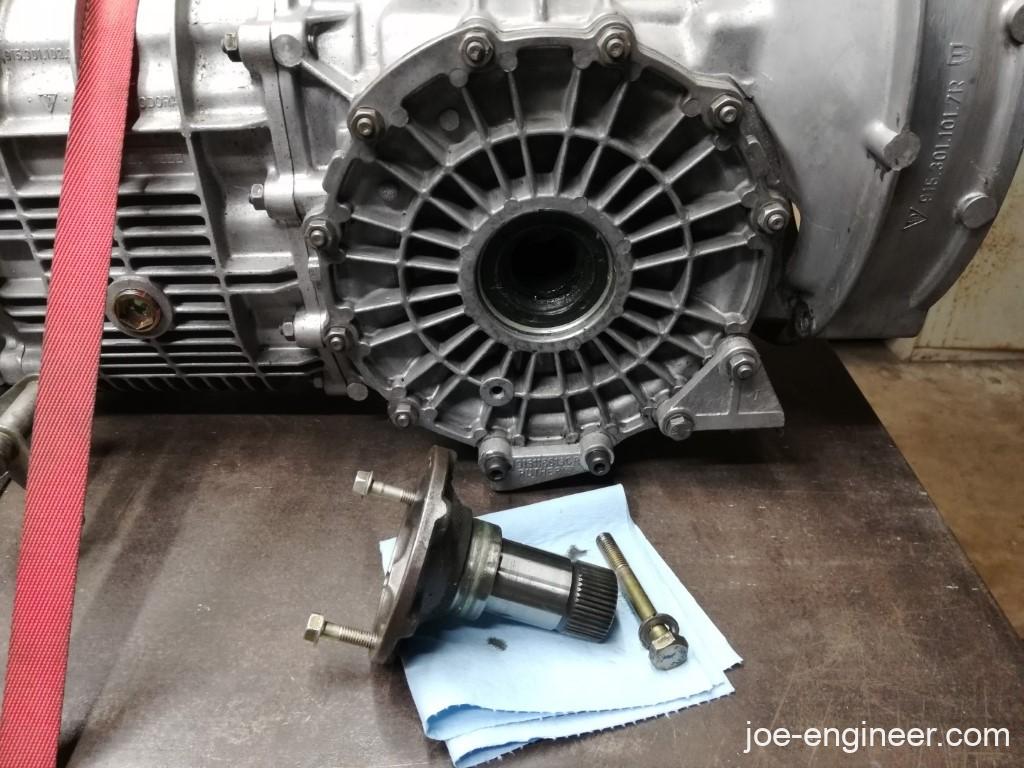
The stub axle then slid off.
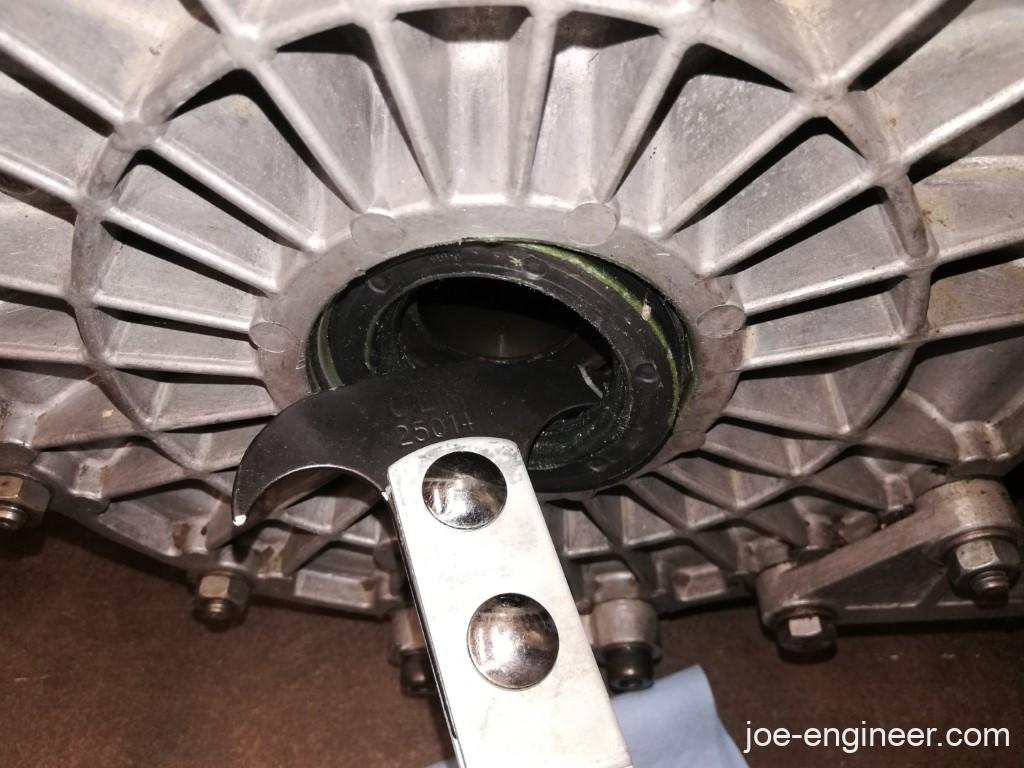
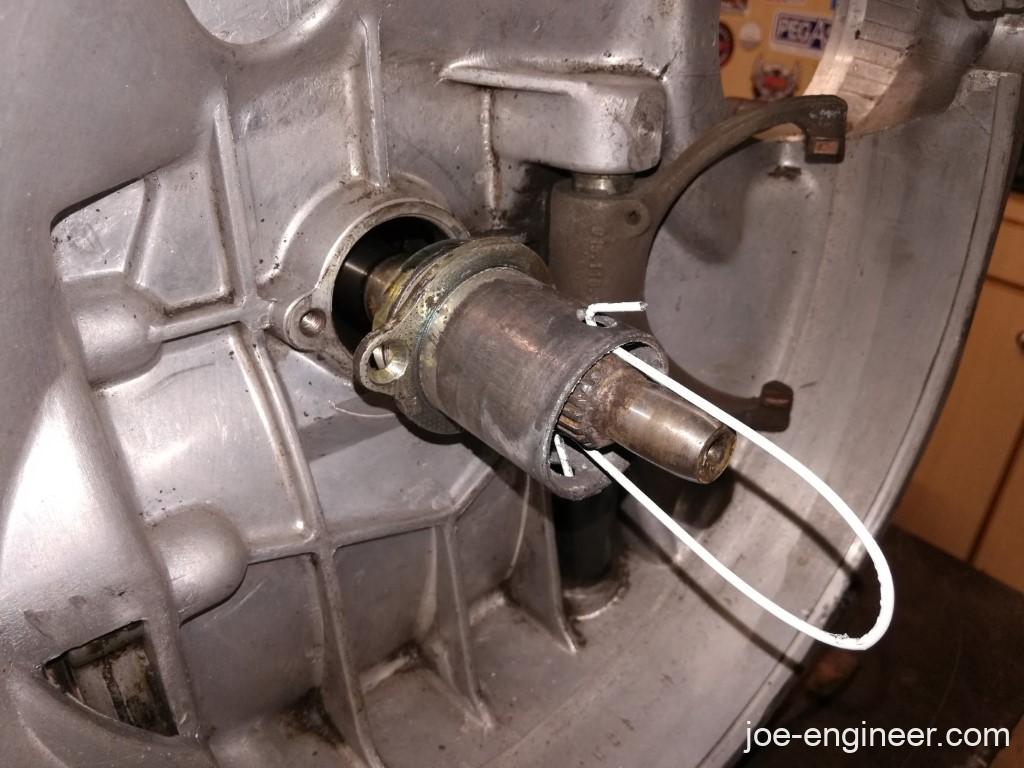
Next the seal was carefully pried out.
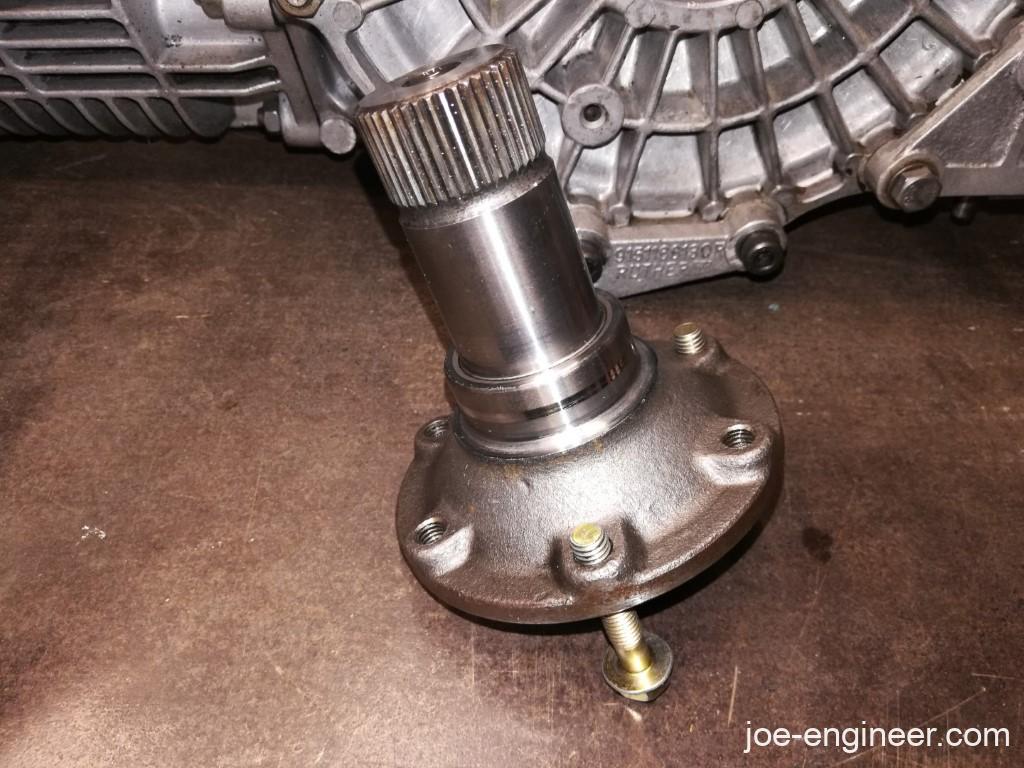
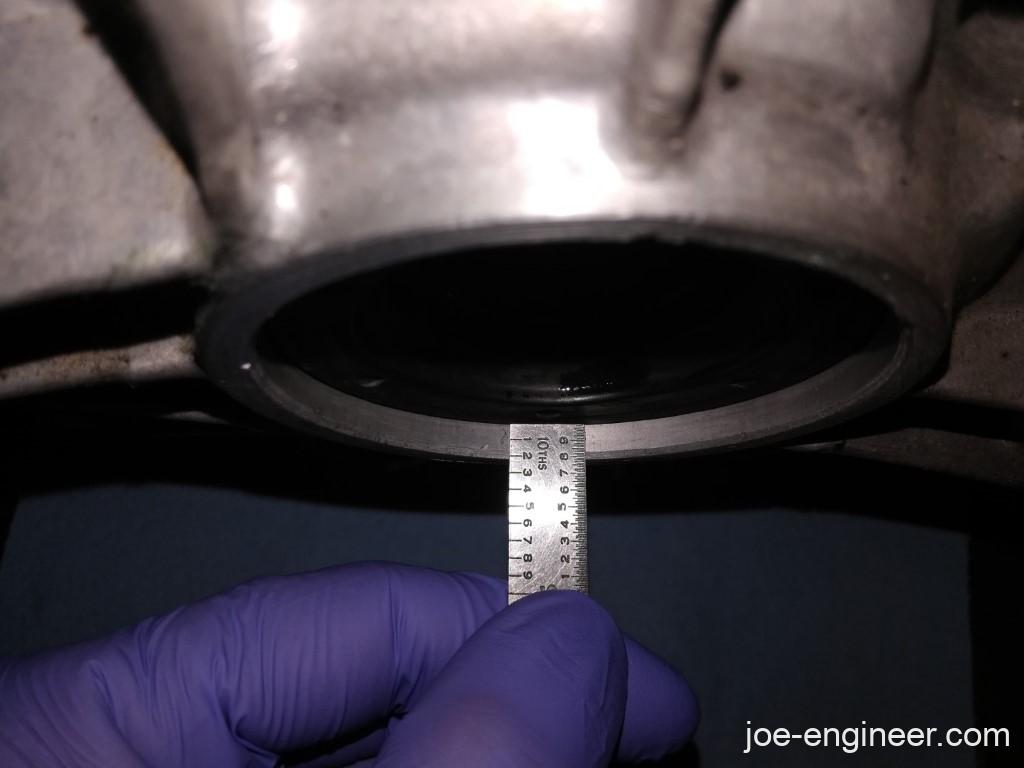
Notice the burnished wear mark on the axle sealing surface. This was caused solely by the lip of the seal continuously polishing a ring around the shaft.
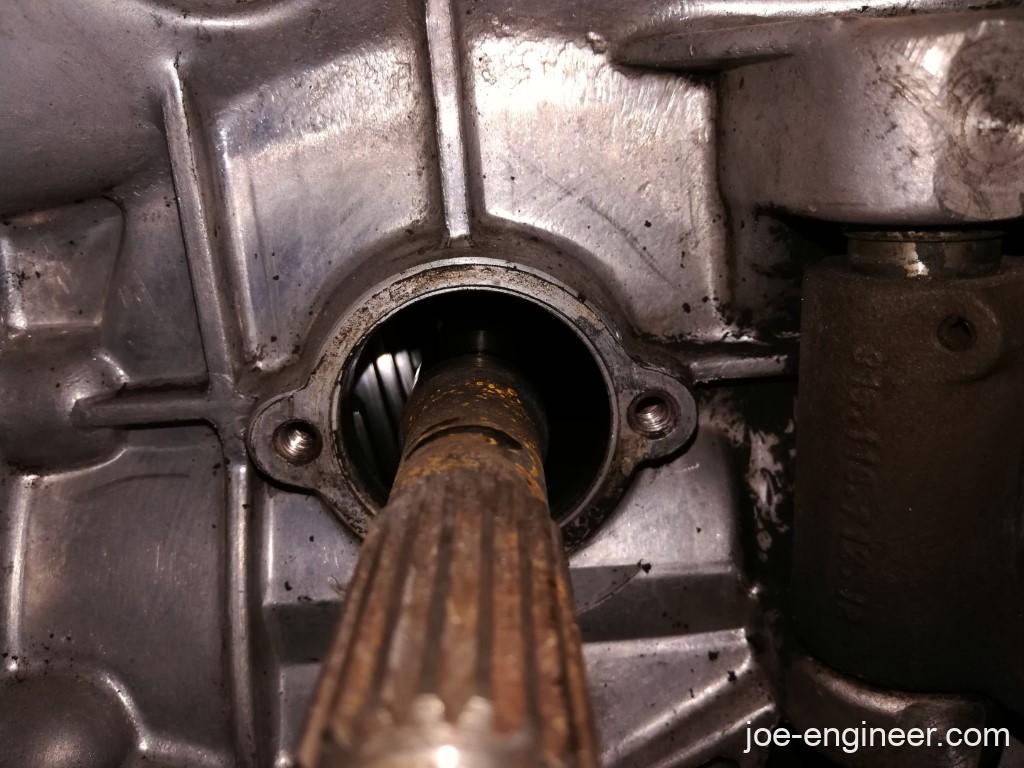
Using a small wood block I tapped the new seal in place slowly, as evenly as I could, all around. I couldn’t find any specs on seal depth so I installed it in the same depth as it was before.
This side is done.
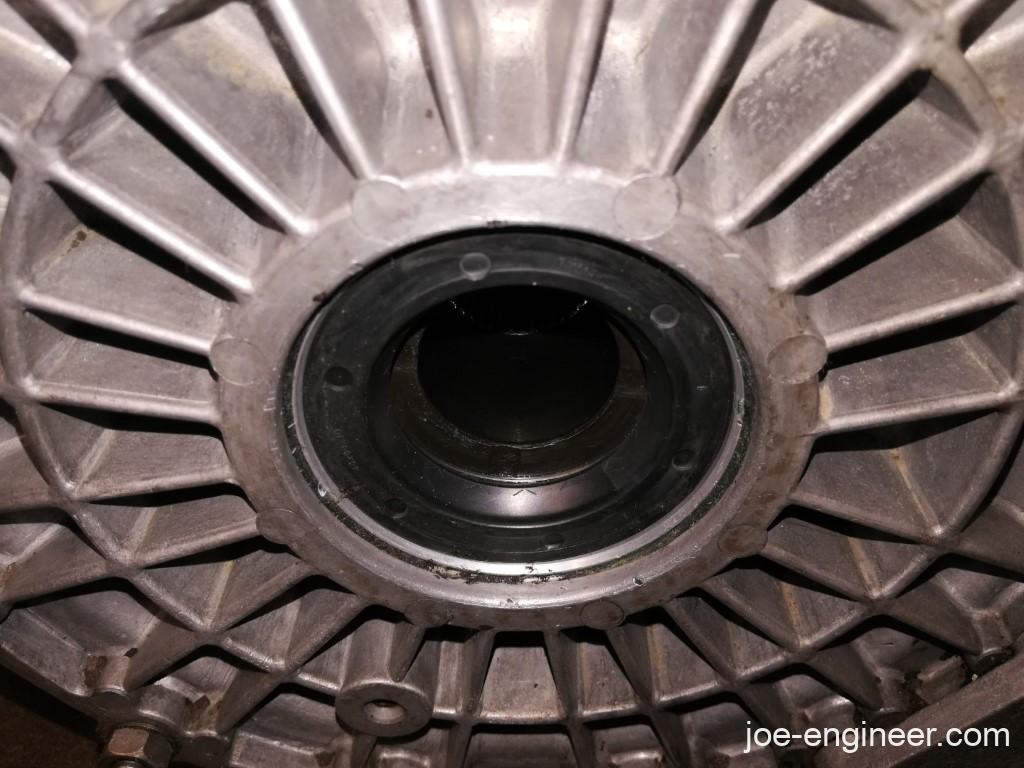
Then I repeated on the other side. I should note that the seal depth was different on the other side, but I set it to what it was before. The way I double checked if the seal was on correctly was checking if the inner sealing lip was sitting on the large OD closest to the axle flange (where it had originally been burnished due to the old seal). Here is some video explanation of this detail:
Shift Rod Seal & Shift Fork Gasket
The shift rod seal is easy to do out of the car. I just stabbed it using a pick with a 90 degree sharp tip, yanked it out, cleaned the sealing surfaces, and tapped in a new one using a small piece of PVC pipe.
The shift fork seal on the access plate on the bottom required removing the 4 nuts, cleaning the mating surfaces, replacing the paper gasket, re-attaching and re-torquing.
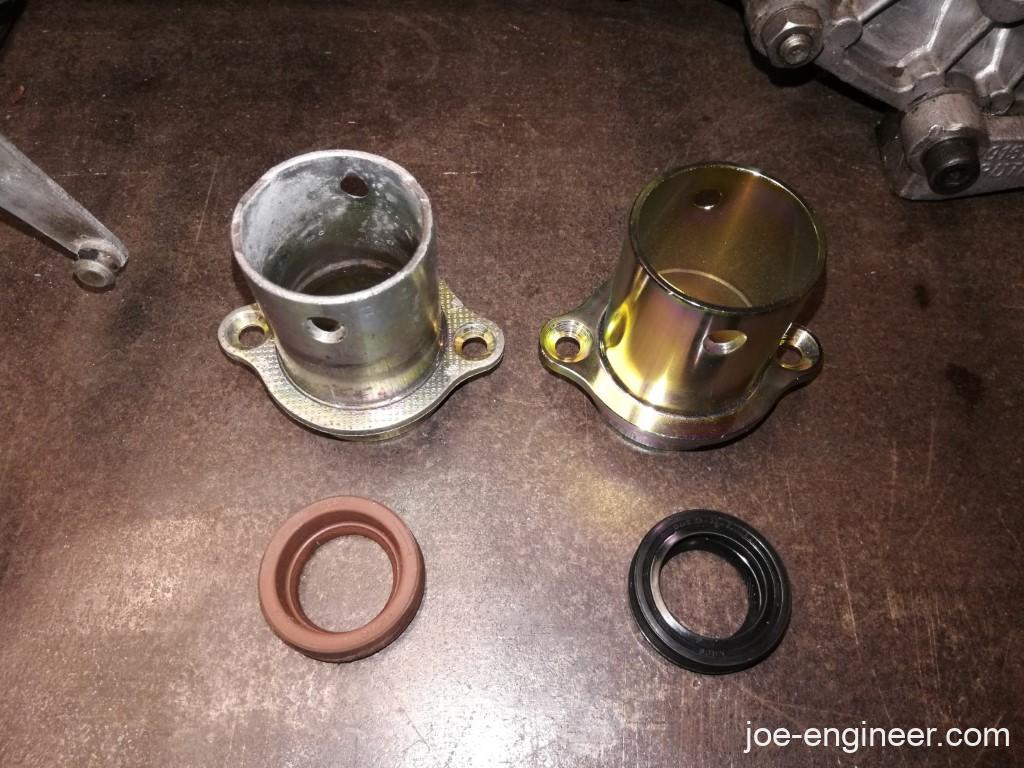
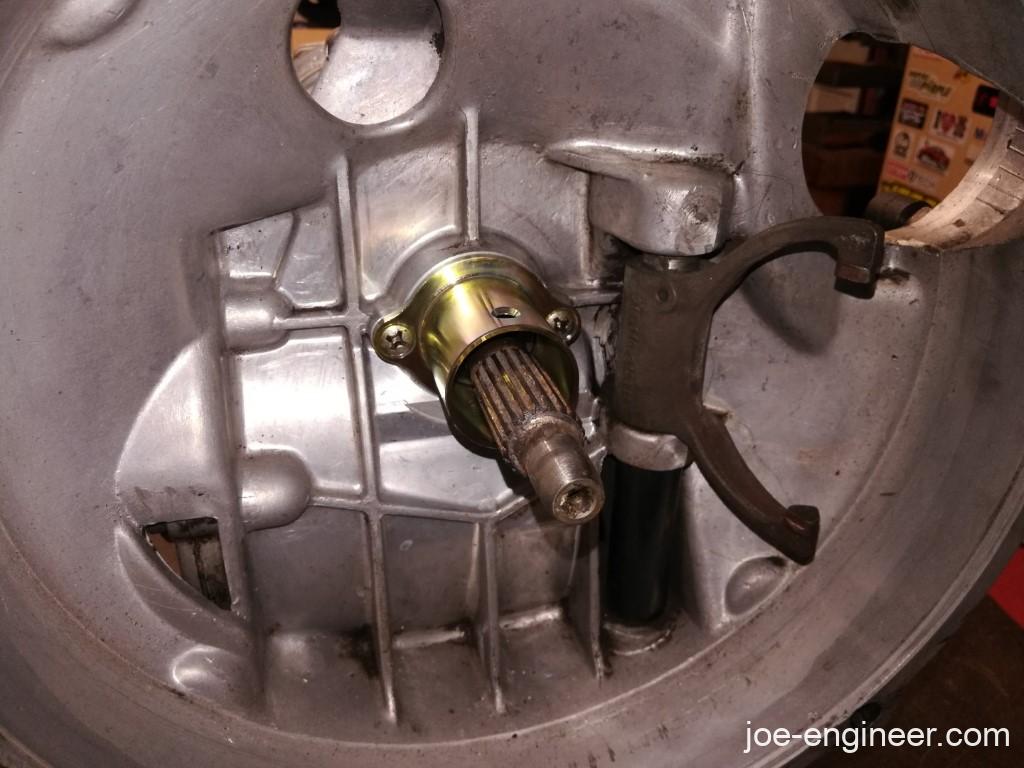
Guide Tube & Input Shaft Seal
Next was the all the stuff at the back of the gearbox.
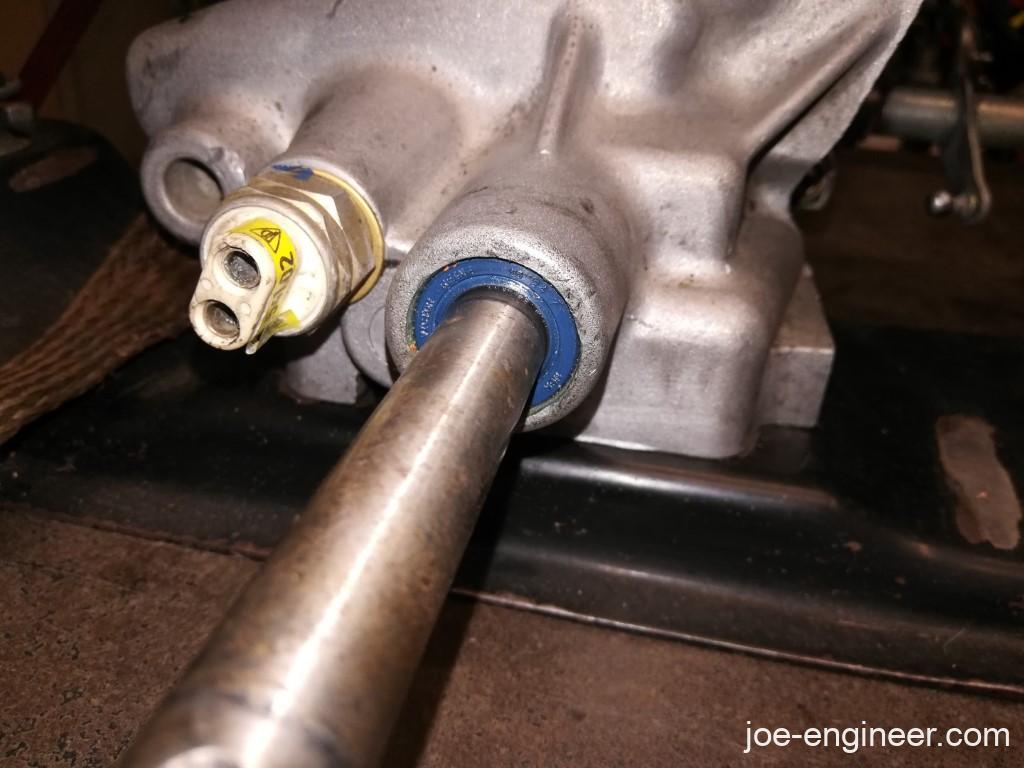
The old guide tube was levered out.
It will be replaced with a new guide tube and input shaft seal.
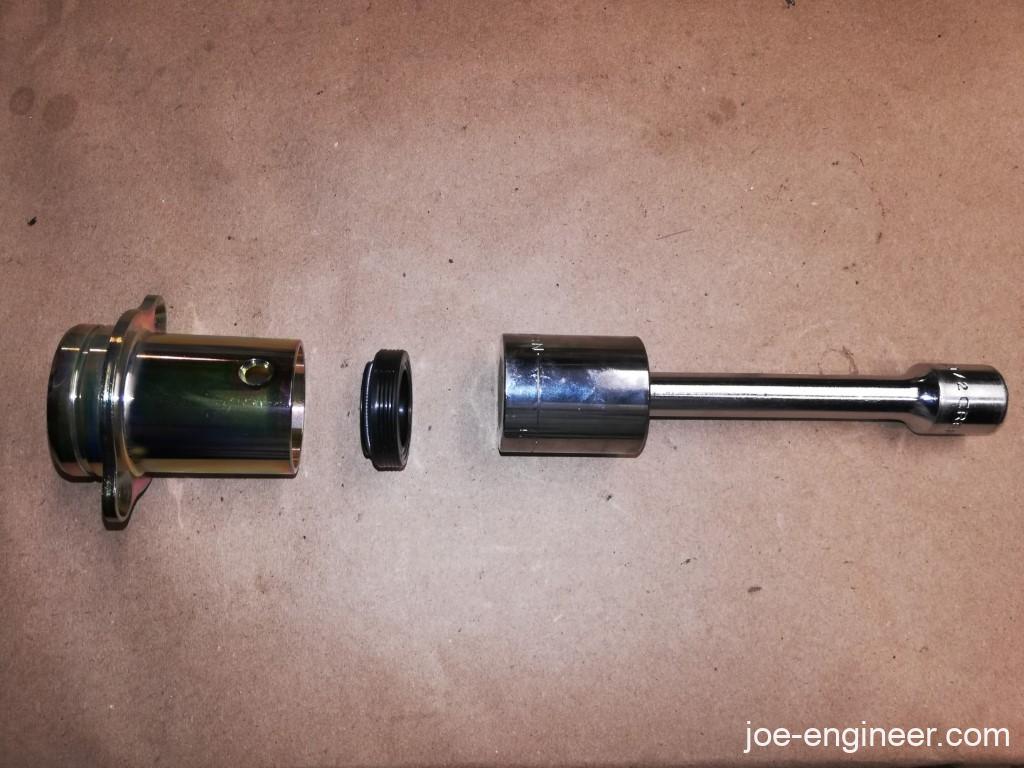
I got the seal started in the tube using a socket and extension.
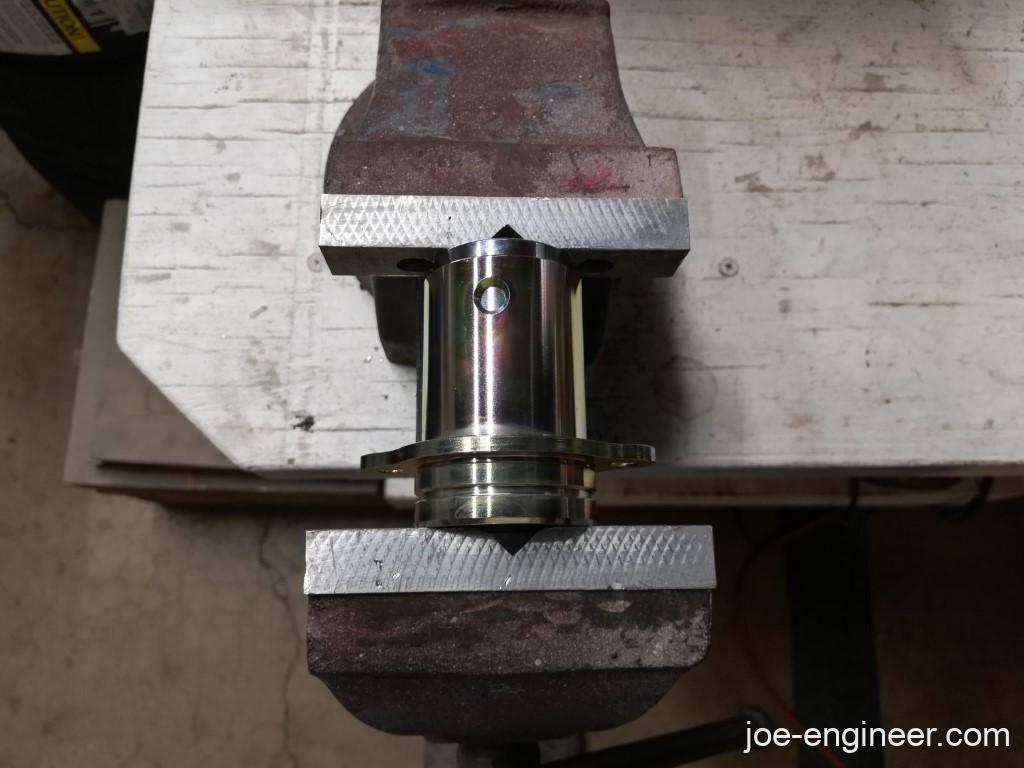
Then I drove it into its final position using a vise.
I ran into a similar situation with the input shaft seal location as I did with the axle shaft seals. Where to drive the seal so it does its job? As I did with the axle shaft seals, here is a short video describing my thoughts on the final position of the seal:
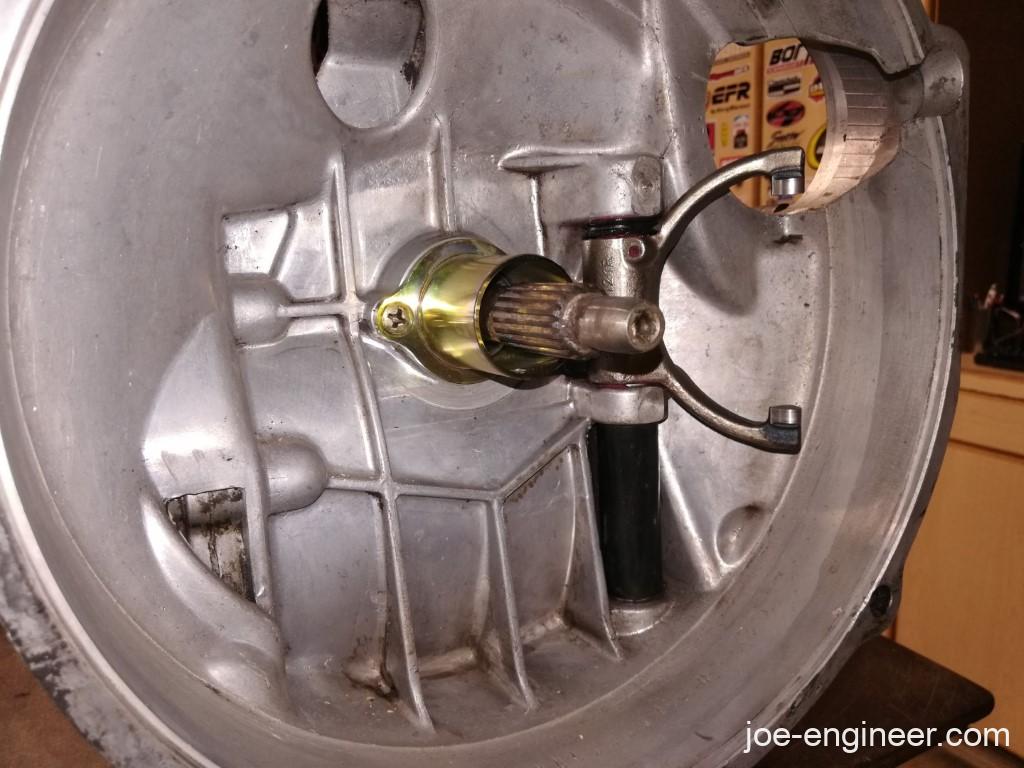
I installed a new o-ring.
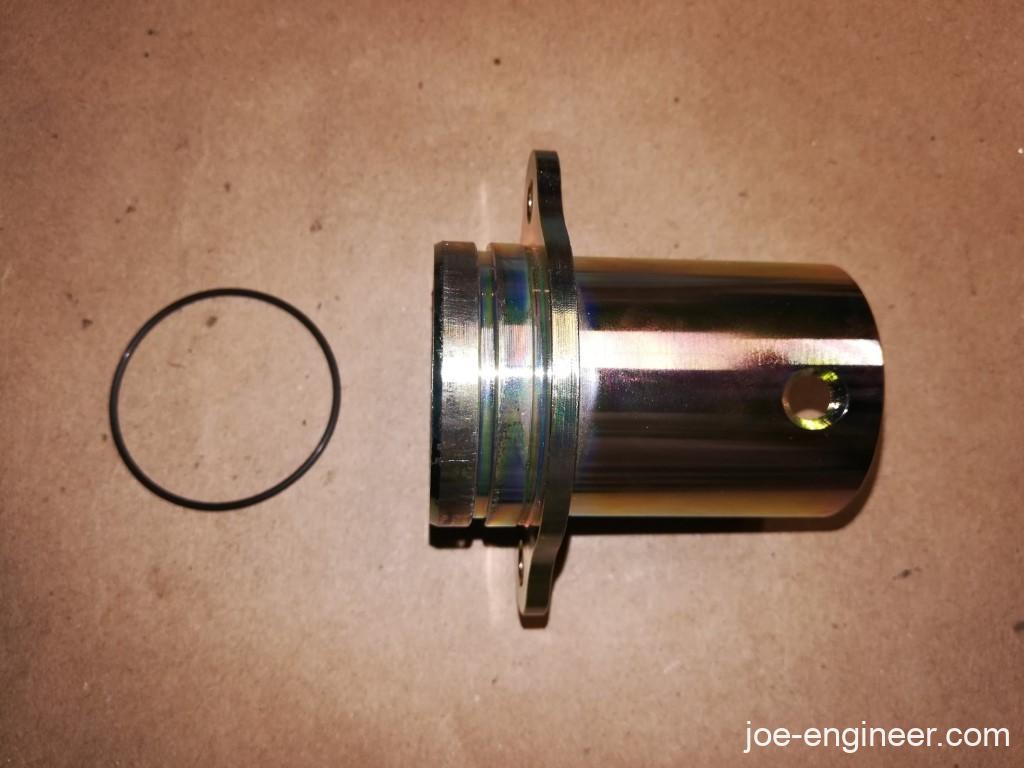
I put the new guide tube and input shaft seal back on and that was done. The clutch throwout arm was next.
Clutch Throwout Arm & Shaft
First I tapped the roll pin out.
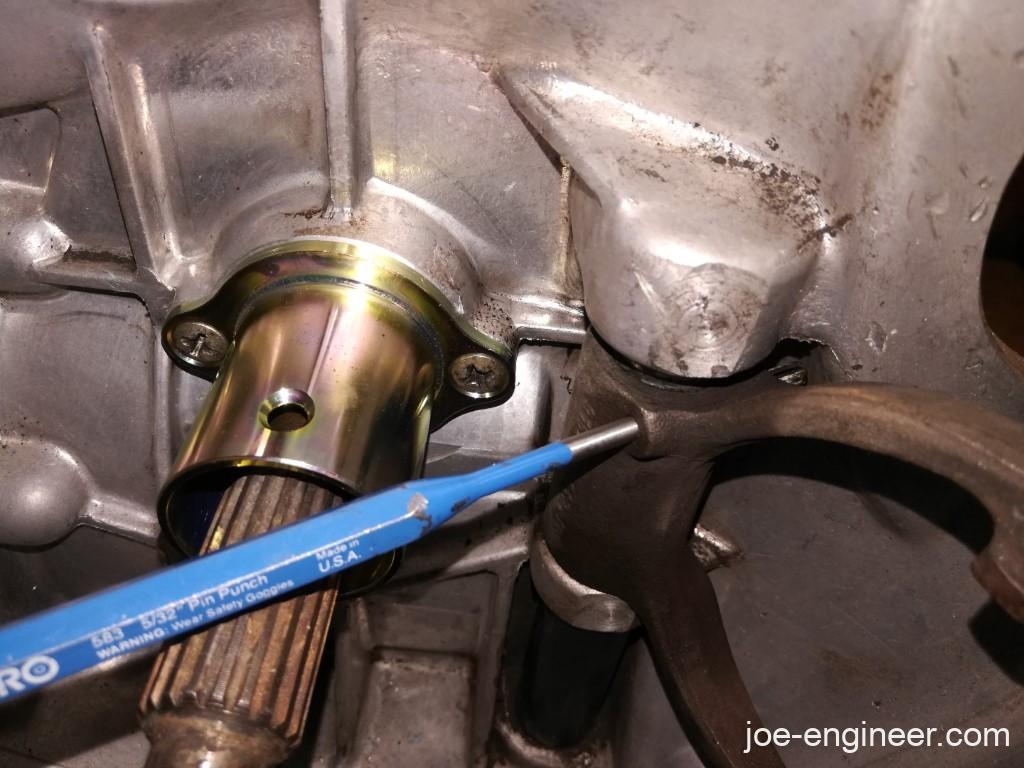
The pin was extracted out of the other end.
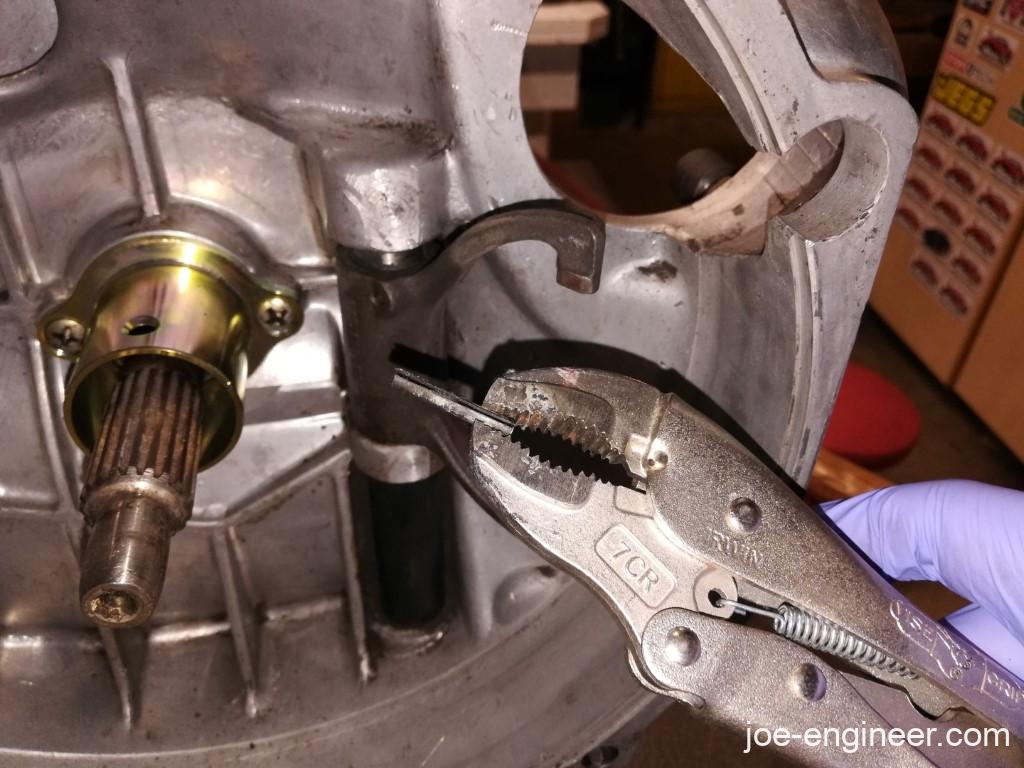
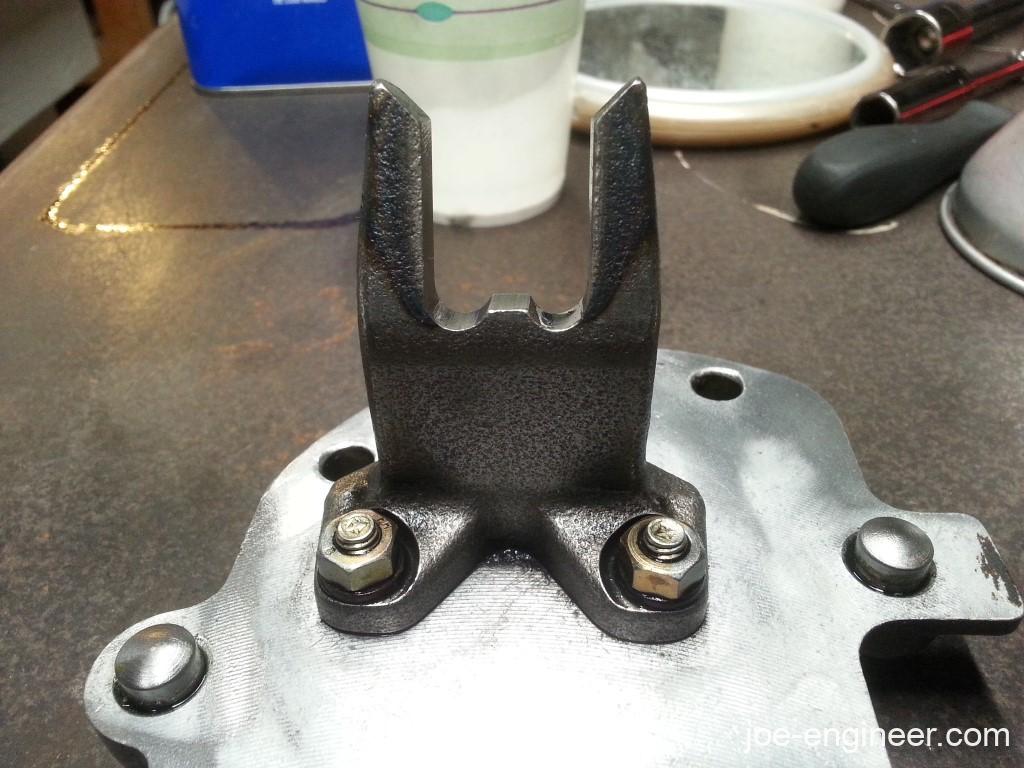
After removing the old roll pin, the throwout arm and shaft were extracted. Look at the wear on the pads of the old arm vs the new one.
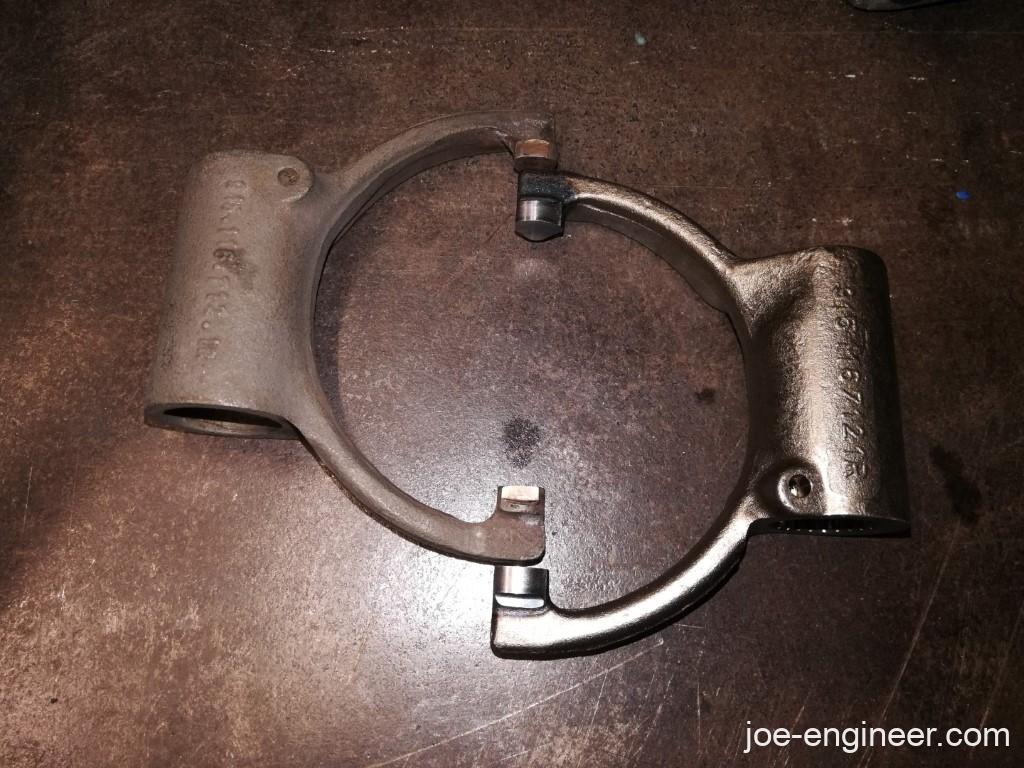
I cleaned up the shaft and procured a new throwout arm and 3 new dust seals.
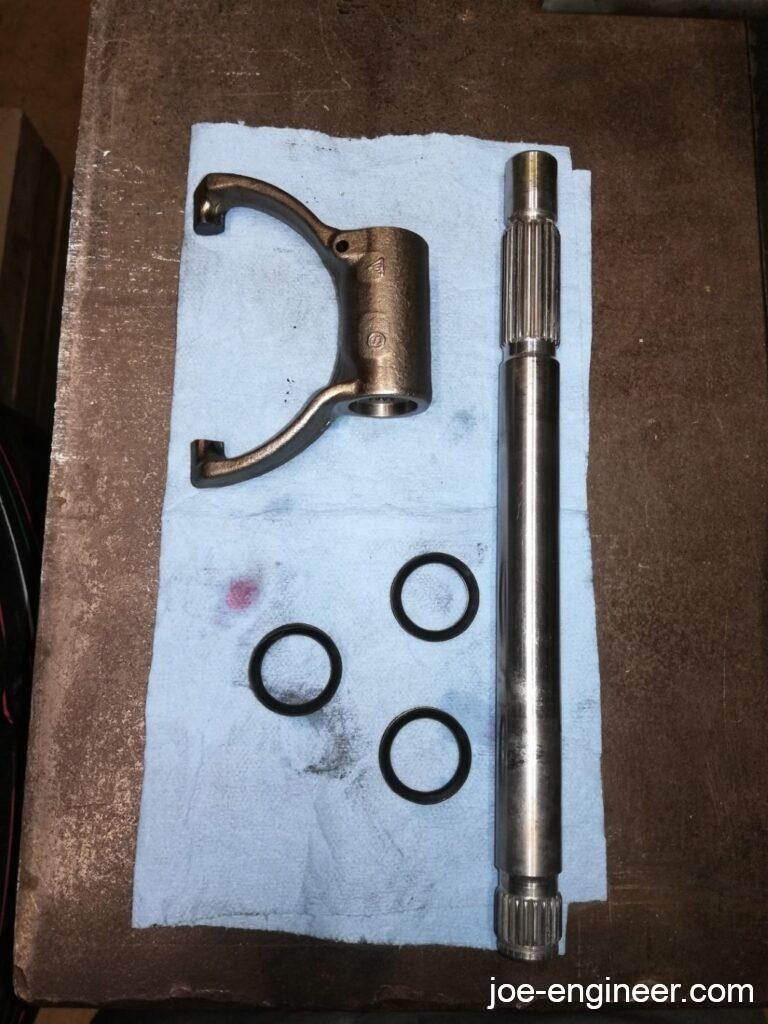
Then I cleaned out the interior of that black tube, regreased the shaft and reinstalled it along with the new dust seals, and pinned the throwout fork in place with a new roll pin.
Throttle Bellcrank
Lastly, I removed the throttle bell crank and cleaned out the tube and shaft. I had to polish the hard edges off the ball end where the throttle rod snaps on to ensure smooth operation. Then I re-greased the shaft and re-installed the bellcrank with a new cotter pin. This gearbox is ready to mate to the engine. Hopefully we don’t find anymore blue dots of gear oil on the floor with everything sealed back up.

Next time we will finally start to put together the CIS back on the engine!