
Porsche 911 Timing Components Assembly
The time has come to finally install the rocker arms, cams, and timing chain tensioners.
With all my valvetrain parts back from refurbishing, it was time to put everything together to button up the long block.
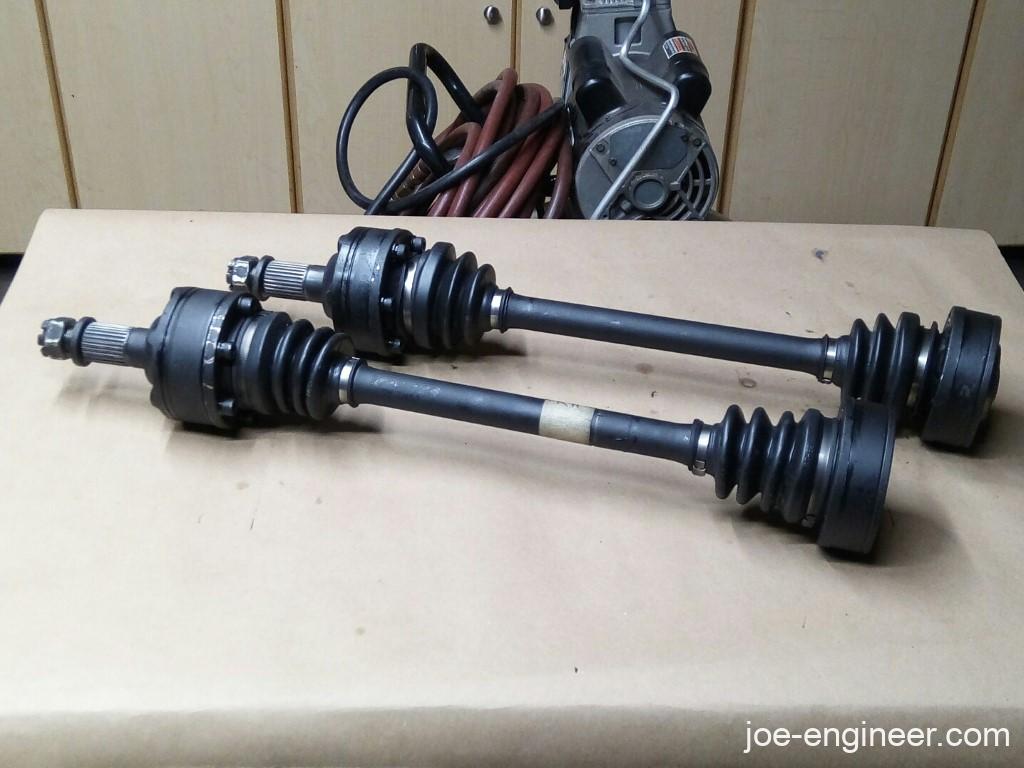
But first, my recent engine bay cleaning stint reinforced my gag reflex for old CV grease, so I sent these things out to my local automotive rebuilder instead of doing them myself.
Cam Gears and Valve Rocker Assembly
First I installed the cams and the little thrust plates that hold them in place.
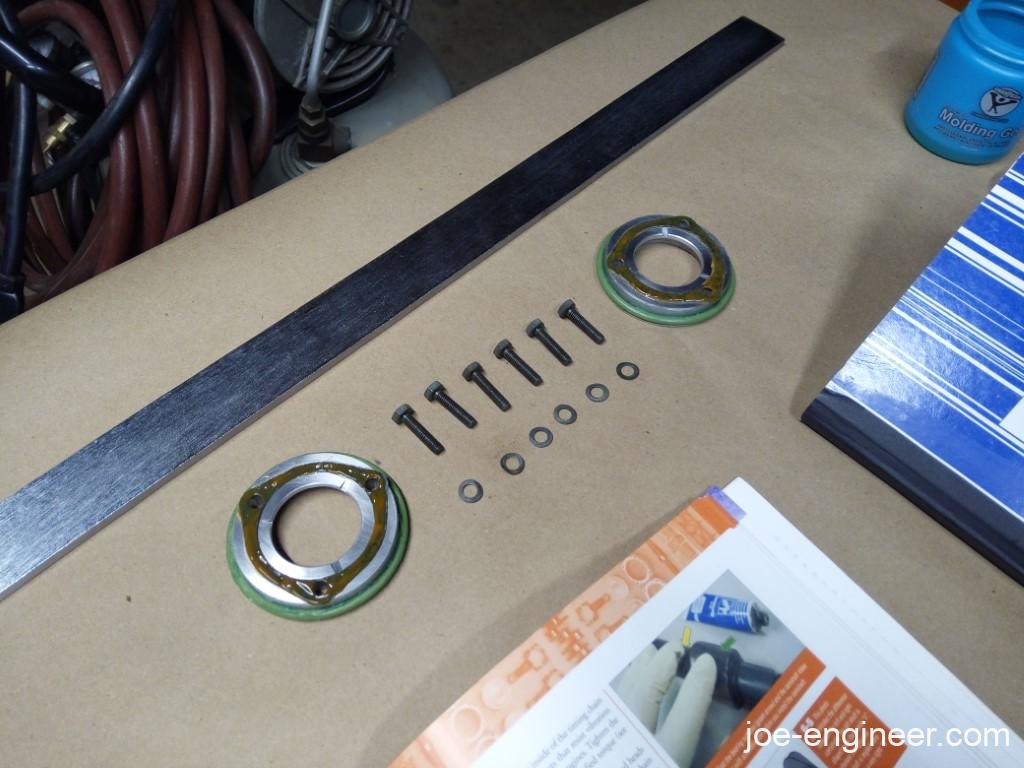
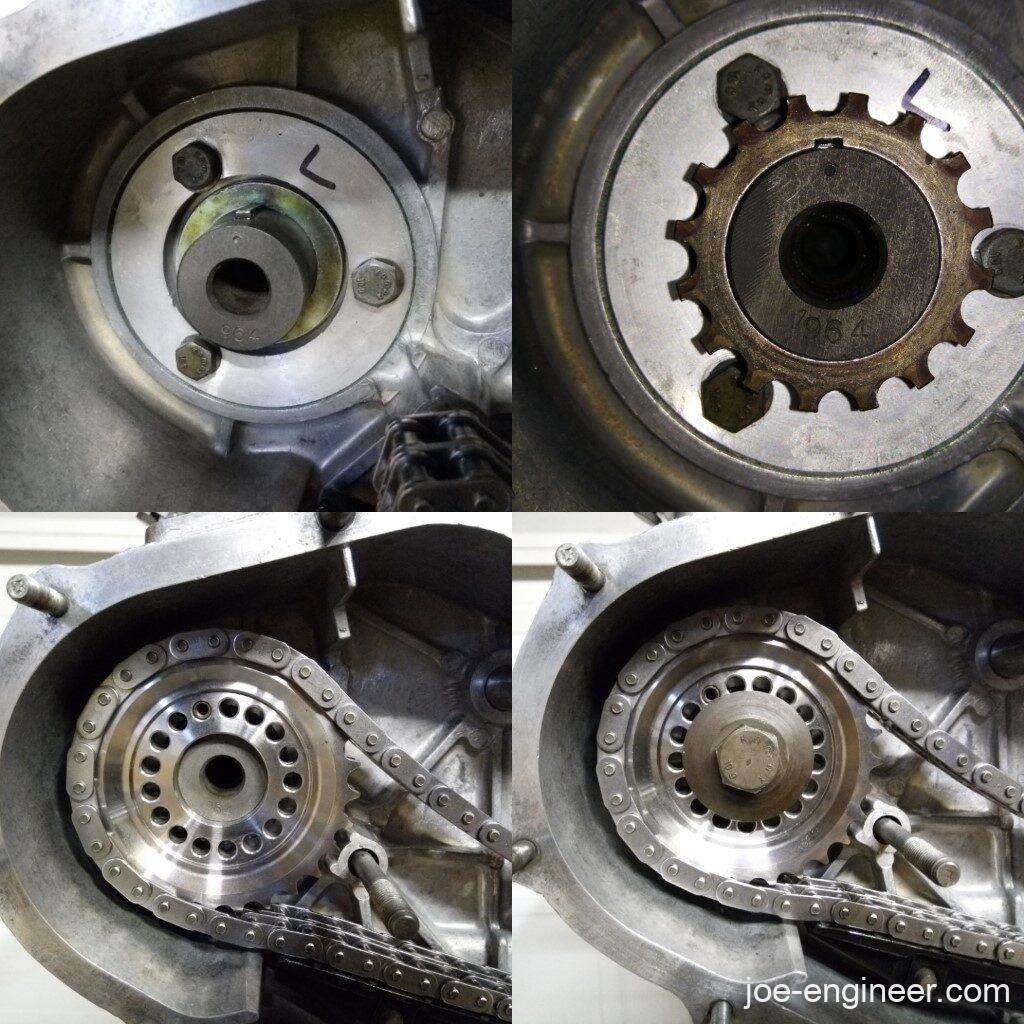
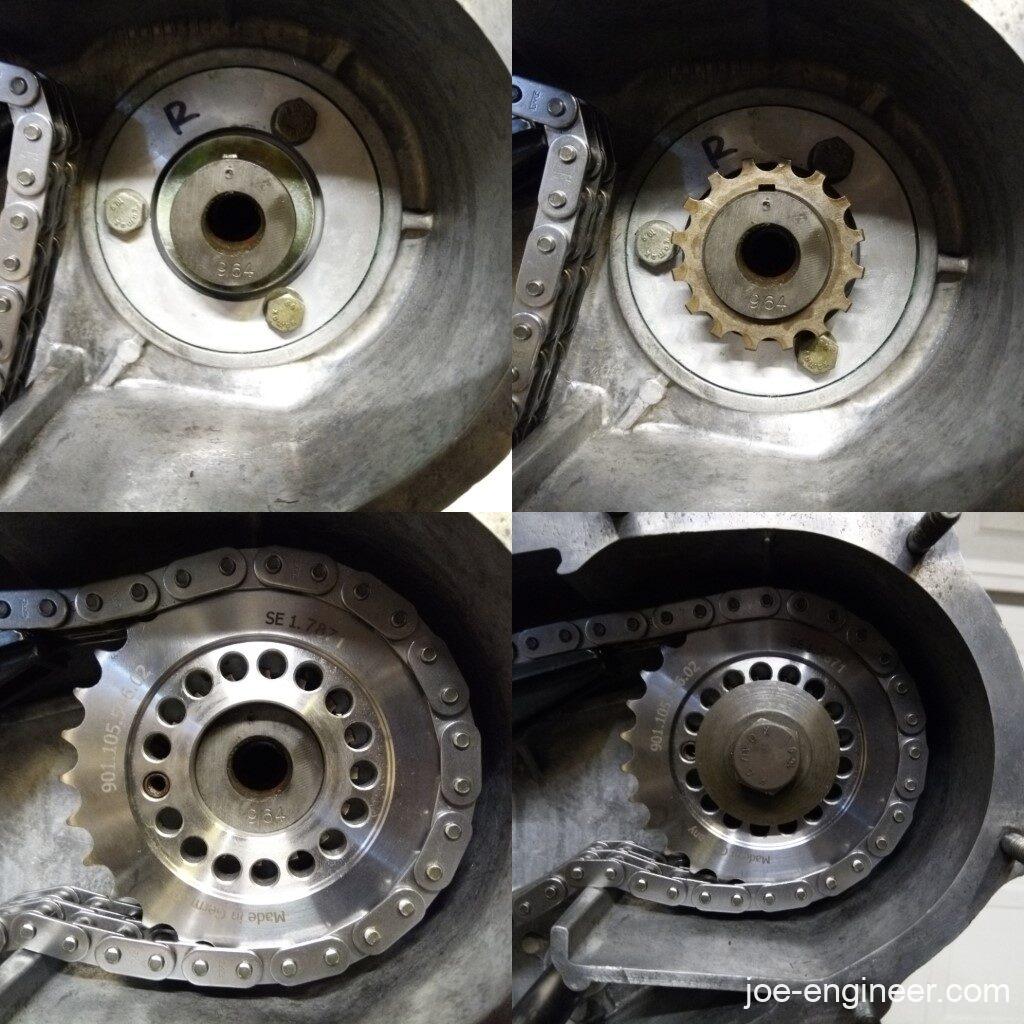
Followed by the keys, shims, cogs, and pins that go under the cam gears.
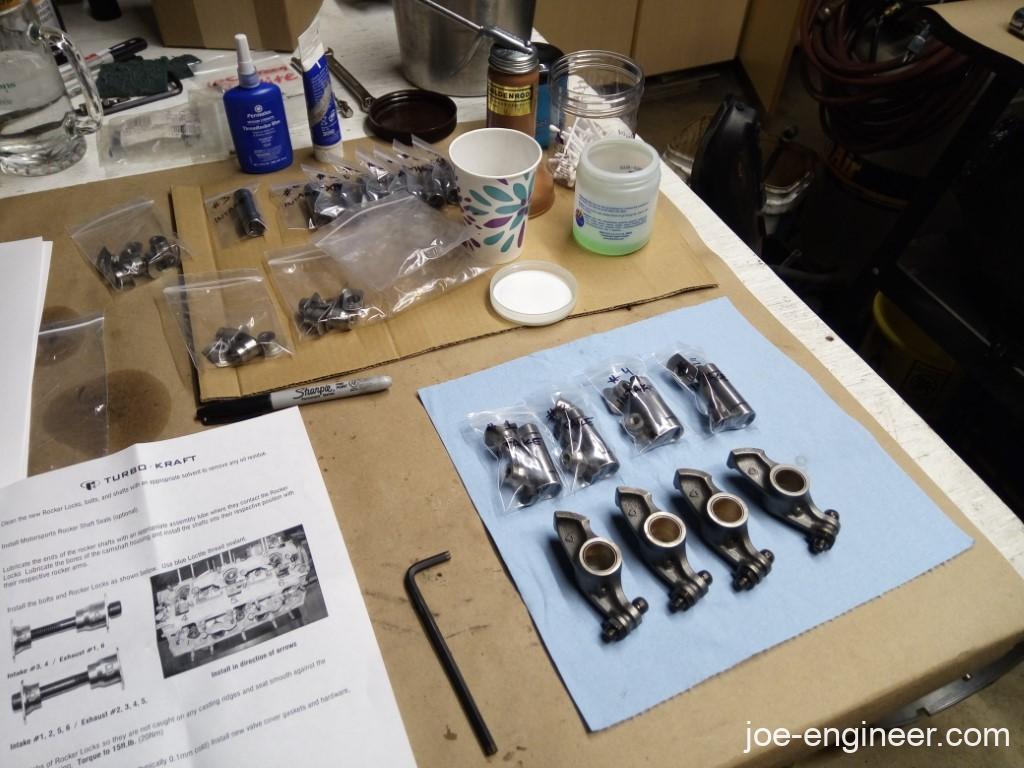
My cam parallelism was within spec so I installed rockers next. I Installed RSR seals on new rocker shafts and kitted them with the respective Turbokraft locks so I wouldn’t screw up the order. Certain parts go on specific rocker shafts.
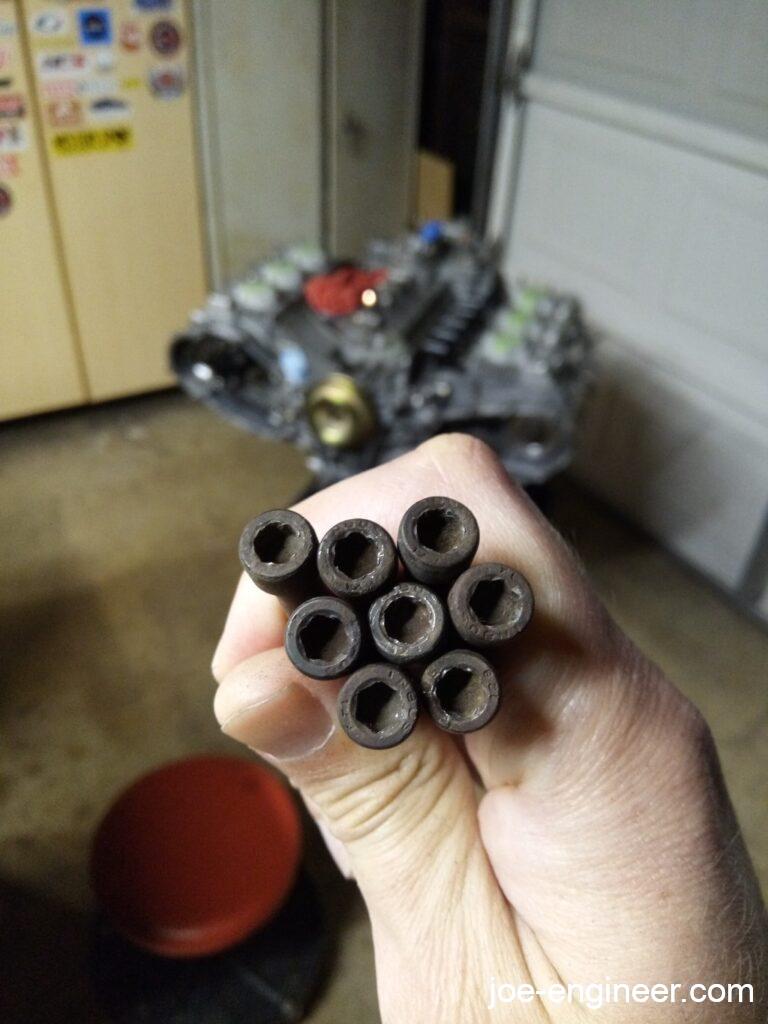
I had completely forgotten about these rocker shaft bolts. Clearly whoever was last in here torqued the crap out of them to attempt to keep the rocker shafts from walking out. I trashed them and ordered new ones.
I got them all installed hand tight with an Allen wrench but I couldn’t get a torque wrench in there to torque them to spec.
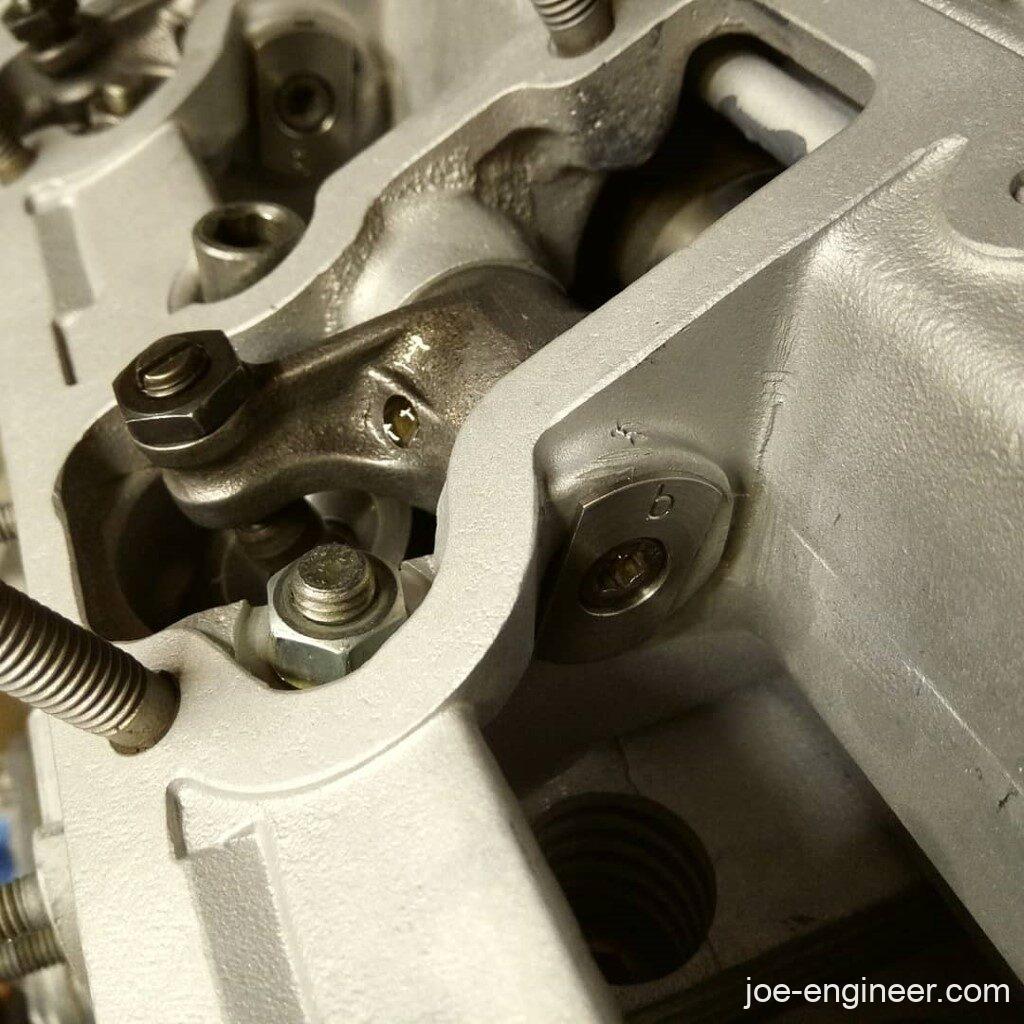
Fortunately I found some itty bitty 1/4” drive hex bits that work well in this cramped space.
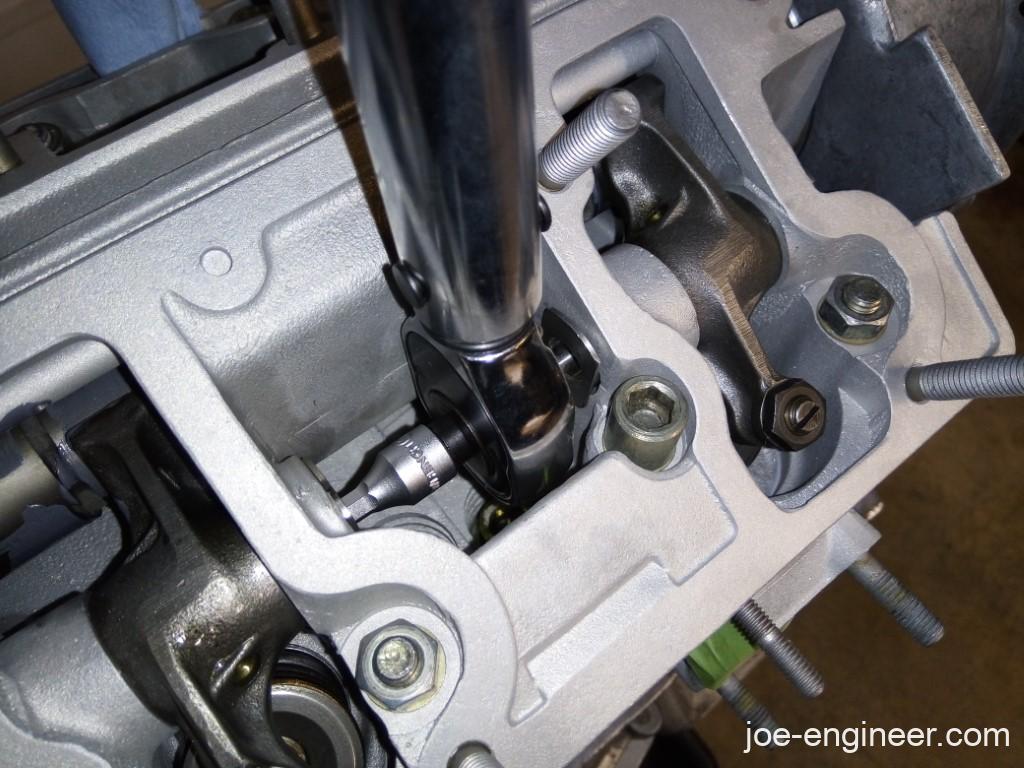
All done.
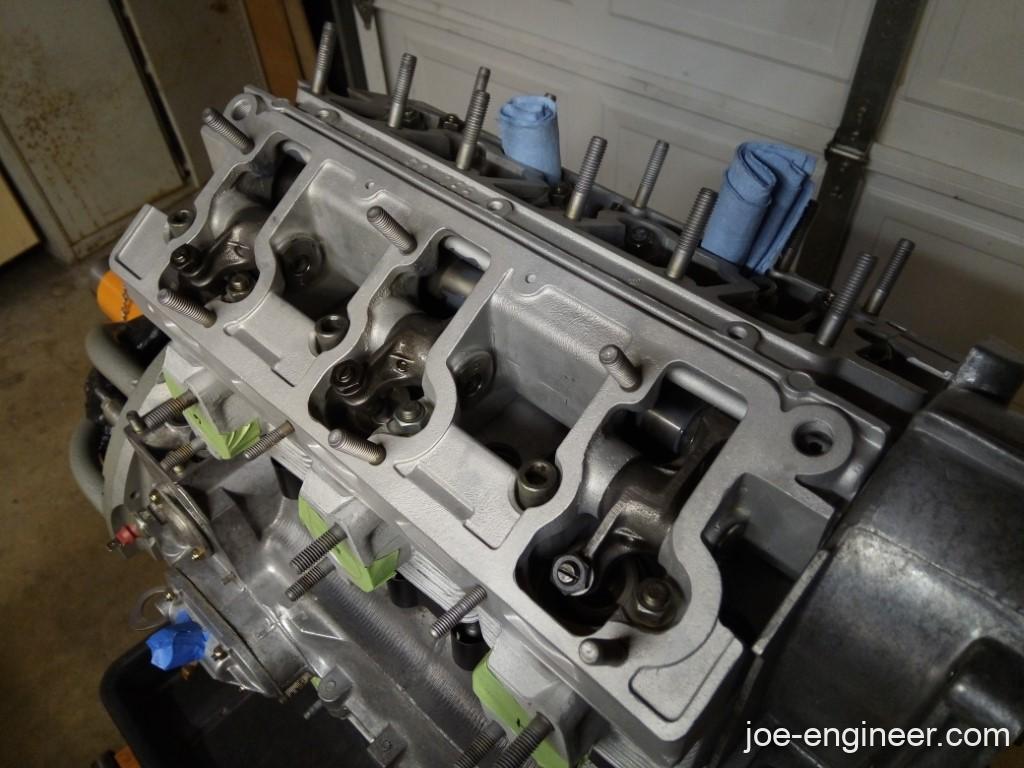
I then installed mechanical tensioners and got ready for cam timing.
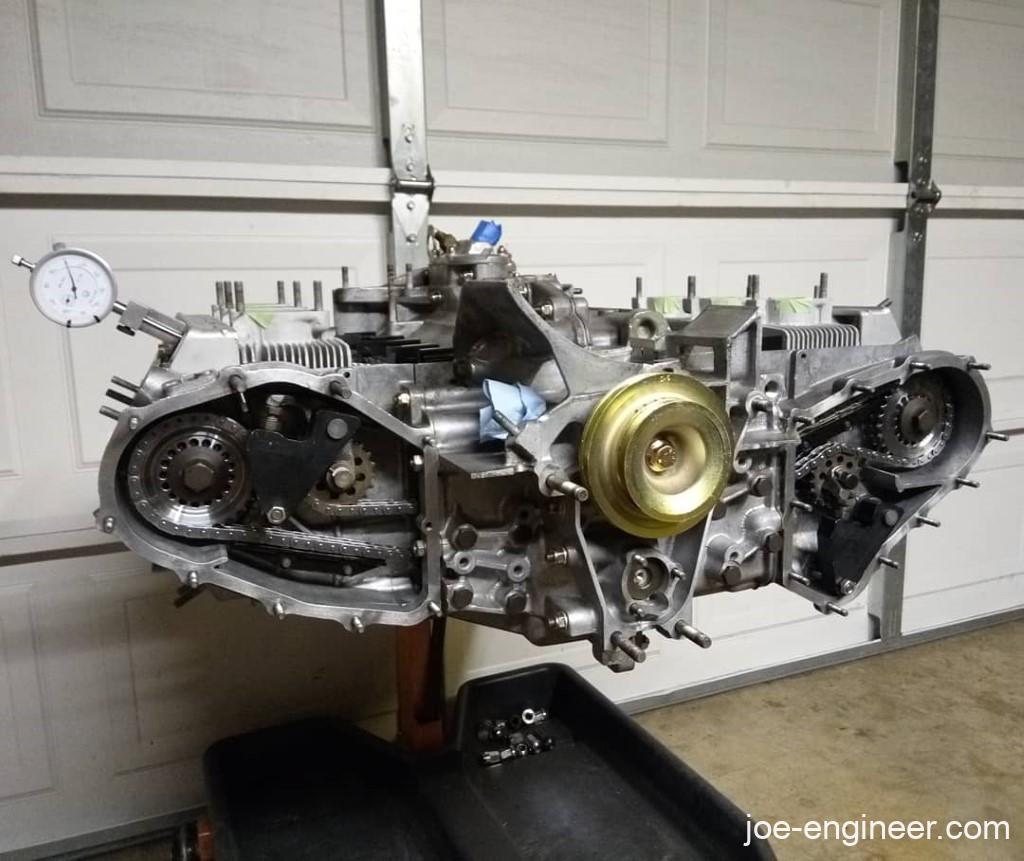
Cam Timing
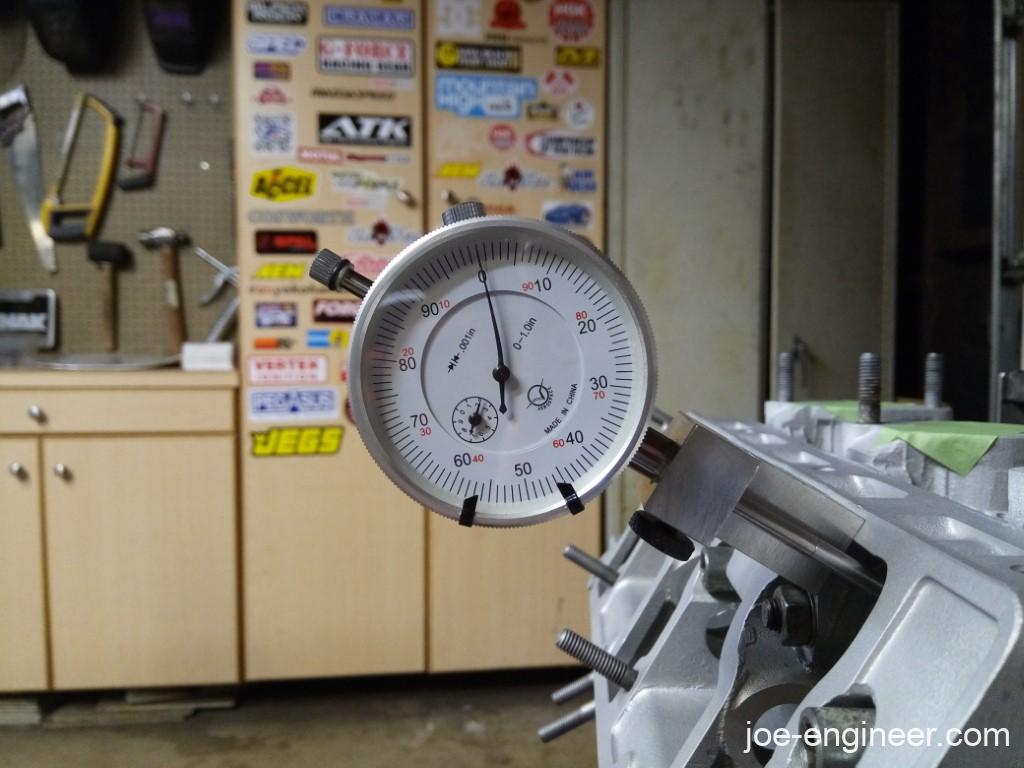
So cam timing was kind of a cumbersome process. Even after reading the official procedures, lots of threads, and watching YouTube videos, it took me many tries to get it where it needed to be, accurately. For me this is what worked:
- I installed all the rockers because according to some threads, doing just the #1 and #4 rockers will cause the cam to rotate a bit when you pull the cam gear pin, throwing off your measurement and driving you nuts. Installing all the rockers worked for me.
- I followed the Bentley’s procedure. It was short, clear, and worked. The one in Wayne’s rebuild book was a bit tough to follow, at least for me.
- I had my mechanical tensioners set up rock hard and that was making it tough to pull the pin to reset the cams. When the pin did come off, the cams rotated a bit and threw my reading off. Someone recommended I back off the tension a bit and that worked like a charm.
Timing Chain Hydraulic Tensioner Assembly
After following the recommendation here, I zip tied the right side chain and idler gear to keep the idler from dropping and throwing off my timing.
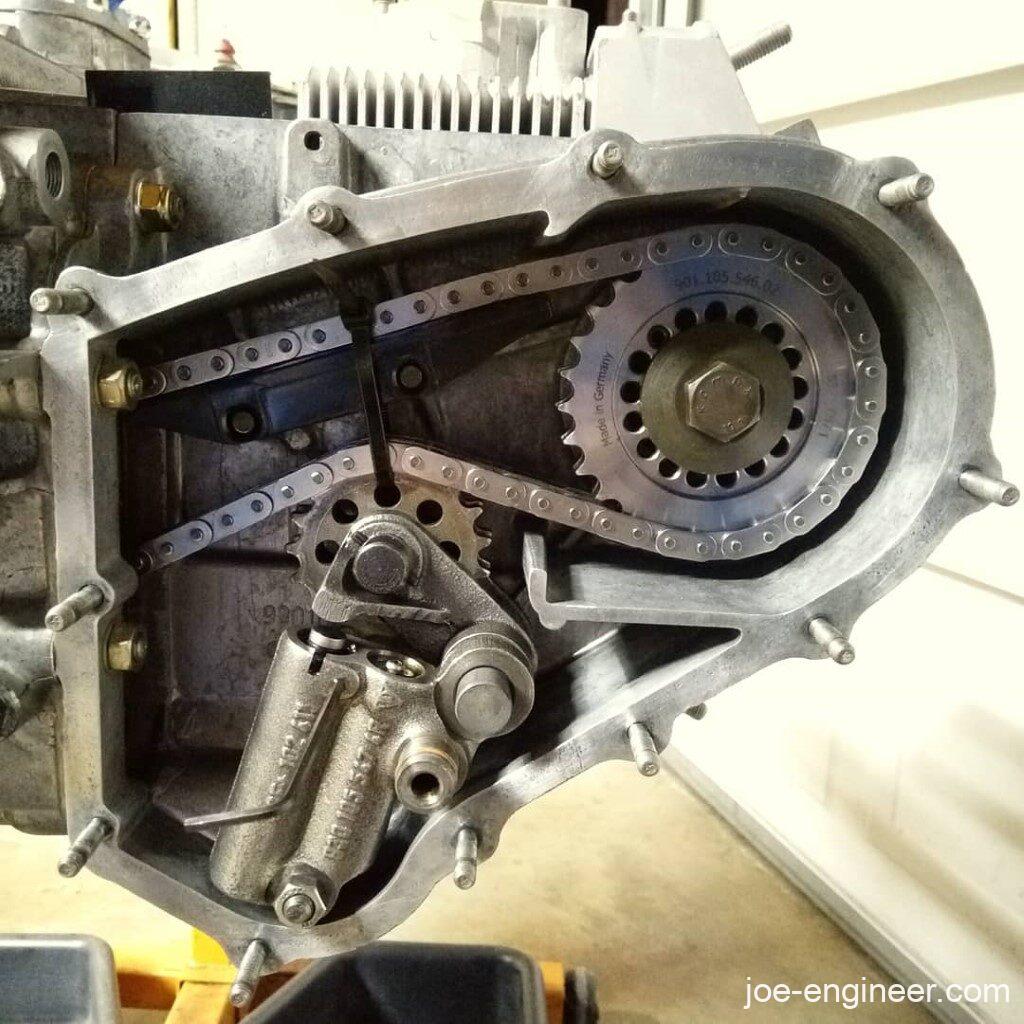
I then prepped the Carrera tensioners that came with the motor for reinstallation. These hydraulic tensioners are surrounded by a lot of mystery and pseudoscience regarding how prone they are to failure compared to spring tensioners. After pouring through the extensive discussion in this thread, I performed the following procedure for each:
- The empty, still-oily tensioners had been sitting sealed in a small tupperware bin for a couple of years.
- I cleaned them externally and checked for loose external check valve; no issues.
- I tried to compress them by hand. I could only compress about .200″ by hand with tremendous effort. To collapse all the way down required a C-clamp.
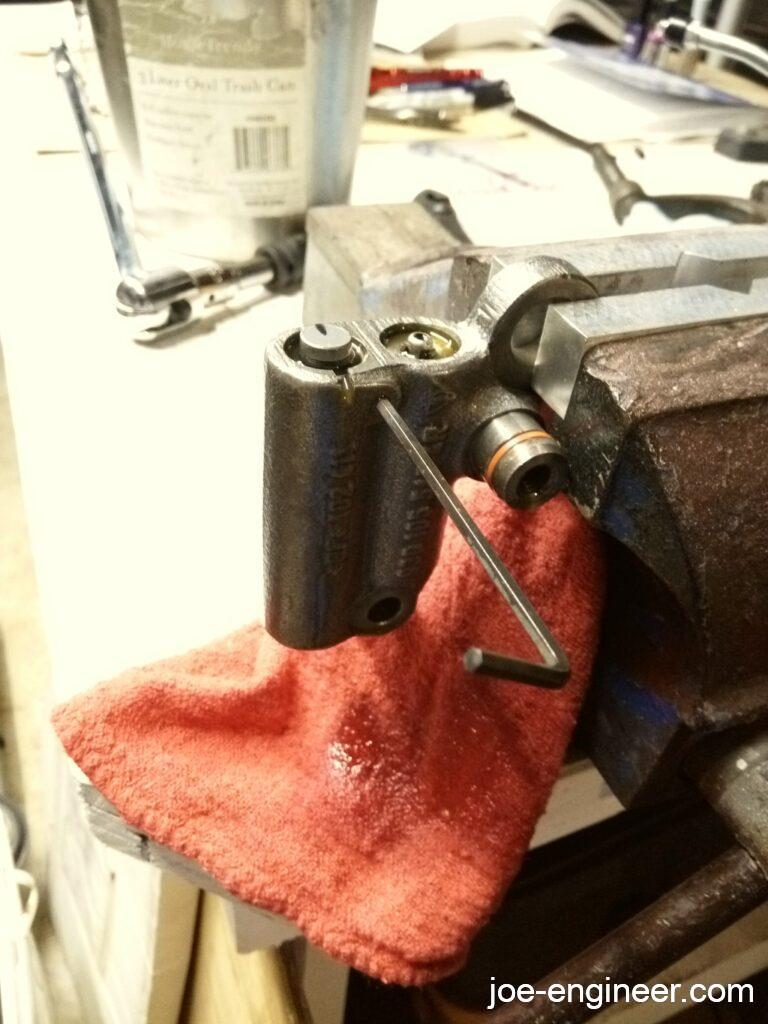
- I clamped each one in a vise in the upright position and used an oil can to slowly fill the chambers. After the air inside the supply chamber reached cracking pressure the external check valve momentarily opened and sprayed a bit of oil and air. This happened about 3-4 times per tensioner then only oil flowed out.
- I compressed the piston all the way and released. Heard a sucking sound and had to refill the supply chamber again.
- I refilled the supply chamber until all air was bled and only oil would flow out the external check valve.
- The tensioners were firm and impossible to compress by hand at that point.
- I compressed the piston down enough to insert the pin and noted it was very slow and difficult even with the C-clamp. The whole time oil slowly oozed out of the orifice.
- I Inserted the pin and re-bled once more with the oil can just in case.
- I installed them in the engine and pulled each pin to hear a loud “TWACK” as the piston came up with tremendous force.
- I did the “screwdriver prying on the idler arm” test per the Bentley and they were very difficult to move at all.
Based on the evaluation criteria in the prior link, I deemed mine good to go.
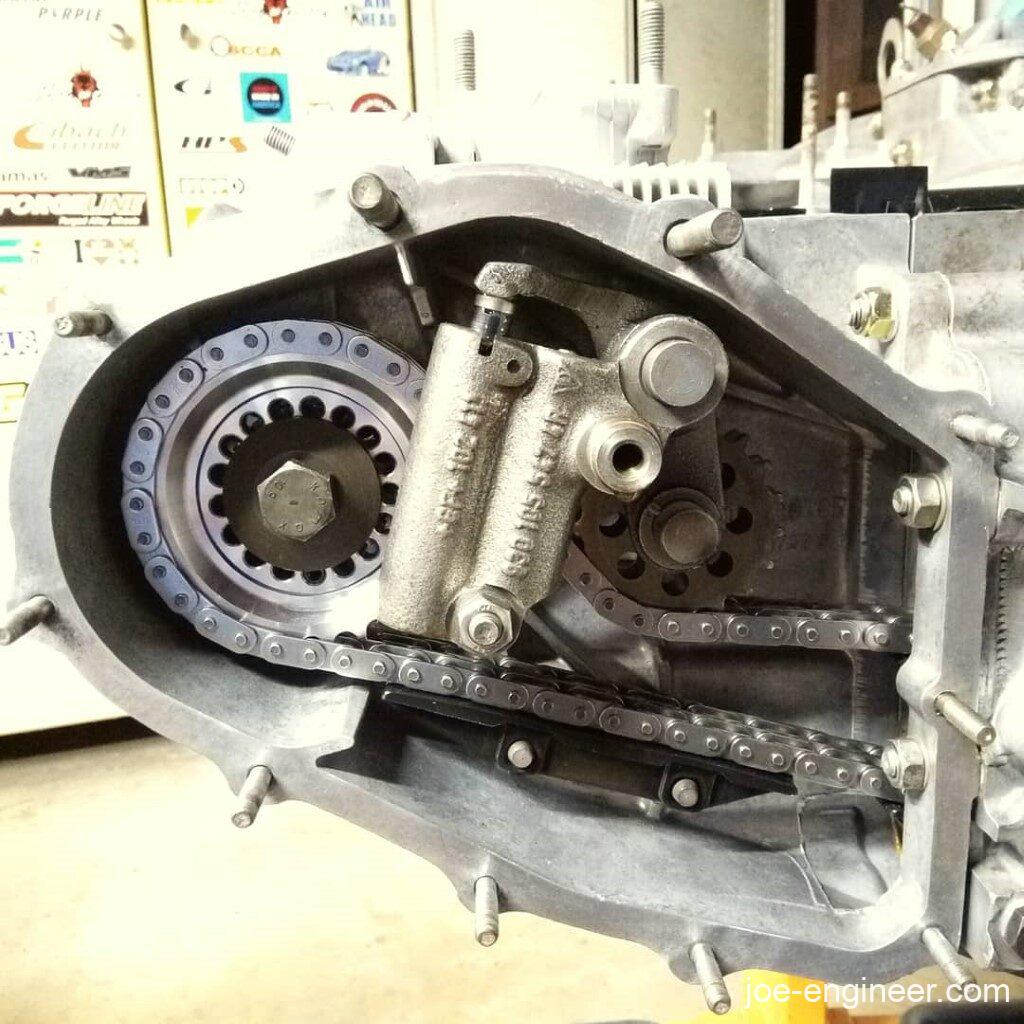
I cant believe its time to button up the longblock.
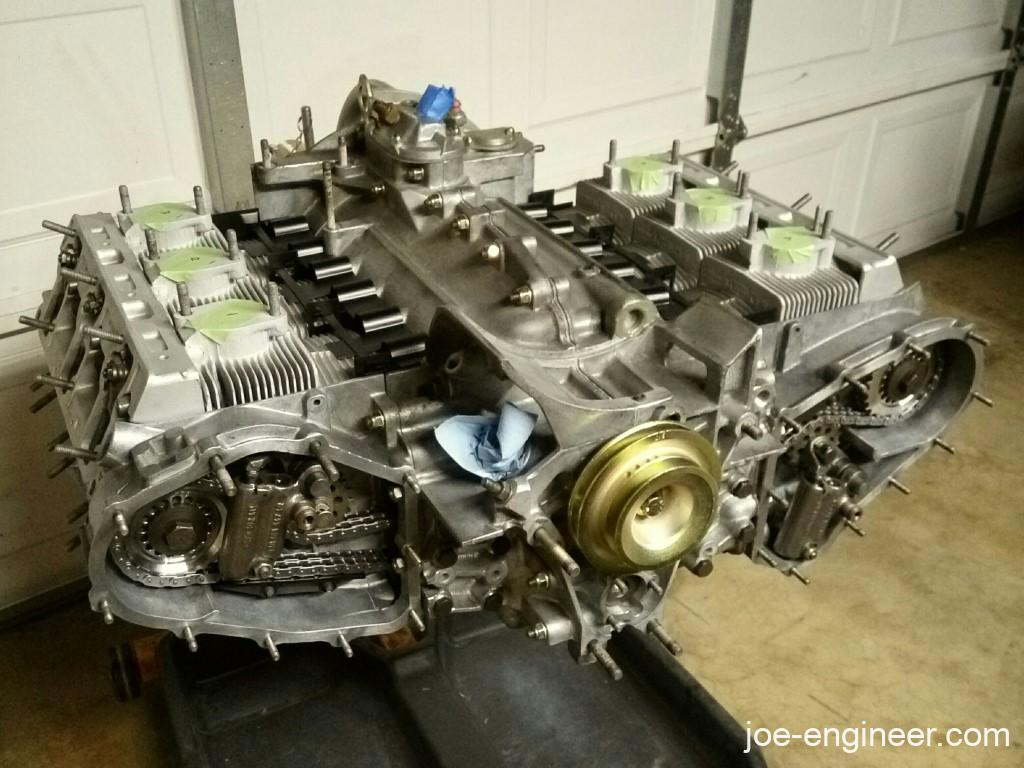
Flywheel and clutch assembly are up next.