
Porsche 911 Gearbox Mounting Hole Thread Repair
This was the scariest surprise repair I have had to tackle on this old car.
Disclosure: This post contains links to Amazon products and other trusted vendors. As an Amazon Associate I earn from qualifying purchases. (H6 heading + italic)
After all this engine building momentum I hit a roadblock that brought me to a screeching halt.
So a Porsche friend tells me, “hey you better change that old ground strap before it messes up your brand new harness!”.
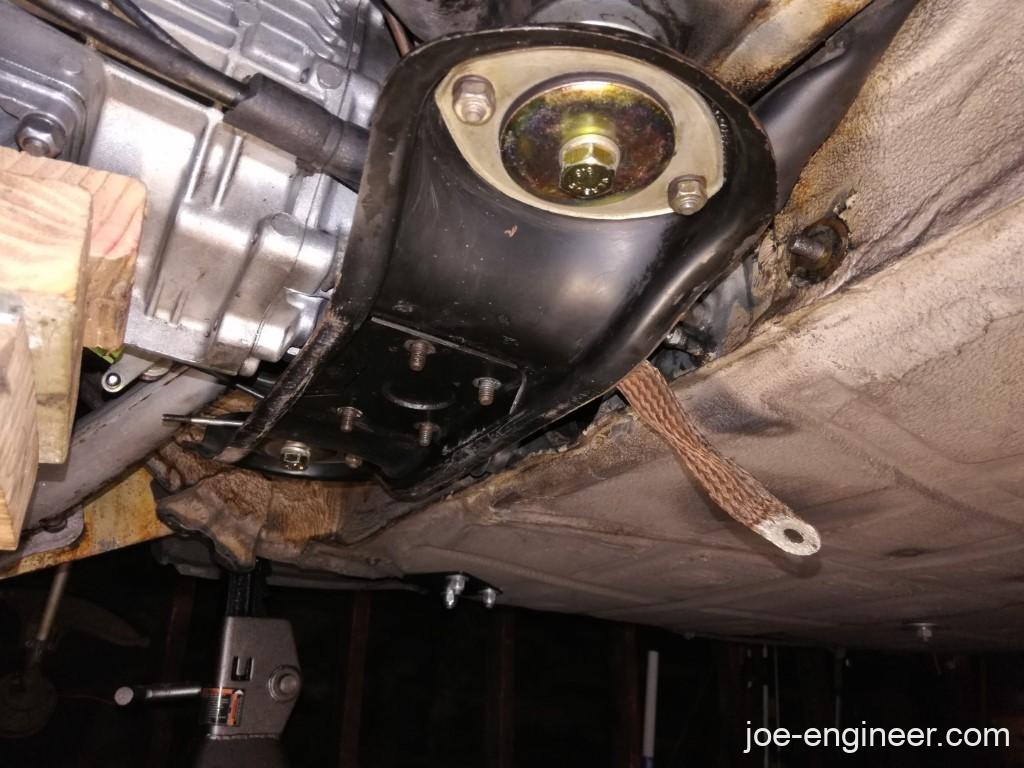
He was not wrong so I abided. Off I went propping up the gearbox, removing the crossbar, replacing the ground strap and reinstalling the crossbar.
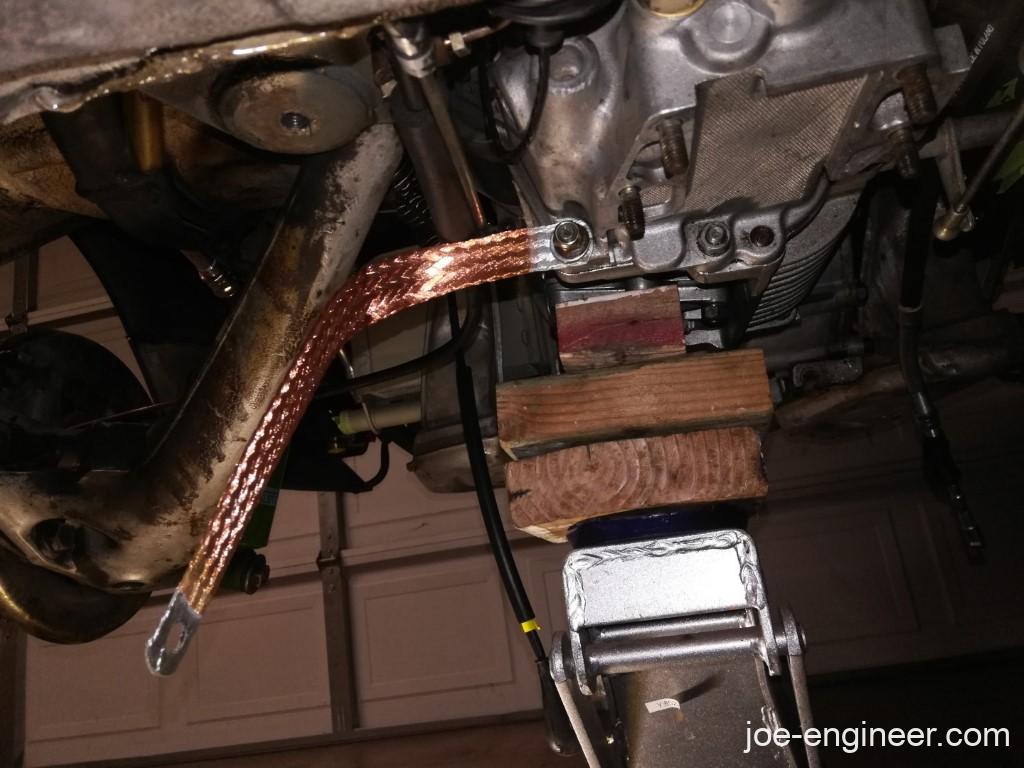
Well I put the bolts in finger tight, enough to engage a few threads, and then removed the jack. The crossbar mounting surfaces were not fully seated against the car side mounting surfaces. There was a small gap and I figured I could just raise the crossbar that last bit by tightening the bolts alternating sides until they were snug, then torque them down. In a normal situation this would have worked, since those threads were so big and there was so little weight on the front crossbar. I think the threads were already severely buggered from too many ugga duggas from the last mechanic’s impact gun and the right bolt never tightened down. You know the sickening feeling: tighter, tighter, then looser, then endless spinning.
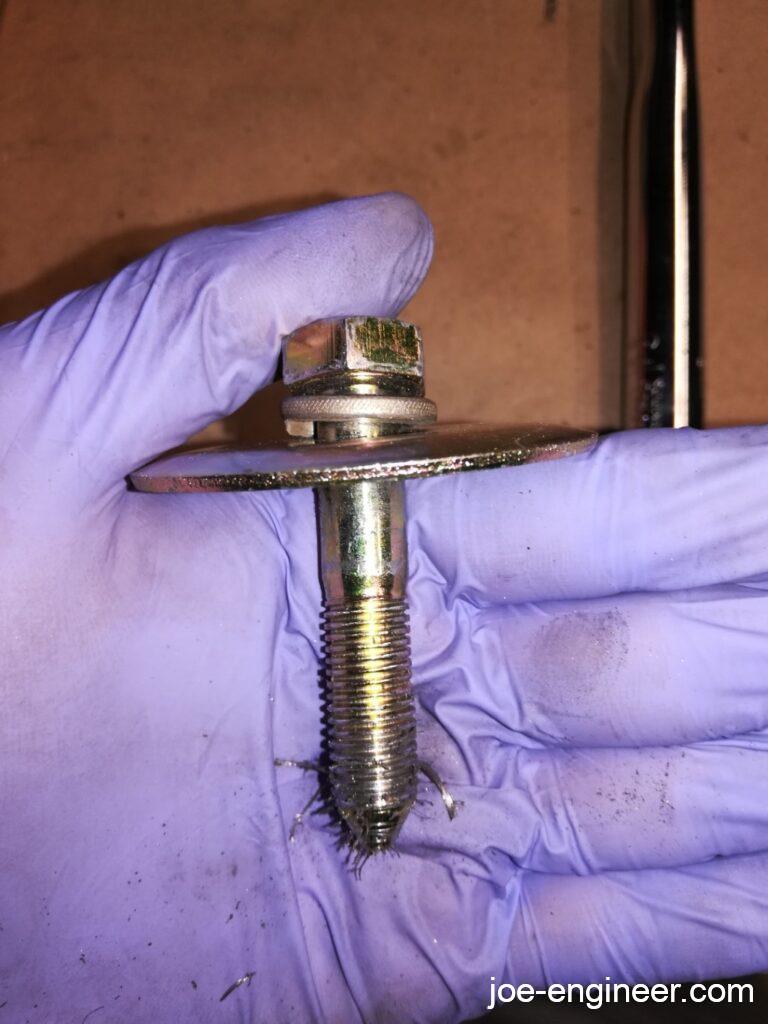
I think the weight of the gearbox on those already weak threads did them in when I attempted to tighten them down. After an initial wave of panic and colorful language hurled at the car’s underside, I took some time to clear my head. Then I dove deep into thread repair research and found a Time-Sert kit in the right M12-1.5 size and a Time-Sert tap guide to help keep the threads square to the mounting surface.
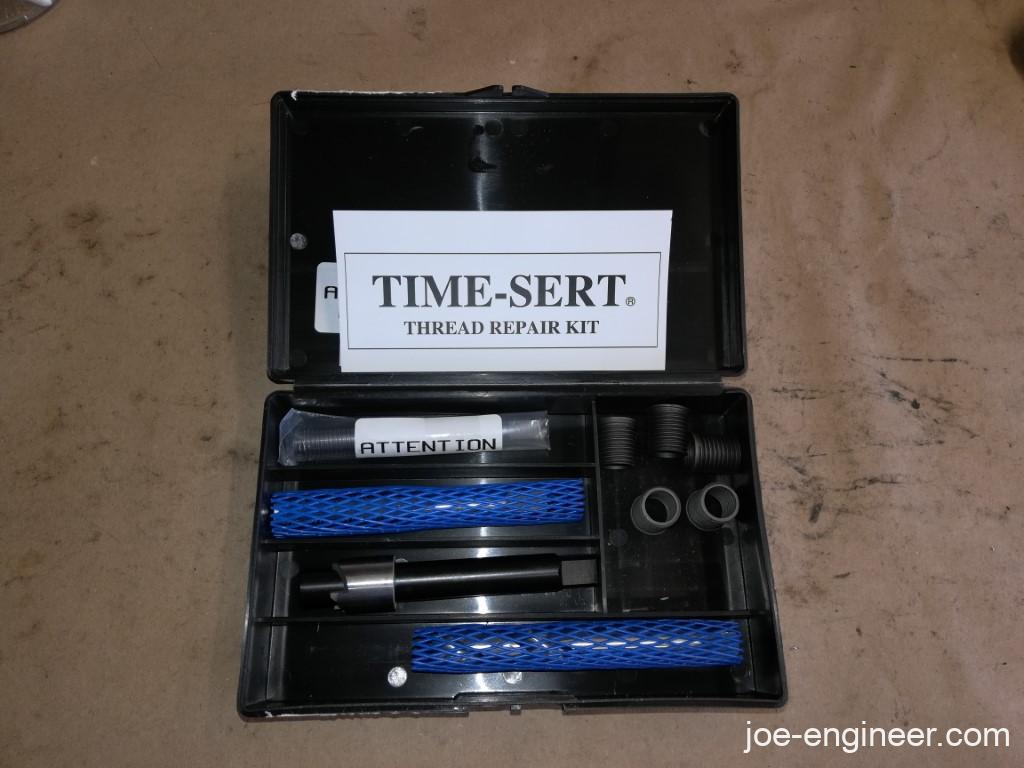
I successfully repaired the right side hole and it torqued down no problem.
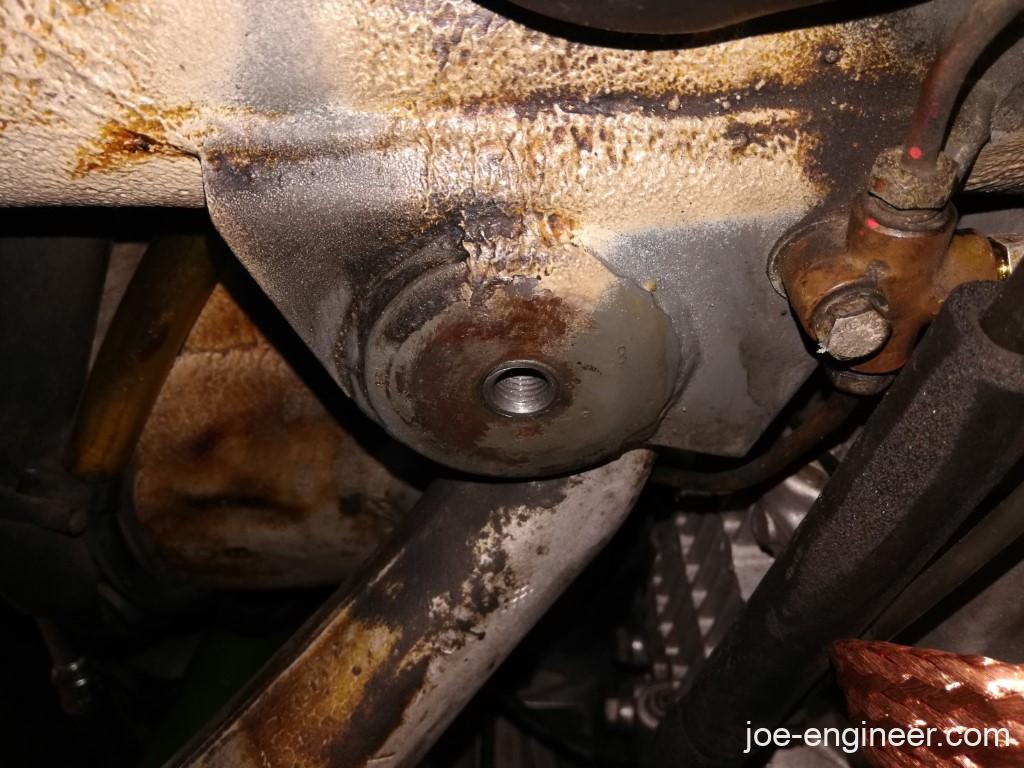
Then the left side decided to let go. >:(
I thought to myself, no big deal; I would just repair the left hole the same way. Well there is a bunch of stuff in the way on the left side like the clutch cable and throttle rod so there is less tap handle clearance. This caused me to be a bit careless and as I rushed the repair I tapped the hole at a bit of an angle to the hole center. By the time I realized I made a mistake, I tried to re-tap it straight but I had already weakened the new threads that were supposed to engage the outer threads of the insert. I put a Time-Sert in anyway but it did not hold.
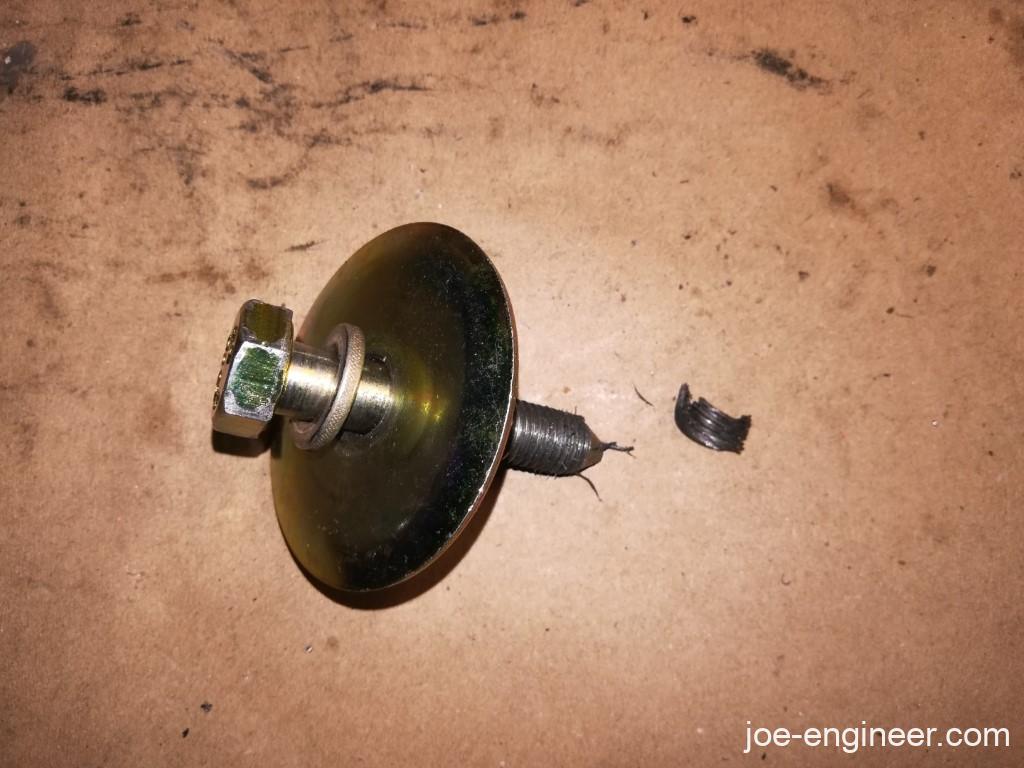
I extracted the remains of the failed insert and went back to the drawing board.
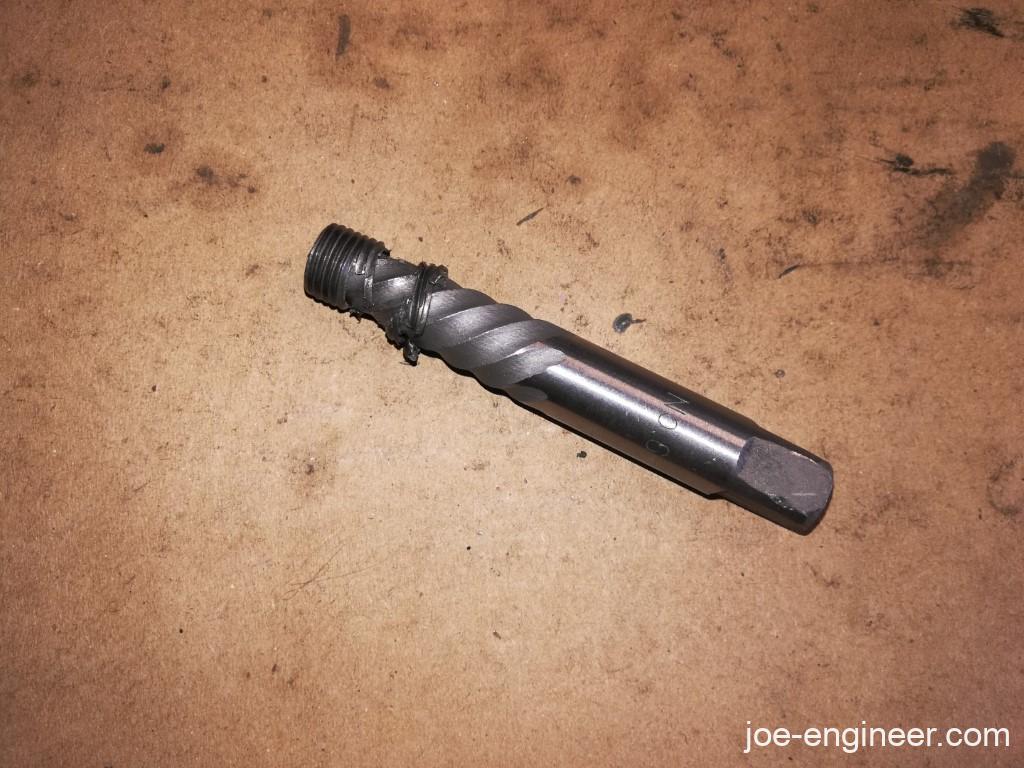
I then discovered they made Big-Serts for big screw ups such as these. They are literally just oversized Time-Serts with the same inner thread and a thicker wall and outer diameter. I bought a kit for the same M12-1.5 bolt size.

I took it a step further and bought the Big-Sert tap guide and some Time-Sert threadlocker to make sure the installed insert didn’t come out in that warm operating area. I know, I know, this repair was already getting kind of expensive, but beyond this, my last resort was to have a mobile weldor come out to my garage and weld the hole shut, lying on the floor, under my car, so that I could then re-drill it and tap it. I cant imagine that would be any cheaper.
Since I knew I had one shot left before destroying the mount, I requested my old man ( a very skilled machinist) to help me strategize the best way to do this. Together we designed and fabbed a drill fixture that keeps the drill perpendicular to the mounting pad while drilling and tapping, and uses drill bushings (and the Big-Sert tap guide) for each operation. It can also be clamped in that cramped space to free up your hands to drill and tap under the car upside down.
I miss working on critical projects together. We used to work at the same place for about 4.5 years and solved these kinds of crises on a daily basis. 🙂
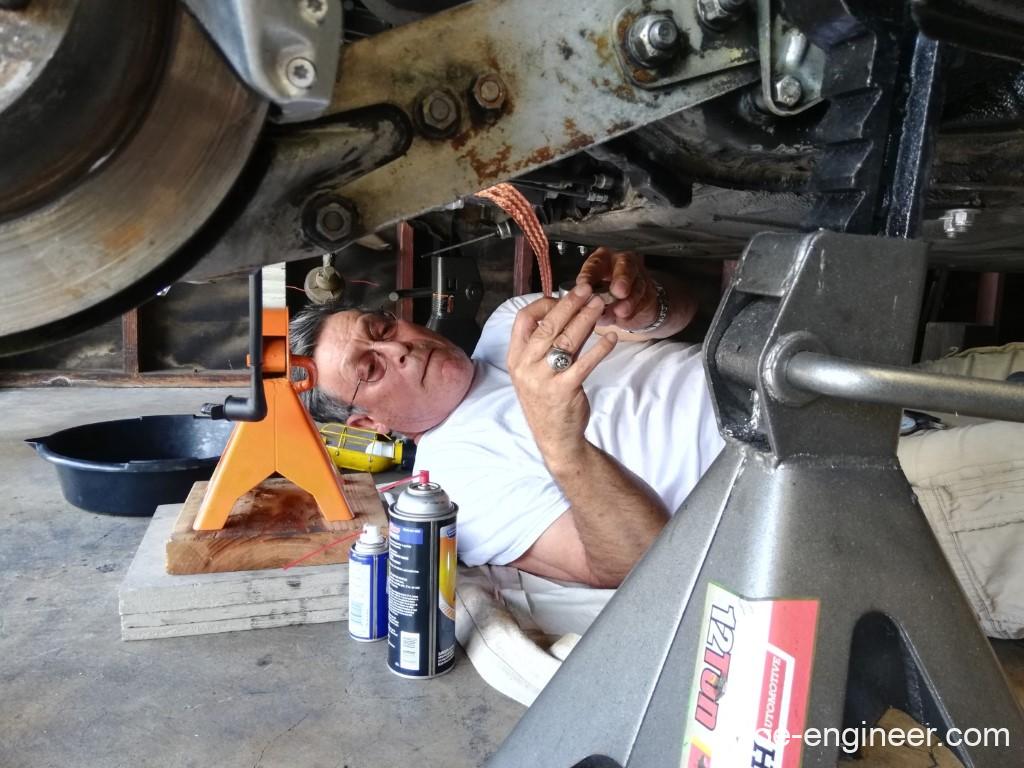
Thankfully it worked and we got the Big-Sert installed correctly, and the gearbox crossbar back on and torque to spec.
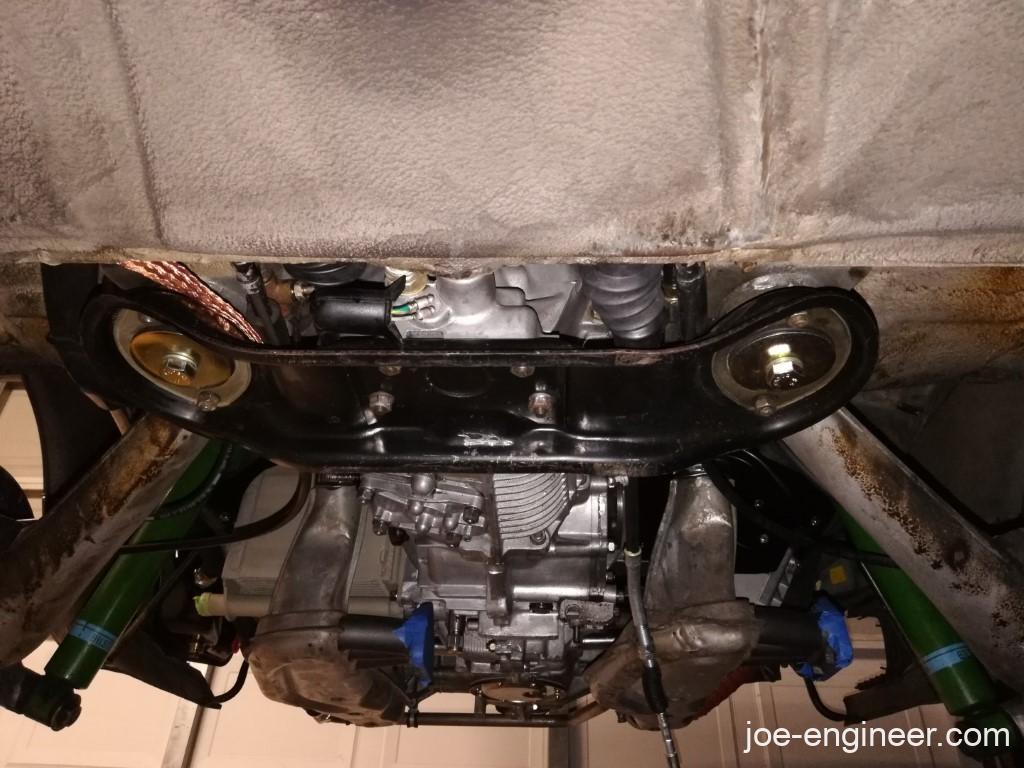
Disaster averted. Lessons learned:
- Ill never let the gearbox hang by the bolt threads and expect them to pull the gearbox up to the mating surface again.
- The jack stays on until after bolt final torque is set.
Back to reconnecting all the wiring, plumbing, and linkages…