
Porsche 911 First Detail
This is the first time since 2015 that this old 911 gets a detail job.
Disclosure: This post contains links to Amazon products and other trusted vendors. As an Amazon Associate I earn from qualifying purchases.
Hi guys and gals. Thank you for your patience while I was gone. My work schedule has been rough for most of 2021 and I am just starting to get my work/life balance back.
I have been mostly driving the car when I have the chance. It runs like a top and never skips a beat. It is so much fun in my local canyons.
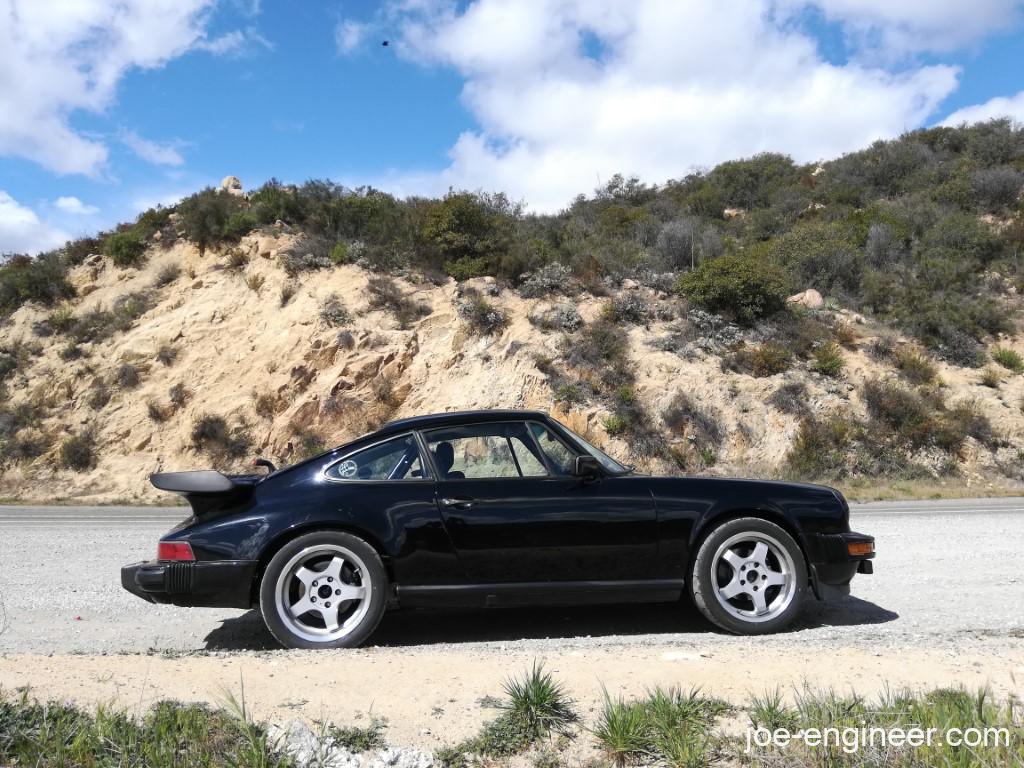
Its been collecting more rock chips and dirt, which is why I figured it was time to give it a basic interior/exterior detail. This is even more important now that I can start to attend more local car meets. I don’t pledge allegiance to any particular brand of car detailing products yet, nor do I have a power washer, foam cannon, or all these fancy new products to get a microscopically perfect finish. I mostly grab whatever I can find at my friendly local auto parts store (FLAPS) that is of decent quality, so you’ll see me use a little bit of everything here until I make a final judgement on what works best for me.
Washing The Car
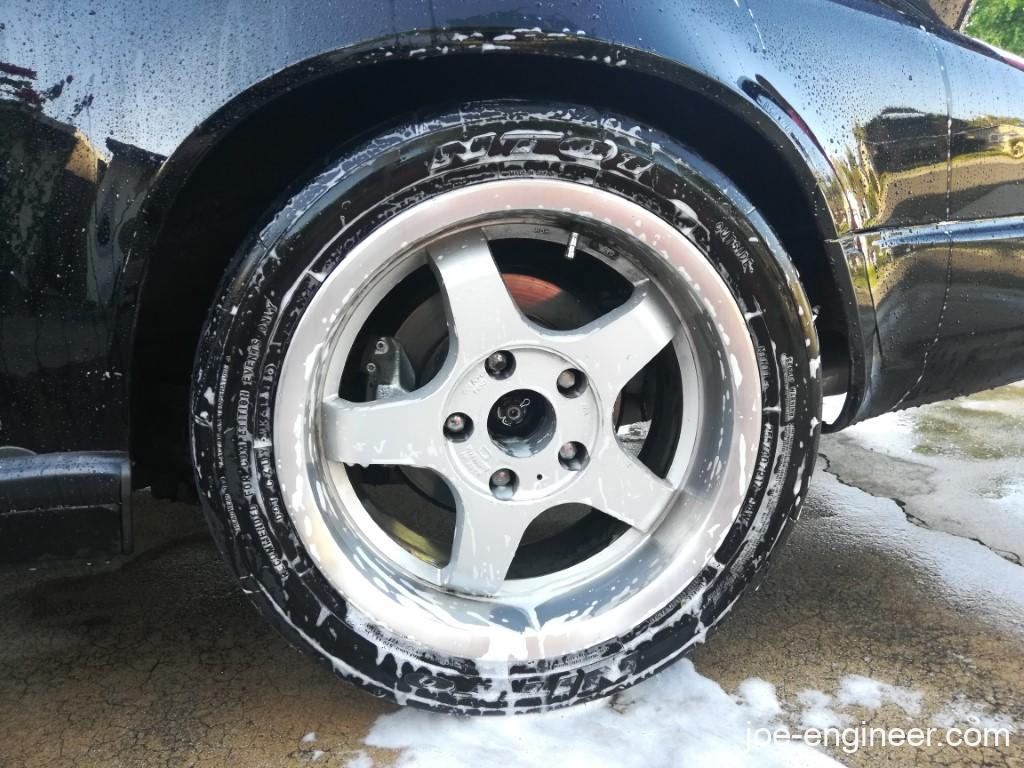
No joke, I think I have washed my car 4-5 times ever, and I have owned it since 2015! The main reason for this is that up until recently I was always taking it apart and getting greasy fingerprints on it, so why bother? Also my rear window seal leaks at the bottom rear corners, so when I do wash it I must quickly wipe away any water collecting in the corners so it doesnt make it into the rear cabin. I really need to get that seal replaced soon.
Normally I would use a nice car wash product like Meguiar’s Car Wash to keep it looking shiny for some time after but this time I went with good old Dawn Blue dish soap to strip the paint surface as much as possible and prepare for claying.
Clay Bar
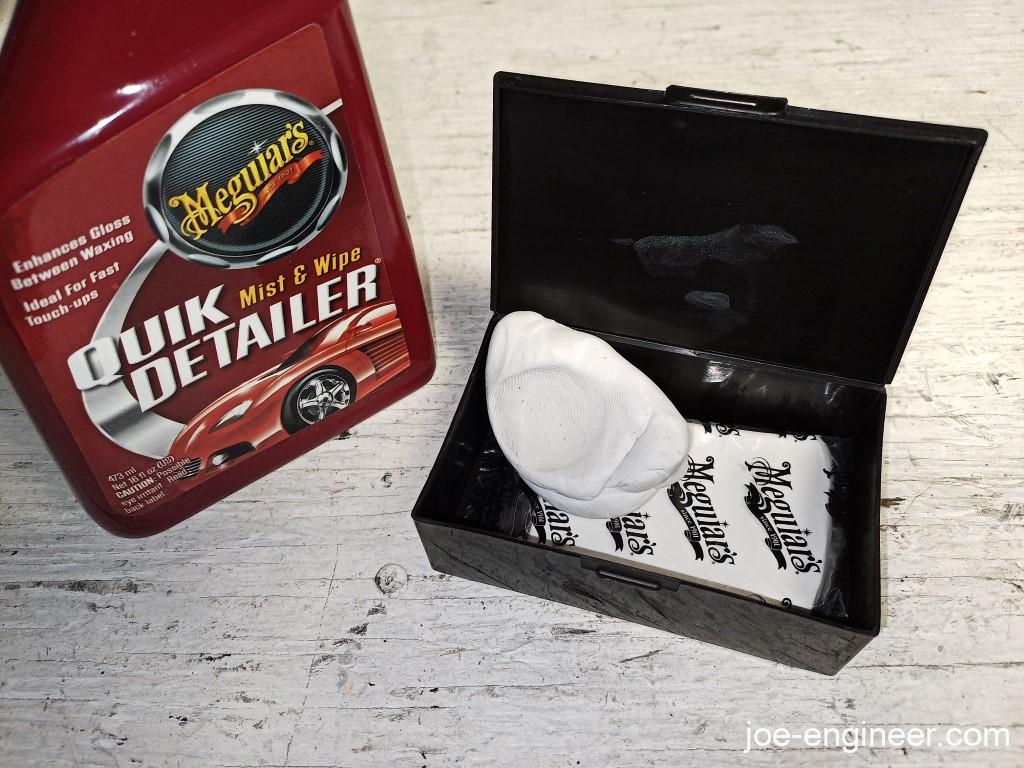
I have a bad habit of buying chemicals at my friendly local auto parts store (FLAPS) thinking “Ill need this someday” then they sit in my garage cabinet and I forget I have them. Today I remembered I had a Meguiar’s Clay Bar Kit so I grabbed that and proceeded to remove the remaining bits of foreign debris off my paint. Nothing fancy here, just a couple of clay bars and a bottle of spray detailer to lube the paint surface while you wipe it clean with the clay. It is inexpensive and worked just fine. My paint was fairly clean overall except for the hood.
Aerodynamically, the front end of the Porsche 911 is like a giant shovel as it scoops up air between its two pontoon fenders, over the hood and windshield. If that air happens to contain crud in it, well the hood is going to catch it. Claying the hood felt like I was claying a concrete sidewalk! Some of it was rock chips and some of it was lots of little bits of junk. Soon the paint felt smooth to my fingertips. I did appreciate the little plastic box to keep the clay in for next time.
Wax & Polish
Here is where my detailing inexperience is going to show the most. I did not want to cut and buff my paint right off the bat. It has a ton of scratches in it but I mostly wanted to give it a nice shine that would last a few car shows.
I went ahead and bought this Turtle Wax Black Paint Wax kit thinking it might help my black paint somehow. Nothing will ever hide the sandblasting of the front end but I figured this black wax might work a little better than a regular one. This version had favorable reviews on Amazon and YouTube and was fairly cheap, so I figured it was worth a try. It comes with a bottle of black pre-cleaner wax, black carnauba wax, two bottles of spray detailer, and two applicators.
I did buy one good piece of kit. I splurged on a Griot’s Garage Orbital Polisher. I did this for a few reasons. First, the Griot’s Garage brand is known for quality products, and second, Harbor Freight just got rid of their universal 20% coupons and the prices of all their power tools went up. Plus with all the different brand names HF keeps making up I have no idea where everything ranks in terms of quality. So rather than taking a chance with a “cheap” $100 HB polisher that could end up being a dud, I instead decided to go upmarket and spend a little more on the good one that I know will last me a long time. The cherry on top was that the Griot’s polisher is serviceable and comes with replacement motor brushes! In a world full of planned obsolescence, this was a breath of fresh air.
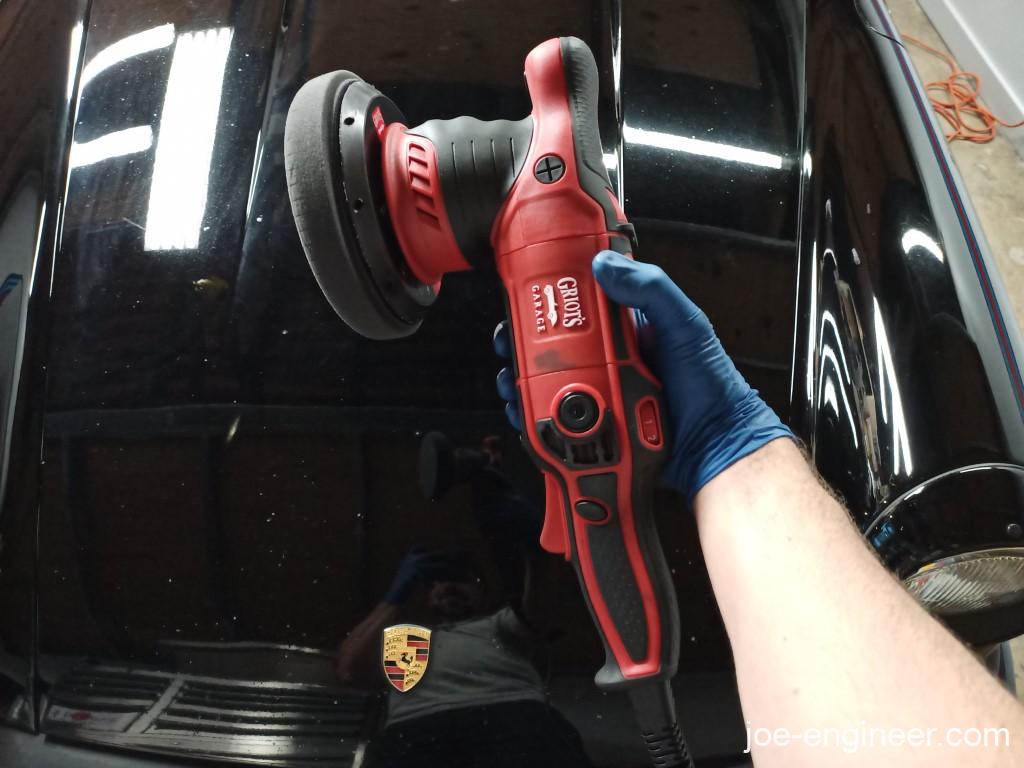
The Griot’s polisher came with its own bottle of wax and a foam pad for minor paint correction but since I was going to use the black wax with no paint correction at this time, I bought a set of 6” foam pads from Amazon and used a couple of the finishing pads just to be on the safe side.
The first step of this black wax kit was using the black cleaner wax on a foam finishing pad to remove contaminants from the paint. I covered the whole car in cleaner wax working on one section at a time using criss-cross motions with the polisher set at its lowest speed setting. I used the included applicators to get the small spots I could not get into with the polisher.
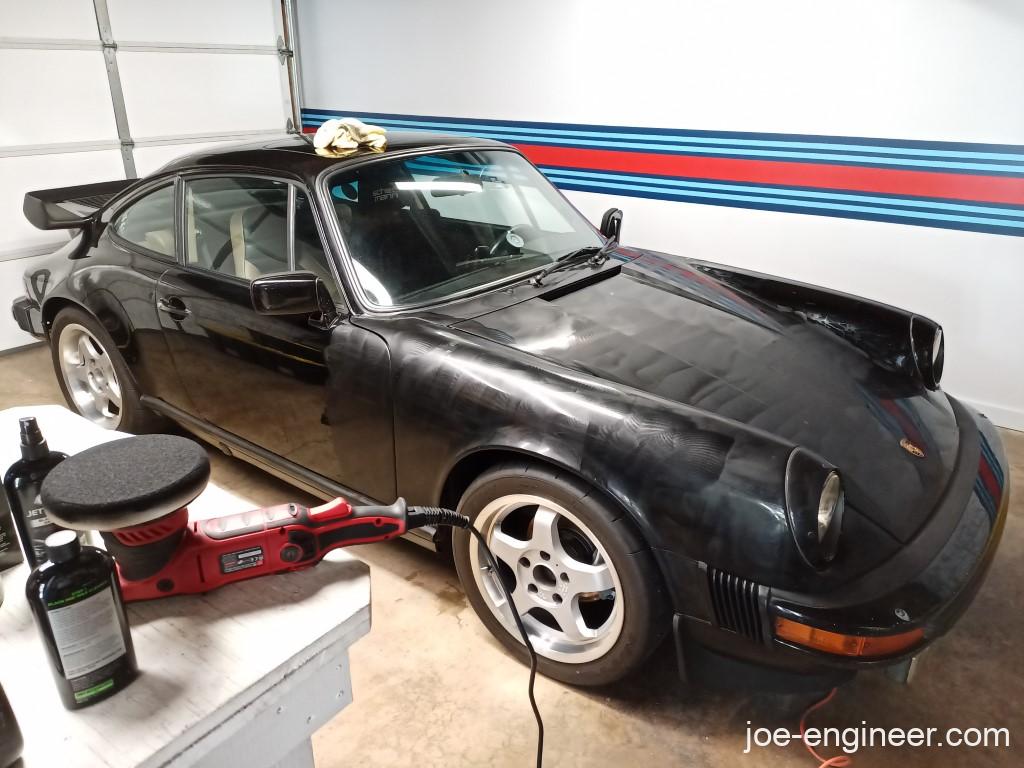
The instructions on the box say to “wear gloves if your skin is sensitive to black car wax” which is a strange way of saying “hey, put on some gloves because this stuff will stain your skin and fingernails black!” After the cleaner wax dried to a haze I used the included spray detailer and some microfiber towels to spray and wipe it off, leaving a clean shiny paint surface behind.
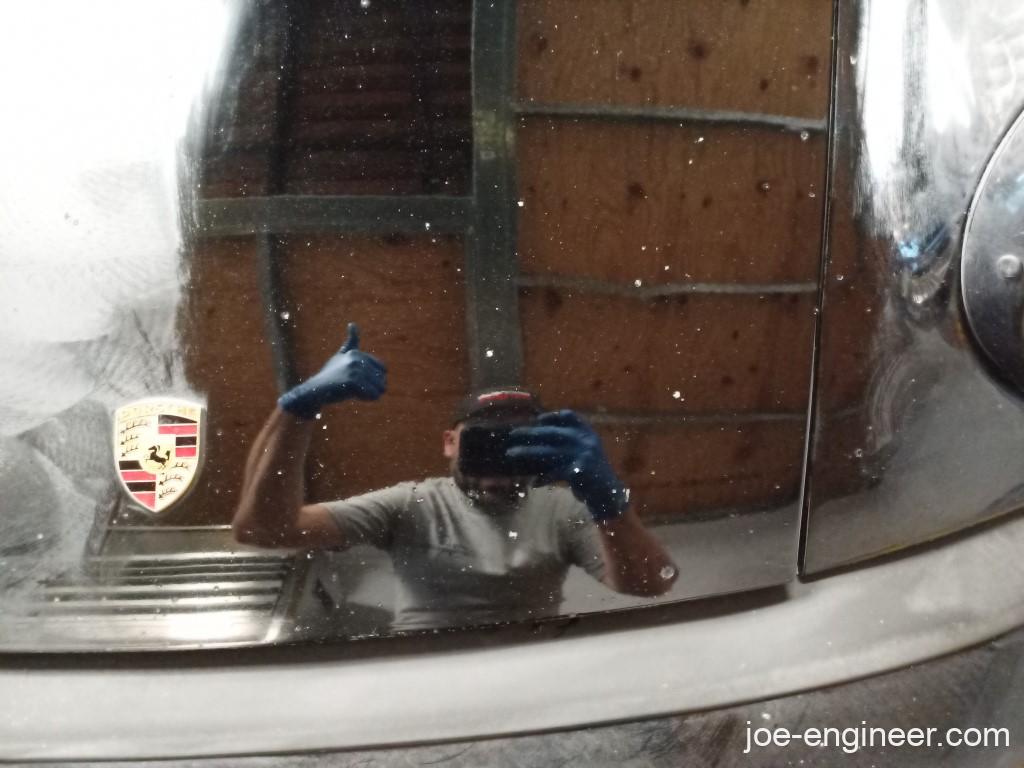
The microfiber towels I used got stained black by the cleaner wax. I put them in my dirty towel pile and pressed on. So far so good.
Next I used a second finishing pad for the black carnauba wax itself and repeated the wax application process using the polisher. This wax also stained microfiber towels but not as much as the cleaner wax. I wonder if it has a stronger black dye in it than the carnauba wax? The last step in the instructions is to remove the dry carnauba wax the same way using the spray detailer.

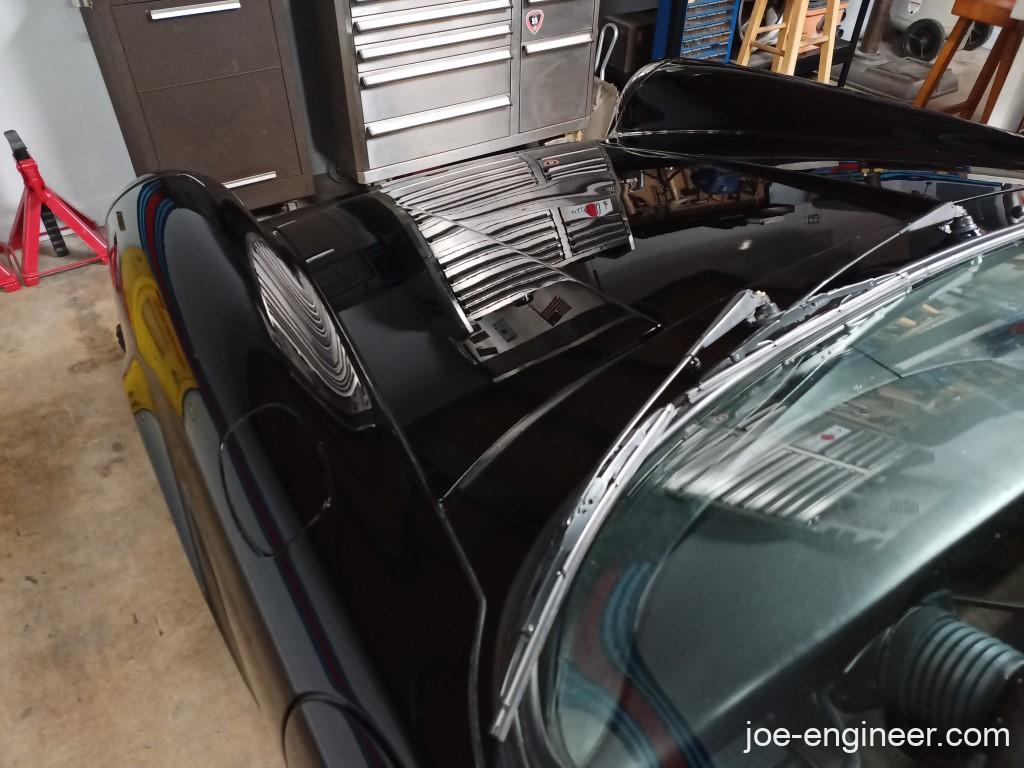
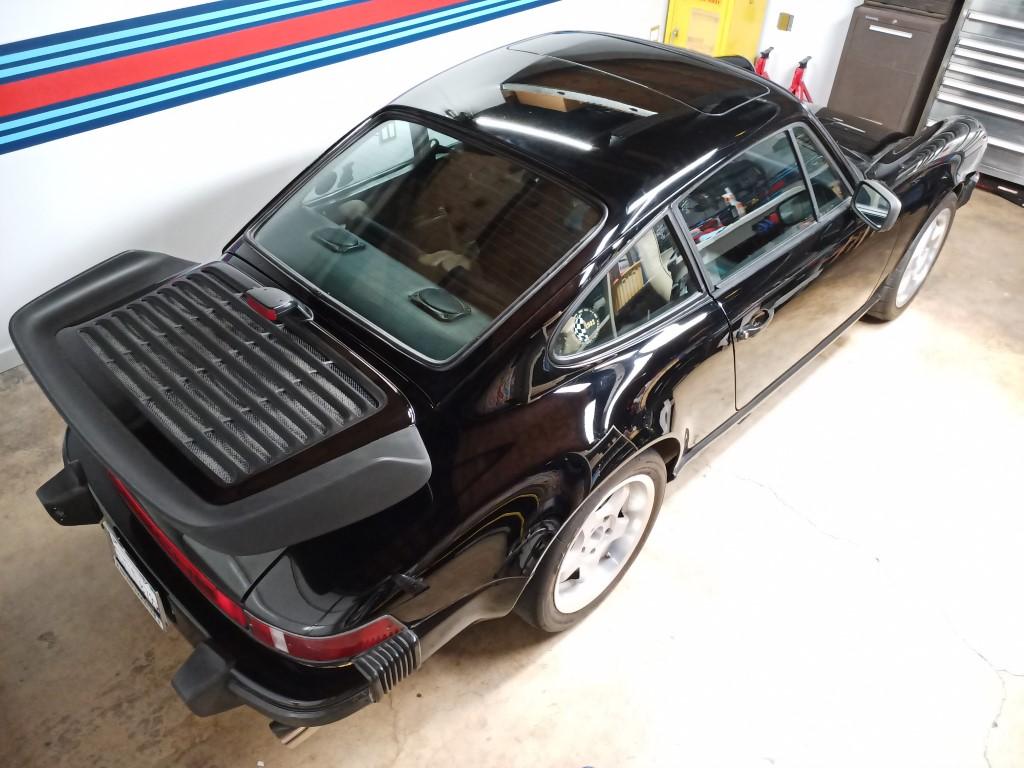
All I can say is wow. The paint looks incredible. My rock chips are unfortunately not improved, but the paint does have an amazing mirror finish all around. Some of the finer scratches did get hidden thanks to the wax. Looks good and ready to show off. Did the fact that the wax was black make a difference? Not sure. I am not sure it worked any better than a standard universal wax to be honest. But hey, the car looks good which is the important part.
I am satisfied with the results but next time I will probably go with paint care chemicals that I can use on all colors of cars not just black ones. The Griot’s polisher rocks!
Interior & Exterior Trim
For the interior leather, including the already cracked dash, I used Meguiar’s Gold Class Leather Care. A tad on the shiny side but smells good.
For the exterior rubber trim I used Aerospace 303 Protectant. It leaves a nice matte finish which is better than the old school tacky super-shiny Armor-All gloss. I sure hope the UV protectant part of it works. Im guessing being garaged will provide the majority of UV protection.
Glass was cleaned with Windex, because that’s what was under the kitchen sink. In the past I have used Wurth Glass Cleaner because it doesn’t contain ammonia that can screw up window tint.
Public Reception
I showed off the 911 at this year’s Radwood SoCal and feedback was positive overall! My brother took his super clean Mazda MX-3 GS with the 1.8L V6. We both have fun six cylinder drivers’ cars that sound awesome.
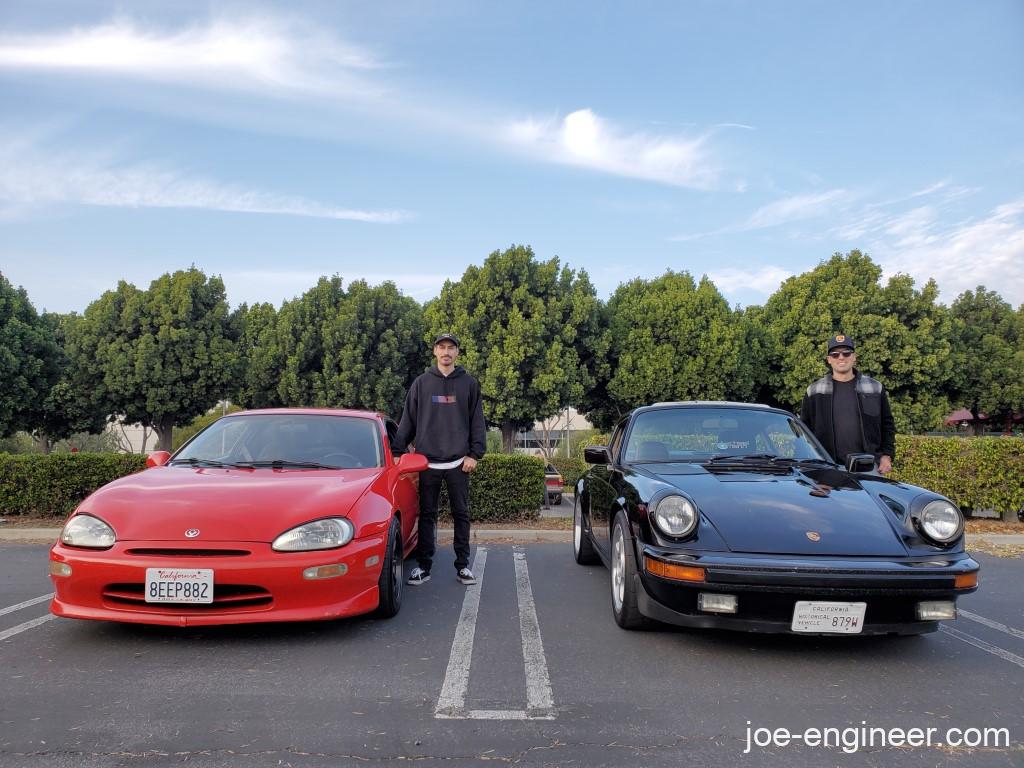
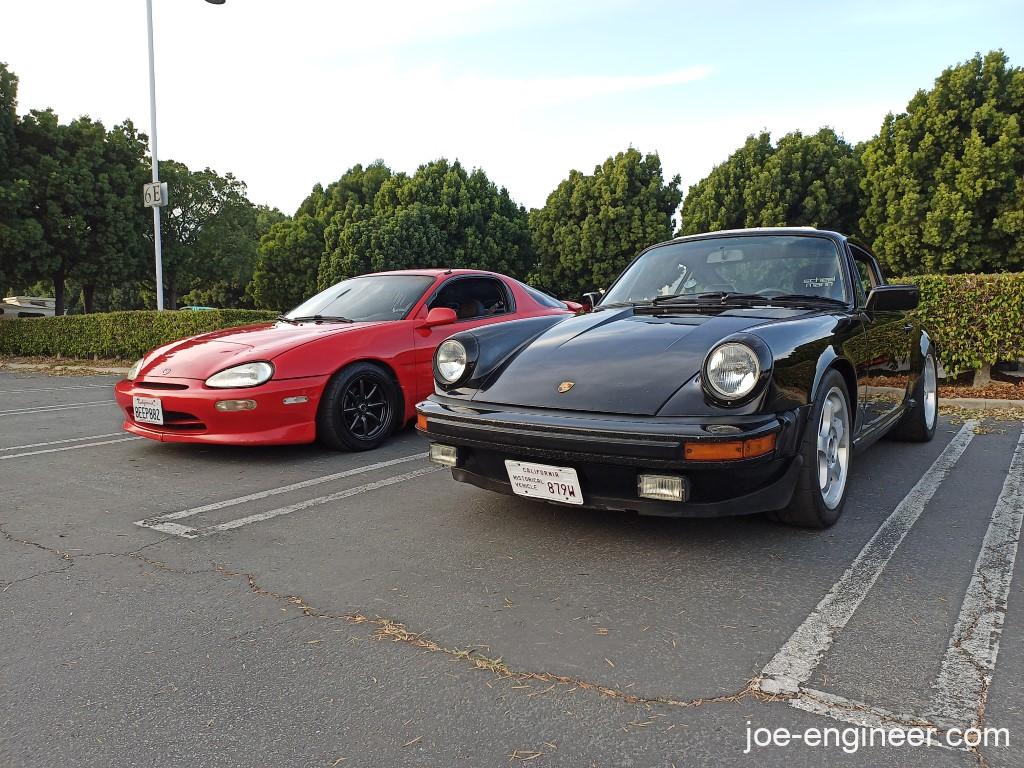
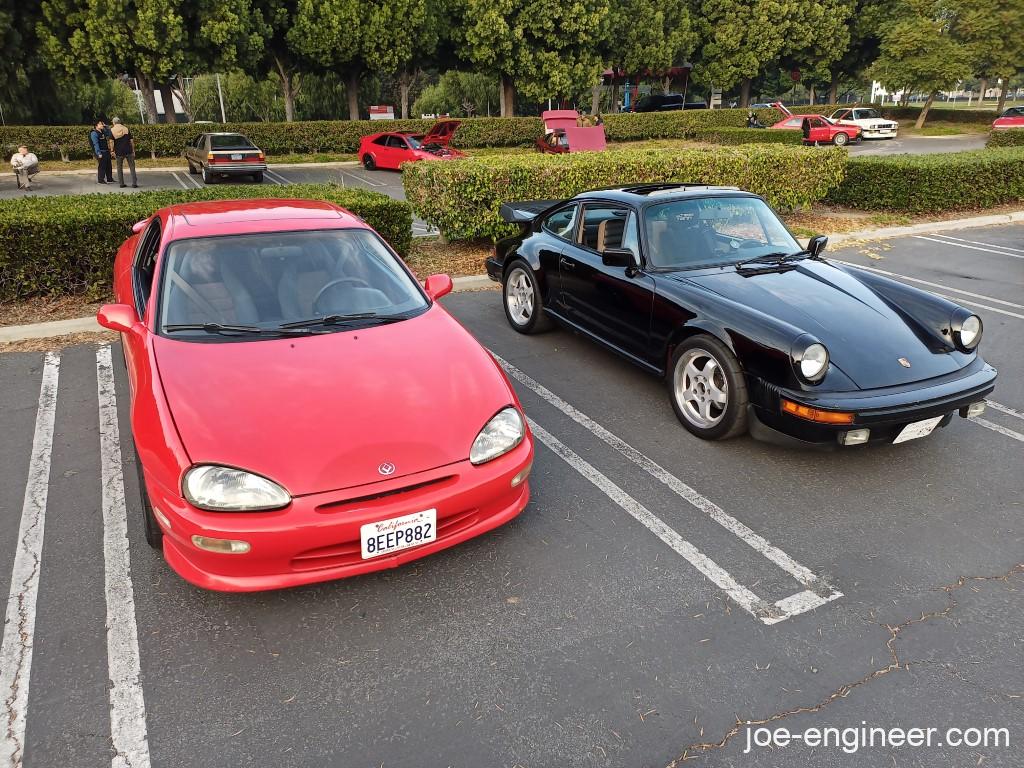
Overall I am pretty happy with the results of the quick detail. I am quite surprised at how good the car looks despite the hundreds of rock chips all over the front end. Now I am ready for my local car show circuit. 🙂