
Porsche 911 Engine Wrap Up
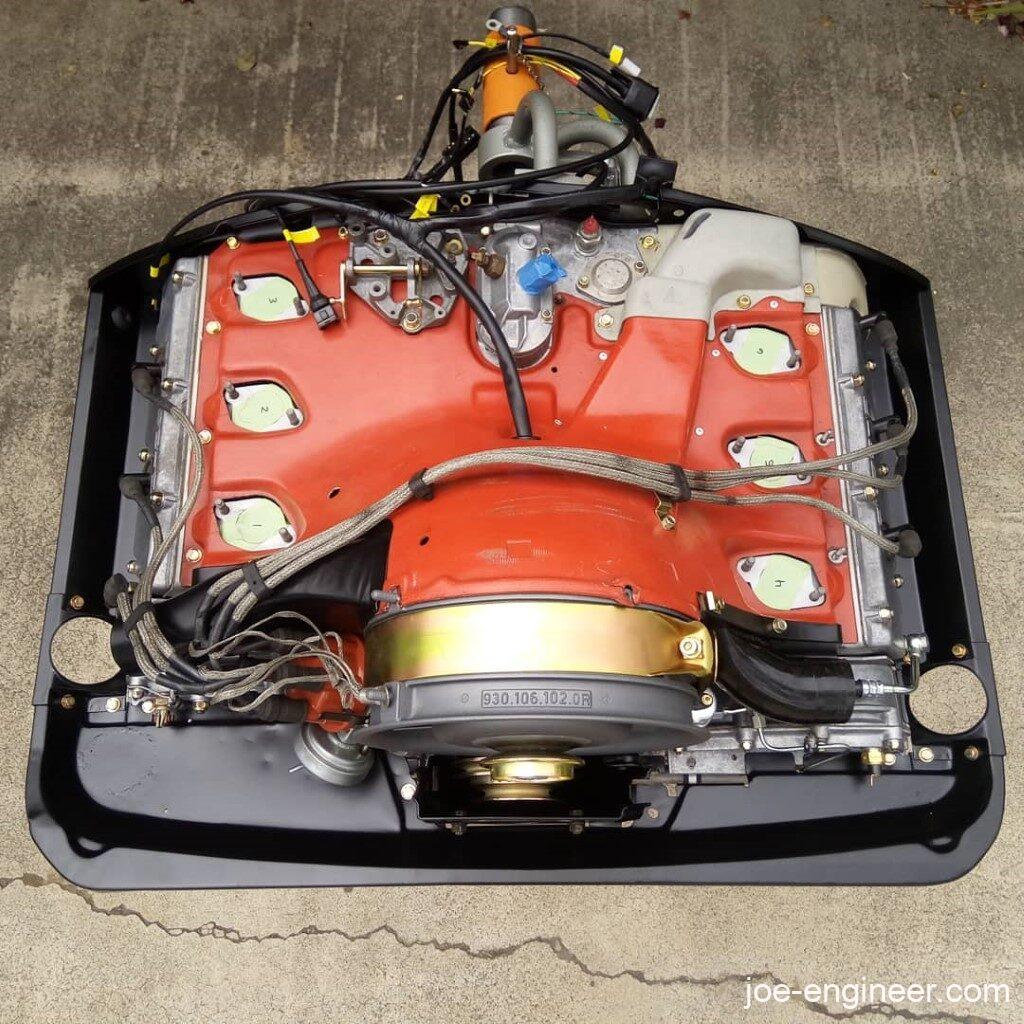
Finally it is time to install the last engine pieces.
Engine Tin Repair and Powdercoating
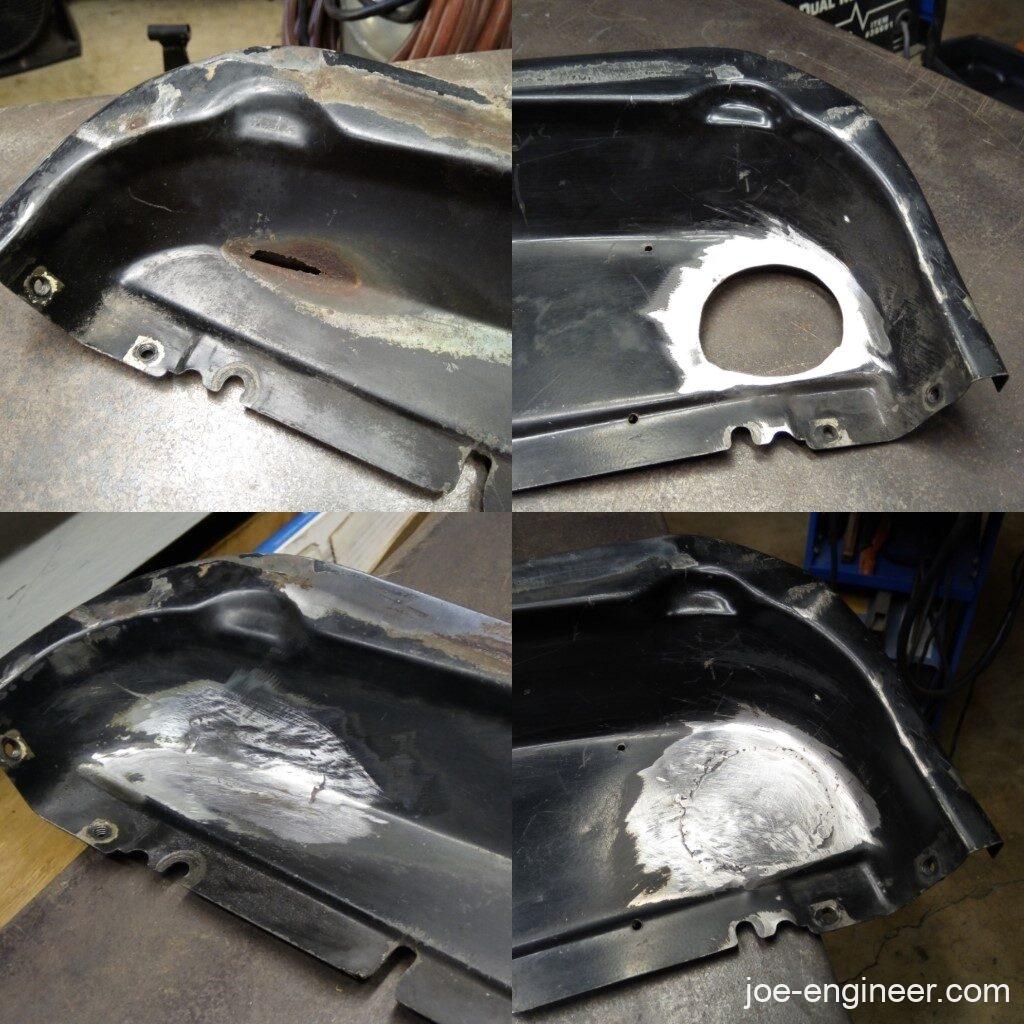
I test fit and inspected all my engine tin in preparation for powdercoating. Everything seemed ok except for a small rust hole and a heater duct hole I needed to weld up in the rear engine tin for my heater backdate.
I fired up my trusty blue Harbor Freight flux-core blue box. I did not do the prettiest job on the welds but functionally it is solid.
I got a bunch of powdercoating quotes and sent this pile of parts to a local shop.
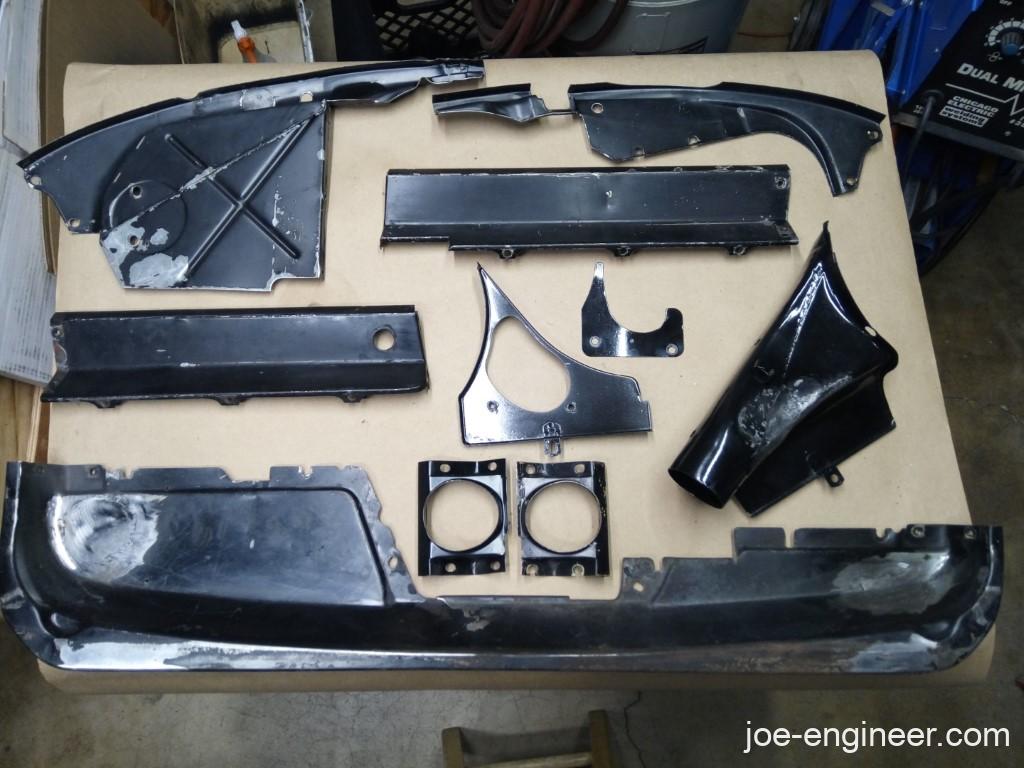
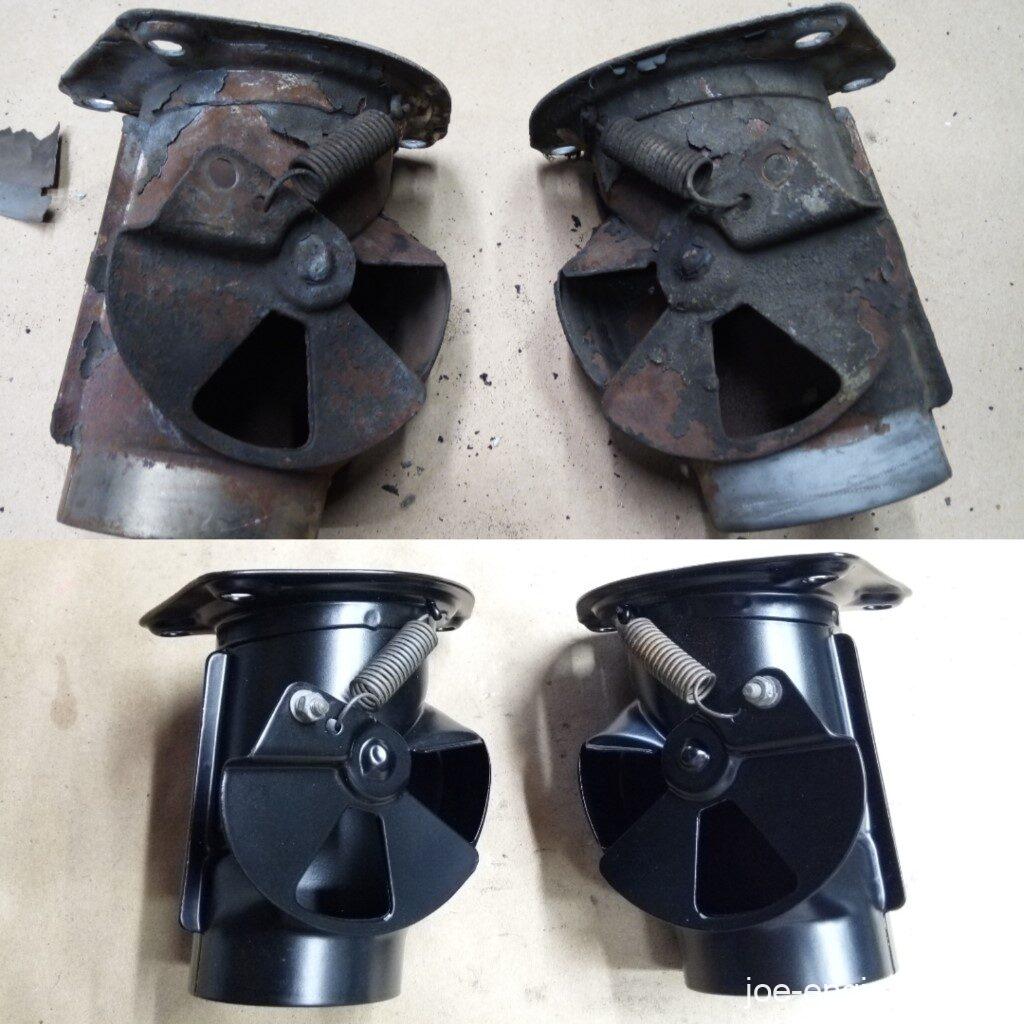
I threw in my disassembled heater flapper boxes too. Their removal, disassembly, and evaluation is covered here.
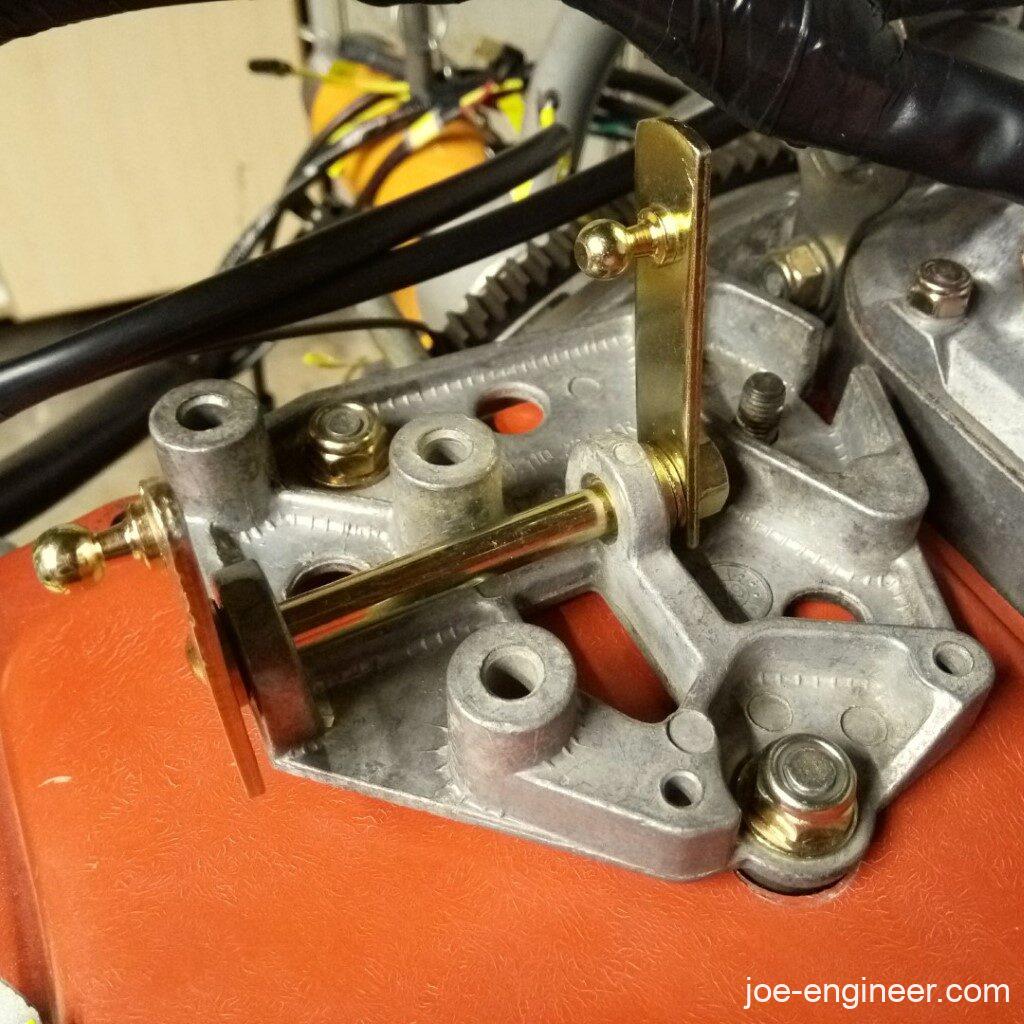
While I waited for my parts I reassembled the throttle bellcrank with new bronze bushings. I was not happy with the amount of axial play in the assembly so I shimmed it up with an extra washer and applied a bit of grease.
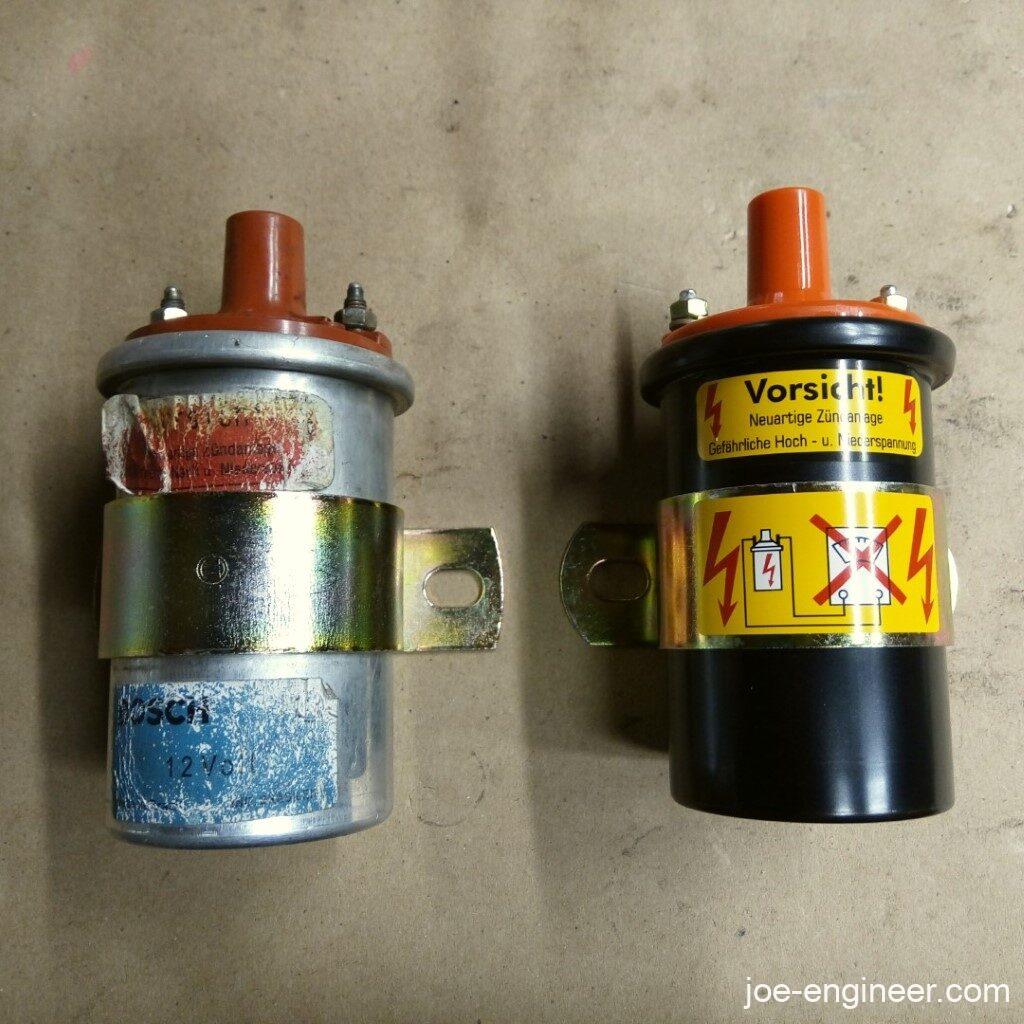
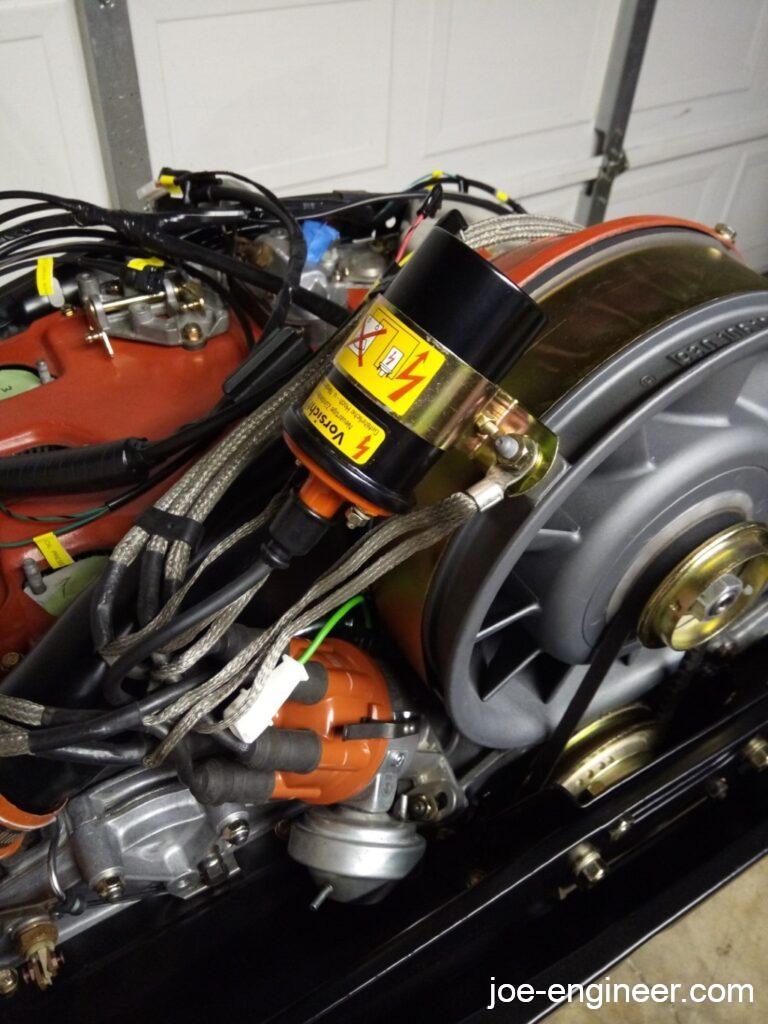
I purchased a new Parts Klassik coil to go with my new CDI.
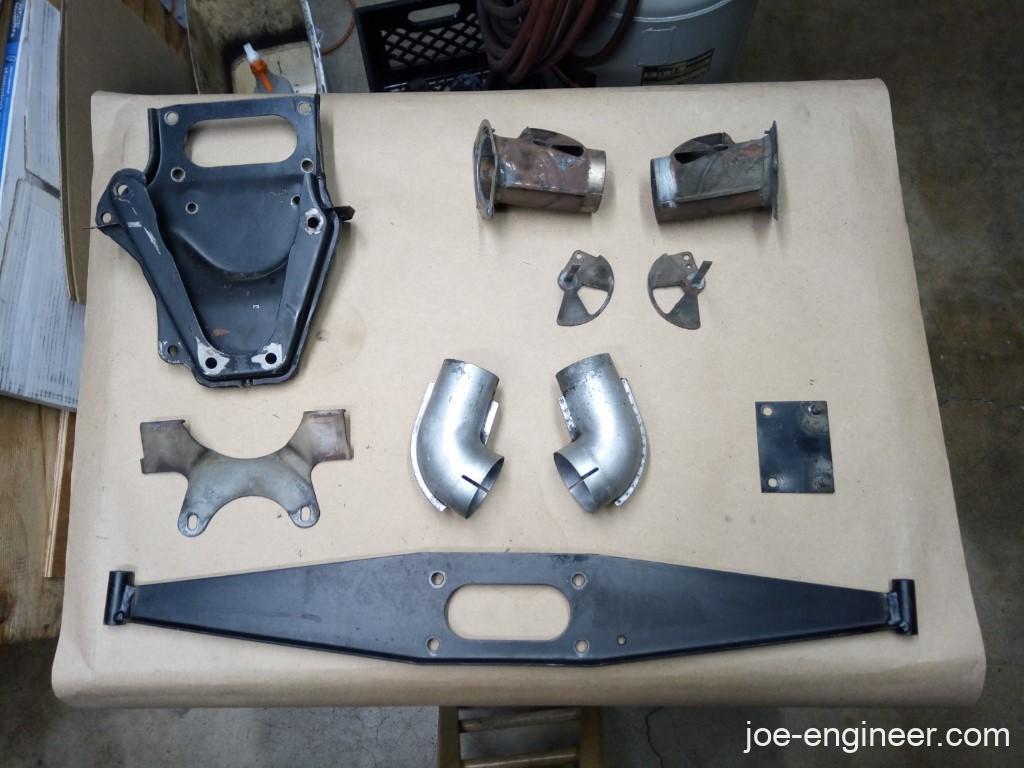
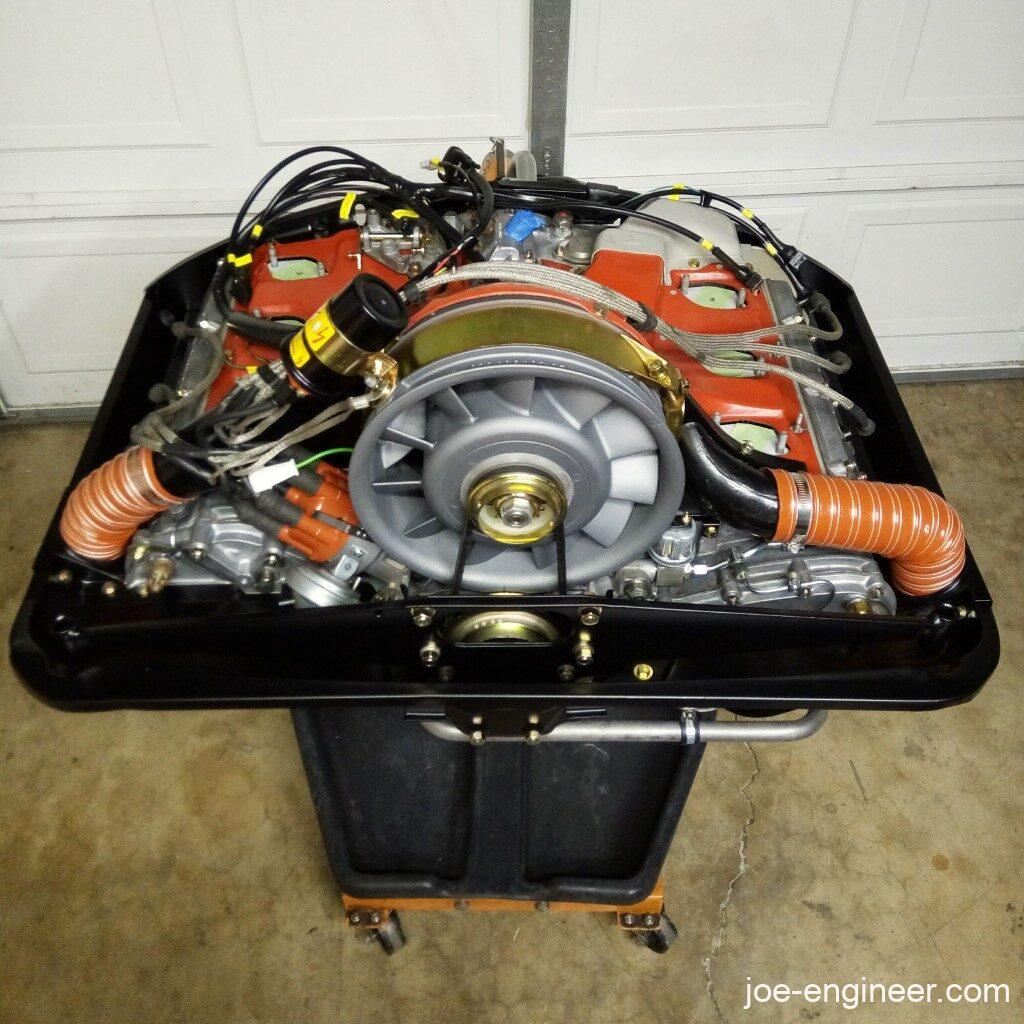
I received my powdercoated parts and reassembled them on the engine.
I backdated the heater ducts to the 74 and earlier 911 style which divert air from the engine fan into the heat exchangers instead of the bulky electric blower motor that was missing from my car to begin with. This is a much cleaner appearance and my newly powdercoated tin matches the OE finish on the heater ducts perfectly.

Here’s a before and after of my heater flapper boxes.
After installing my engine tin I came across this situation. I seemed to have this rather large opening in the rear tin on the right side of the pulley.
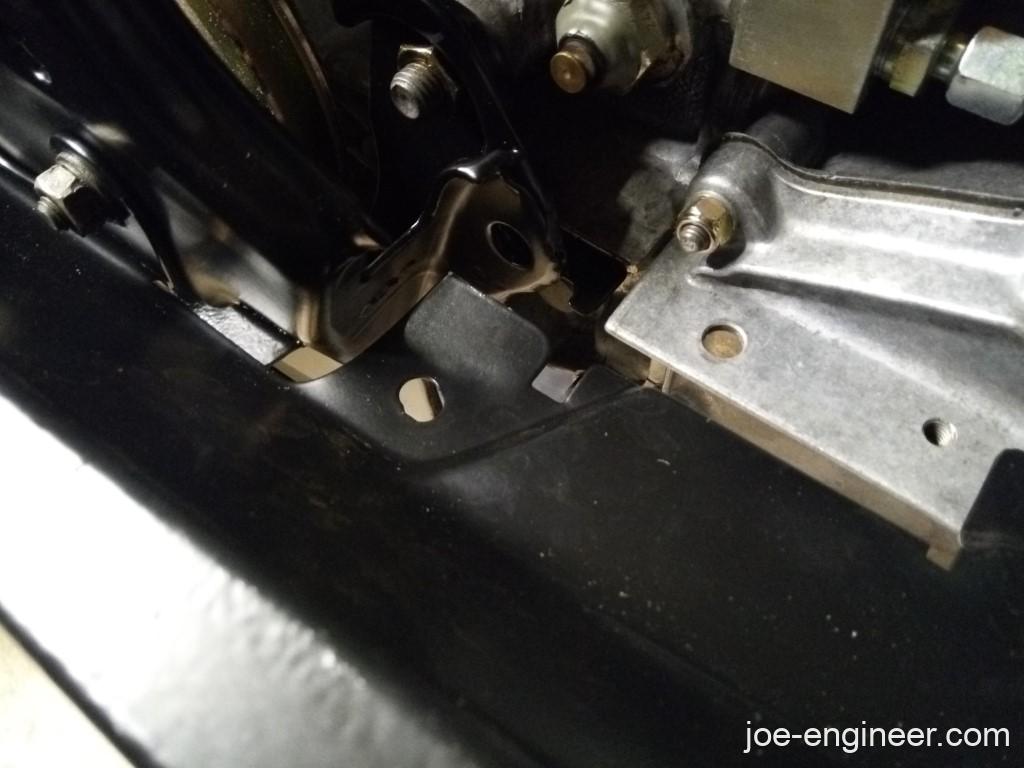
After some investigation I found this was formerly partially covered by AC compressor bracketry and I was missing a tab on the engine support bracket, so these two combined to form a big hole. Next logical step was to fashion some kind of closeout tin piece myself and attach it via the existing holes.
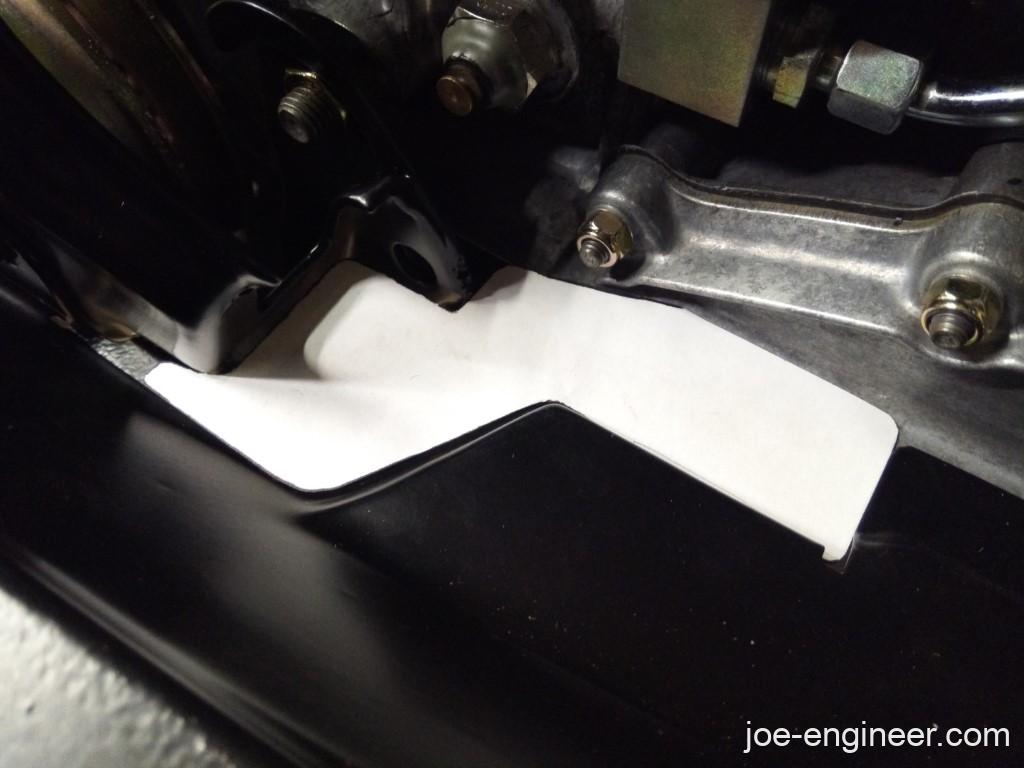
I made a paper template for the closeout plate.
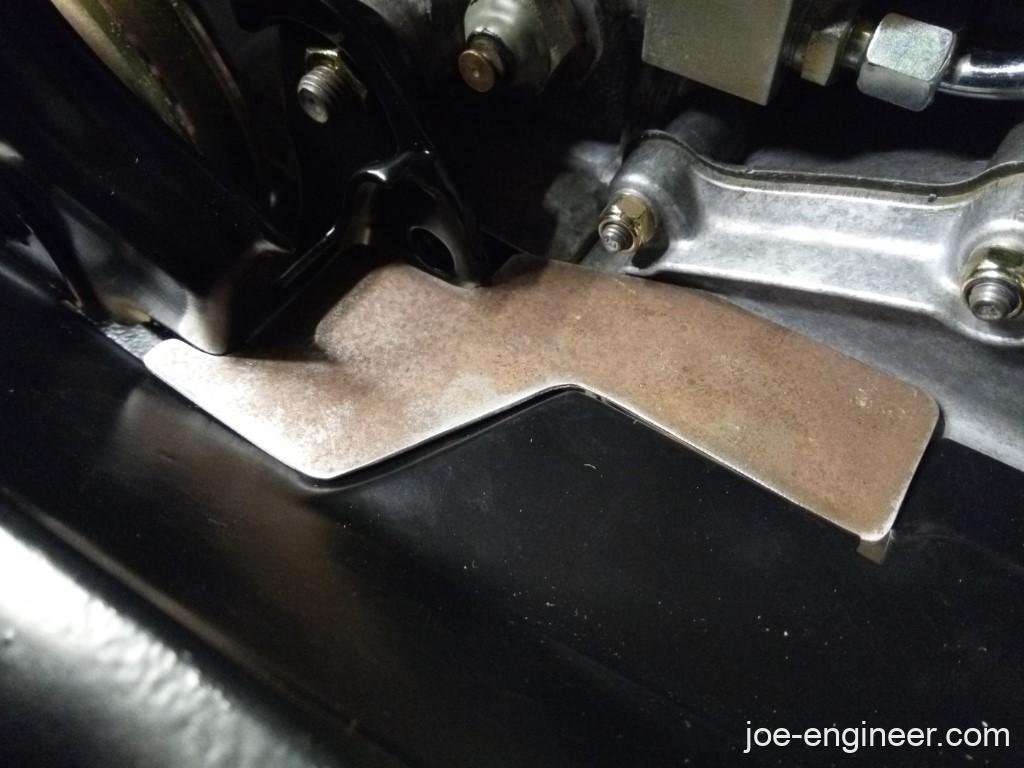
Then I cut the plate from scrap sheetmetal.
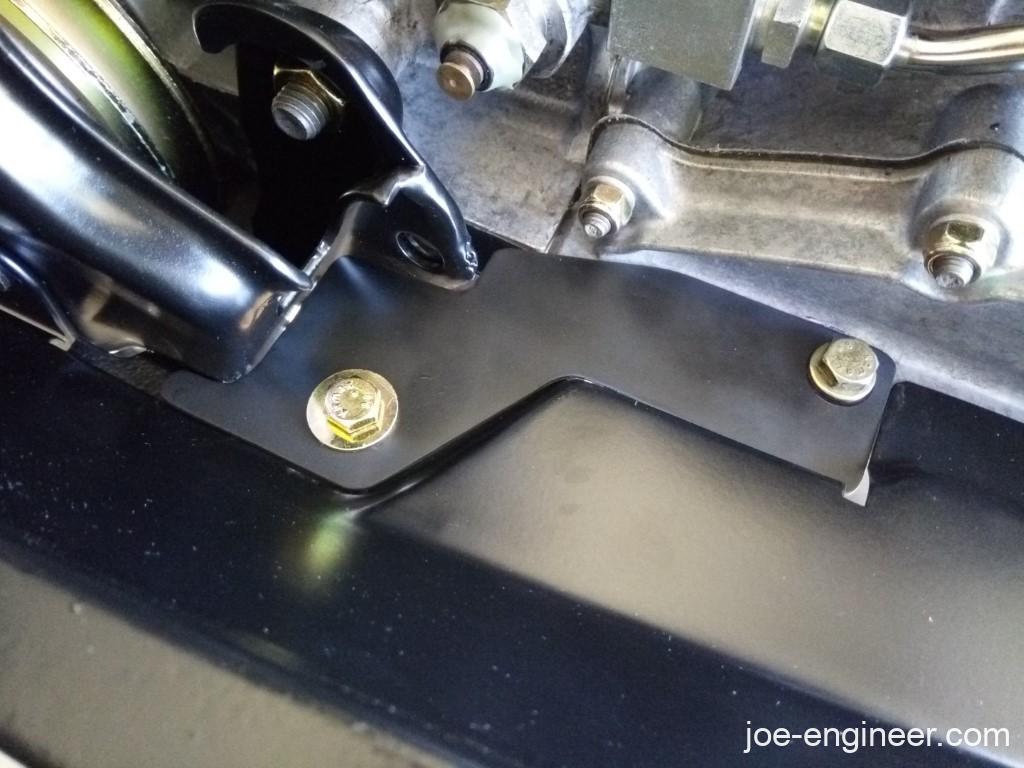
Finally I rattle canned it satin black and screwed it into place. Its a good ten footer.
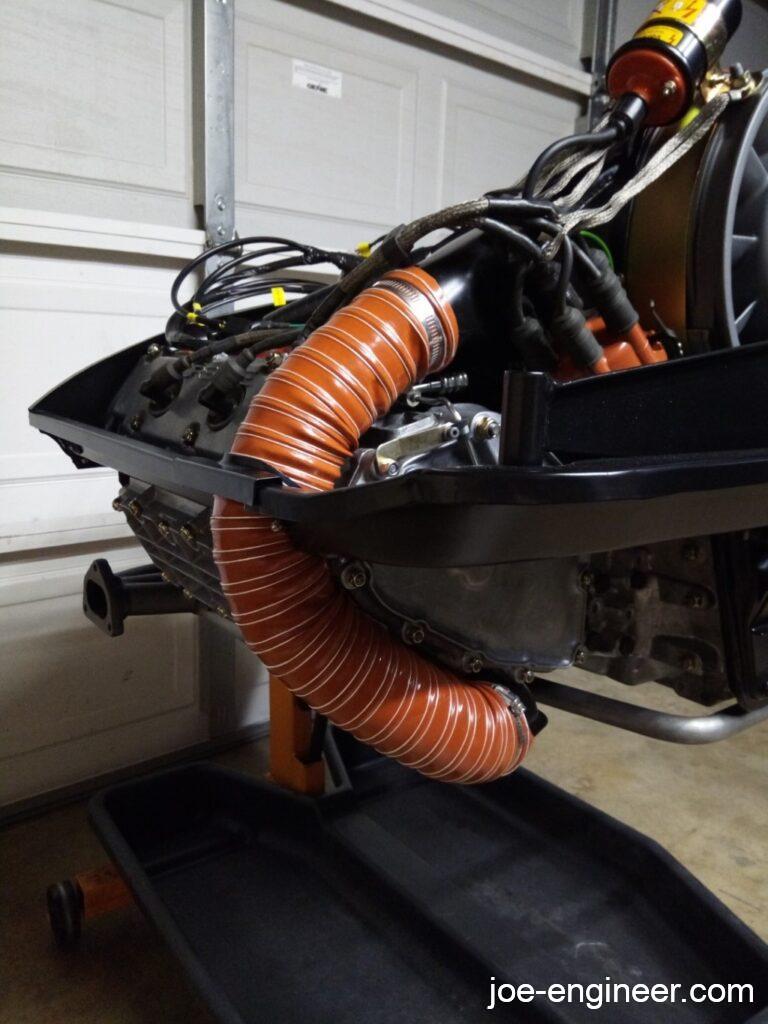
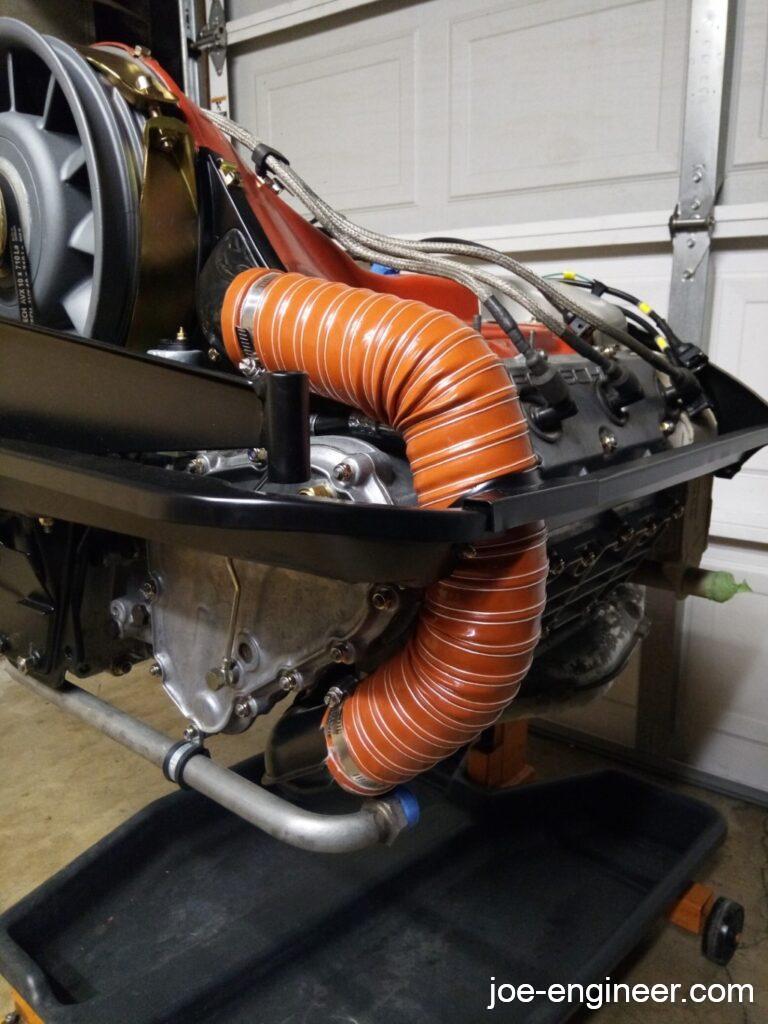
Aircraft Heater Duct and Final Touches
I got some aircraft ducting from Aircraft Spruce to finish the heater backdate.
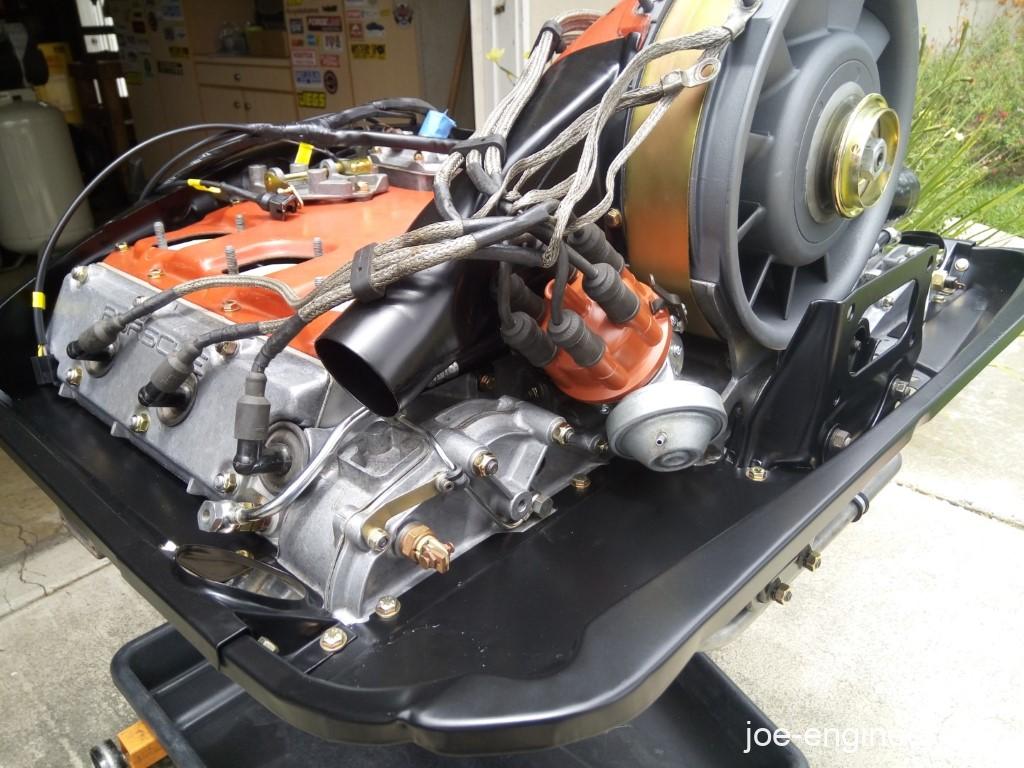
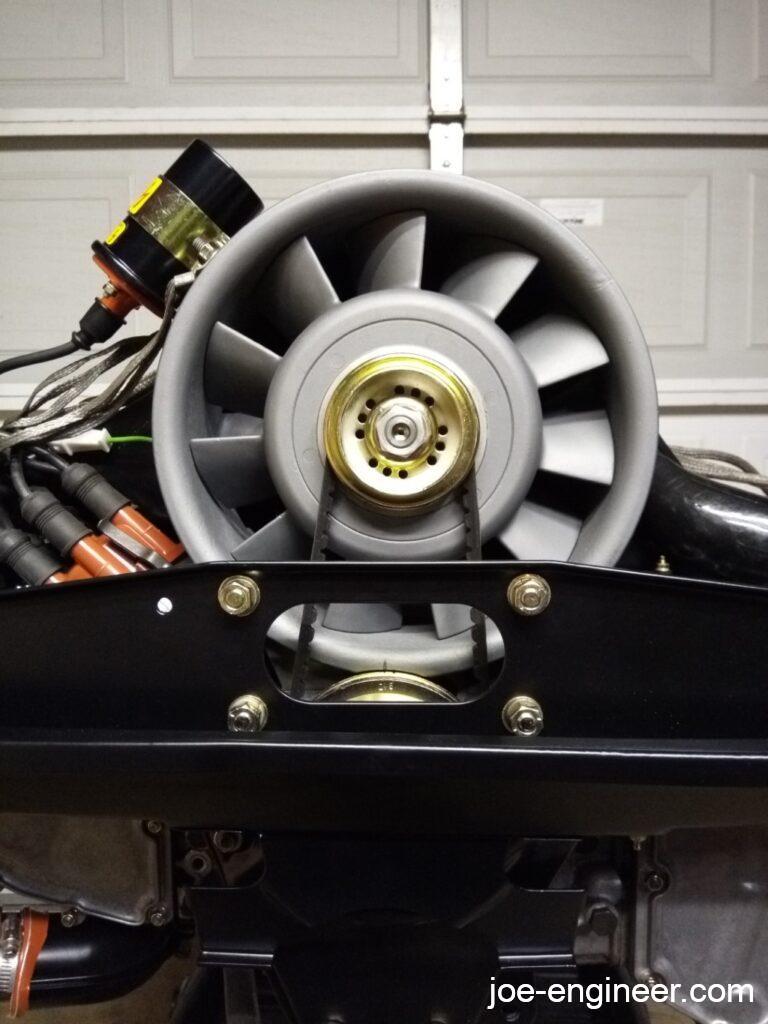
Next I put on the crossbar and fan belt.
Lastly I buttoned up the coil and plug wires and grounds.
And with that, this concludes the engine portion of the build!
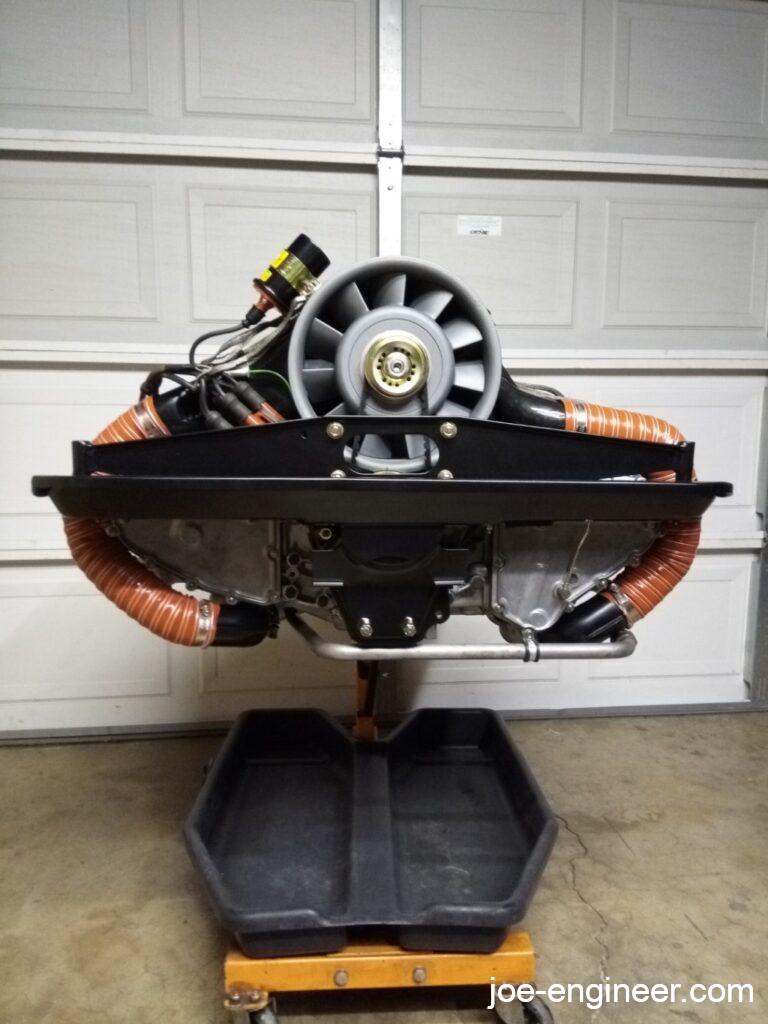
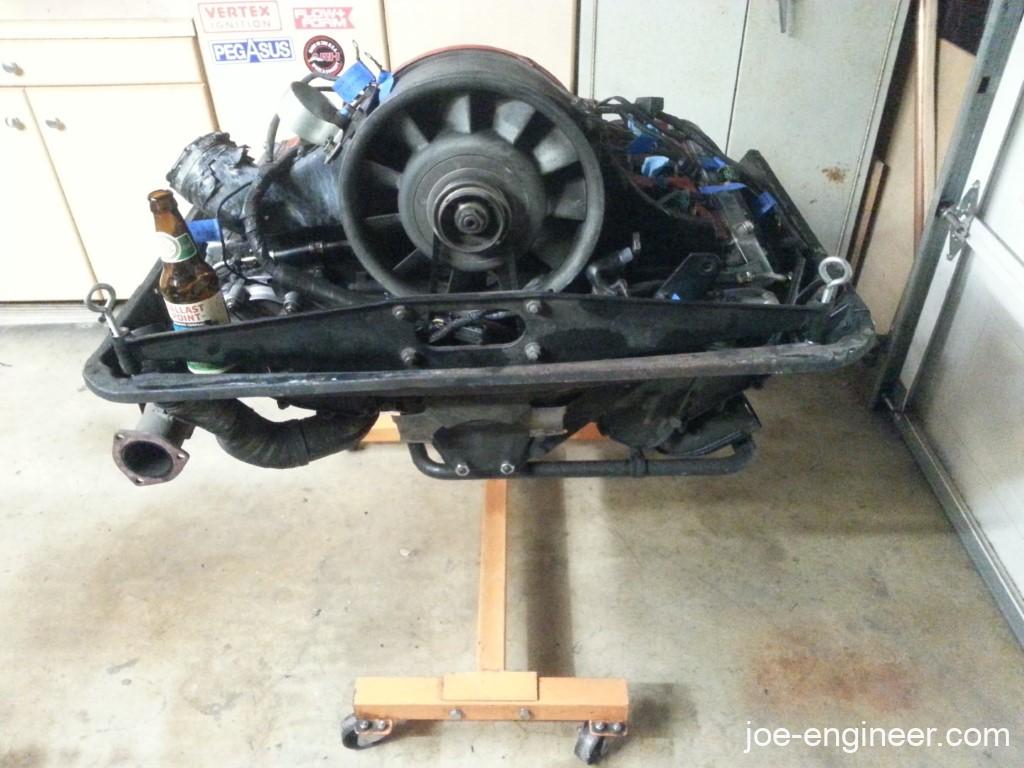
Started from the bottom…
…now we’re here.
I still cant believe we have reached this milestone. It took so long and so much work to get here. It is now time to tackle the fuel system.