
Porsche 911 Engine Machining
In between DIY articles we have finally found some time to catch everyone up on the Porsche 911 engine rebuild!
If you recall, we last wrote about our full engine teardown and organization of all piece parts so we would not lose them. The next step was to determine what was re-usable and what had to be replaced with new components. In particular we wanted to reuse as many of the major engine components as possible due to cost and to maintain the originality of the numbers-matching engine.
Finding a Good Machine Shop
I am lucky that in Southern California there is no shortage of good weather, good car culture, and many specialty shops that support that culture. In particular there are many Porsche shops and a few machine shops that specialize in Porsche engines. Because I am a newb and didn’t just want to pick a machine shop, I sought the advice of some trusted Porsche friends and one of them recommended a small shop in LA called Engine Machine Services. After spending some time on the phone with the owners of the shop I found out that machining services are kind of expensive, so I would need to break the parts down into a few phases, so I could pay for parts as I needed them and spread the cost over the length of the rebuild. I split the machining as follows:
- Bottom End (engine case, crank, and rods)
- Pistons & Cylinders
- Heads
- Cams & Valvetrain
- Clutch Assembly
The shop was nice enough to tell me what condition the parts should be in when I dropped them off. What to leave assembled, what to leave diassembled, and so forth. They did mention that they would need a new piston wrist pin to know what size to re-bush the small ends of the rods. I wanted to upgrade the pistons to forged units so I came up on a slightly used set of JE Pistons that were still in great shape.

After checking the wrist pins and finding that they were all within spec, I sent one along with my engine case, crank, and rods to Engine Machine Services. After arriving and getting a quick shop tour, the familiar sights, sounds, and smells of old school machine shop told me I was in the right place. The case was going to be cleaned, bores checked, piston oil squirters replaced, and oil galleries drilled and tapped for threaded plugs so they could be serviced again in the future. The rods were going to be cleaned, magnafluxed, resized, and re-bushed. The crank was going to get cleaned, checked, magnafluxed, oil galleries drilled and tapped for threaded plugs, timing and distributor gears removed and replaced, and final polished. I left my parts with high confidence that they were in capable hands.
Evaluation & Machining Results
A few days after dropping off my parts I received a phone call from the machine shop letting me know the case, crank, and rods all checked out ok and that they would proceed with the machining work to STD main bearing sizes. A few weeks later I received a call that my parts were finished and ready for pick up. I could not be more excited to see the results.
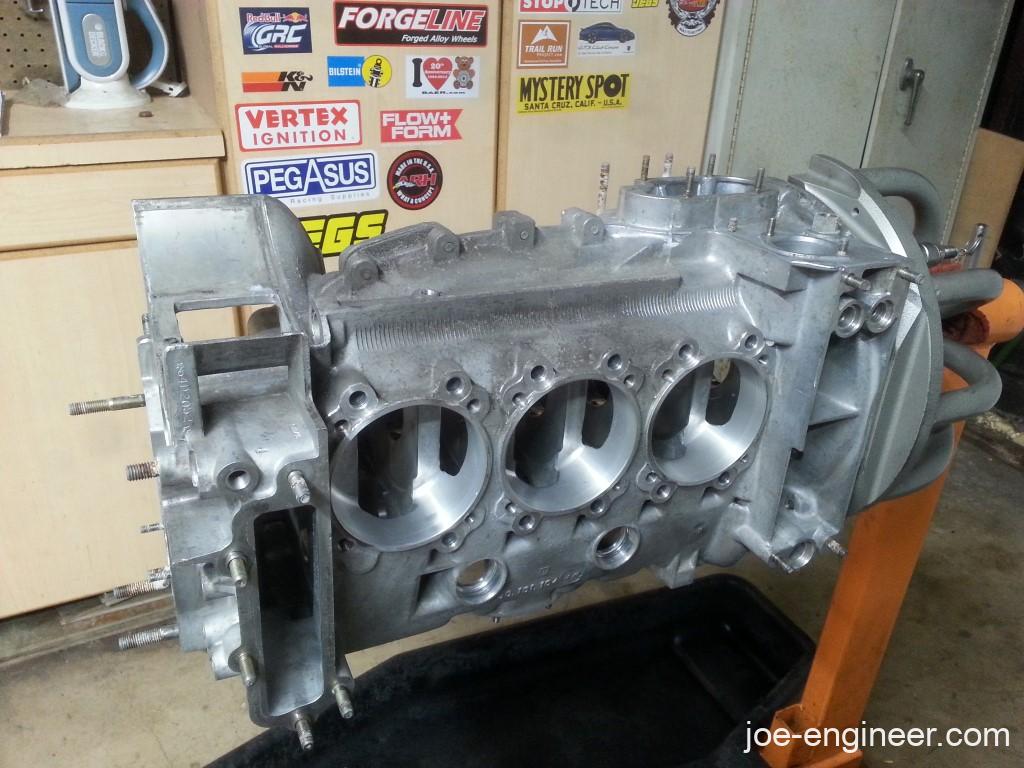
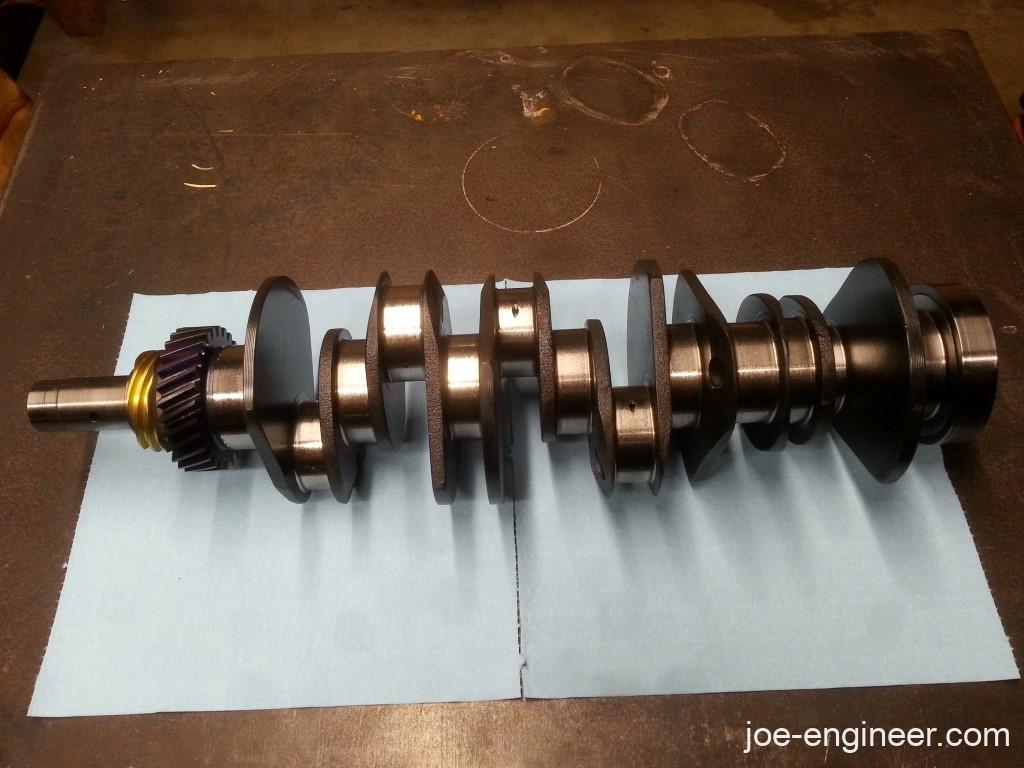
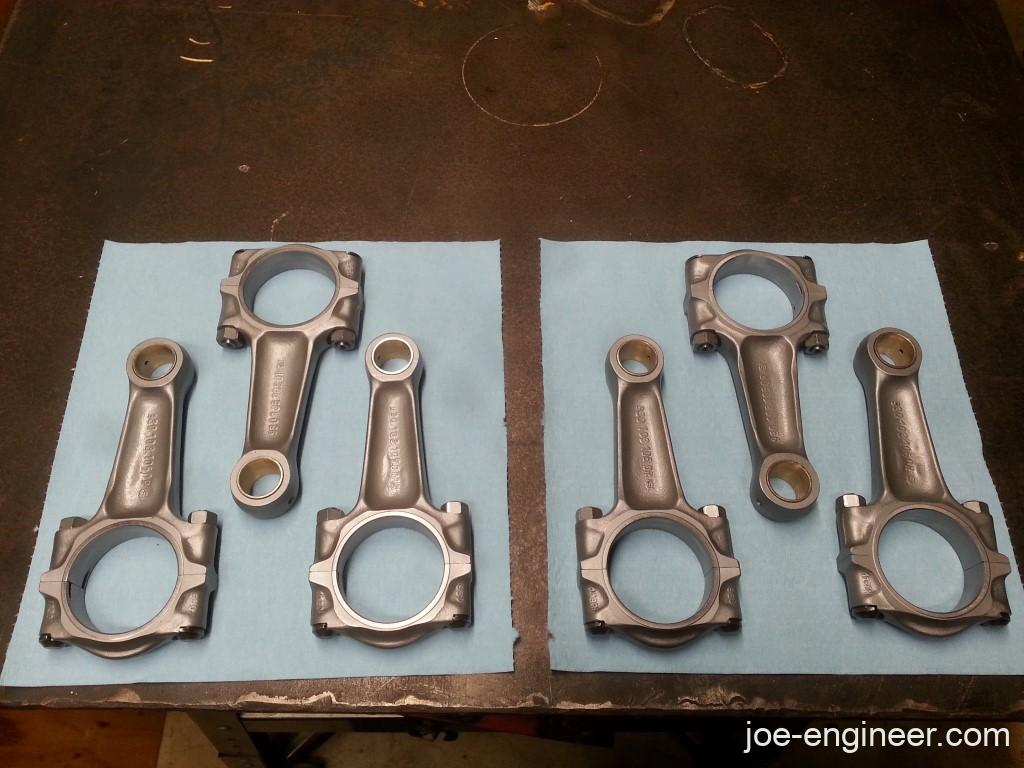
This 200,000 mile case, crank, and rods were ready to do at least another 200,000 more miles. Its amazing how stout the original components were.
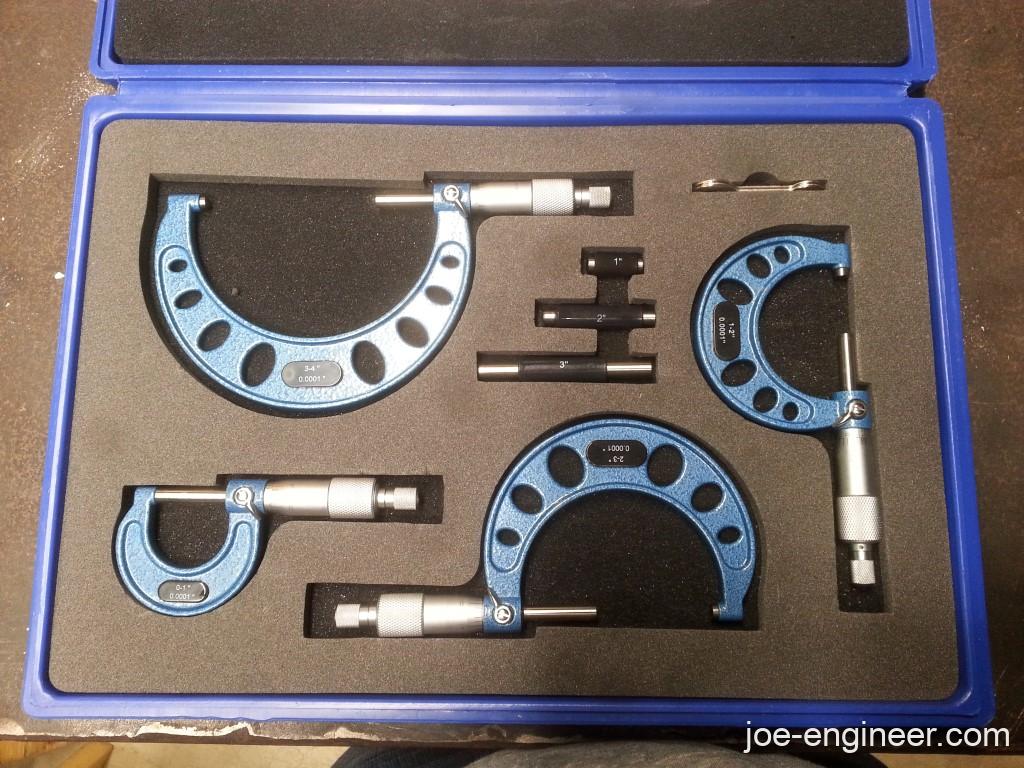
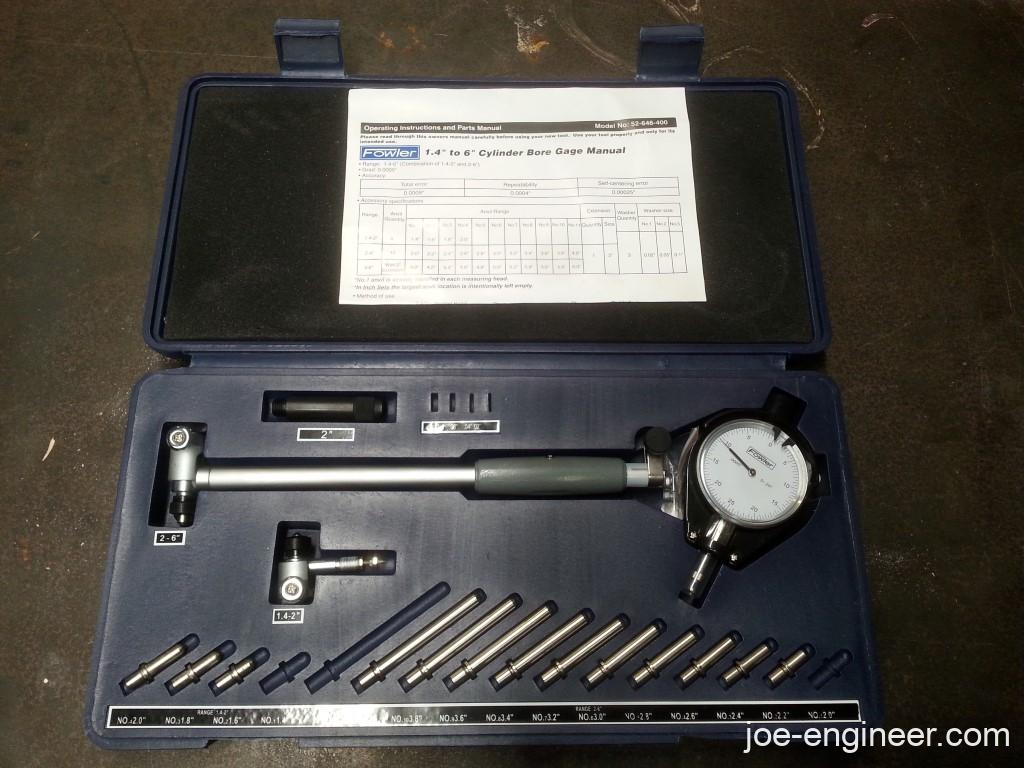
Now that machined parts were starting to come in, it was time to take and record all parts measurements to verify that these were in fact ready to assemble. While the parts were in the machine shop I bought some precision measuring tools and sent them out to get professionally calibrated. These are in no way professional quality but as I have stated before and confirmed on a day-to-day basis during my career, these will do the job just fine for the duration of this rebuild and beyond if I treat them gently.
Next time we will prep for bottom end assembly.