
Porsche 911 CIS Teardown
After blueprinting my cast aluminum CIS airbox, let’s teardown the remainder of the CIS assembly and see what we have going on.
After sitting on a shelf in my garage for about 2.5 years the time came to teardown the rest of this Bosch K-Jetronic fuel system. This was a bit scary because everything was the same dusty gray-black color and it was difficult to identify parts. I was pretty deep into uncharted territory here because everyone ditches CIS for something else and rebuild documentation was scattered. Lastly I have just about had it with greasy parts and here lay this complicated greasy fuel system before me. How it still ran in this condition is beyond me.
Note: The general methodology of this teardown and how to document and catalogue all subcomponents (so you can put it back together) is covered in this DIY.

First I disconnected all the fuel and vacuum lines connected to stuff on the intake runners so I could remove them.
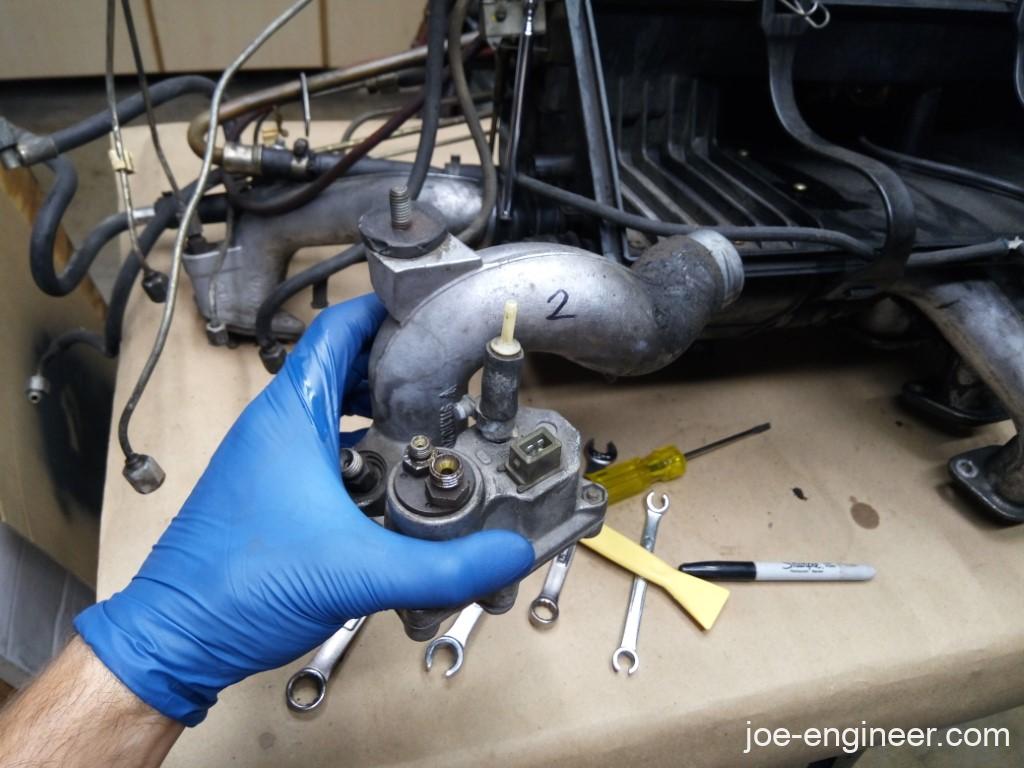
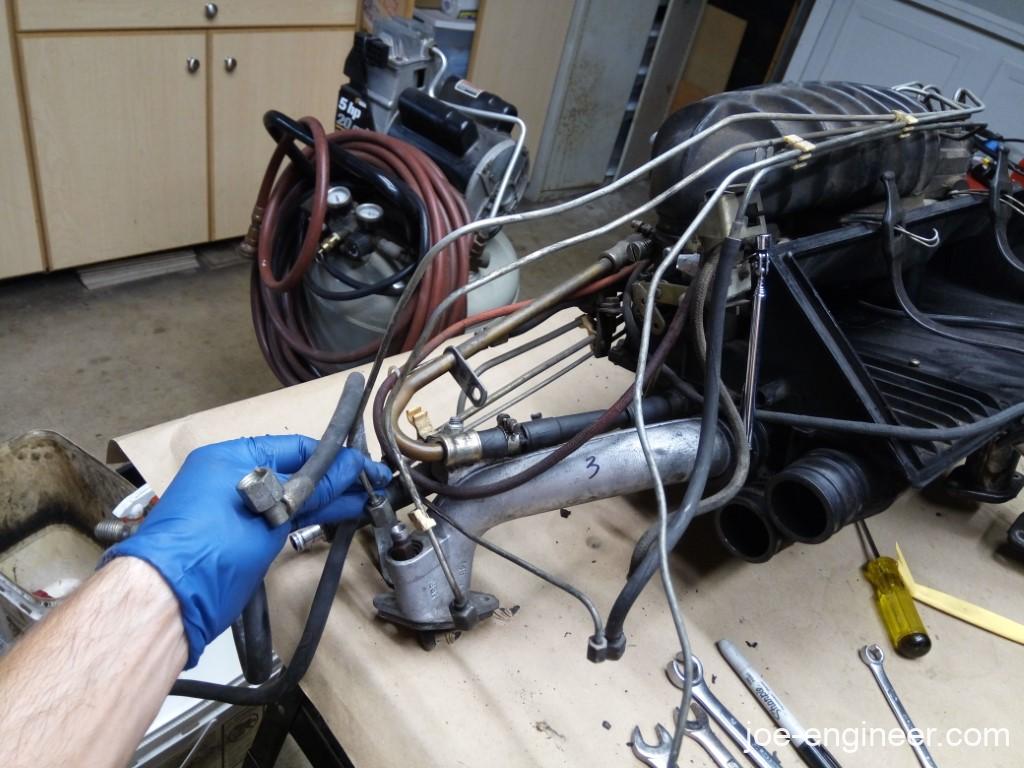
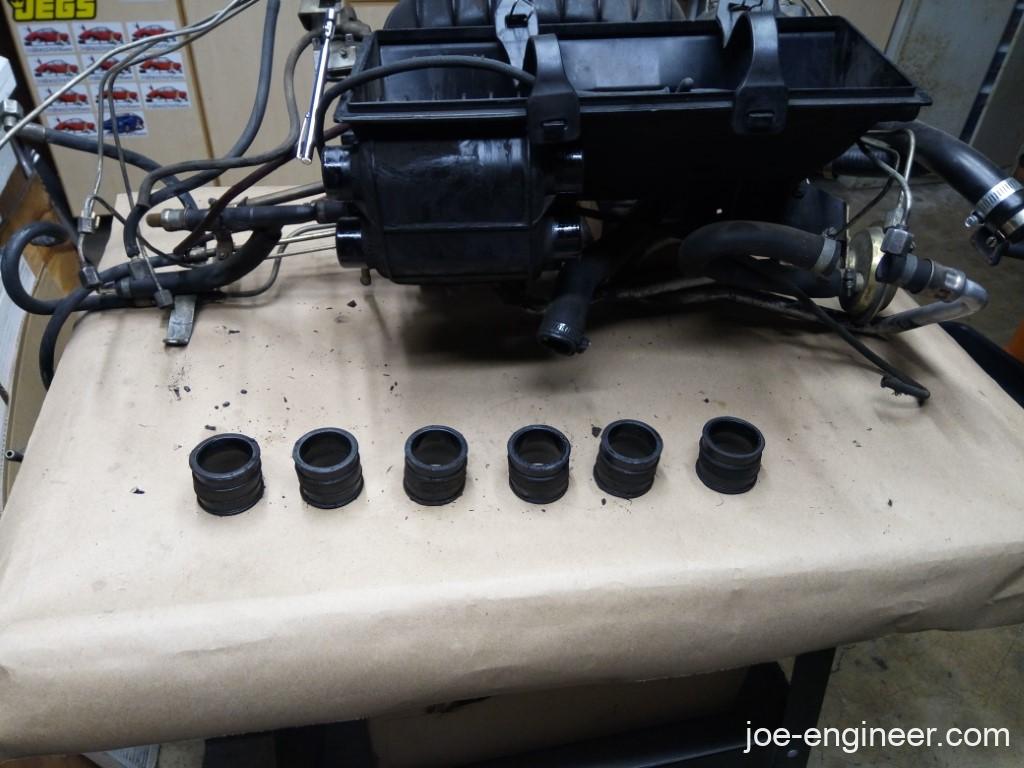
The trashed rubber boots came off.
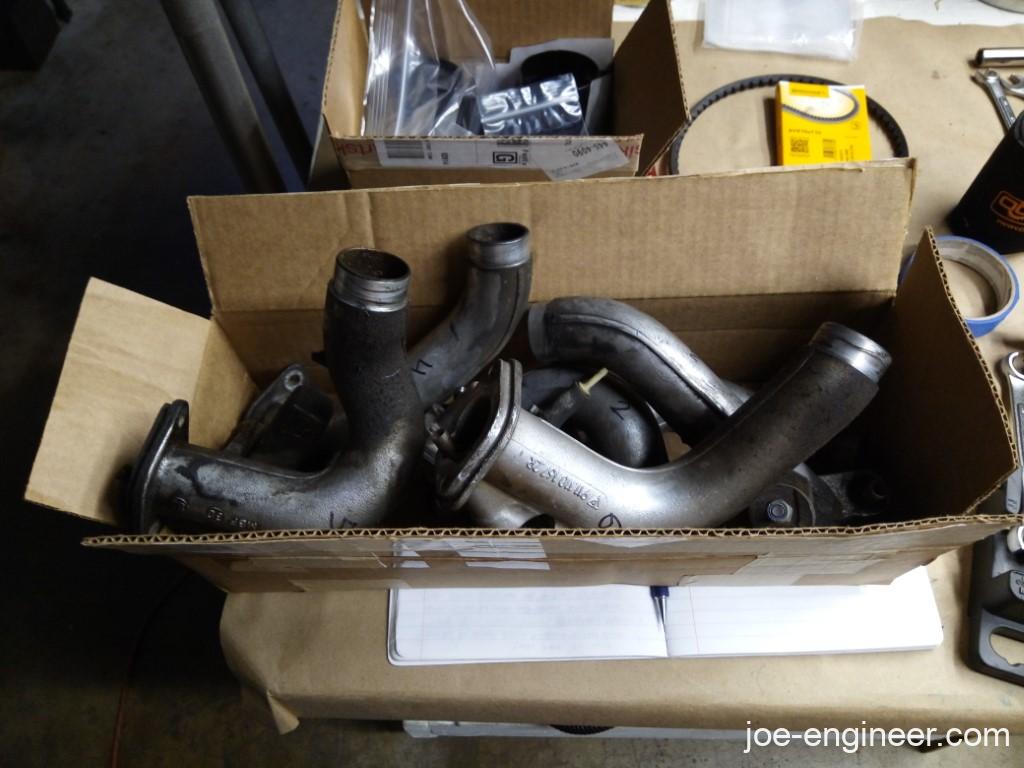
Then the intake runners came off. I carefully put away the warm-up regulator and other subcomponents attached to the runners. The fuel injectors are still in each runner.
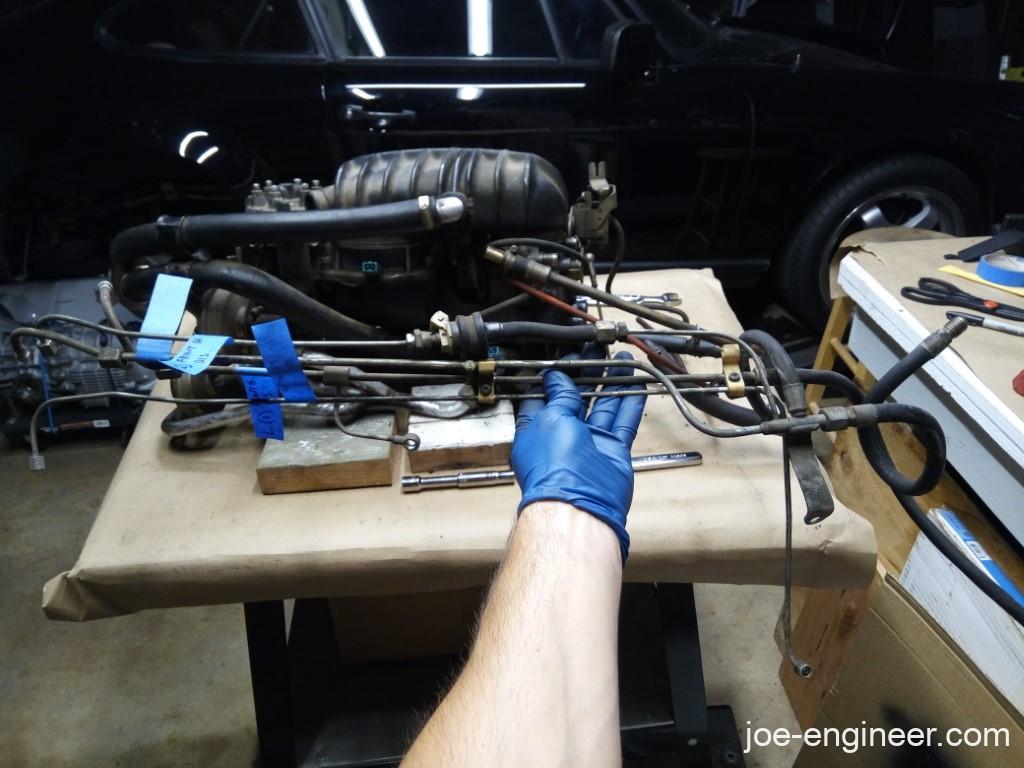
Next I labeled the fuel distributor hard fuel lines and removed them.
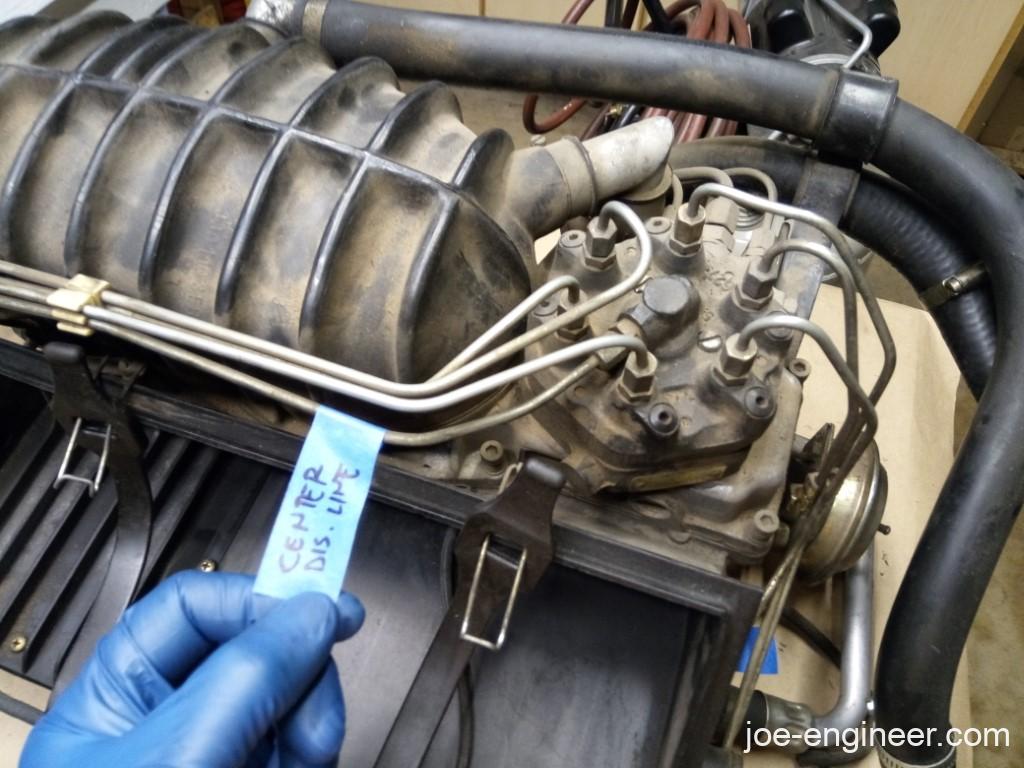
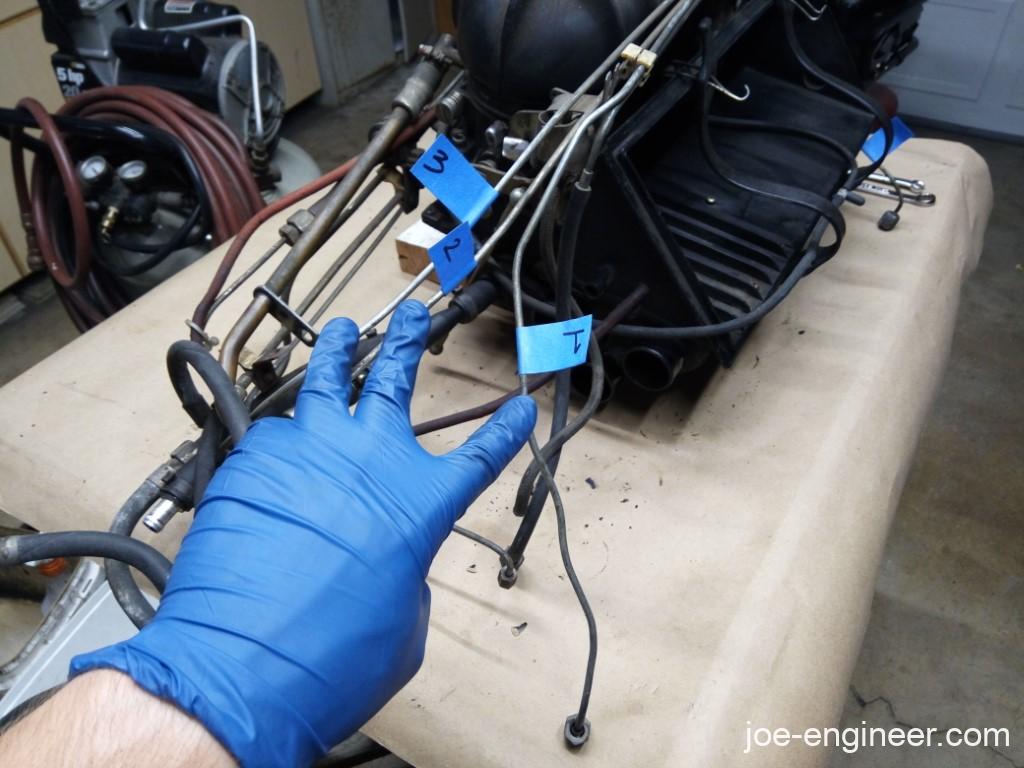
Here are the individual lines off every cylinder.
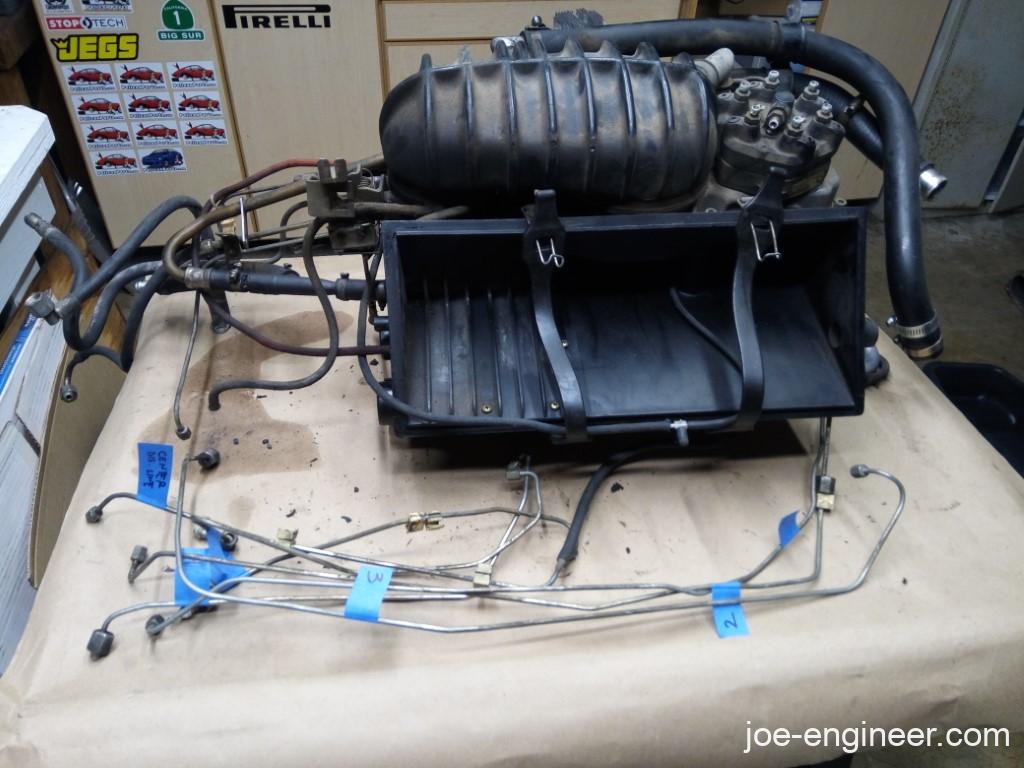
The I went behind (in front of?) the assembly and disconnected the hard fuel lines going between the fuel distributor, cold start valve, and frequency valve.
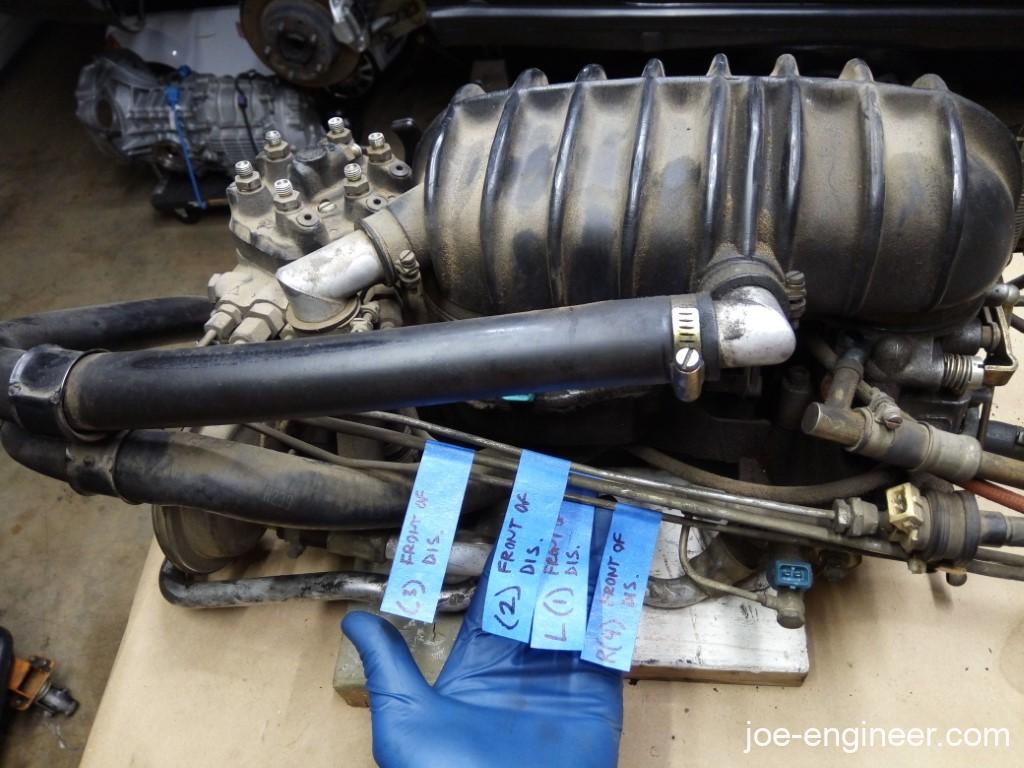
Here is the cold start valve connection:
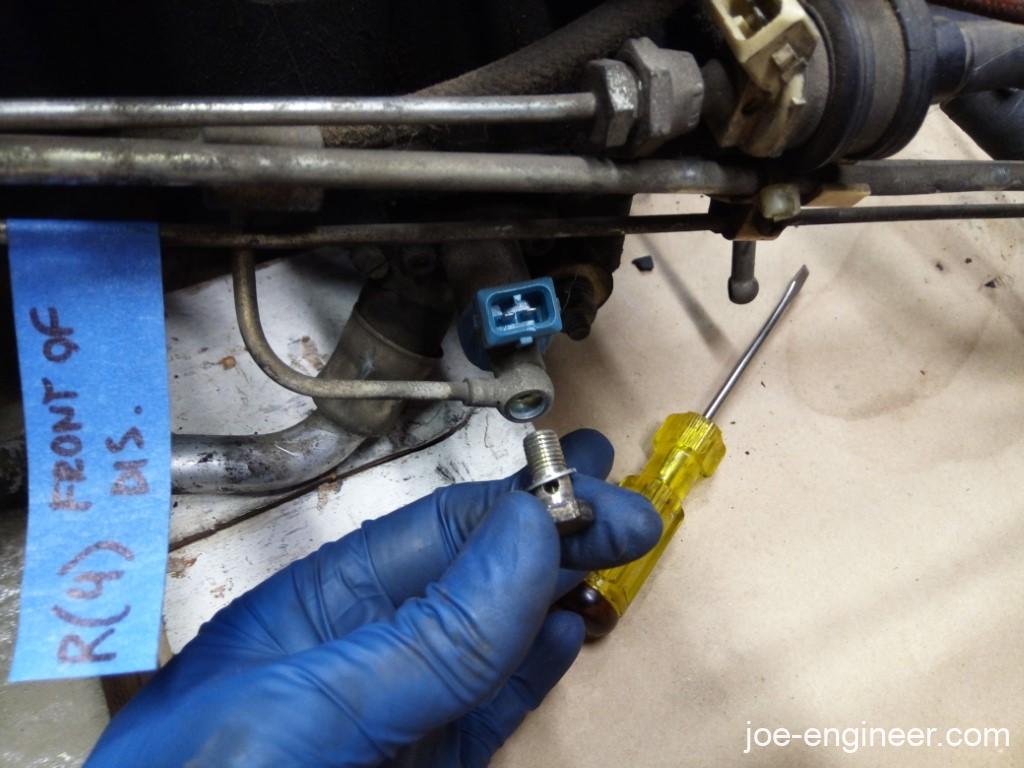
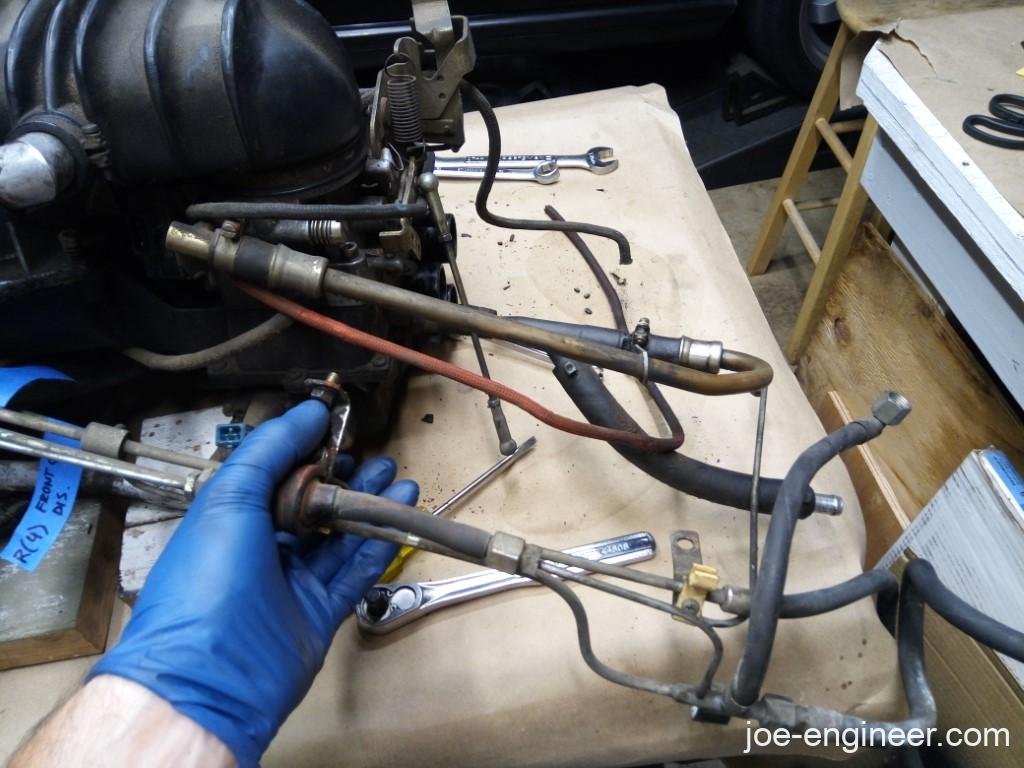
You can see the frequency valve is still in place. Many times these are removed in hacked up systems.
I removed this big vacuum system elbow.
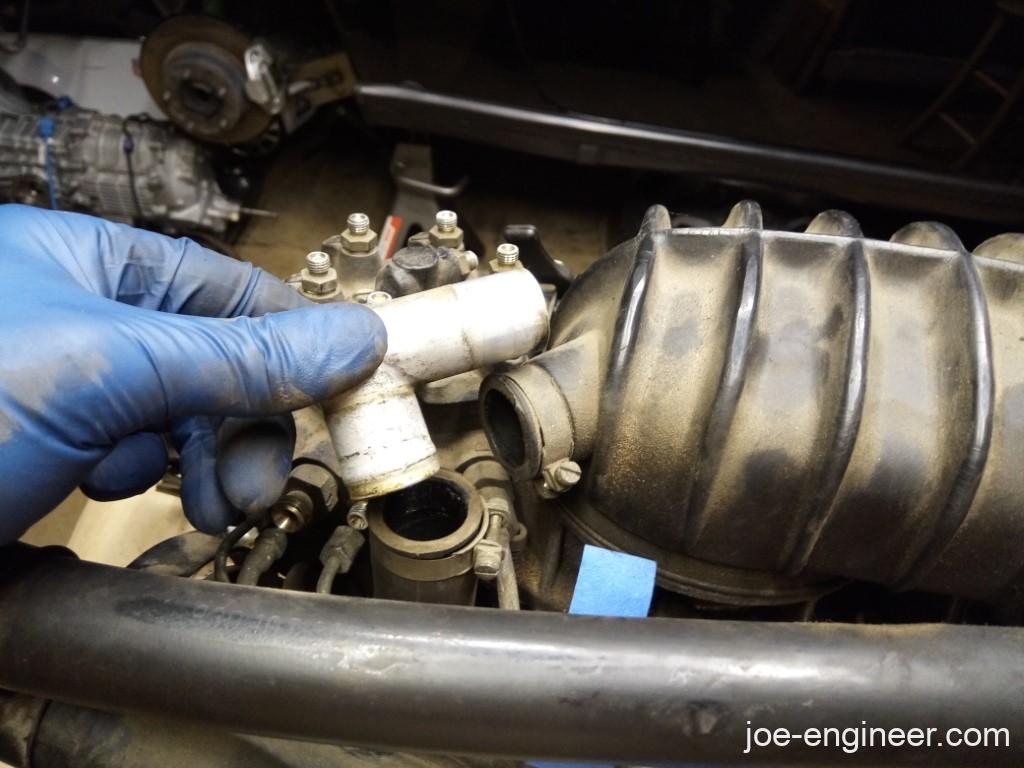
Then removed this second elbow on the oil breather hose.
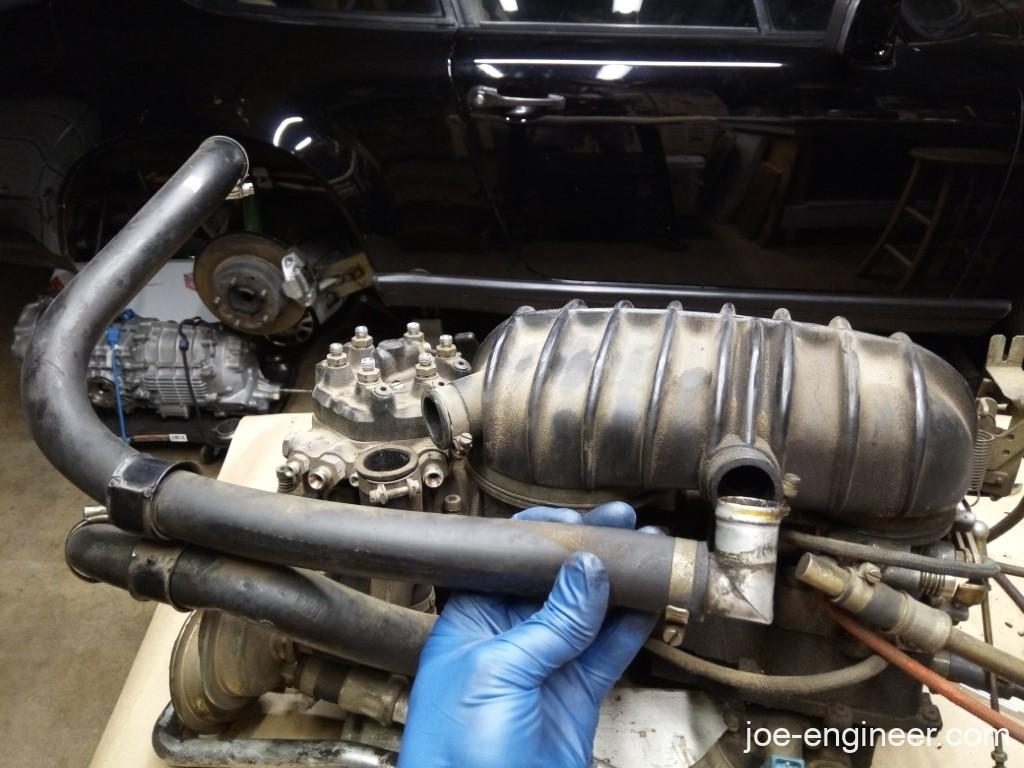
Now the oil breather hose itself could be removed.
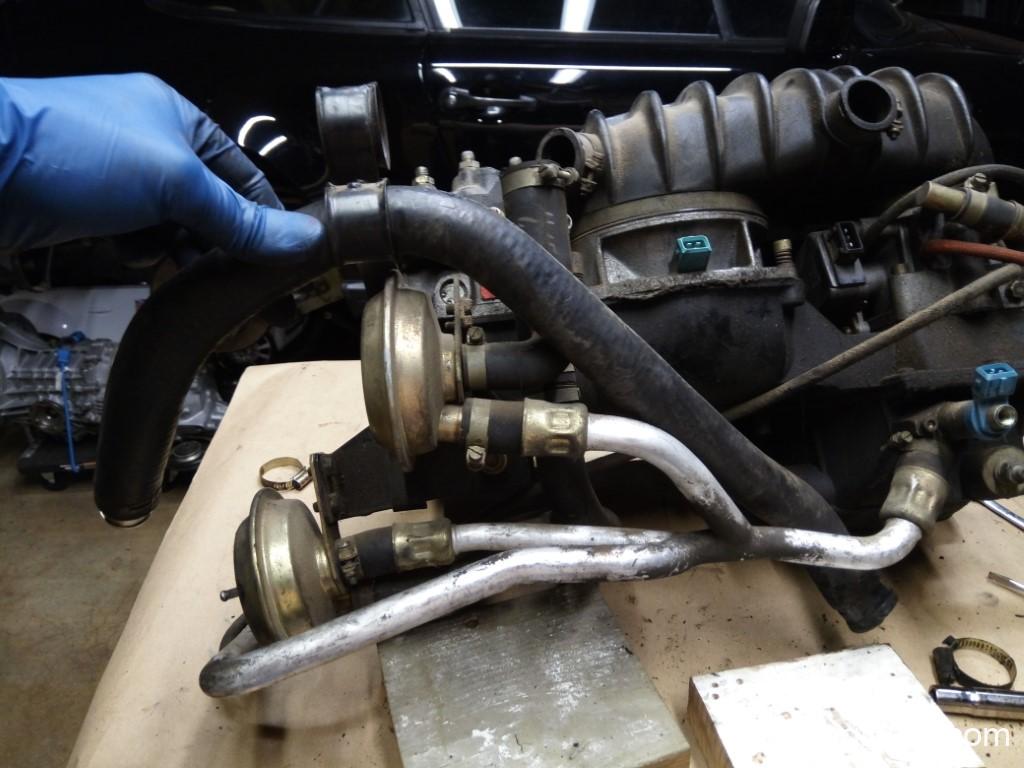
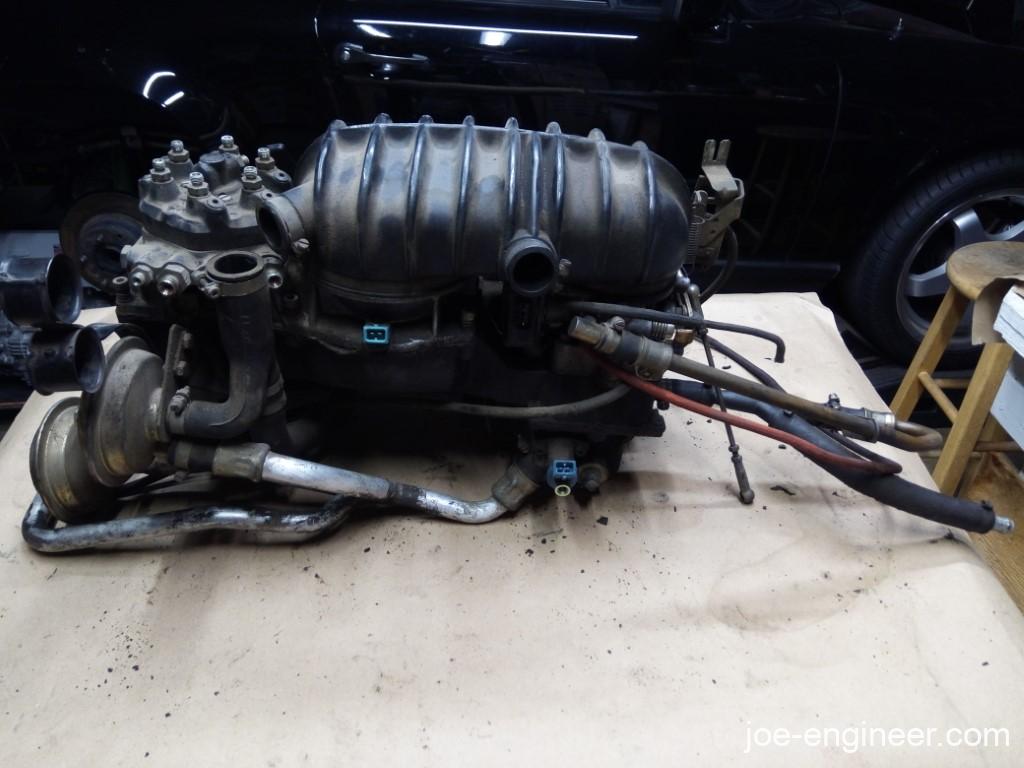
Here is our pile of parts so far.
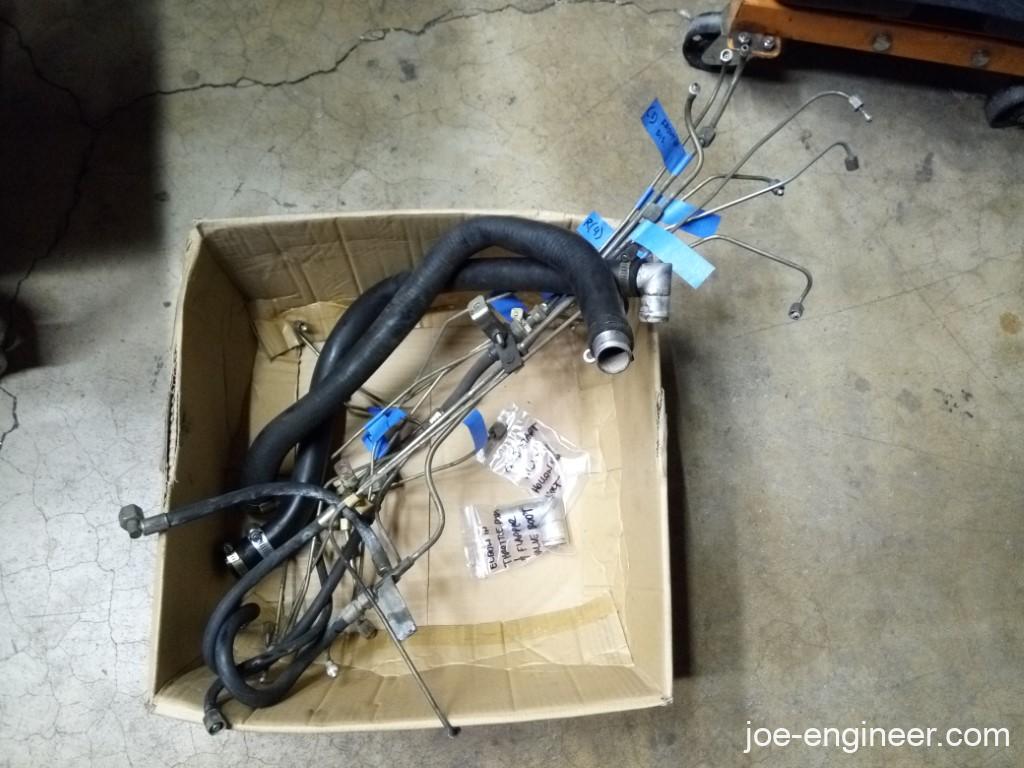
This is starting to look less menacing now.
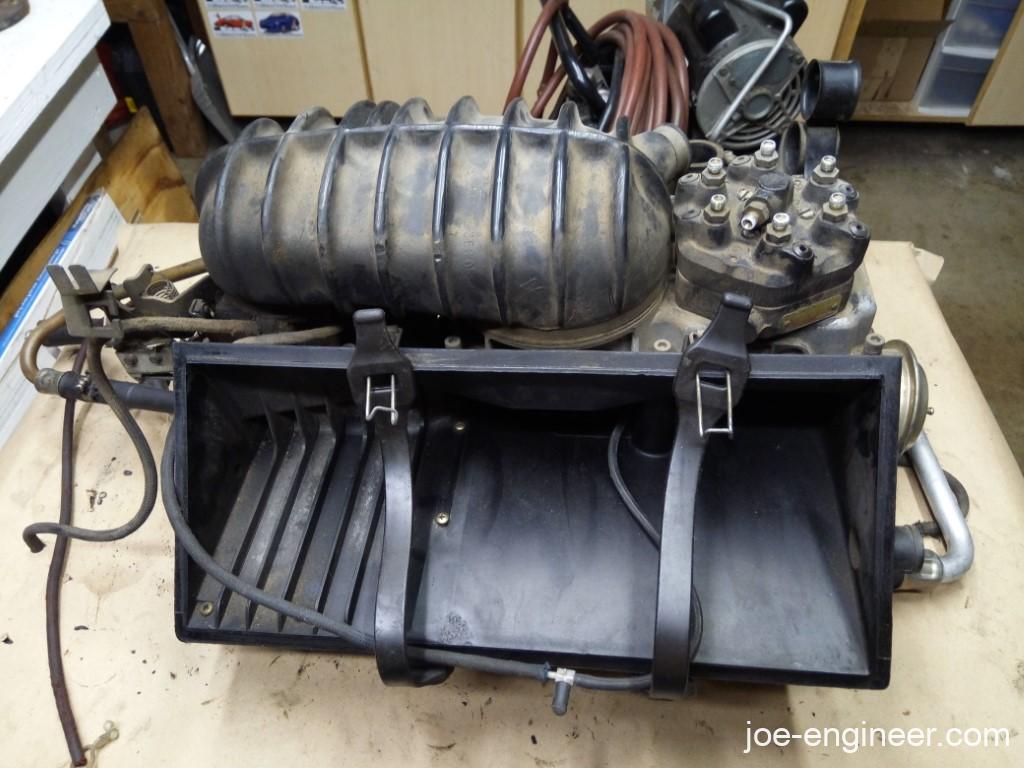
Then I removed this system of vacuum manifolds, one aluminum and one rubber, connecting the auxiliary air valve and decel valve.
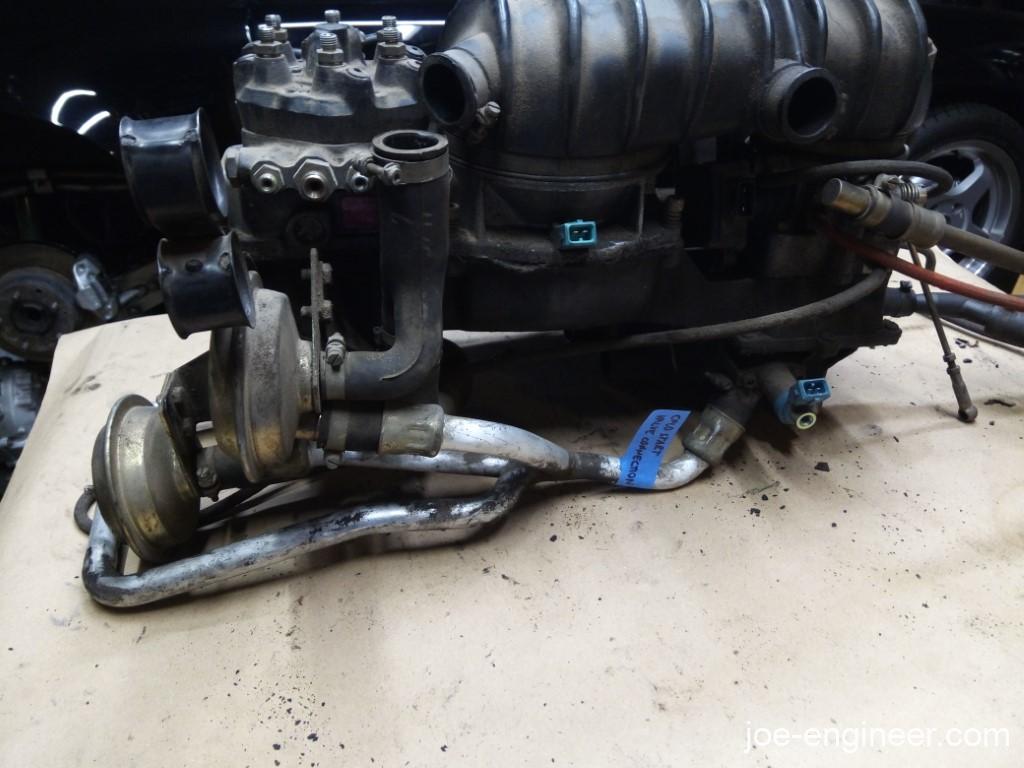
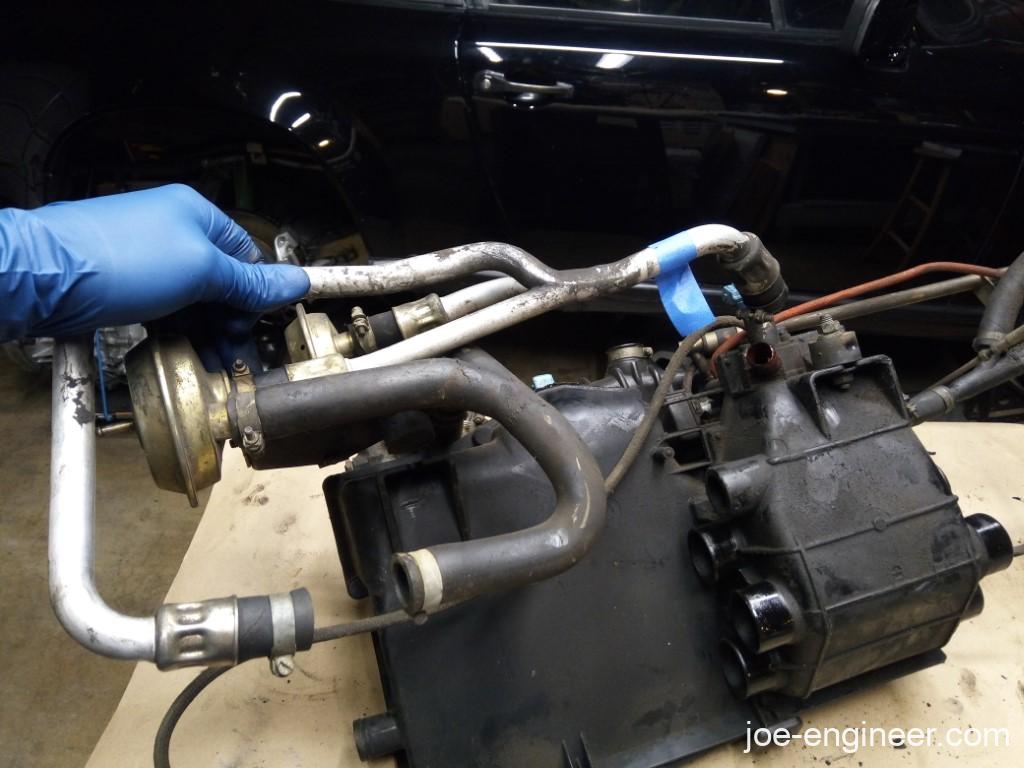
These cracked vacuum lines are nearly crumbling into dust yet wont release their grip from the throttle body.
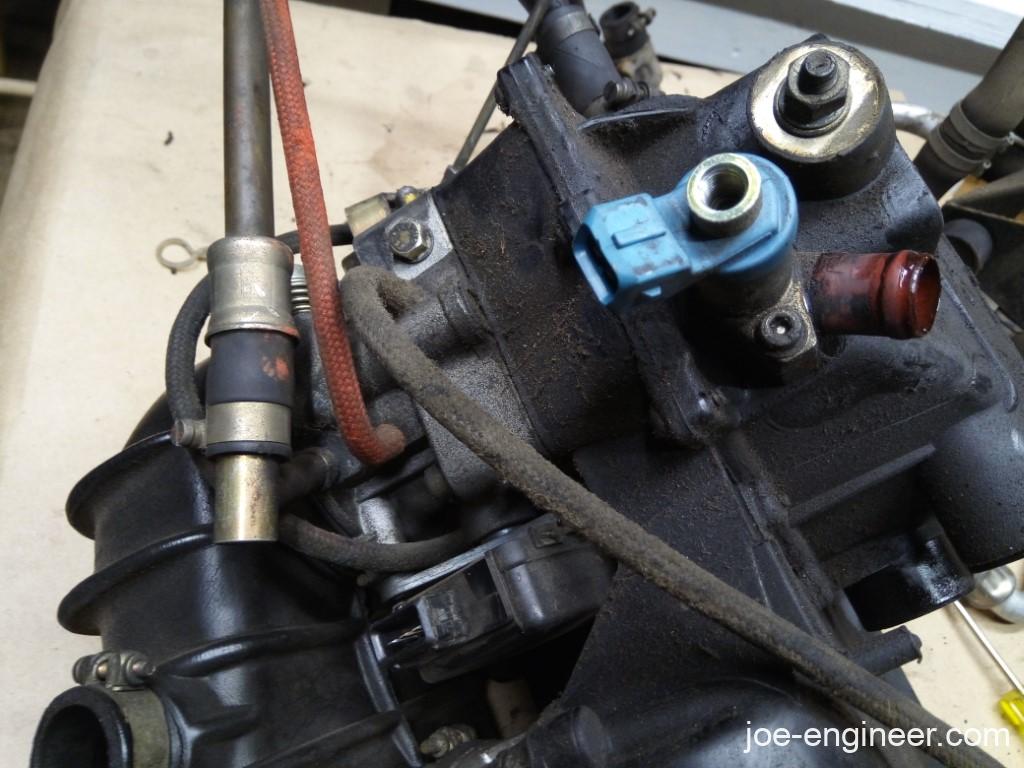
Next we removed the cold start valve and its mounting block.
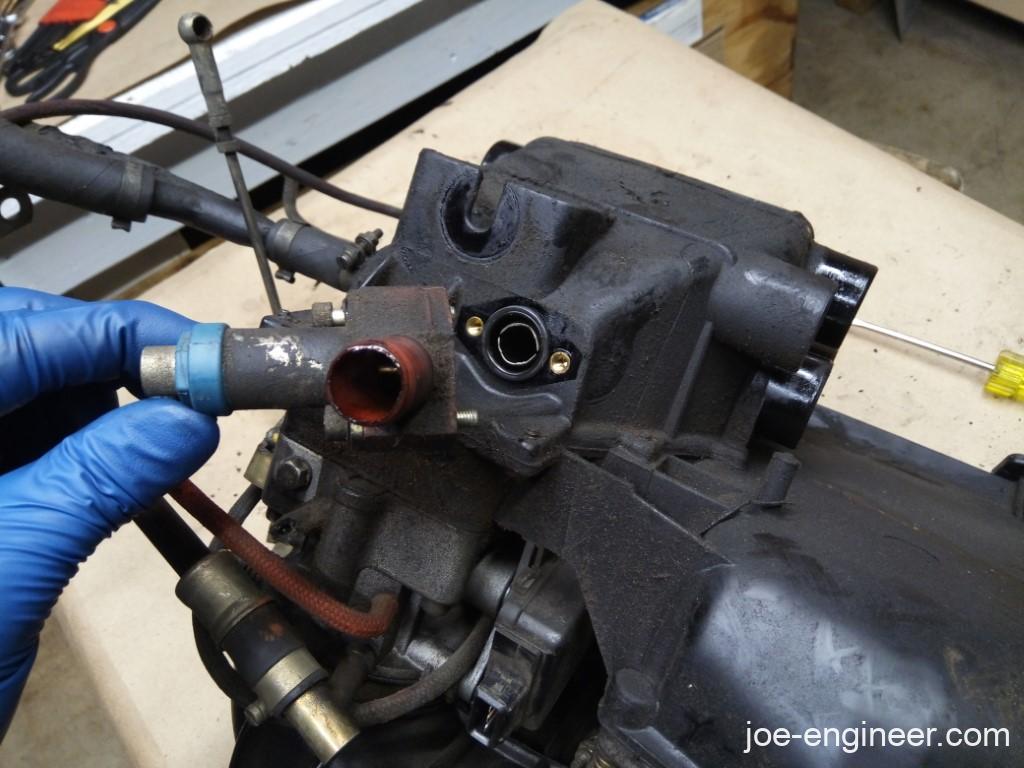
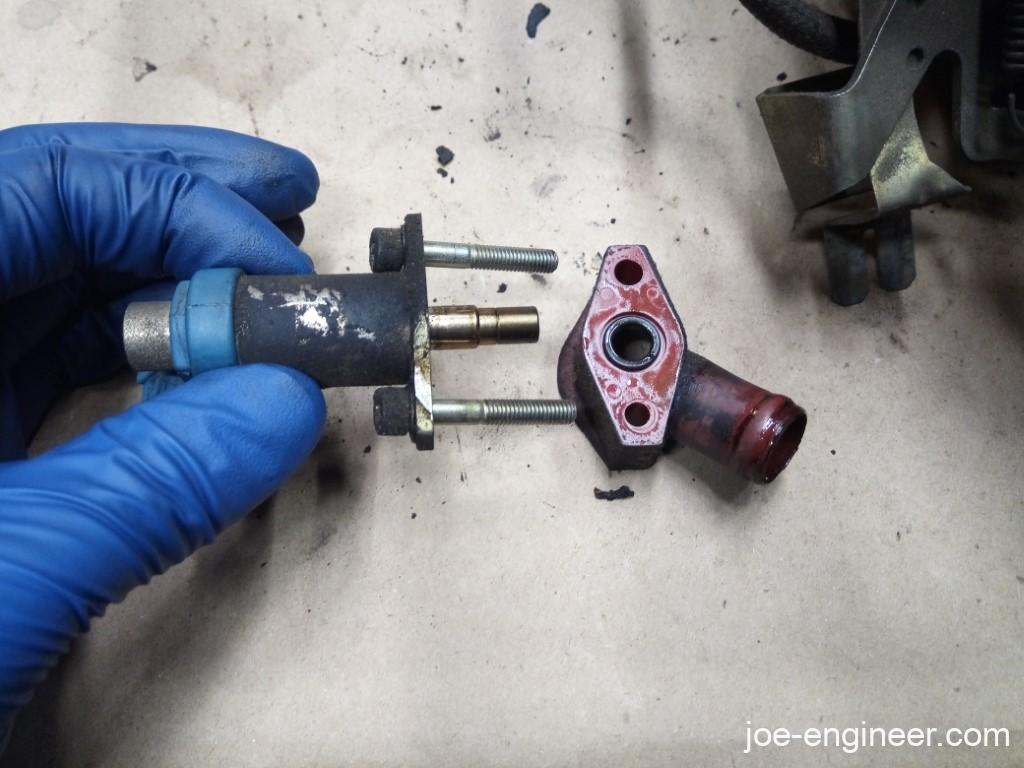
Next the brake booster venturi tube needed to come off.
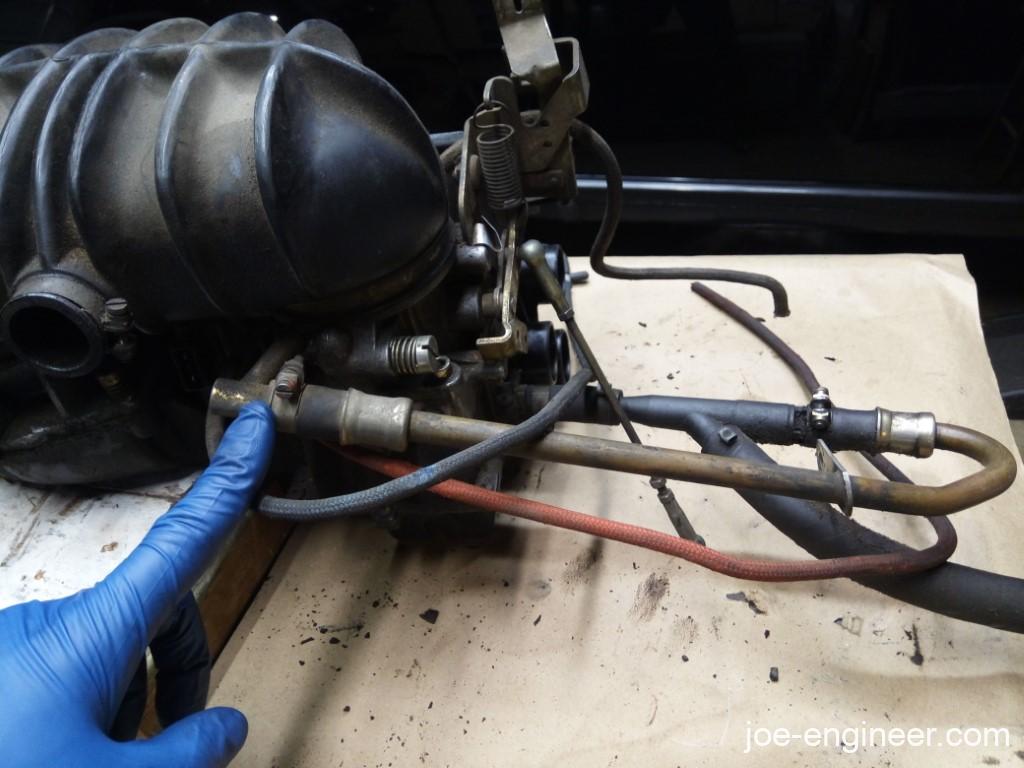
Disconnected the venturi from the airbox here.
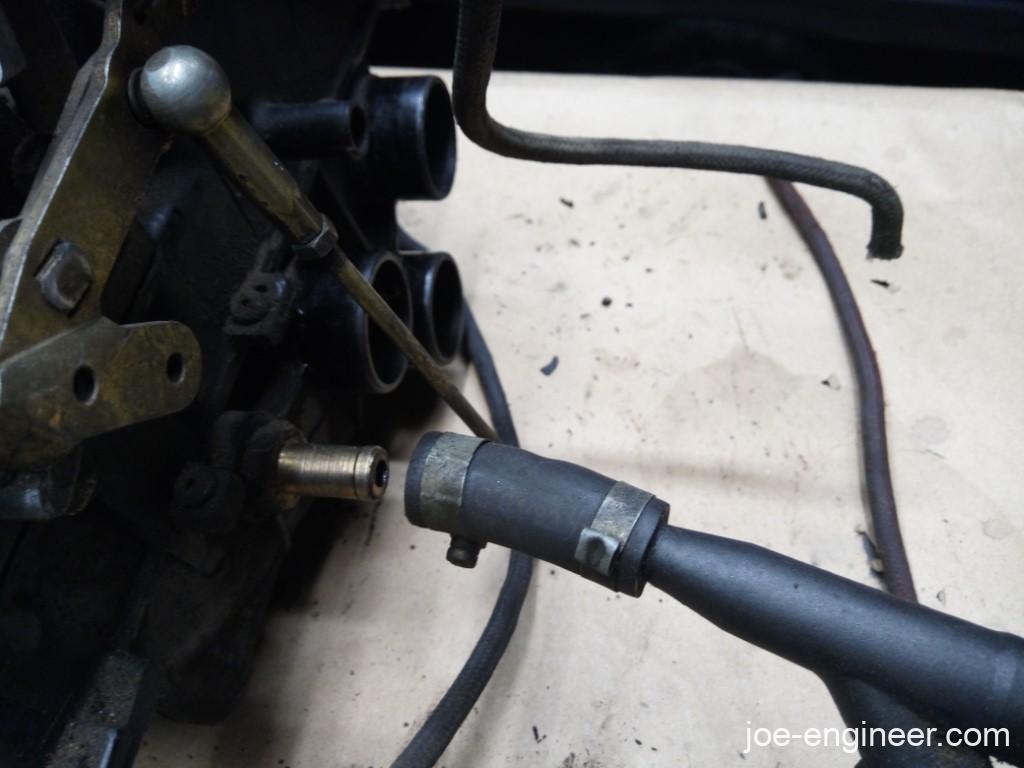
Then disconnected it from the back of the throttle body. Interesting that its only slipped in there. I was expecting a gasket or some kind of better seal.
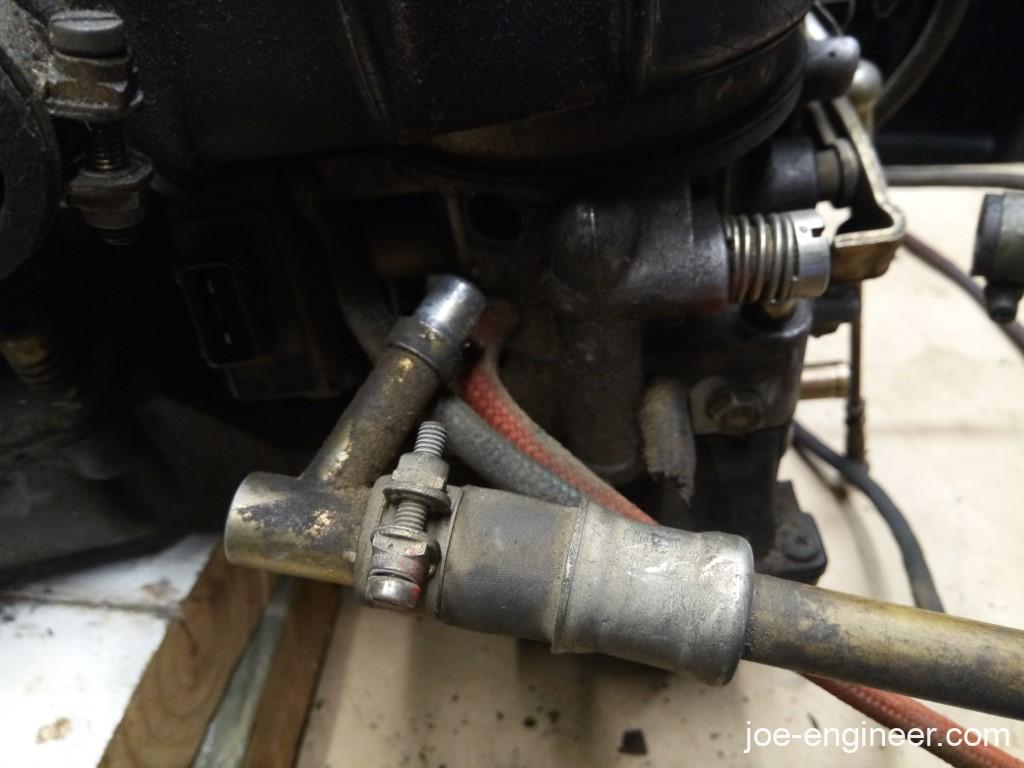
I am willing to bet these red and blue vacuum lines are as old as the car. Everything is filthy but is surprisingly all still here!
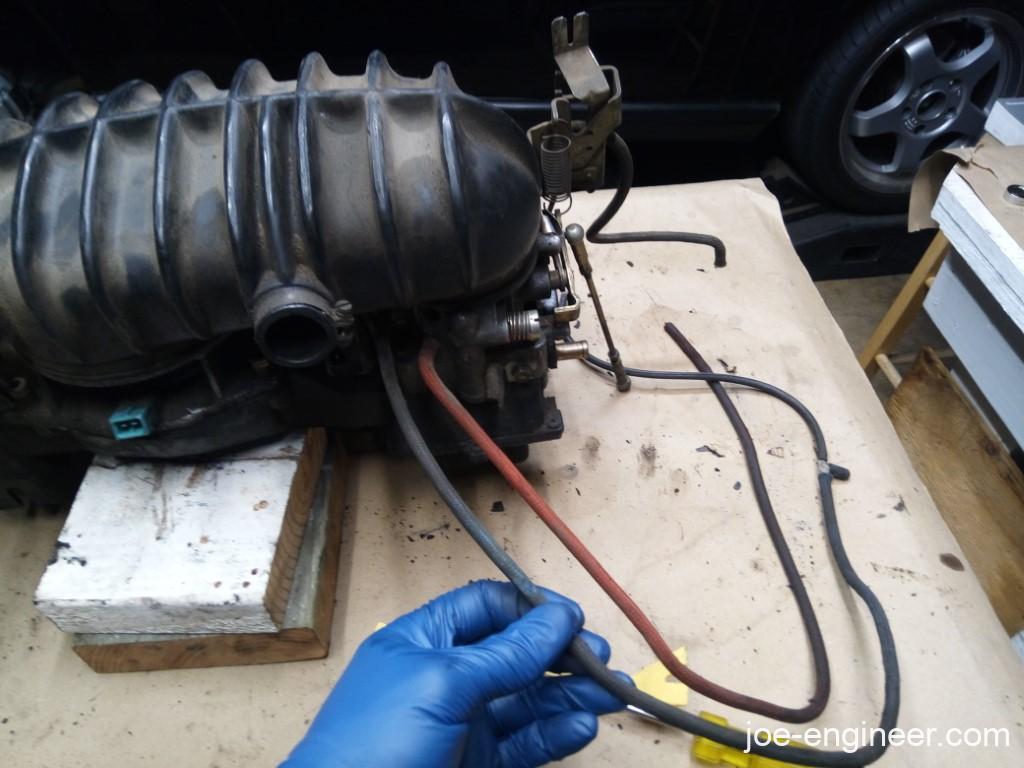
Time to remove the CIS boot and expose the horrors inside.
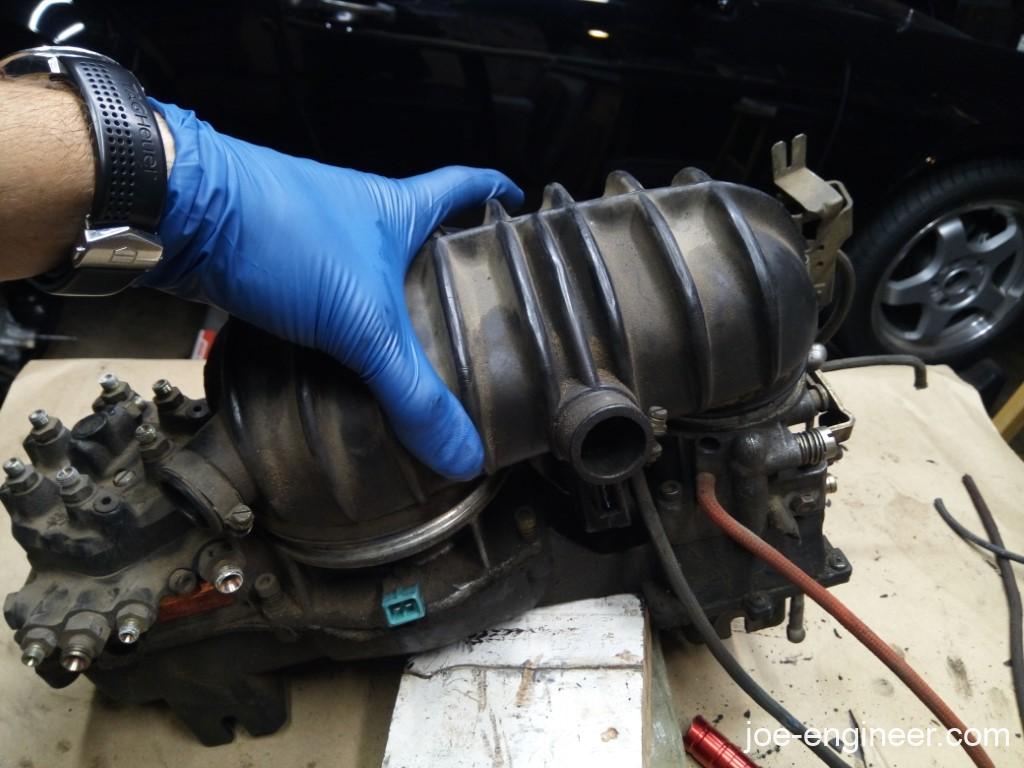
What in the…
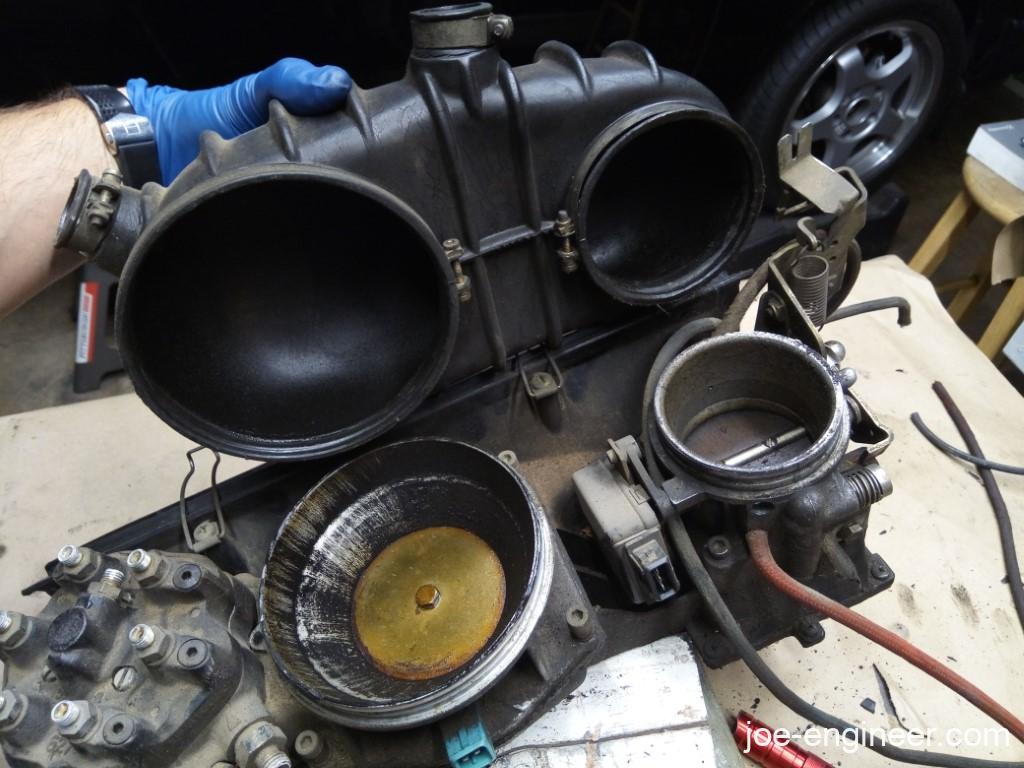
YUCK!
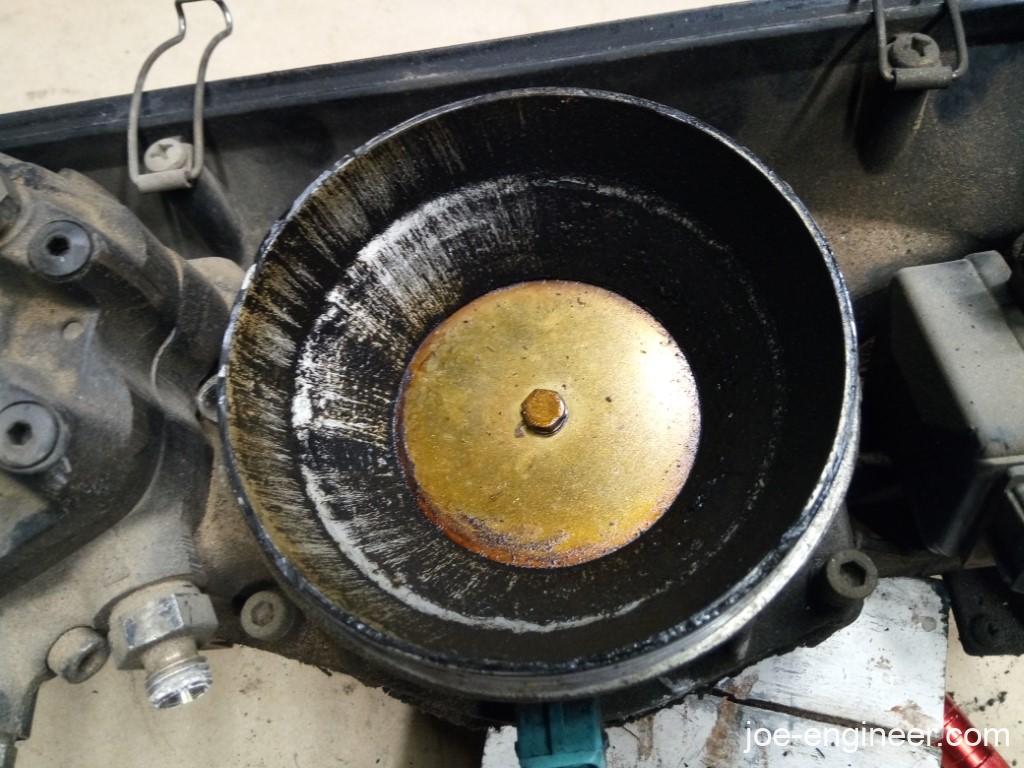
WHY?!?!
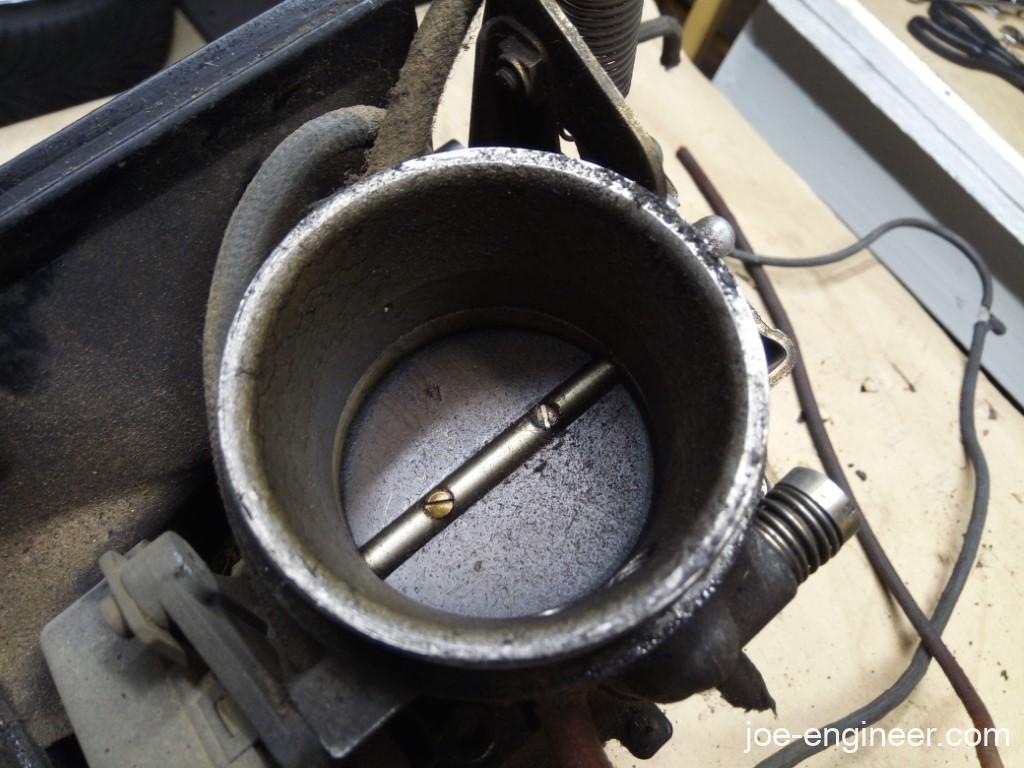
Oh well no turning back. Fuel distributor and air valve will come off next.
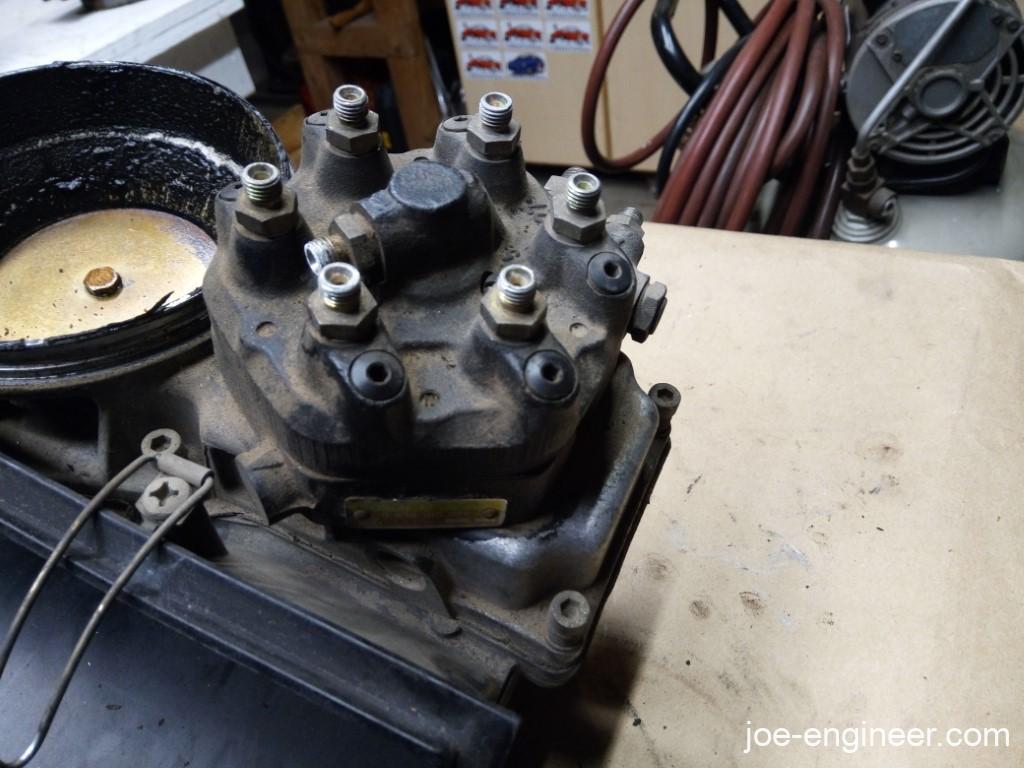
::Gag::
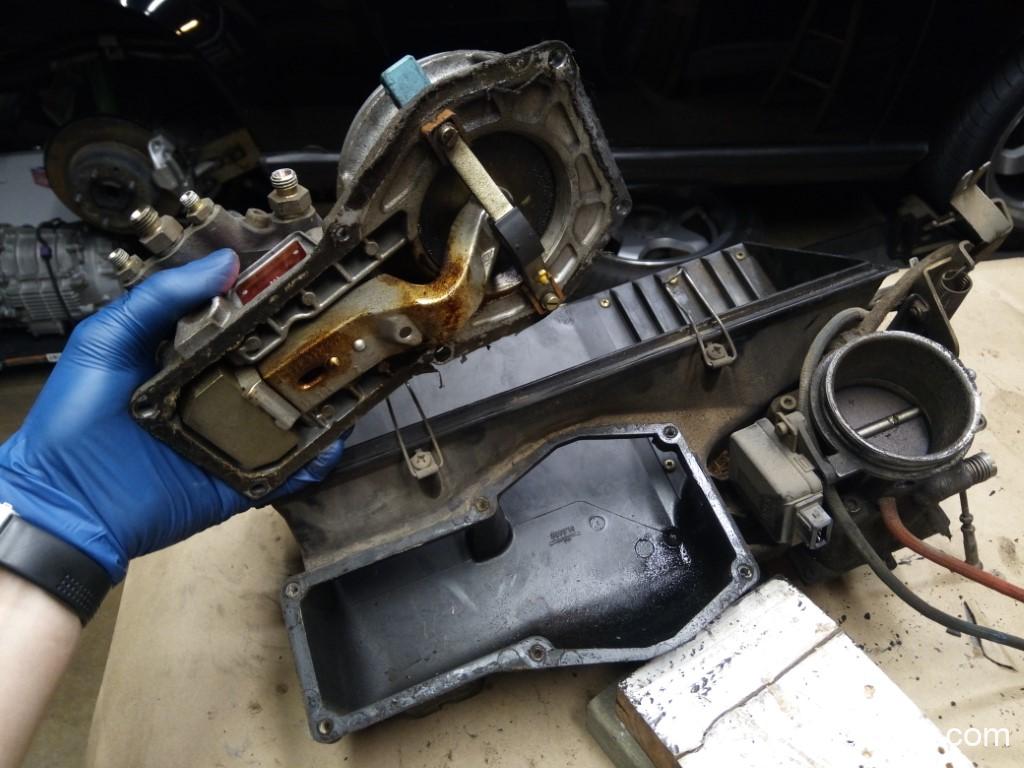
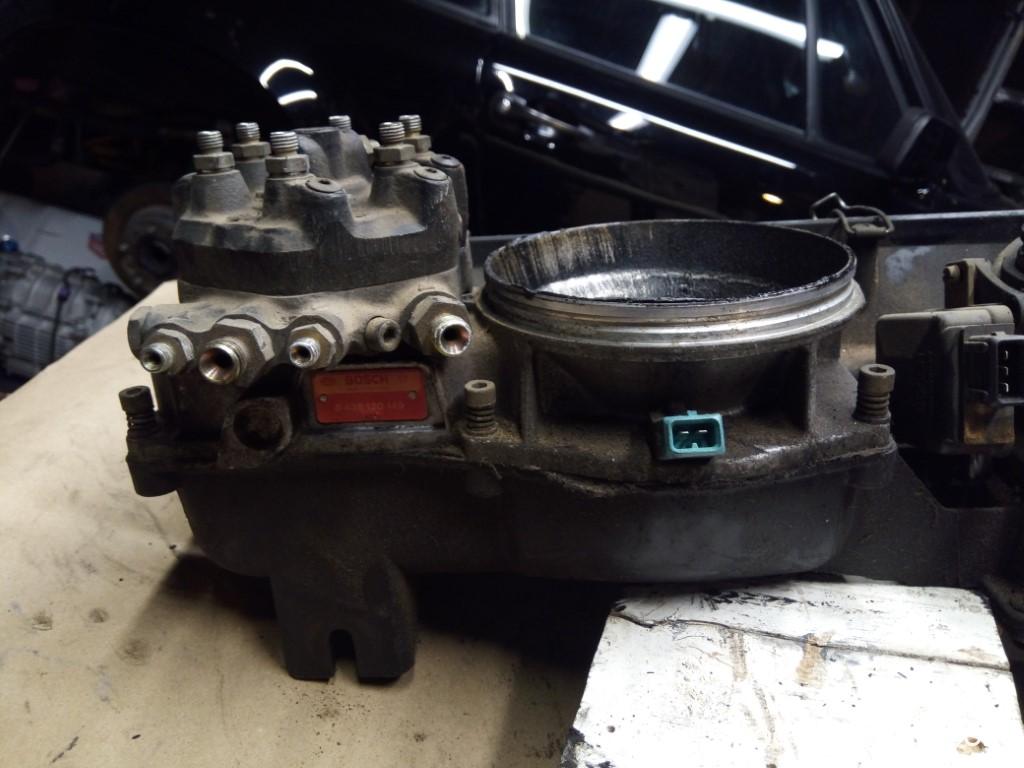
Throttle body off…
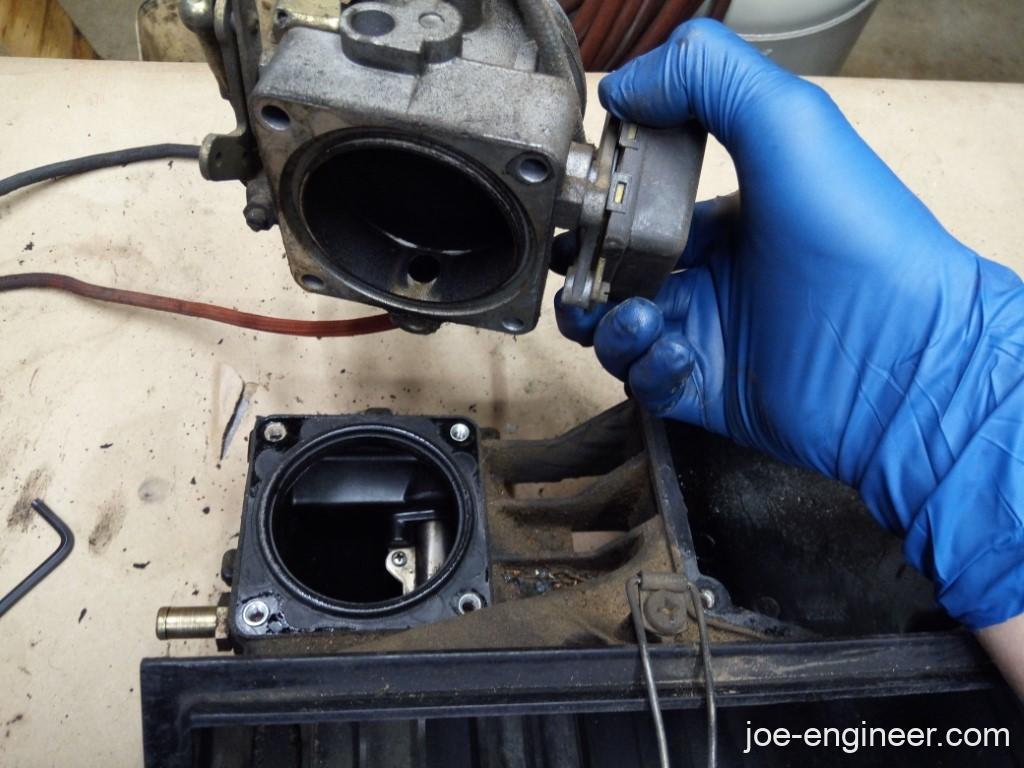
…aaaand we now have a bare naked blown airbox.
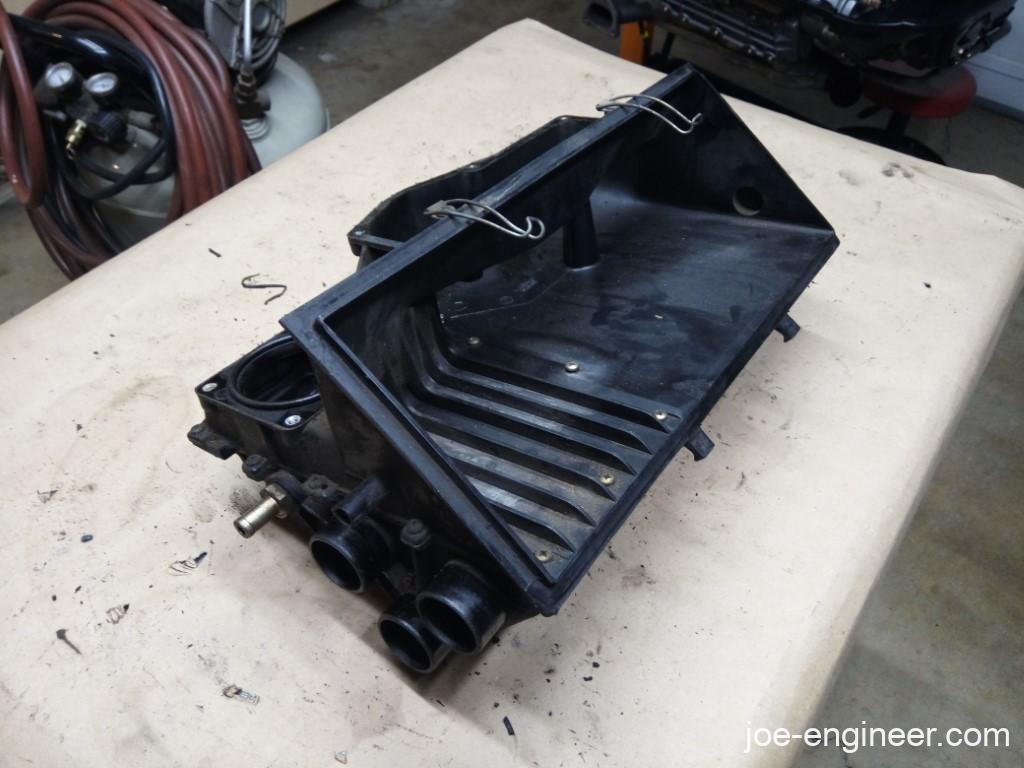
The last bit of teardown was to take the plastic airbox apart and see where it went bang one fateful Saturday morning.
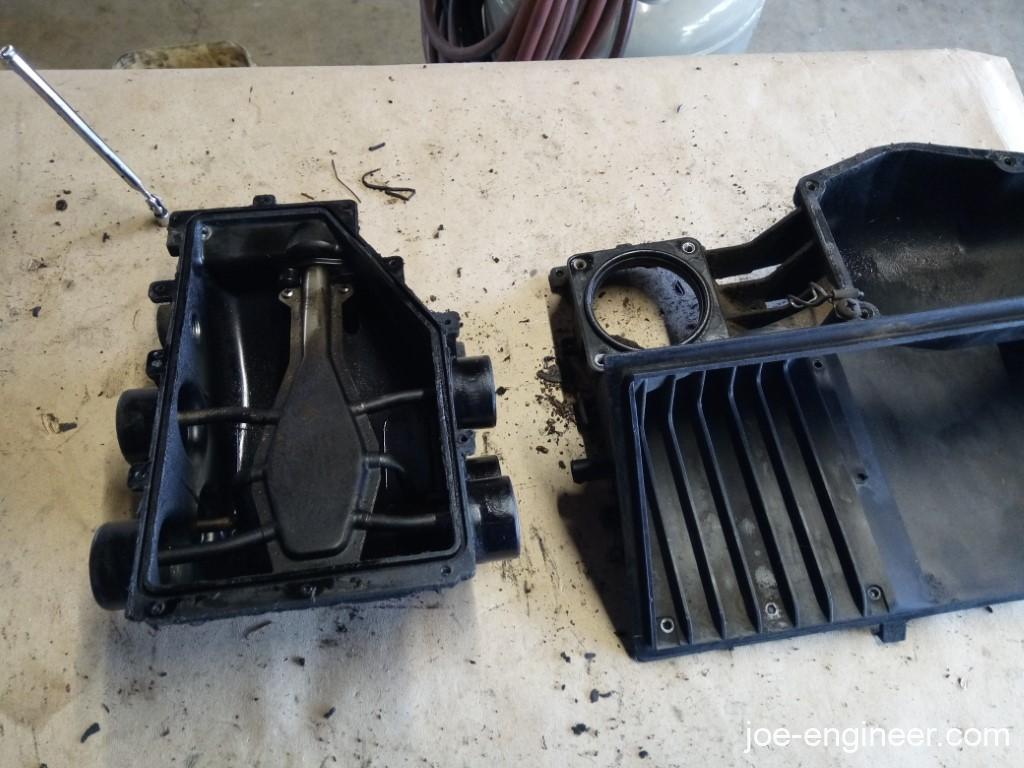
You can barely see on the angled face between the top and right side, at about the 1 o-clock position, the groove on the airbox lower chamber gets a bit shallow. A bit of the mating flange from the upper airbox broke off and is stuck in the groove of the lower part. Nothing else seems to be broken so maybe it can be re-bonded one more time.
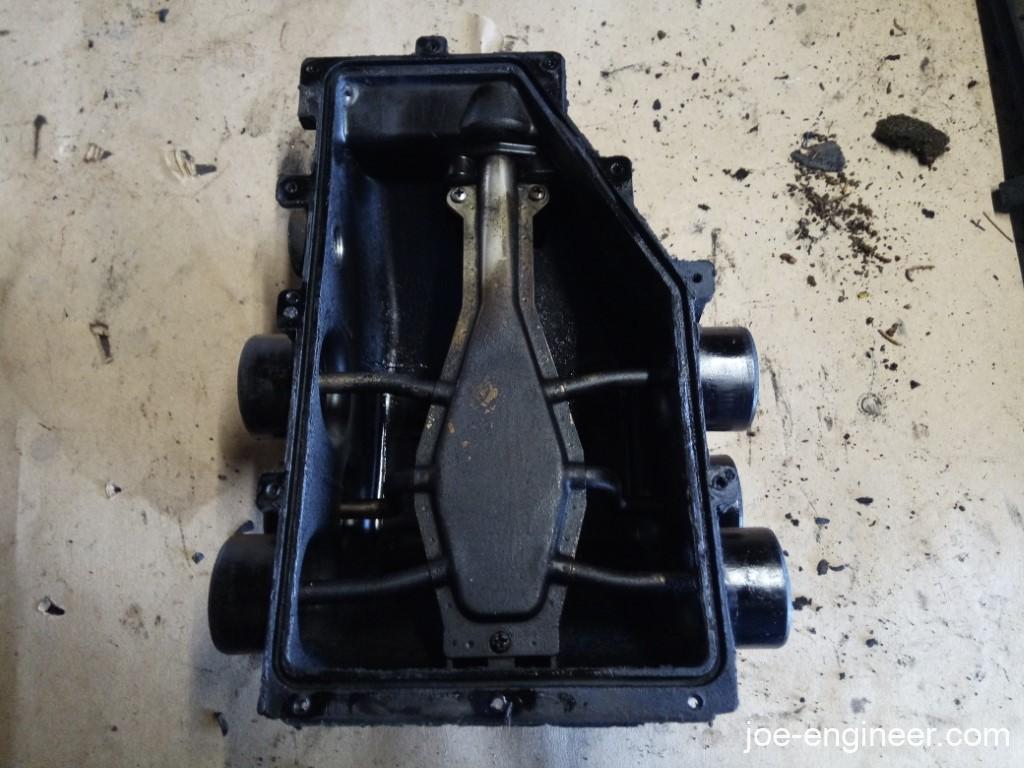
Next it was time to clean up all these dirty parts to accurately evaluate their condition.
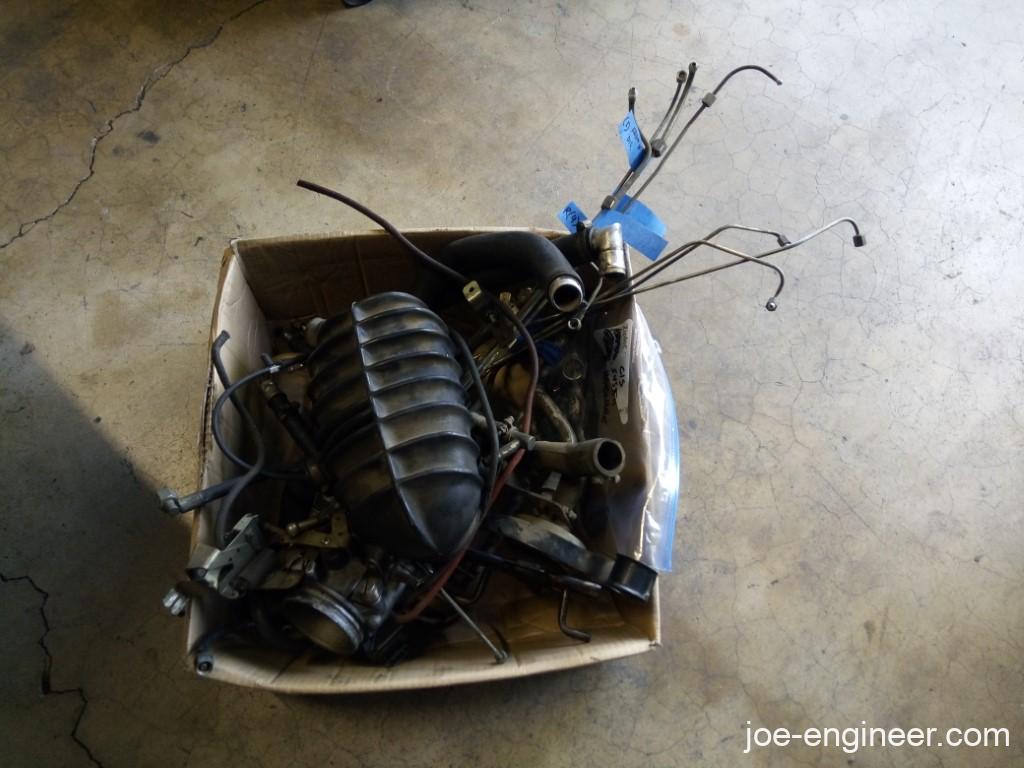
That wasn’t so bad. It is quite a few parts, but after cleaning everything and testing each subcomponent one by one, we should theoretically have a collection of parts that work as a team once everything is put back together.
Next time Ill cover the cleanup of all these CIS subcomponents.