
DIY Videos: Air-Cooled Porsche 911 Front Suspension Rebuild Series
Here is a comprehensive video series detailing the rebuild of a G-body Porsche 911 torsion bar front suspension.
Note: The following information is for educational use only. Before proceeding please read my disclaimer page.
Disclosure: This post contains links to Amazon products and other trusted vendors. As an Amazon Associate I earn from qualifying purchases.
In my quest to improve my autocross times I have embarked on a full suspension rebuild, and the front end is now complete. Here are a series of 8 videos showing the complete process from start to finish.
Part 1: Teardown
Removing the front subframe and A-arms.
Part 2: Remaining Teardown + Parts Evaluation
Taking the front subframe apart and evaluating what we are working with.
Part 3: A-Arm Bushings Installation
Replacing the A-arm bushings.
Part 4: Steering System Teardown
Removing and taking apart the manual steering rack.
Part 5: Steering System Rebuild
Evaluating the internals, rebuilding the manual steering rack, and upgrading to Turbo tie rods.
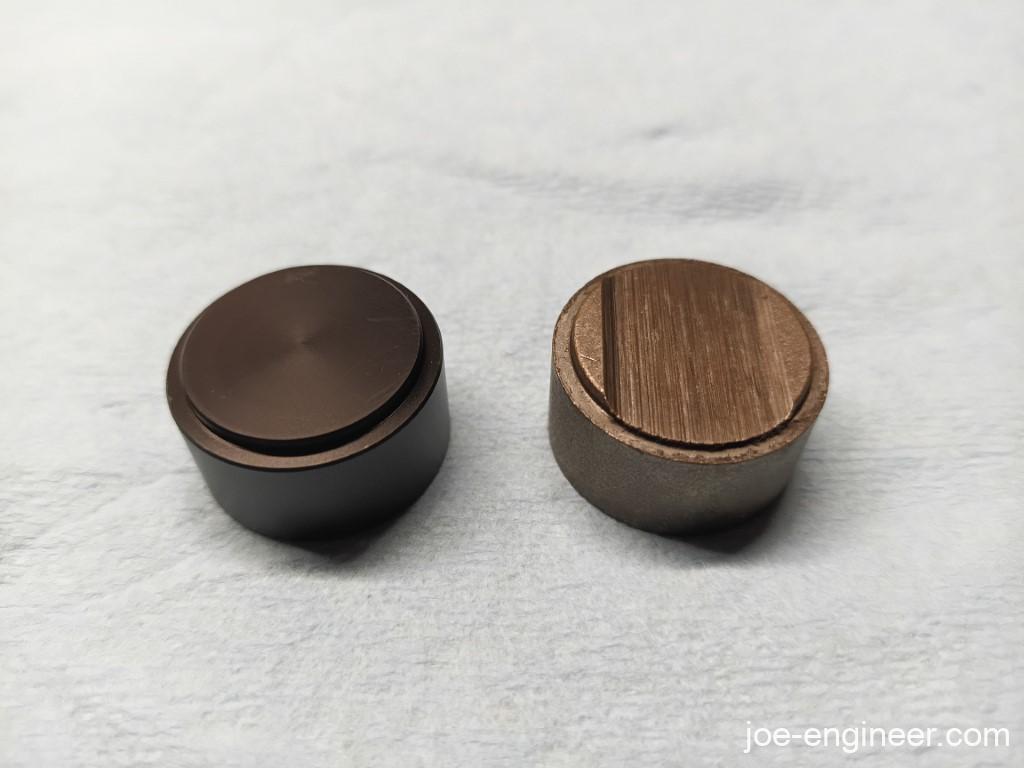
Note the steering rack puck is of my own design. Order your own here through my online store.

Part 6: Reinstallation
Putting the steering rack and front subframe back in the car.
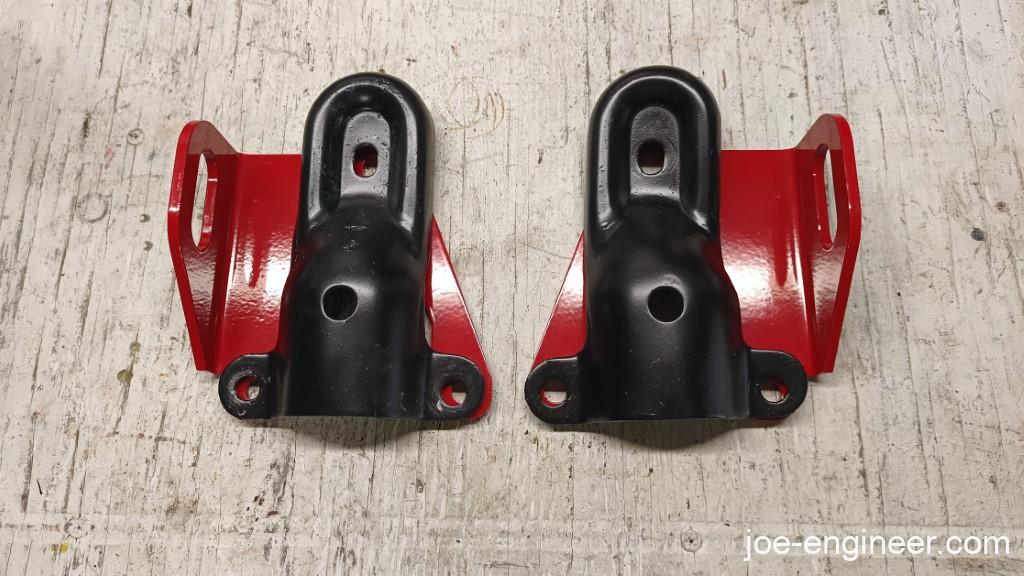
Included is installation of front tow hooks of my very own design. You will be able to order a set for yourself through my store very soon.
Part 7: Struts Rebuild + Reassembly
Removing, restoring, and reassembling the front strut housings.
Part 8: Hubs Rebuild + Reassembly
Replacing wheel studs with longer ones, rebuilding the hubs, and installing on car along with brake rotors, calipers, and new brake lines.
You will notice that I did make some minor aftermarket upgrades (bushings and torsion bars), but the rebuild steps are exactly the same for a 100% stock rebuild. I wont be doing an alignment until after I complete the rear rebuild, so I can knock it out in one go.
I hope this series is helpful and stay tuned for the rear suspension video series coming up next!