
Porsche 911 Engine Bay Cleaning and Brake System Refresh
There is a huge list of things to take care of on the car before the engine can go back in. Lets start with more cleaning and brake work.
I’ve spent so much time on the engine that the poor car itself just sits there on jack stands while I occasionally wipe the dust off it. I’m going to start chipping away at the “while you are in there” tasks so the engine can eventually go back into a nice clean engine bay and the rest of the mechanical systems on the car are in fresh working order.
Engine Bay Cleaning
Still high from my CIS cleaning kick, I fired up the steam cleaner again and finished the second half of the engine compartment. I more or less followed this old DIY on how to clean greasy parts.

Now I can identify all the various lines going through the car’s central nervous system!
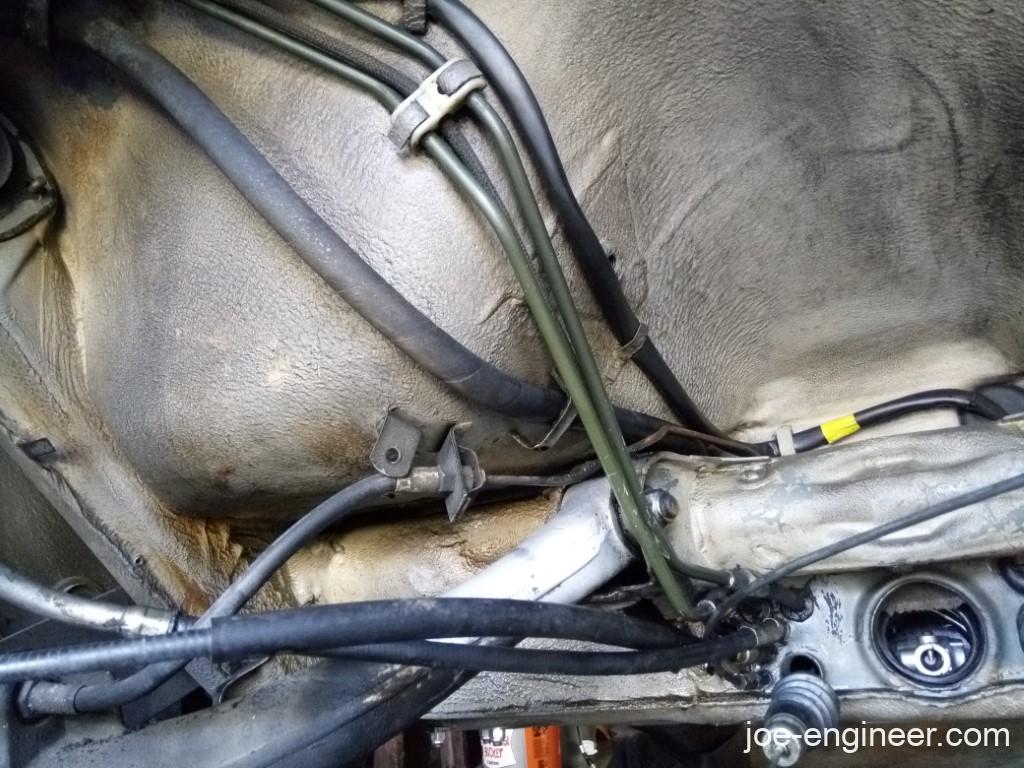
Much like after cleaning engine and CIS parts, I now have the ability to inspect and service all the old rubber and other wear items under here. I plan on redoing all the flexible fuel and brake lines, brake booster vacuum lines, master cylinder, clutch and throttle cables, pedal assembly, and oil cooling assembly.
Brake Lines & Bleeders
In order to make sure the car stops as well as it goes, new brake lines, master cylinder, and speed bleeders were in order. I went with OE rubber lines and master cylinder to make sure my system is good for the next few decades. This is my first set of speed bleeders after messing with various Mityvac bleeders and the Motive pressure bleeder. I never had much luck with the Mityvac guns and the Motive pressure pot is a good unit, but I don’t like fumbling around with the big container and always worrying if it was going to run dry during bleeding. Lets see if these make bleeding an easier process.
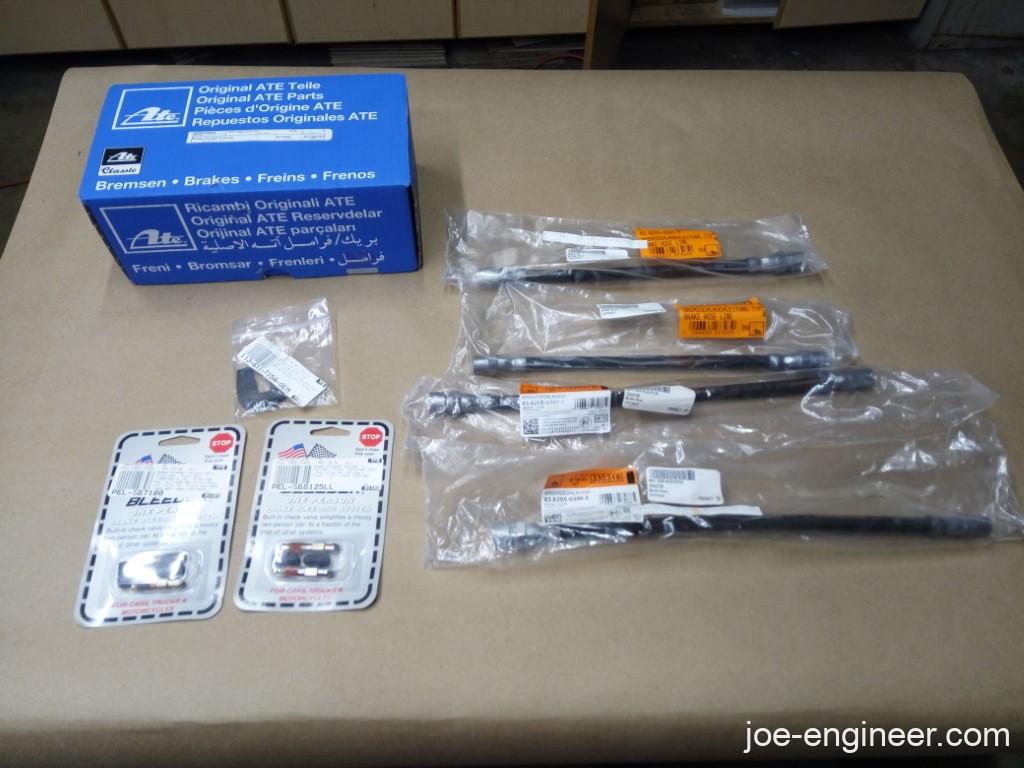
If you want a detailed look at how to change the soft brake lines and bleed the system, I wrote a DIY on FCP Euro a while back which you can access here.
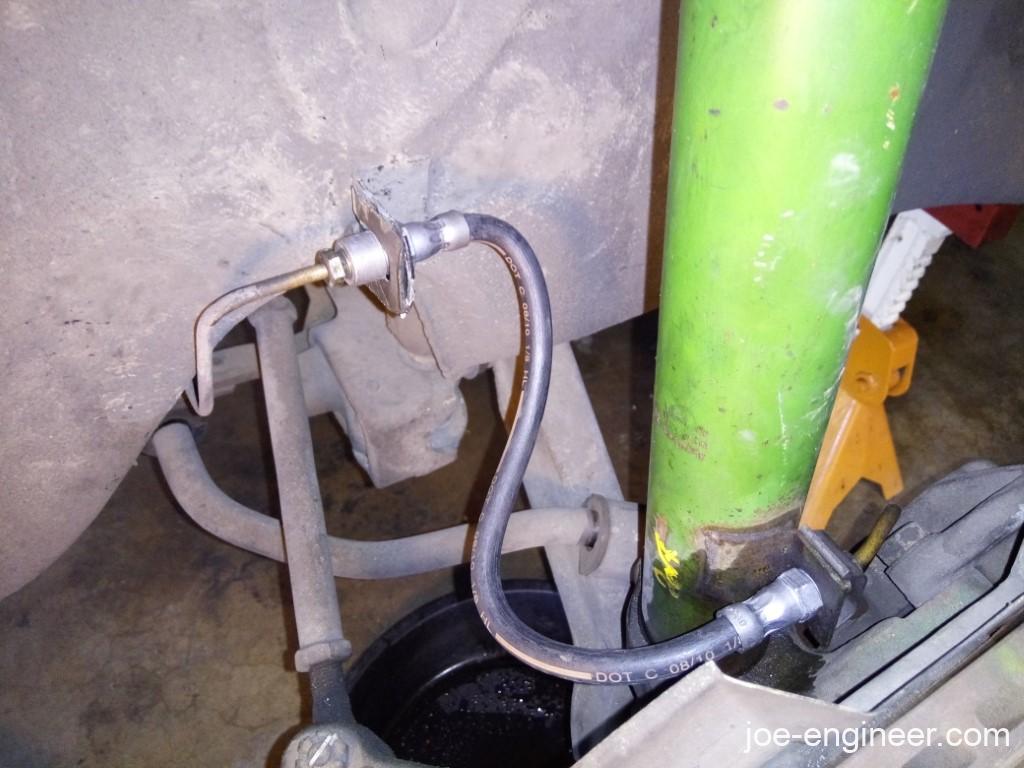
First the front lines were installed.
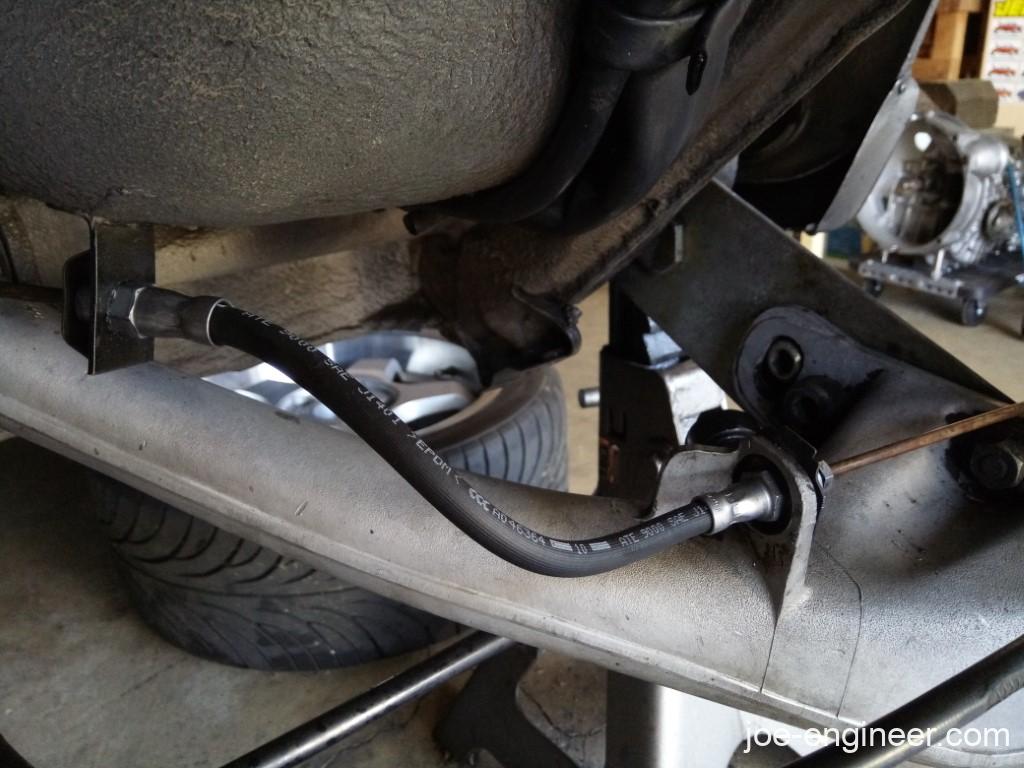
Next I put the rears in.
Then I topped it off with Speed Bleeders at every corner.
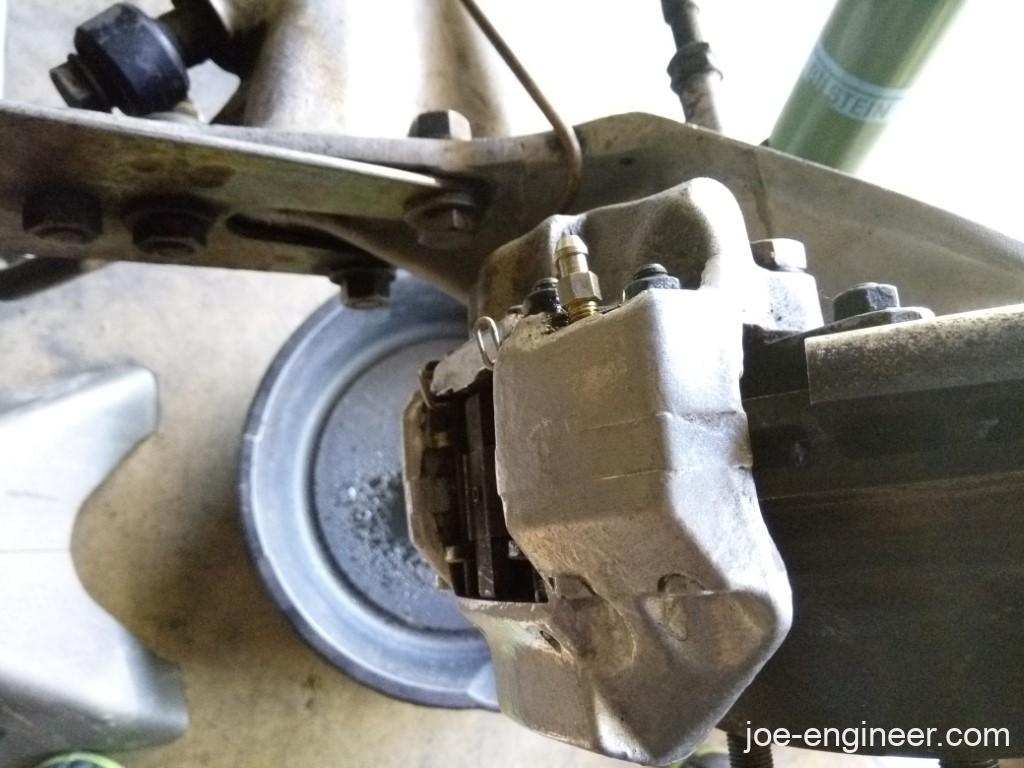
While I was doing the rear lines, I kind of destroyed this fitting on my rear left hard line, upstream of the soft line.
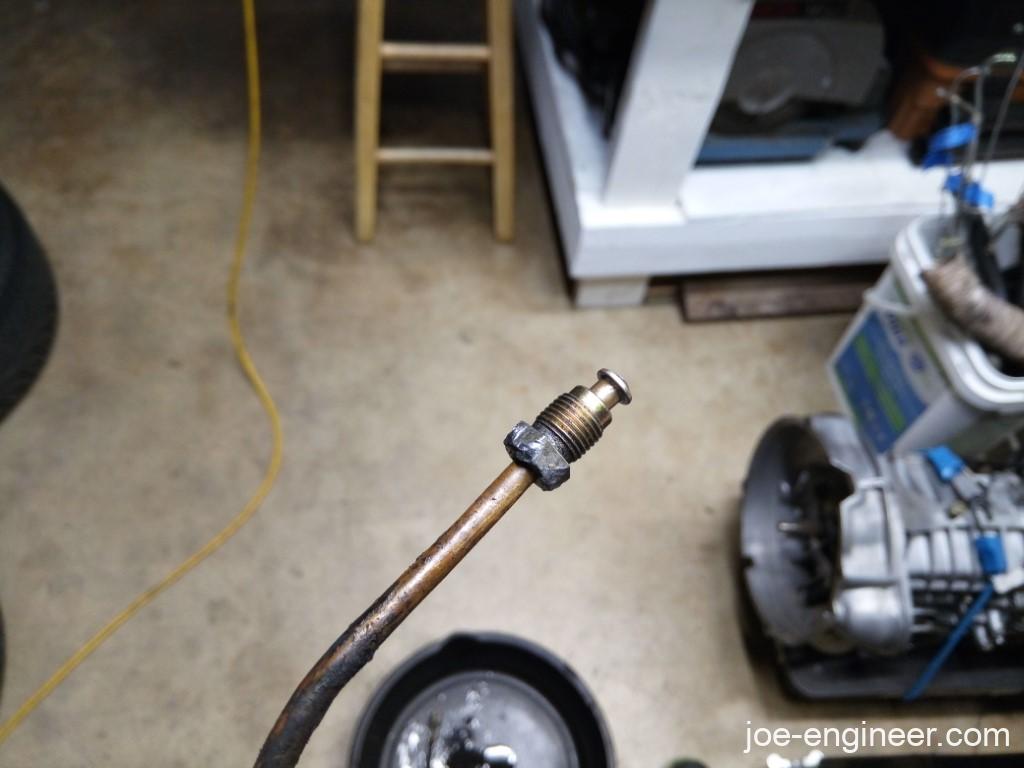
Pelican to the rescue with OE replacements in a jiffy! Now it is good for the next guy or girl who will be in here (hopefully still me and if not me, my daughters).
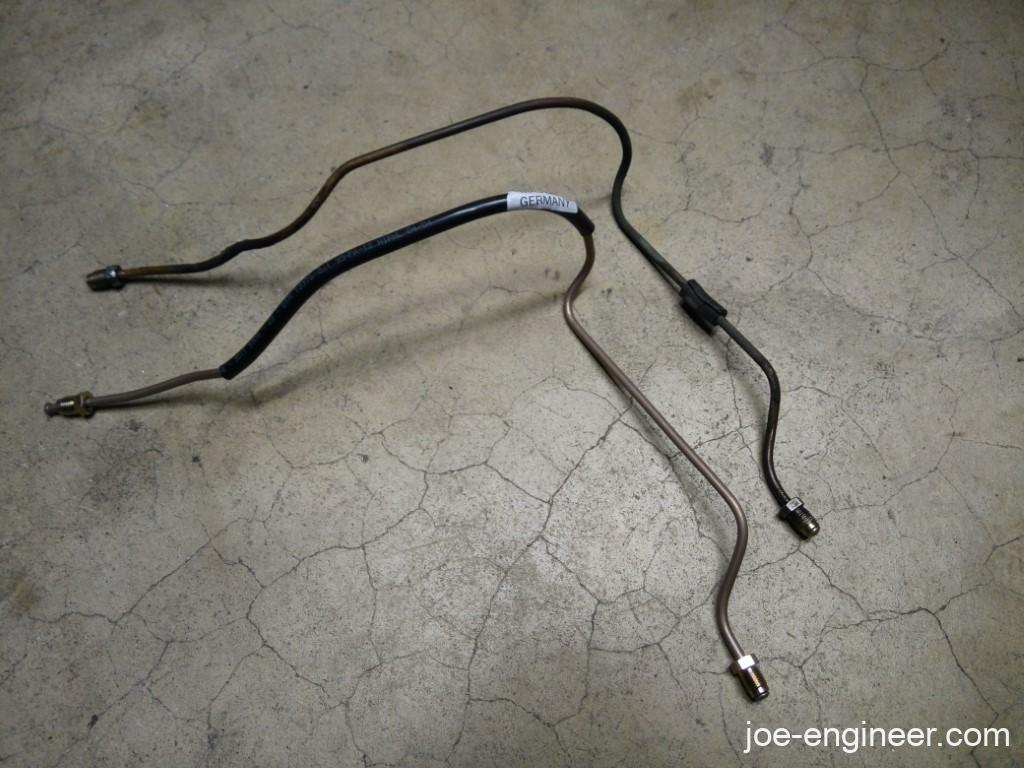
Master Cylinder
Master cylinder replacement time. Again, here is a full DIY write-up on FCP Euro if you want detailed text and photos.
If you are are more visual learner, these YouTube videos for master cylinder replacement on an 82 911SC made the process crystal clear. They are not mine but I followed this exact process and they are correct.
A HVAC duct crumbled into dust while I was attempting master cylinder removal. Once again Pelican Parts came through with a quick replacement for a part I screwed up.
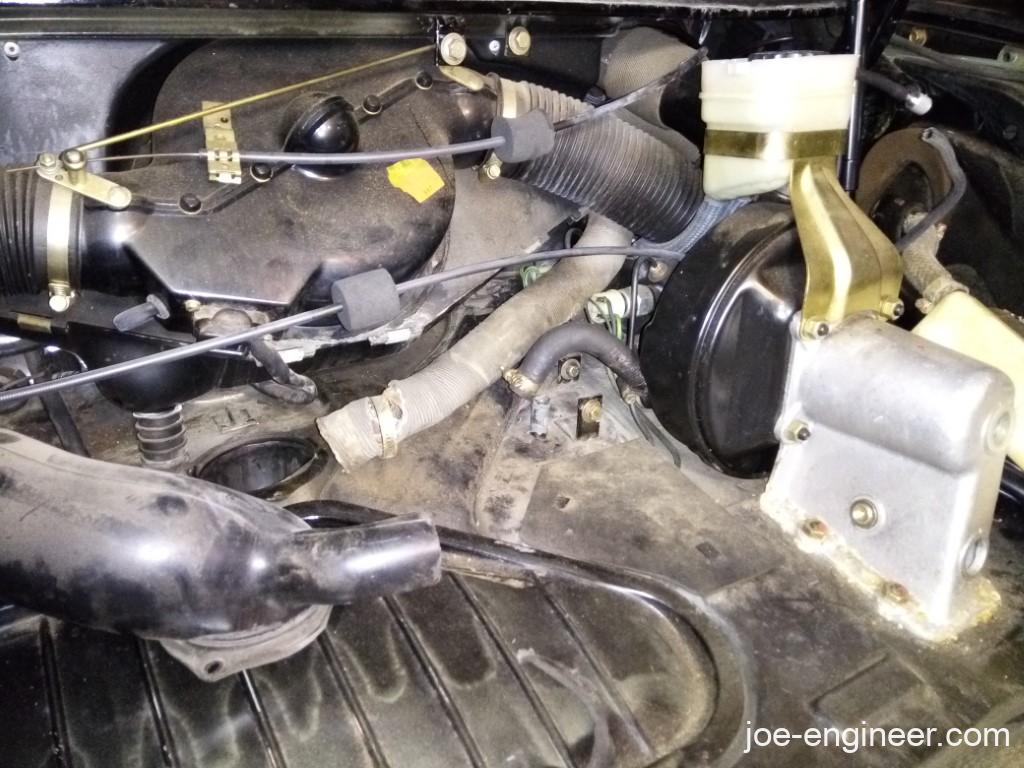
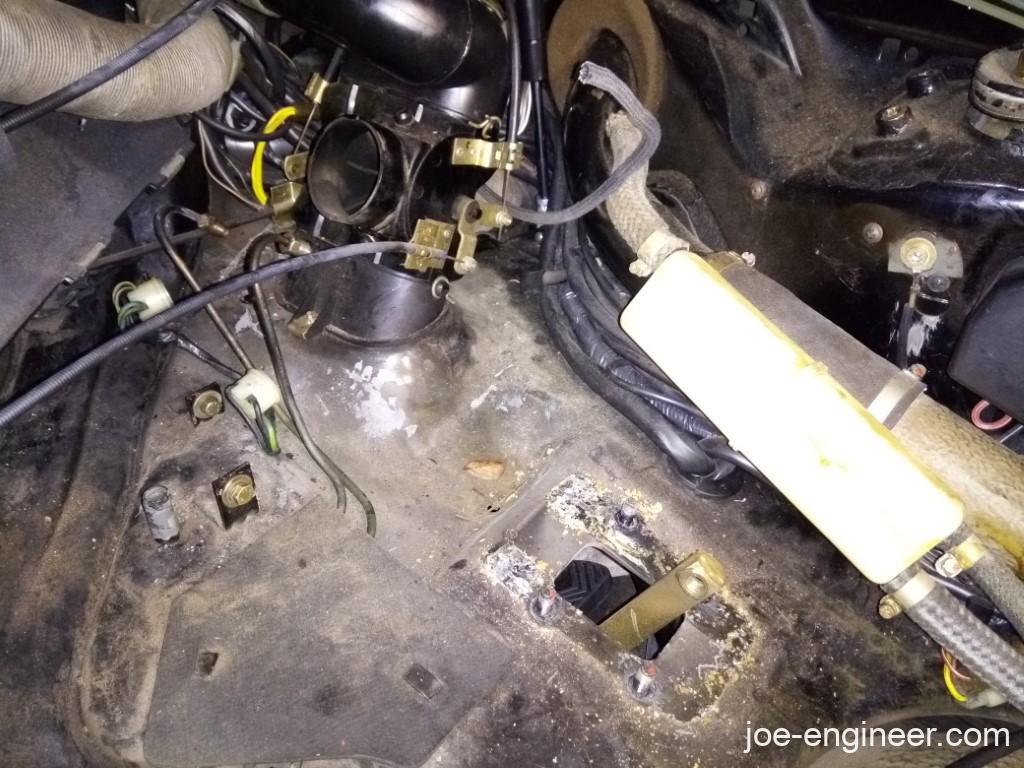
Master cylinder out. I dont know what this crud is under here but I cleaned it all up.
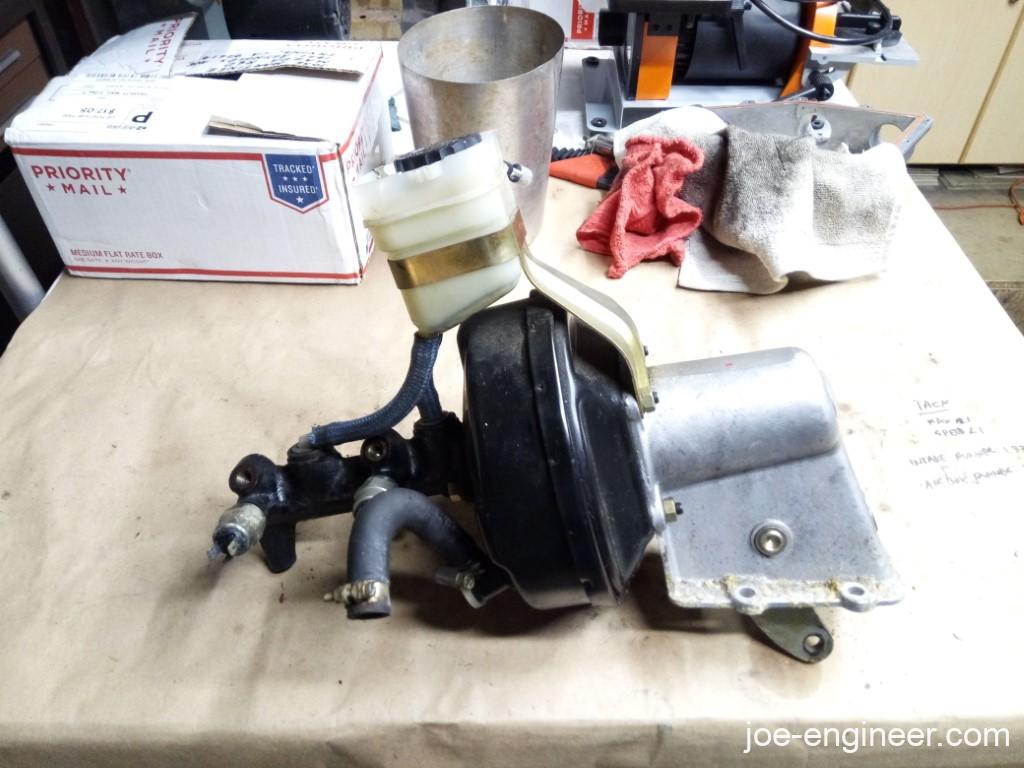
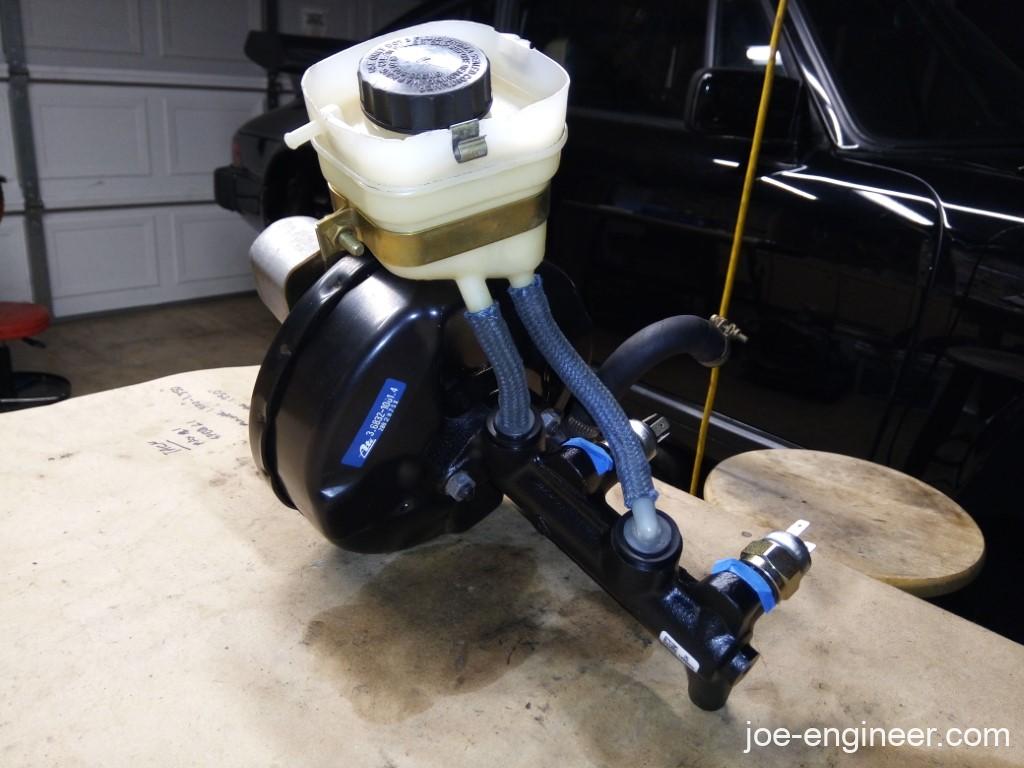
Master cylinder on the bench.
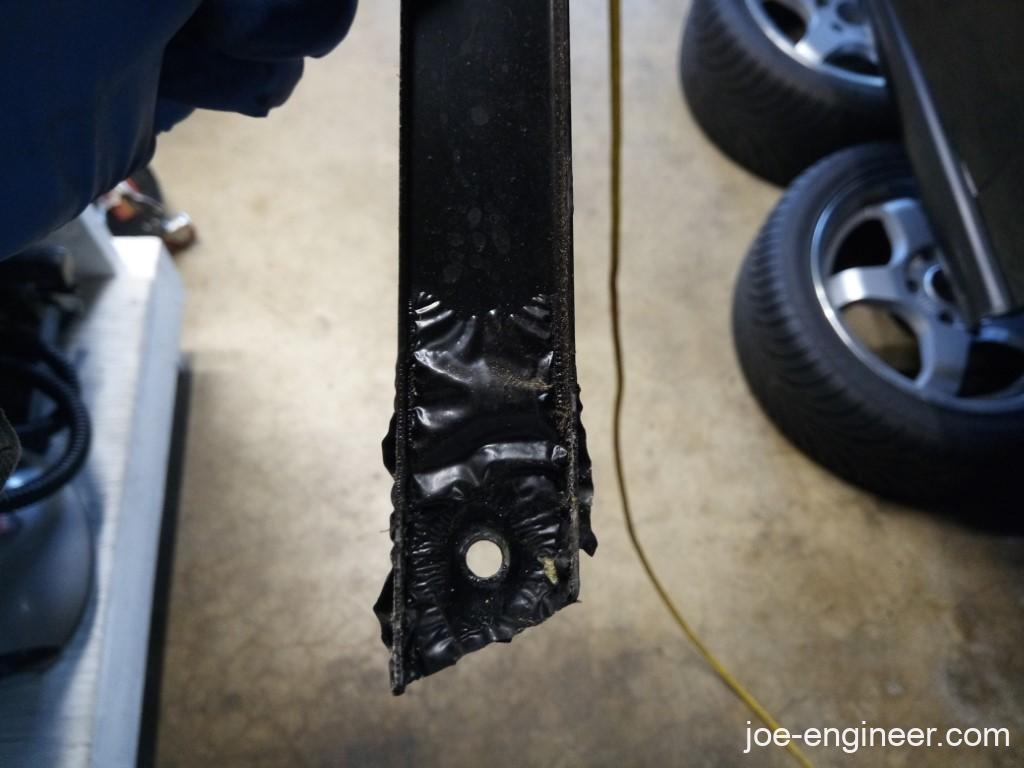
I found some brake fluid paint damage on this support brace next to the Master cylinder booster assembly.
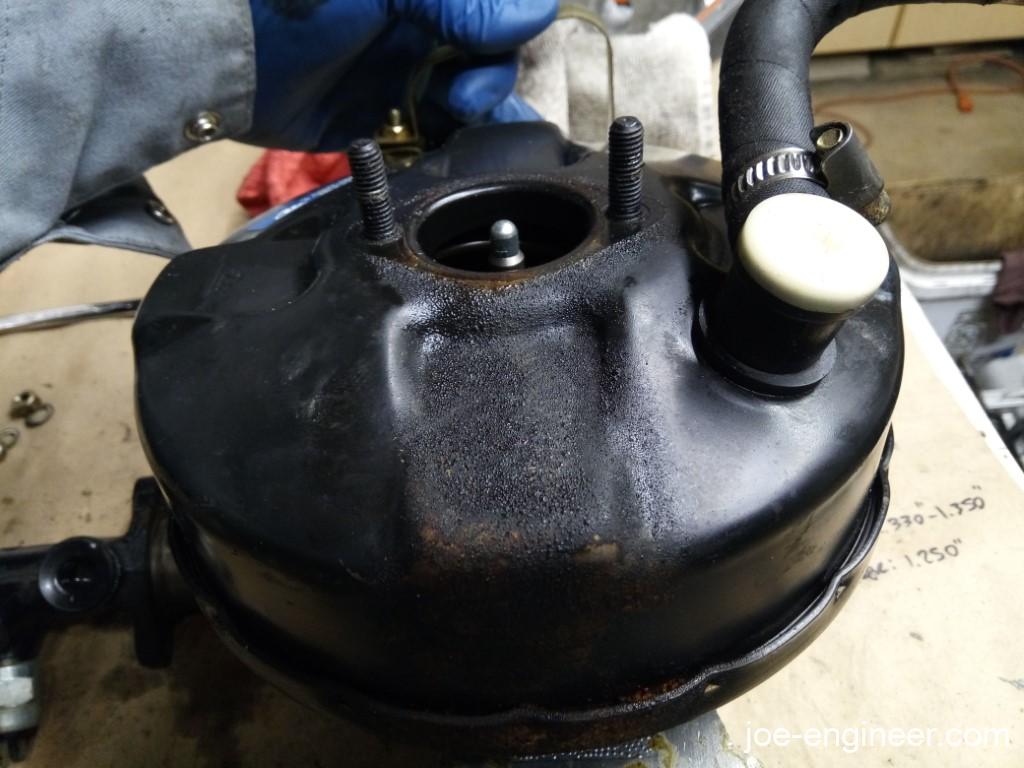
Then I found more paint damage on the booster can itself. I ended up taping the booster can shut and sanding and repainting the damaged area. I repainted the damaged area on the support brace too.
Yuck. I washed out this reservoir clean.
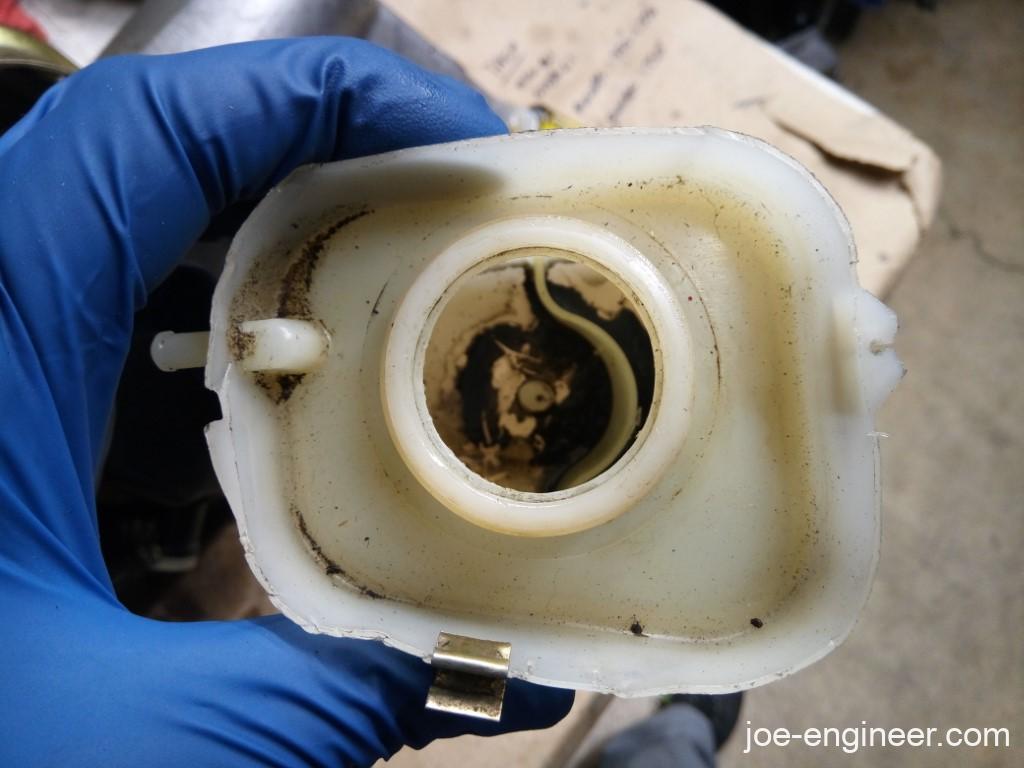
I swapped the old fluid reservoir, new blue reservoir lines, and old plastic reservoir line fittings onto the new master cylinder, and reassembled it onto the repainted booster can with the included new master cylinder o-ring. As they say, installation is the reverse of removal.
Brake Fluid Flush
With the lines and master cylinder replaced, it was time to flush and bleed the brake system.
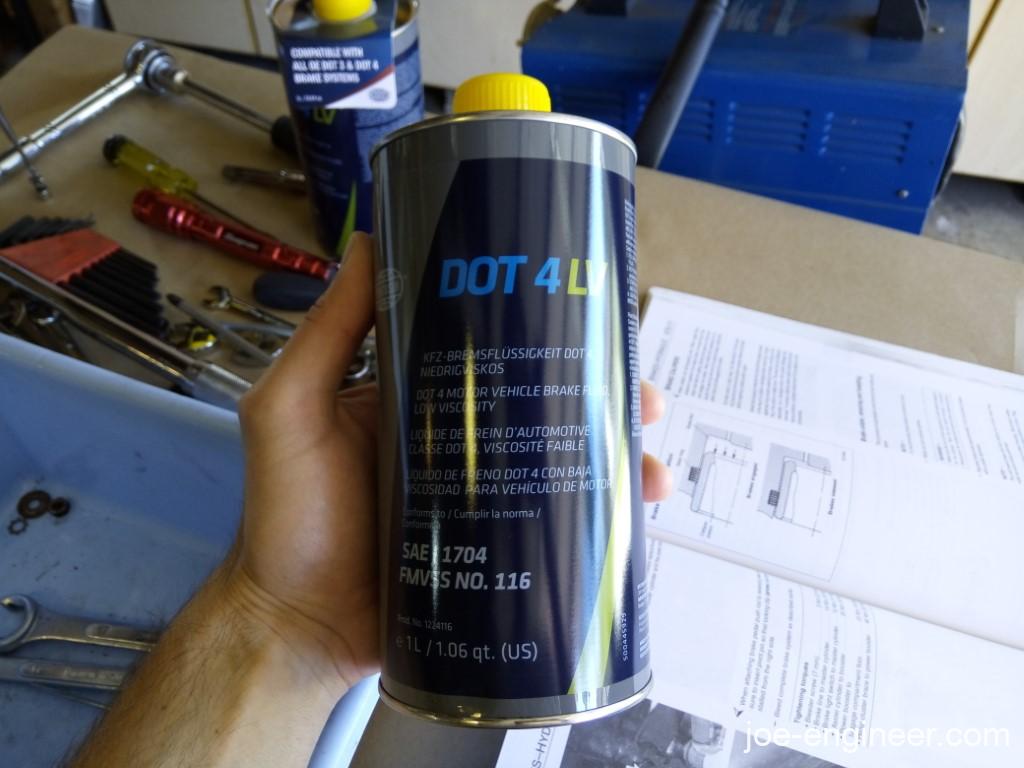
With the Speed Bleeders it was super easy. No messing with vacuum pumps or pressure pumps or helpers. They have a little check valve in them that pushes brake fluid and air out but doesn’t let air back in. Just keep the master cylinder reservoir topped off and bleed furthest corner to closest corner. I didn’t even need to get in and out of the car. I was able to simply pump the brake with my hand as I went around every corner. I think these will be very convenient if I ever make it out to a track day. I love these things!
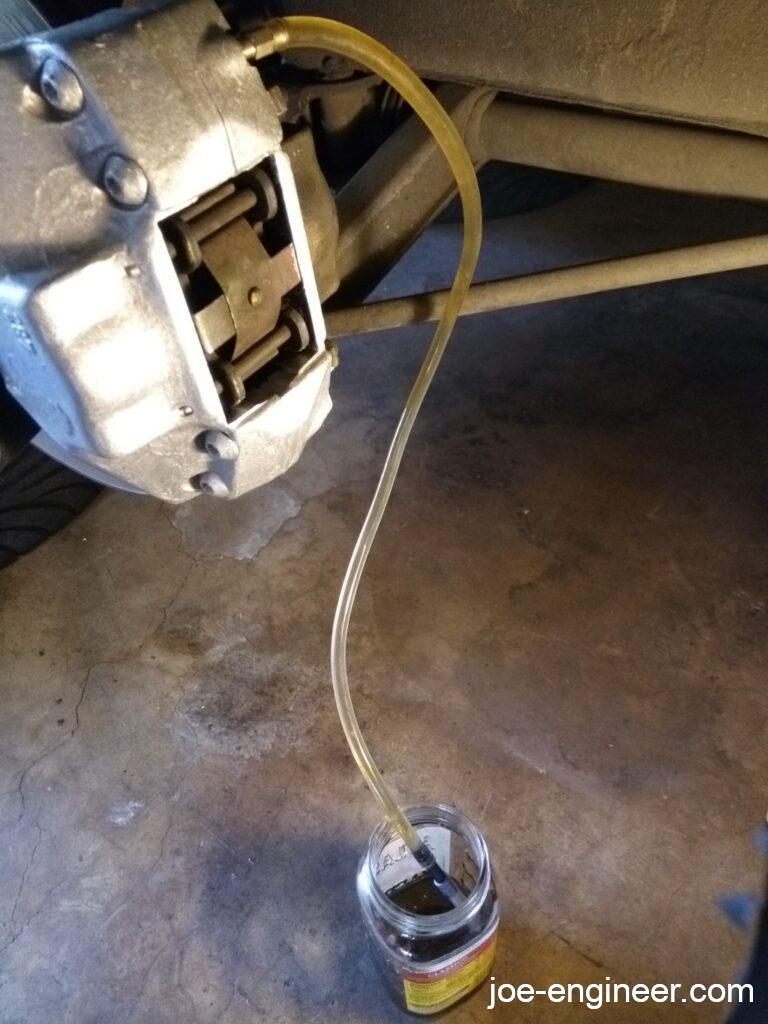
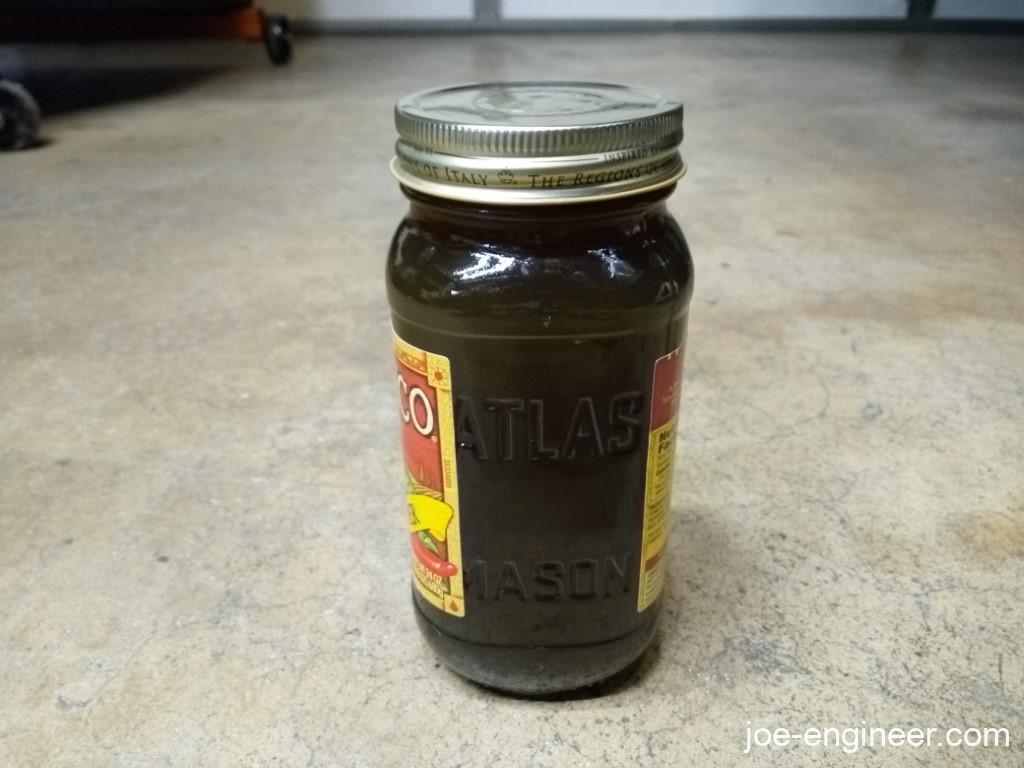
Here’s the obligatory shot of old neglected car garbage brake fluid. Why does it always look like this?
My existing rotors and pads still have plenty of meat on them so they will stay for now. Gotta protect the limited build budget for critical future items.
Next time Ill cover rebuilding the oil cooling system and upgrading the oil cooler.