
Porsche 911 Top End Parts Reconditioning, Tint & AC Removal, and Engine Bay Cleanup
The air-cooled Porsche world has many talented specialists who will refurbish nearly any original part on the car.
A bunch of parts I sent out for reconditioning finally returned from their various destinations.
Parts Reconditioning
I discovered a few flaws in my fan and housing when I first pulled them off. There were some cracks in the housing and one of the fan blade trailing edges had cracked and split open. I had to find a specialist who could precision weld repair magnesium. I took a chance and found someone who not only weld repaired the two parts but also refinished them in Cerakote.
Before:
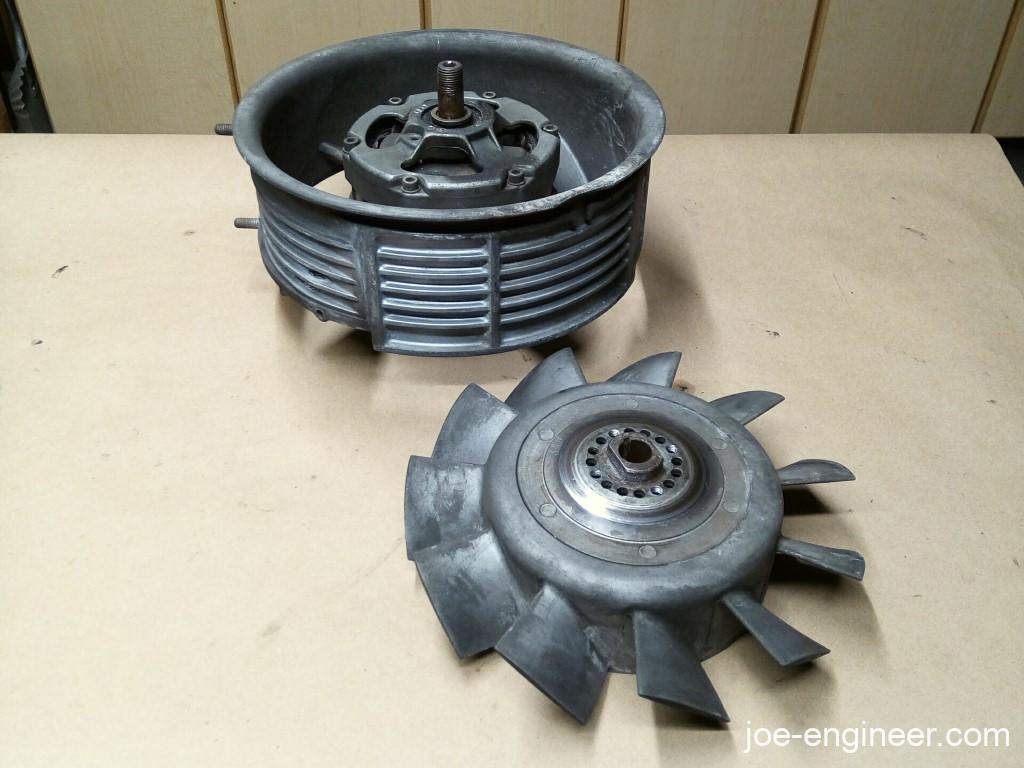
After:

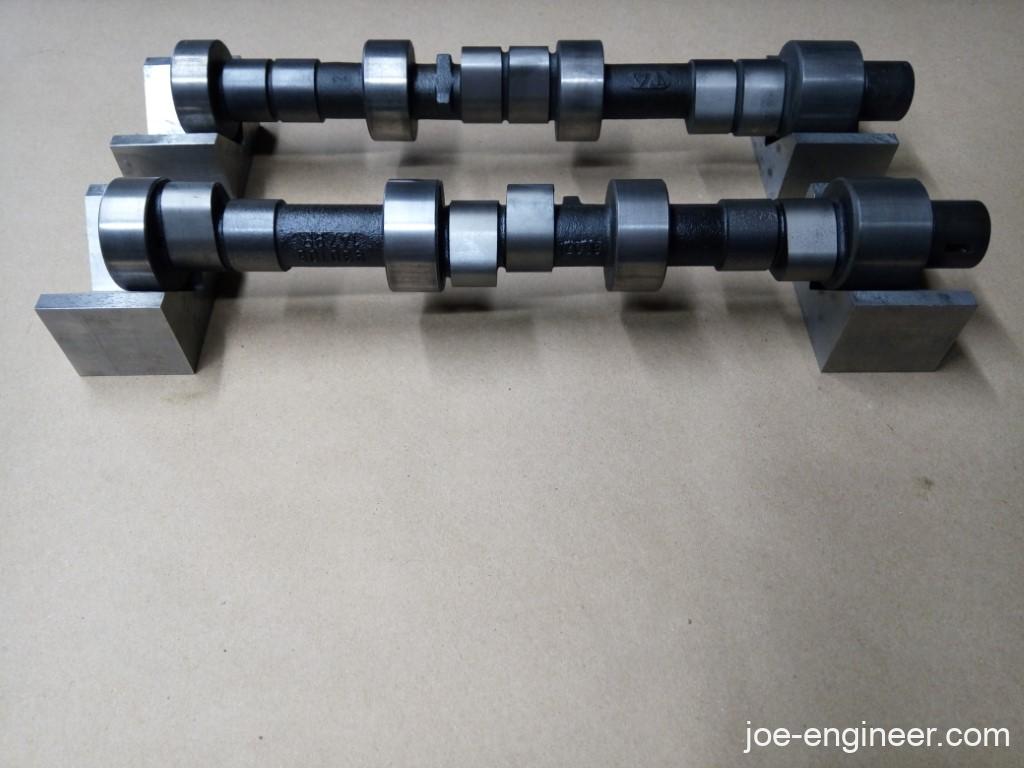
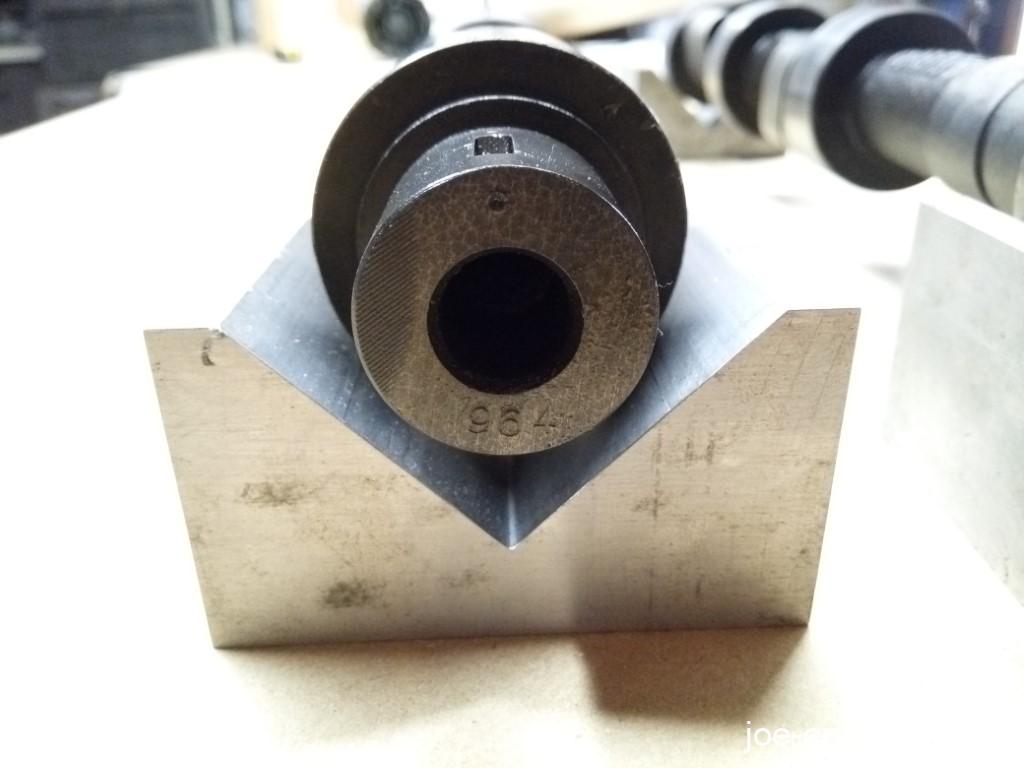
A second specialist reground my stock SC cams to the 964 profile for a bit more top end breathing.
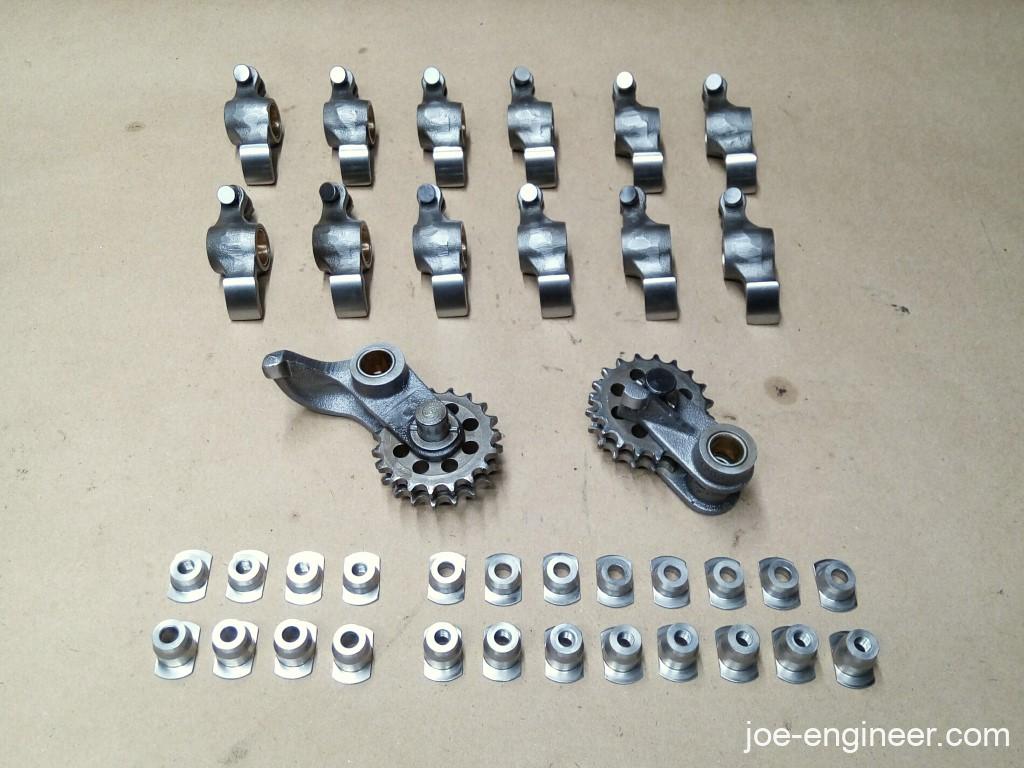
A third specialist rebuilt my rocker arms and idler gears.
A forth specialist, Turbokraft, provided these snazzy rocker shaft locks. The original rocker shafts depend on a bolt and nut to expand the outer diameter of the ends of the shafts to lock them against their bores in the cam tower. However there are many cases (on rebuilt engines) where the rocker shafts loosen and walk out of their bores, letting the valve rocker fall out as well. Because I am not down with torquing the snot out of the shaft bolts and simply hoping for the best, these shaft locks will mechanically lock the shafts in place and prevent them from walking. They were not cheap but they are in-line with my philosophy of building this engine for maximum reliability.
Lastly, I had a local plater replate all my engine hardware in yellow zinc.
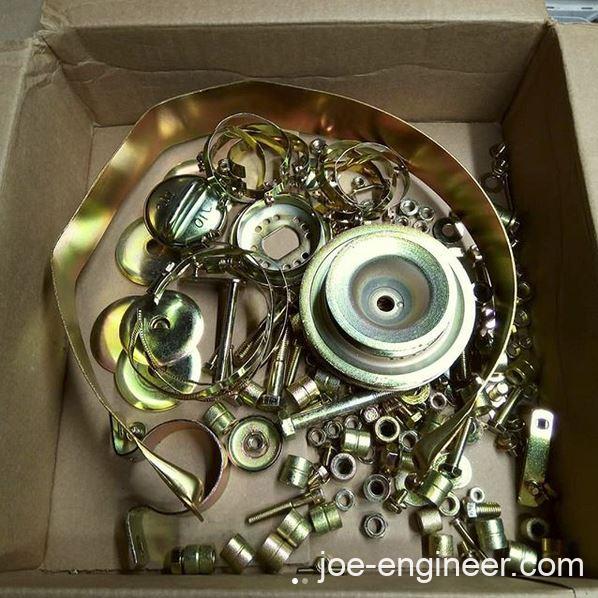
All the yellow bits are bagged and tagged so I know where they all go.
Window Tint Delete
While all those bits were getting reconditioned, I took care of some unsexy tasks on the car. First I deleted my tint…
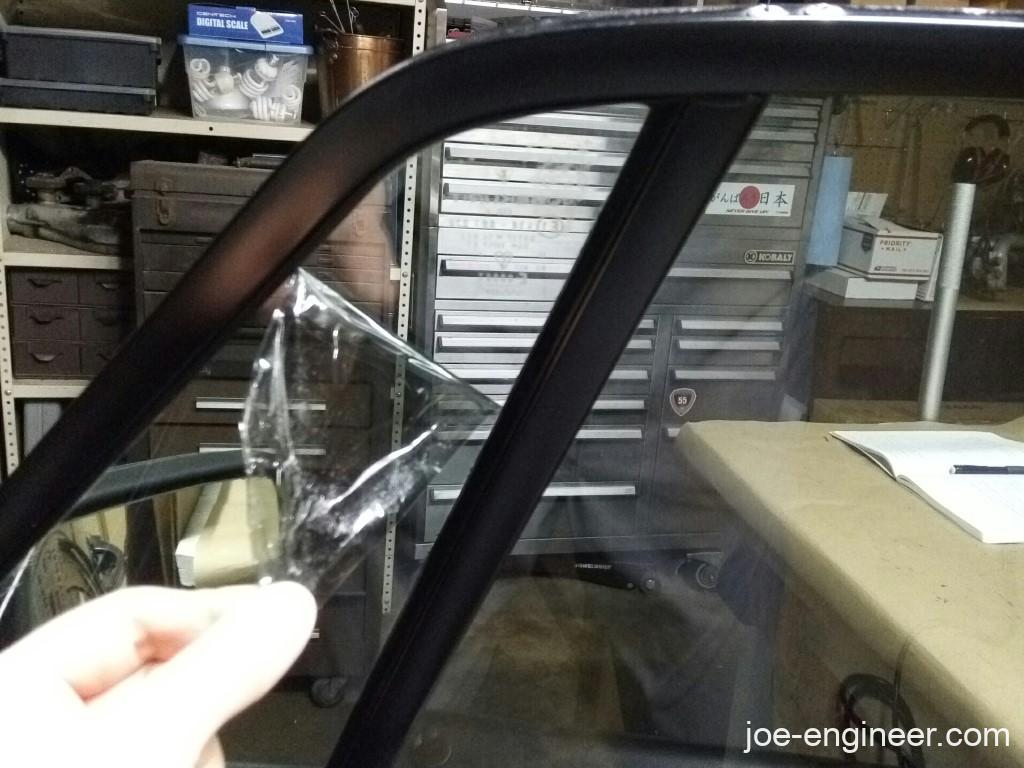
…with my rollbar IN PLACE. Not very fun.
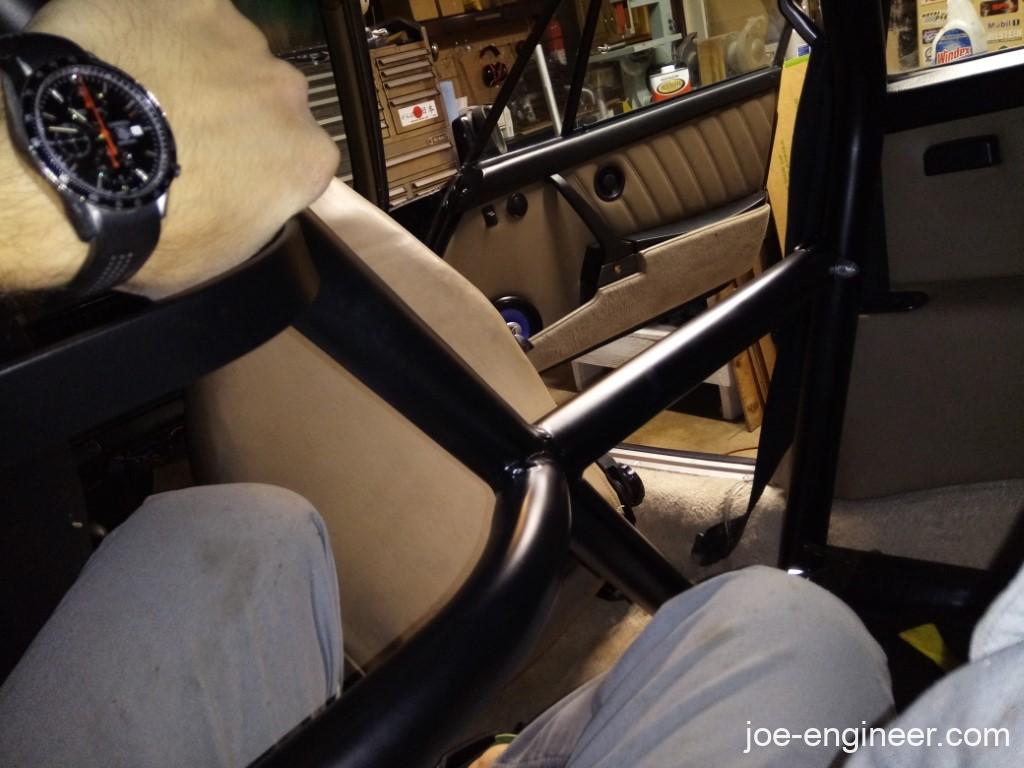
Finished, trashed, and windows cleaned of residue.
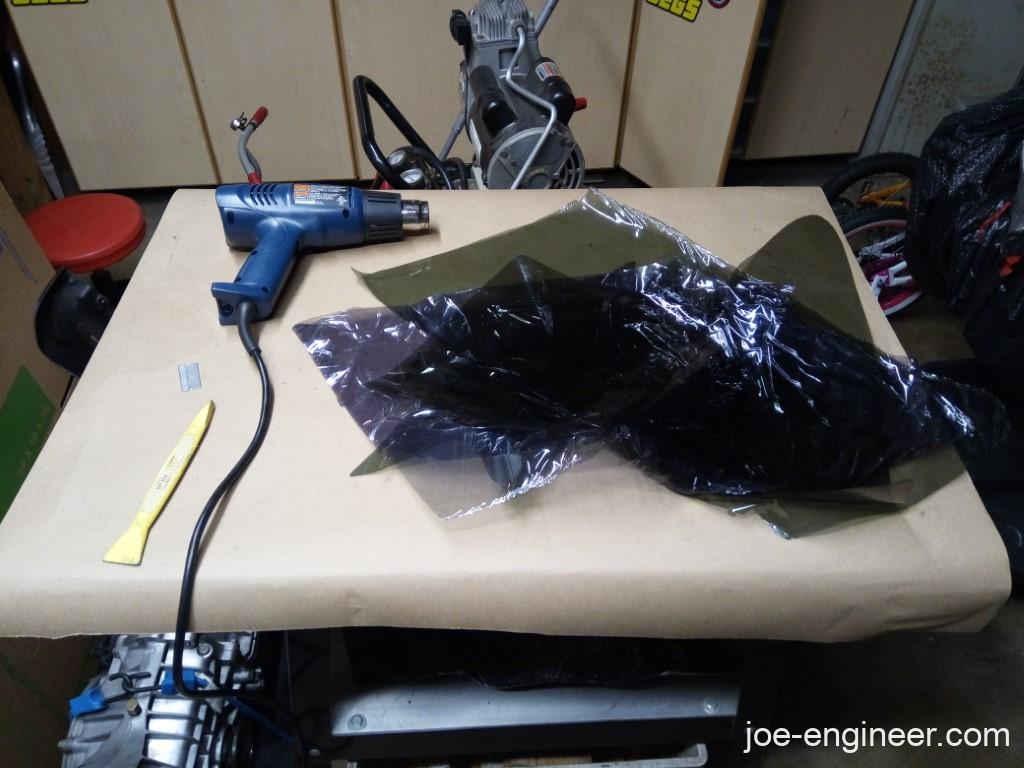
There are no beautiful “after” shots of this because the disassembled car still looks terrible in my dark garage. You will have to wait a bit longer.
Air Conditioning Delete
I then intended on cleaning my engine compartment and was bothered by these damn AC hoses dangling about, connected to nothing, leaving greasy streaks on me every time they brushed my arm.
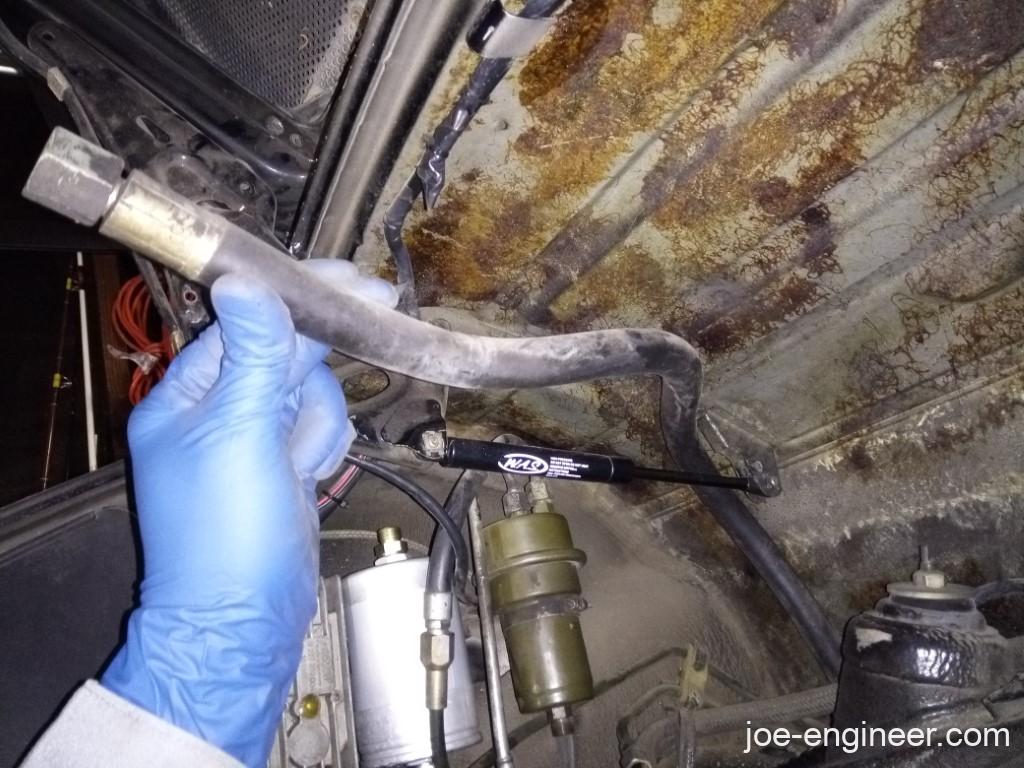
The only solution was obviously to perform a full aircondectomy.
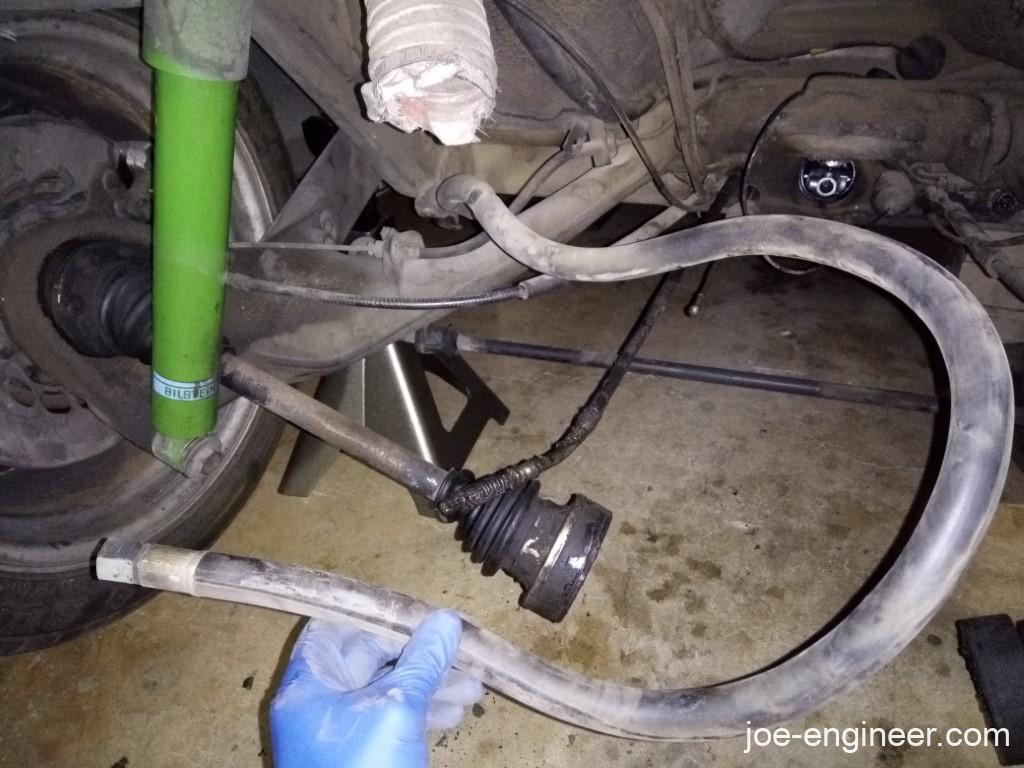
I followed the engine compartment hoses to all the subcomponents scattered about the front of the car and removed everything in my path.
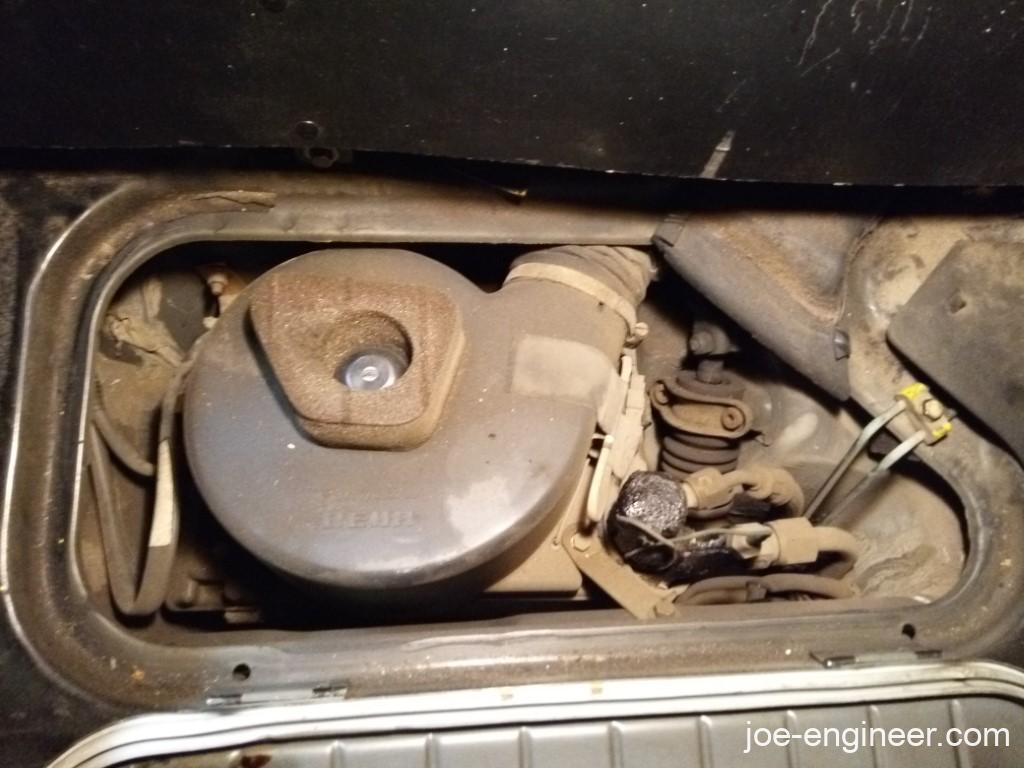
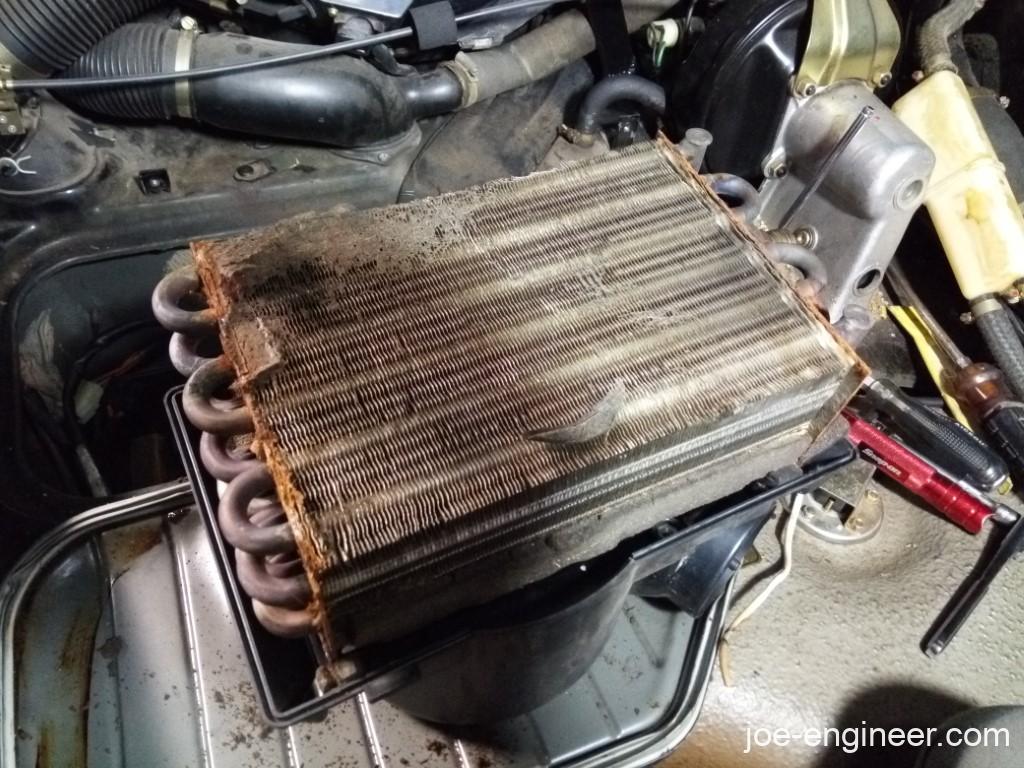
Most of these parts were basically non-salvageable trash anyway.
Much better. Now the smuggler’s box can be used for actual smuggling of things!
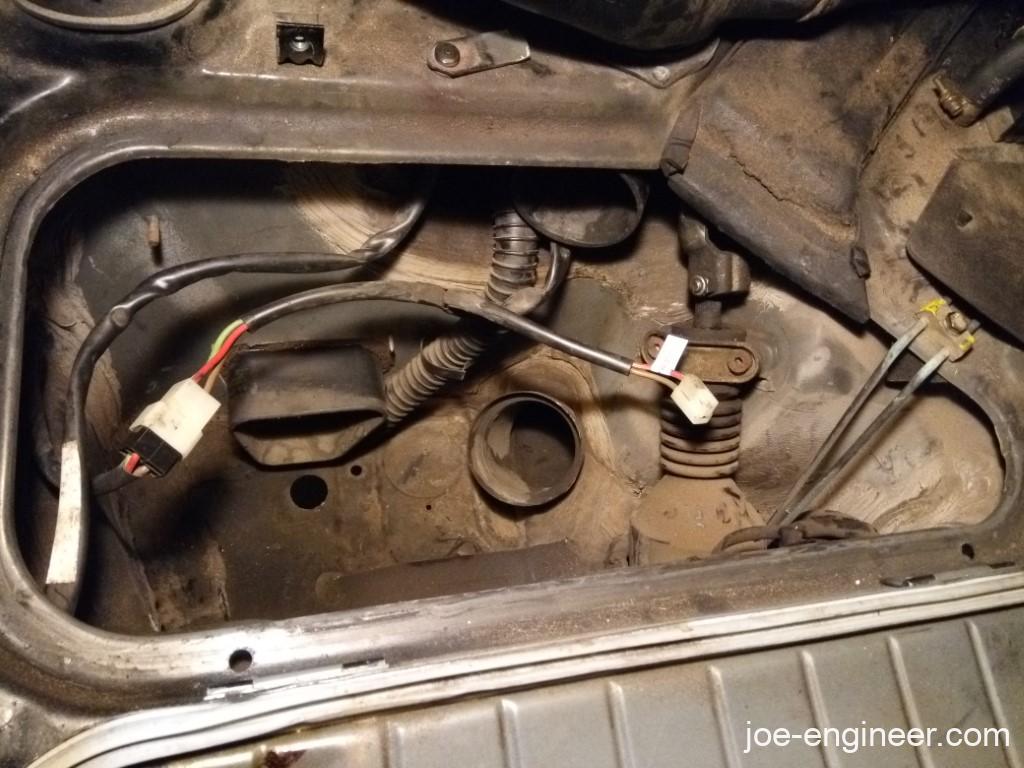
I have no idea why, but I made sure I pulled out every hose undamaged, labeled every clamp with its location, and bagged all the respective hardware.
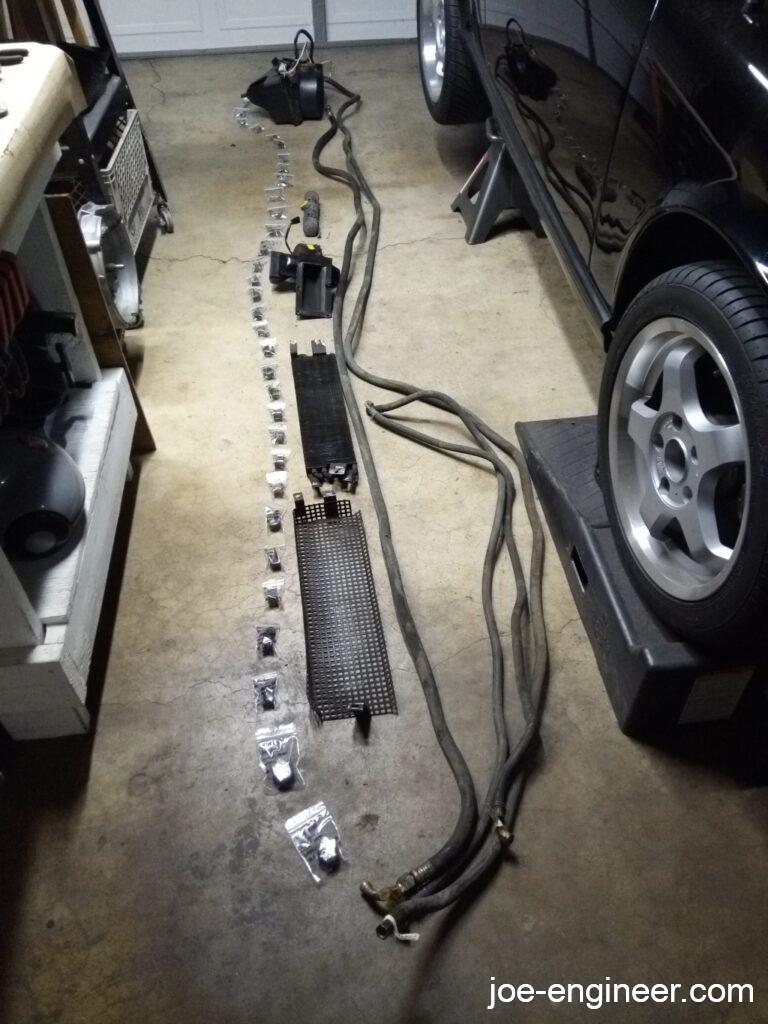
I put everything into a cardboard box that now probably weighs 35-40 lbs. I don’t plan on ever re-installing this in the car but they might be useful to someone else in the future.
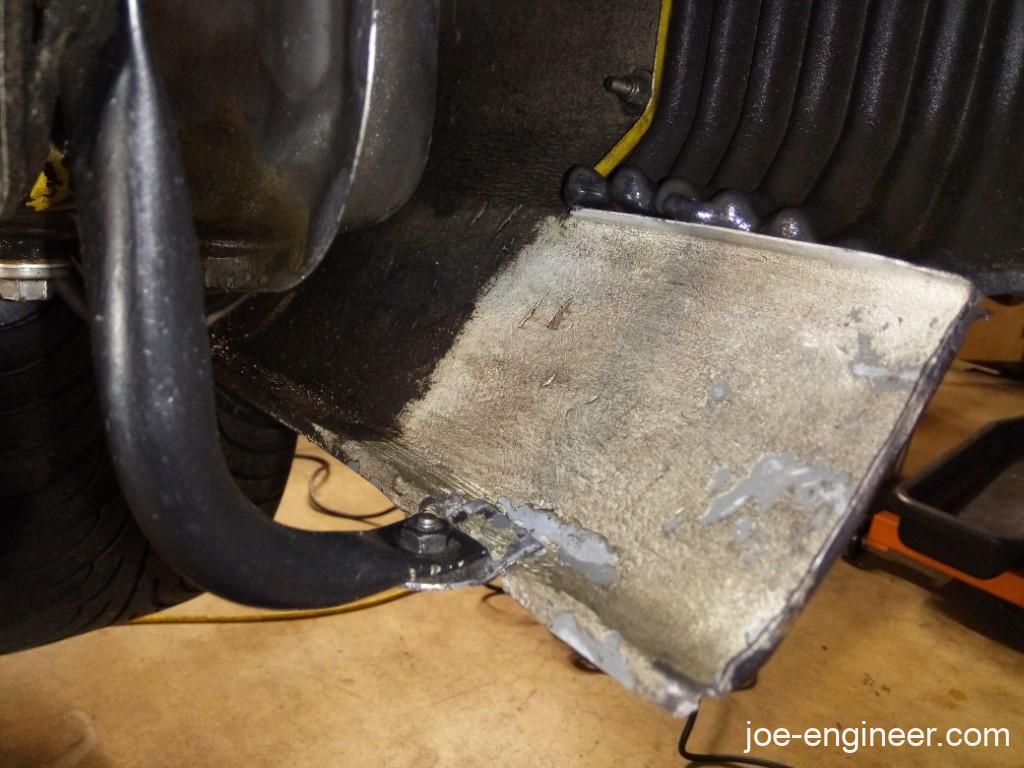
I made a closeout panel for the hole in the frunk floor right behind the bumper, and plugged all the hose clamp screw holes with the old hose clamp screws and new stainless steel washers that have an integrated rubber gasket. Hopefully this seals out the elements from the cabin floor.
Engine Compartment Cleaning
Now for the original task at hand, cleaning the engine compartment.
So up until this day I thought my engine compartment and underbody were black, because, well, that’s the color they were.
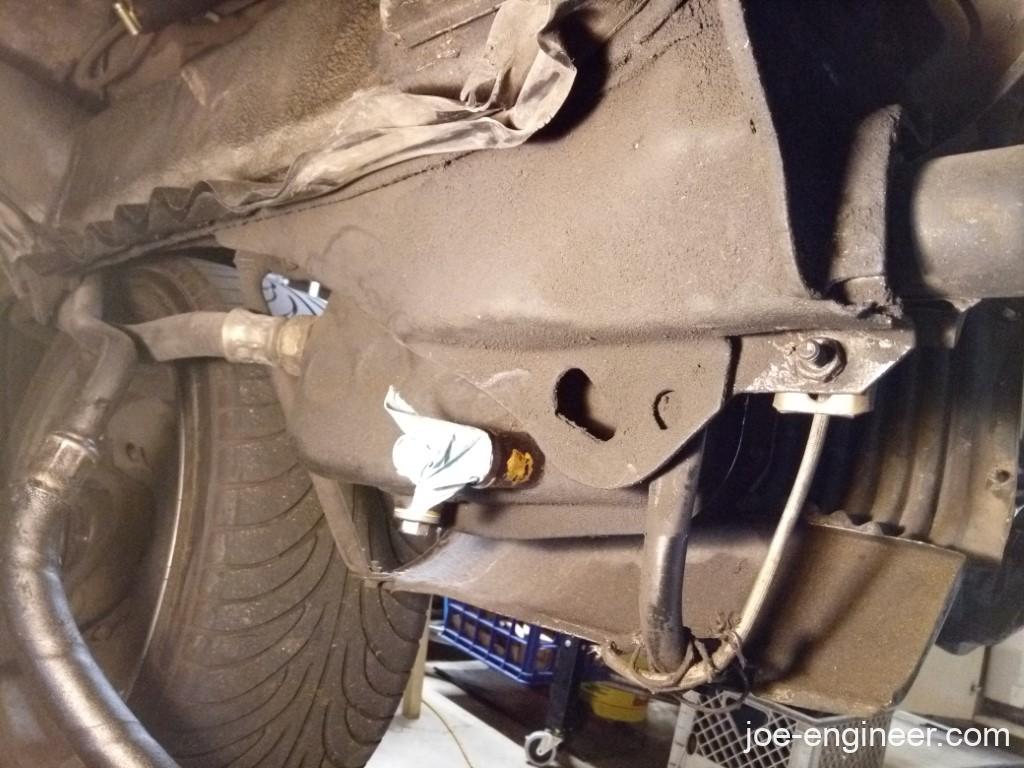
After some time with my weapon of choice, the steam cleaner…
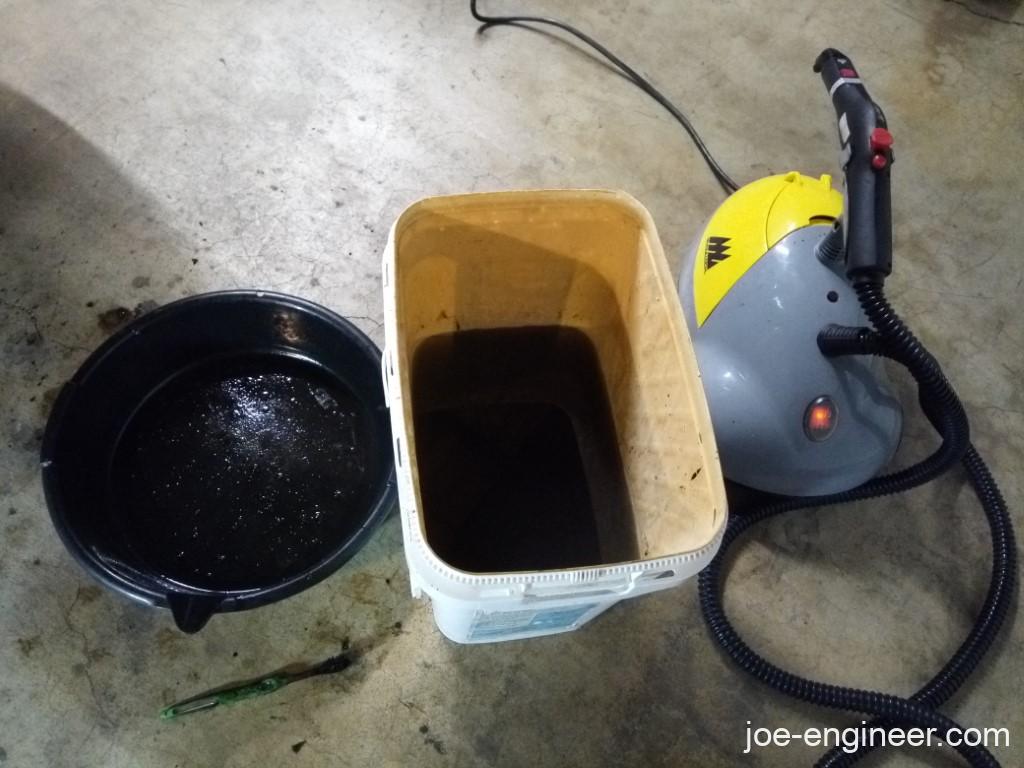
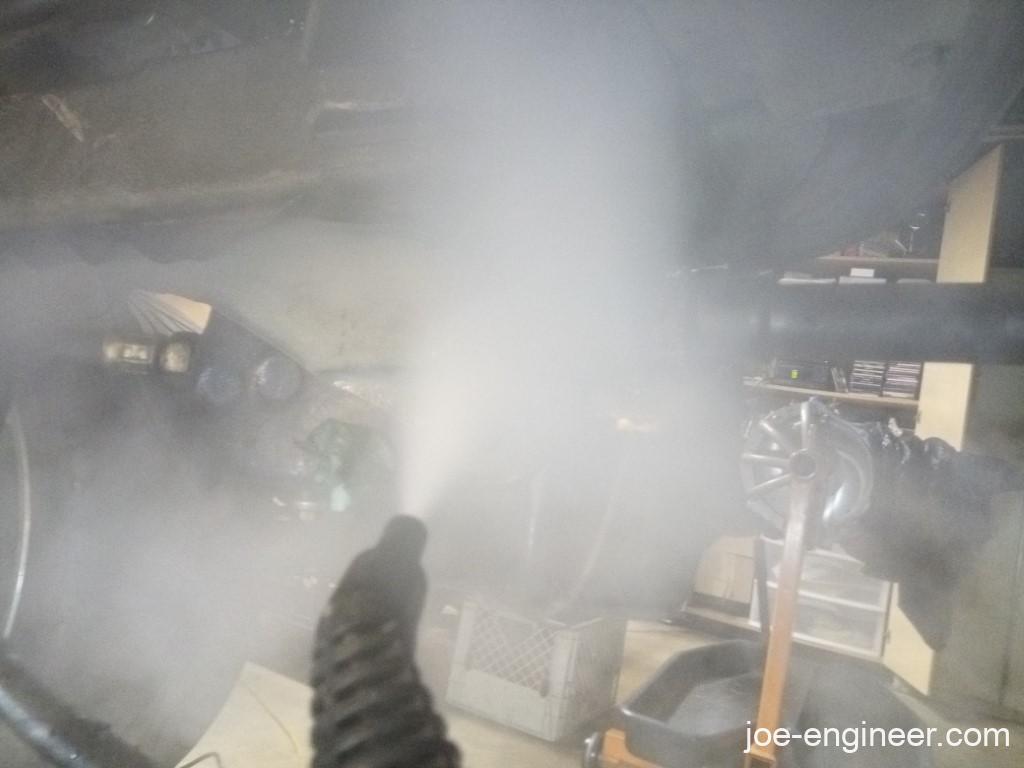
…things started to change color.
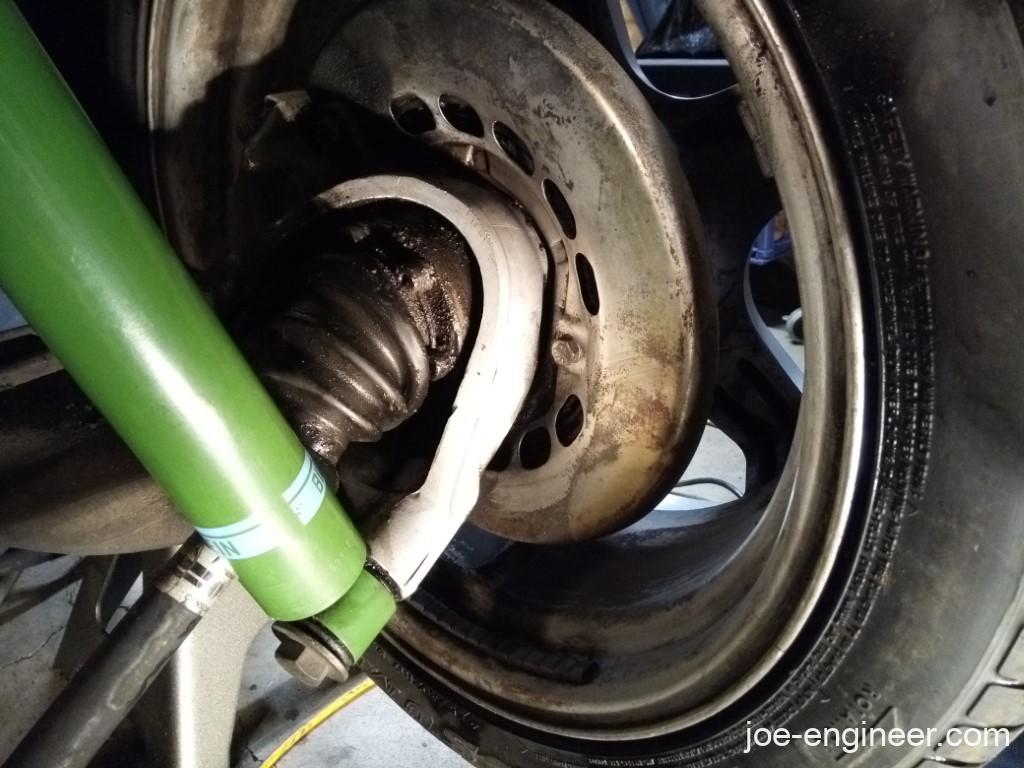
Oh look, the trailing arms are aluminum!
I got about halfway done in the engine bay and this was the result.
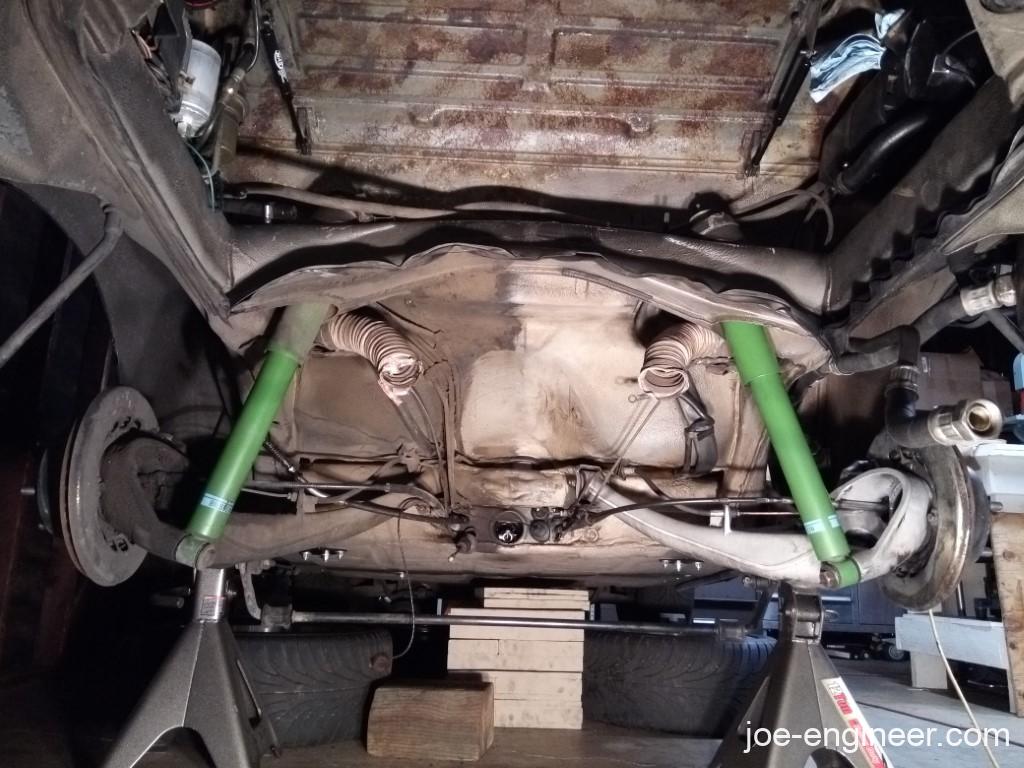
The underbelly and inside the wheel wells are a tan color and the engine compartment is a dull gray color. Looks factory. I nearly lost my mind that the car was this damn dirty.
I went ahead and cleaned the remaining half the same way…