
Porsche 911 Yellow LED Foglights
Added some low-key modern lighting.
Disclosure: This post contains links to Amazon products and other trusted vendors. As an Amazon Associate I earn from qualifying purchases.
One of the struggles of owning an old 1980’s car is the horrible US-spec factory lighting. As a result of federal regulation mandating the use of sealed beam headlamps from 1940-1983 my car was shipped to the US with sealed-beam headlights and H3 fog lights. They checked the legality box but on today’s roads full of lifted trucks and SUVs covered in retina-burning LEDs, they don’t feel very safe.
As a responsible driver I wanted to improve my illumination of the road ahead of me, make my tiny black sportscar more visible at night to others, and not create any hazards for other drivers around me. I replaced my headlamp assemblies with DOT approved H4 housings with replaceable 55W bulbs. Fortunately I had already upgraded my fuse panel to a modern one that has integrated headlight relays so I would not cook the factory headlight wiring. This setup looked good and generally worked ok.
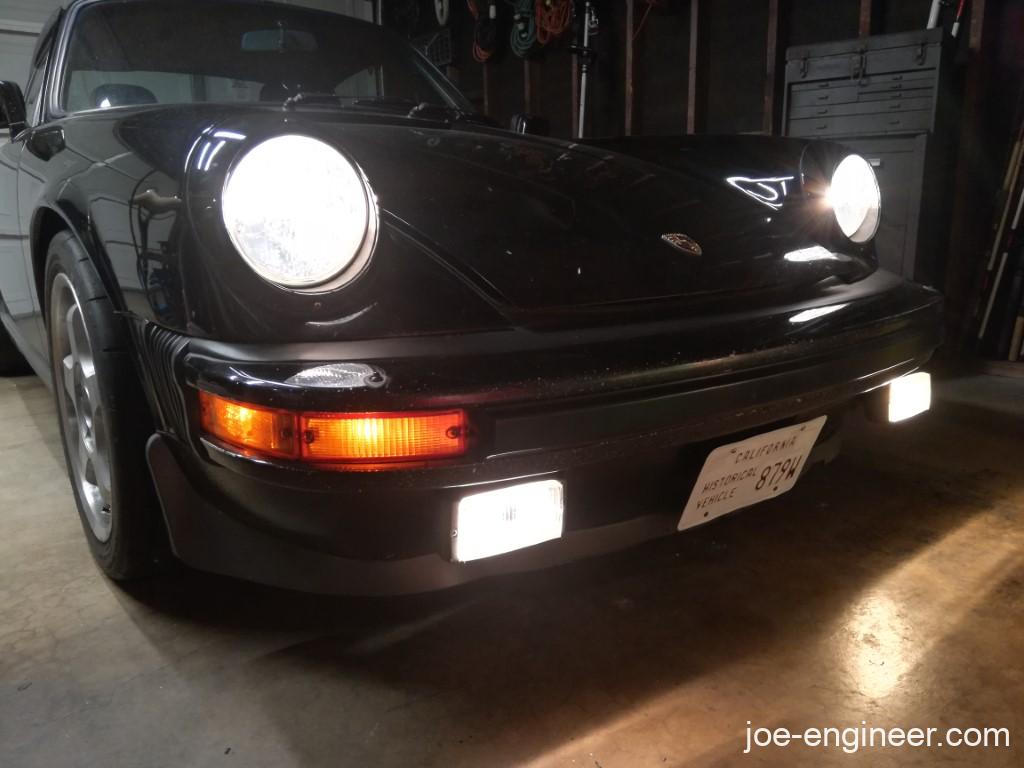
This was a great start but my fogs were still pretty dim even though they had higher powered 100W halogen H3 bulbs. Anytime I touched the glass lenses I realized they ran quite hot. Eventually one of the bulbs burned out and it was time to replace the pair. With modern LED light bulbs being so inexpensive, widespread, and of fairly decent quality, I decided to take a chance on a $22 pair of LED units from Amazon. They lit up yellow, pulled only 30W, and were a direct drop-in replacement.
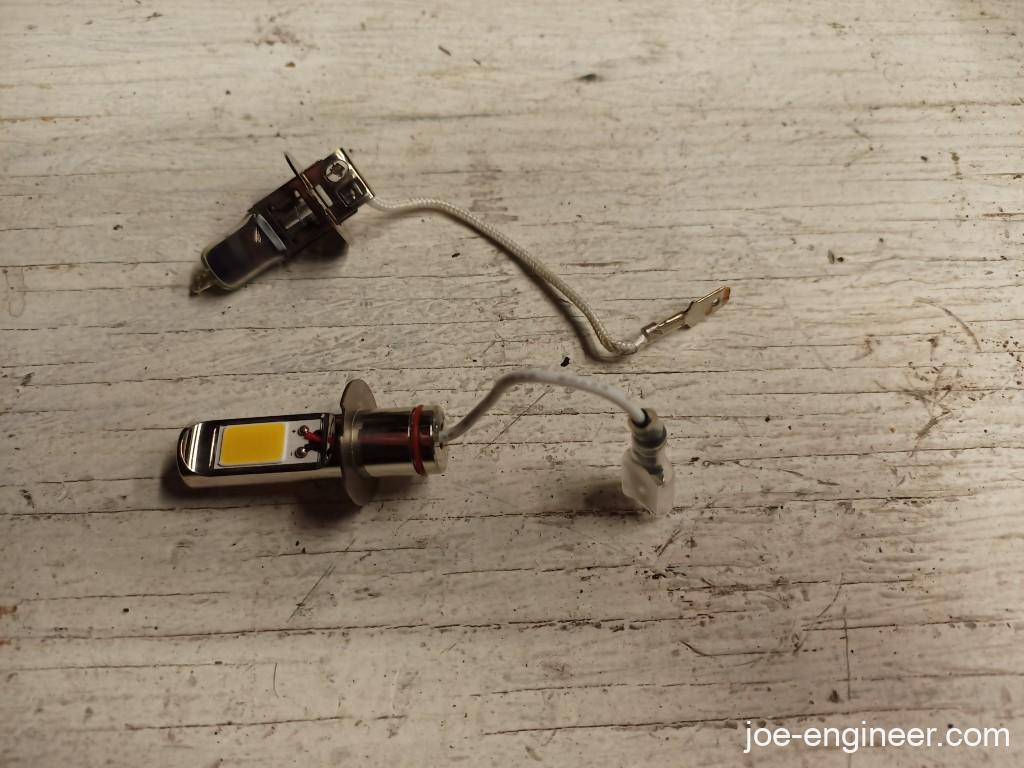
I figured since they were a couple of inches off the ground they had a low chance of causing problems to drivers around me and were worth a shot.
With the ignition off, I removed the two retaining screws on the front bezel of the fog light housing. After pulling off the bezel, the glass lens, reflector and large rubber gasket can be removed from the outer housing mounted to the front valance.
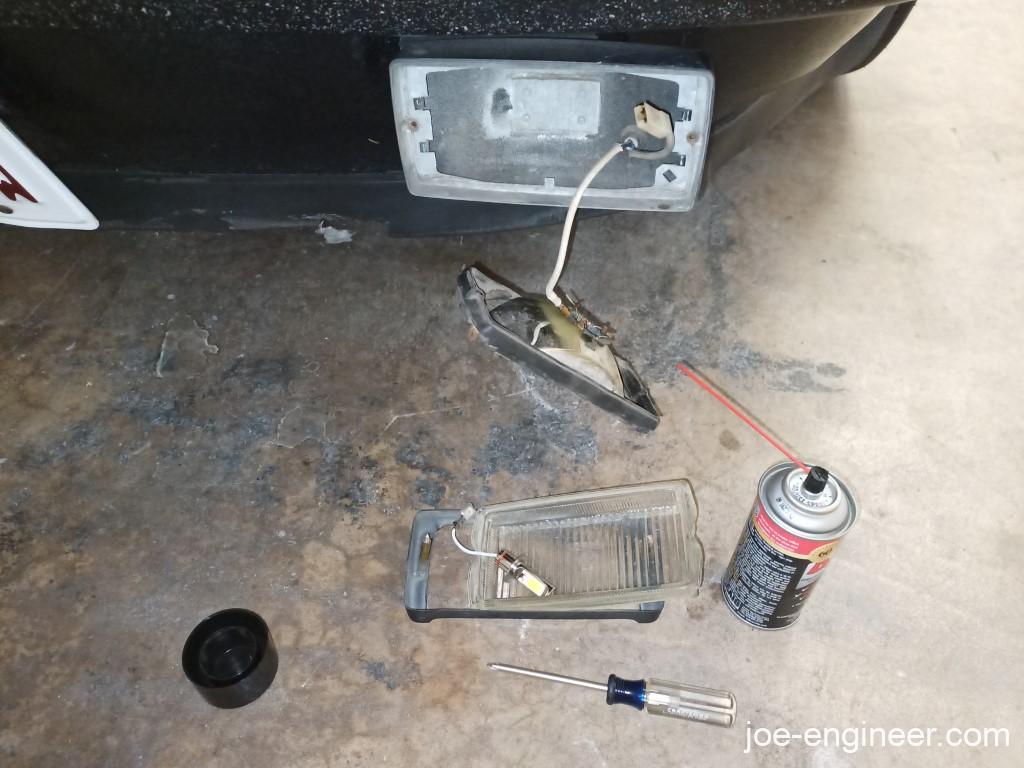
I pulled off a single spade connector going to the bulb wire, unclipped the wire retainer, and the bulb was extracted from the back of the reflector. I sprayed a little DeoxIT electrical contact cleaner on all the electrical connections including the retainer where the bulb sits in the reflector as this is the grounding path. I love this contact cleaner and I use it any time I am working on any old crusty electrical connections.
The new LED bulb had the same notched base to ensure the bulb was installed in the reflector in the correct orientation. My fellow automotive engineering nerds will recognize this as a “poka-yoke” feature. The wire retainer snapped on and held the new bulb firmly in place just like the old one.
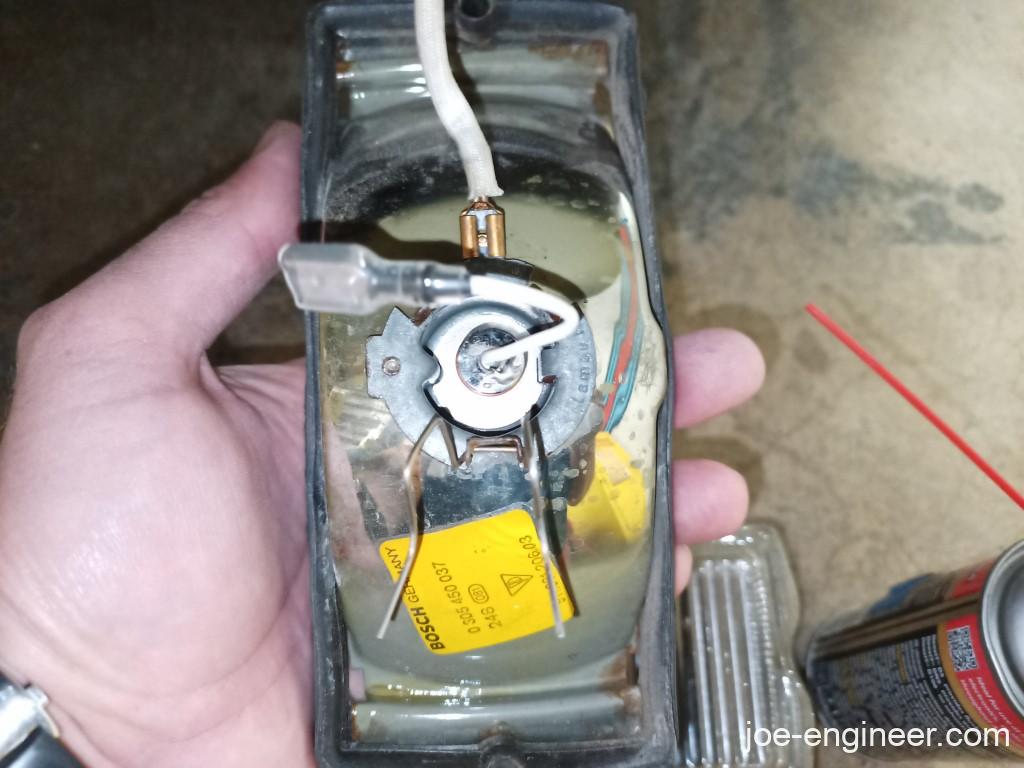
Reconnecting the single bulb wire to the vehicle side connector, I was ready to reassemble the foglight assembly back into the housing in the reverse order and re-attach the screws hand tight.
I put the key in the ignition and turned on my headlights and fogs to compare the old and new bulbs. The results were awesome.
The new bulb lights up the glass lens very yellow, is brighter, and runs cooler. I touched both glass lenses and the old bulb was hot while the 30W yellow one was cool to the touch.
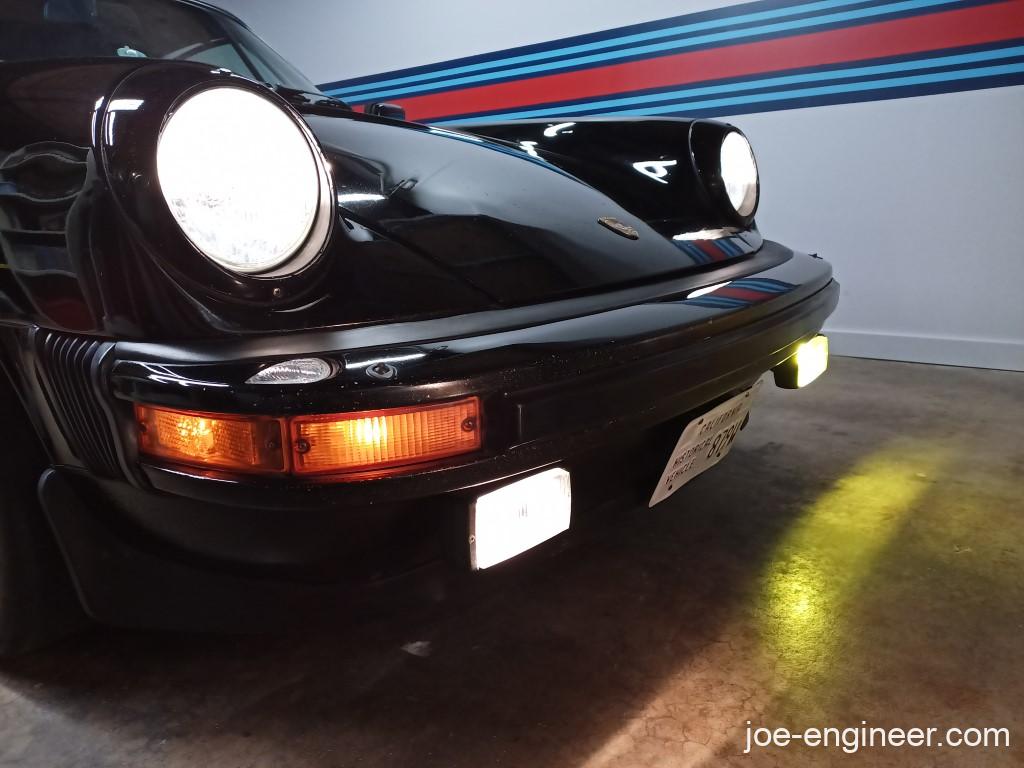
I replaced the second one the same way and gave it another test run.
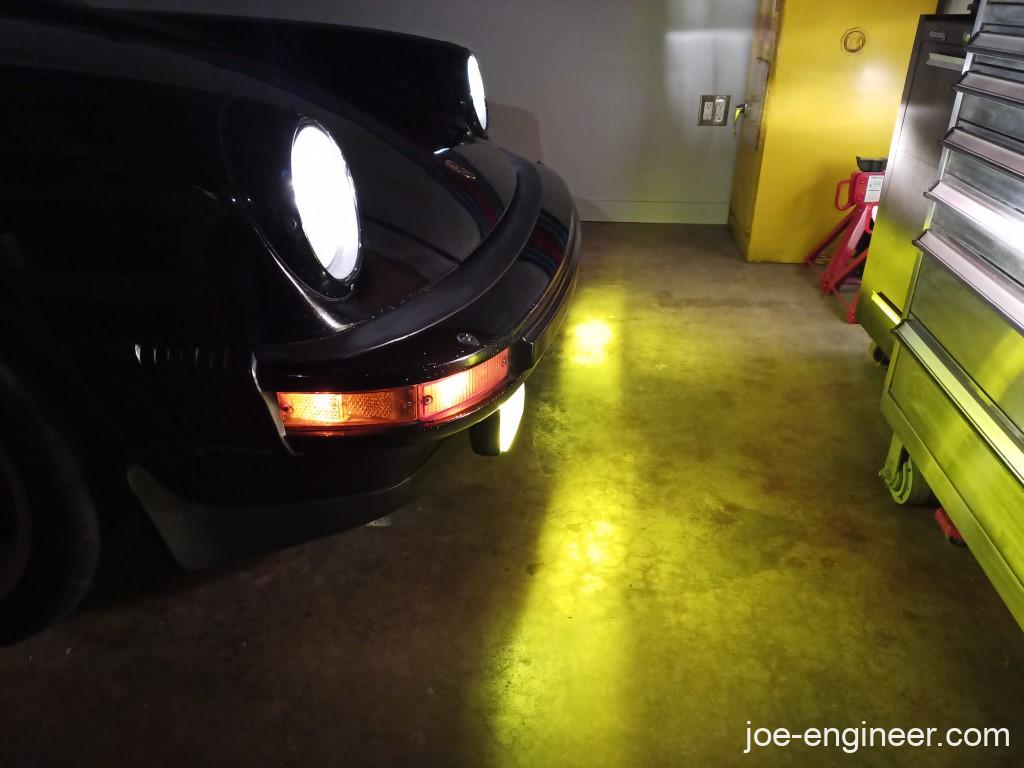
The yellow fogs give a much brighter light immediately in front of the car. They worked well with the factory reflectors and had a nice cutoff at the top of the beam, only illuminating where they should. The yellow lights are also visible to other drivers from further away simply by being yellow. A great touch is that they simply look like yellow OE lights and don’t look out of place on this old 1980s analog machine.

All in all I am very happy with this inexpensive, plug-and-play, reversible lighting modification. If they turn out to be durable I may never go back to the old halogen H3s. Give them a shot. You can always go back to the good old halogens if you don’t like them.